Cleaning a blender base without water is a skill every home cook should master. The motor housing, control panel, and power cord are not designed for moisture. A single splash can short‑circuit the electronics, void the warranty, and create a fire hazard.
I’ve seen too many people ruin a perfectly good machine because they treated the base like a dishwasher‑safe jar. The good news? You can keep the base spotless using only dry tools, a few household staples, and a little patience.
This guide walks you through the why, the what, and the how, step by step, so your blender stays safe, sanitary, and ready for the next smoothie batch.
Why You Should Never Submerge or Spray the Blender Base
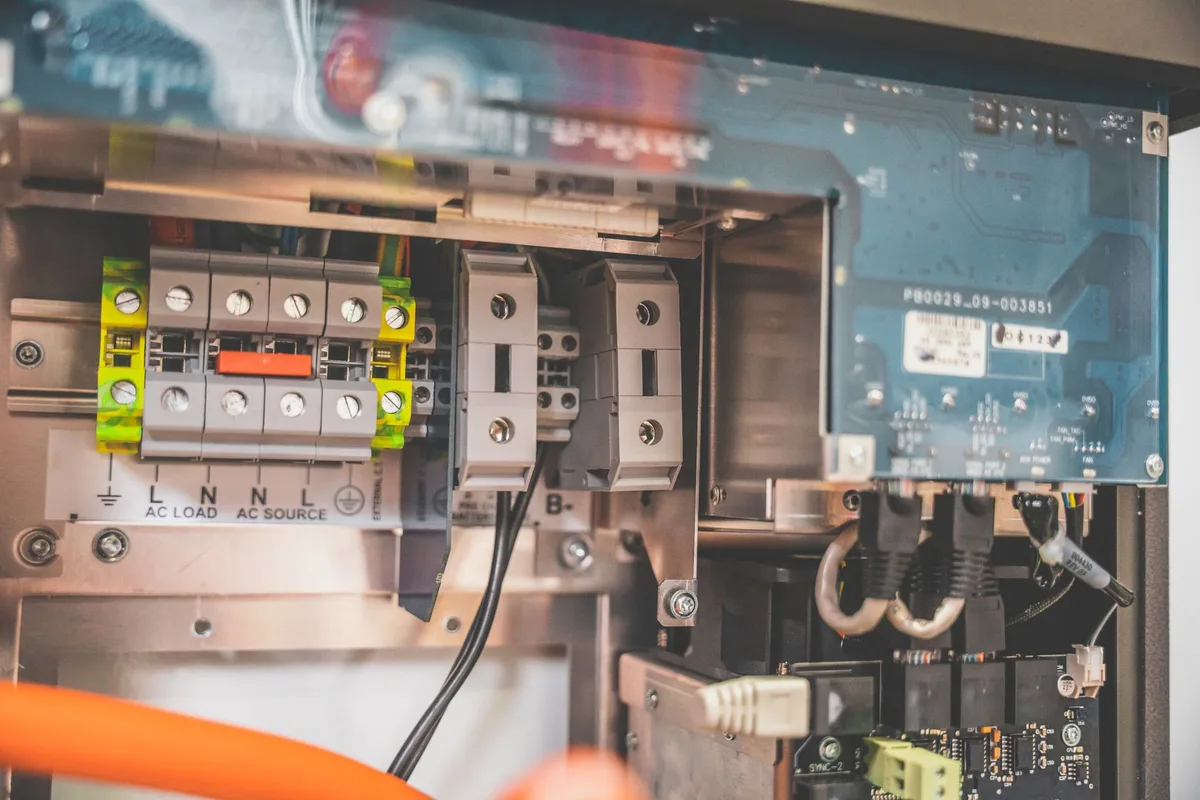
The base houses a motor, a circuit board, and a network of wiring that powers the blades. Water conducts electricity. Even a thin film can bridge contacts, cause corrosion, or trigger a short that trips the breaker, or worse, sparks a fire.
Manufacturers explicitly warn against any liquid entering the housing. Vitamix, for example, states that “the motor base must never be immersed or sprayed” in its official care guide .
Moisture also degrades the insulation around wires. Over time, that insulation becomes brittle, increasing the risk of a shock when you plug the unit in. A damp base can also breed mold in hidden crevices, contaminating every future blend.
The safest route is a completely dry cleaning routine that removes food particles, oils, and dust without ever introducing liquid.
Tools & Materials You’ll Need
Gather everything before you start. A well‑prepped workspace saves time and prevents the temptation to reach for a wet cloth.
- Soft‑bristle brush (a clean paintbrush or dedicated appliance brush)
- Microfiber cloths, one dry, one slightly dampened with a tiny amount of isopropyl alcohol (90 % or higher) for spot‑cleaning only
- Compressed‑air canister (the kind used for keyboards)
- Cotton swabs for tight gaps around buttons and ports
- Small vacuum with a brush attachment (optional, for heavy dust)
- Toothpick or plastic pick for stubborn crumbs
- Disposable gloves (keeps oils off the base)
Keep a trash bowl nearby for debris. Work on a clean, dry countertop with good lighting.
Step‑by‑Step: Cleaning the Blender Base Without Water
- Unplug the unit. Pull the plug from the outlet, not the cord. This eliminates any chance of accidental activation.
- Remove the jar and blade assembly. Set them aside for their normal wash cycle.
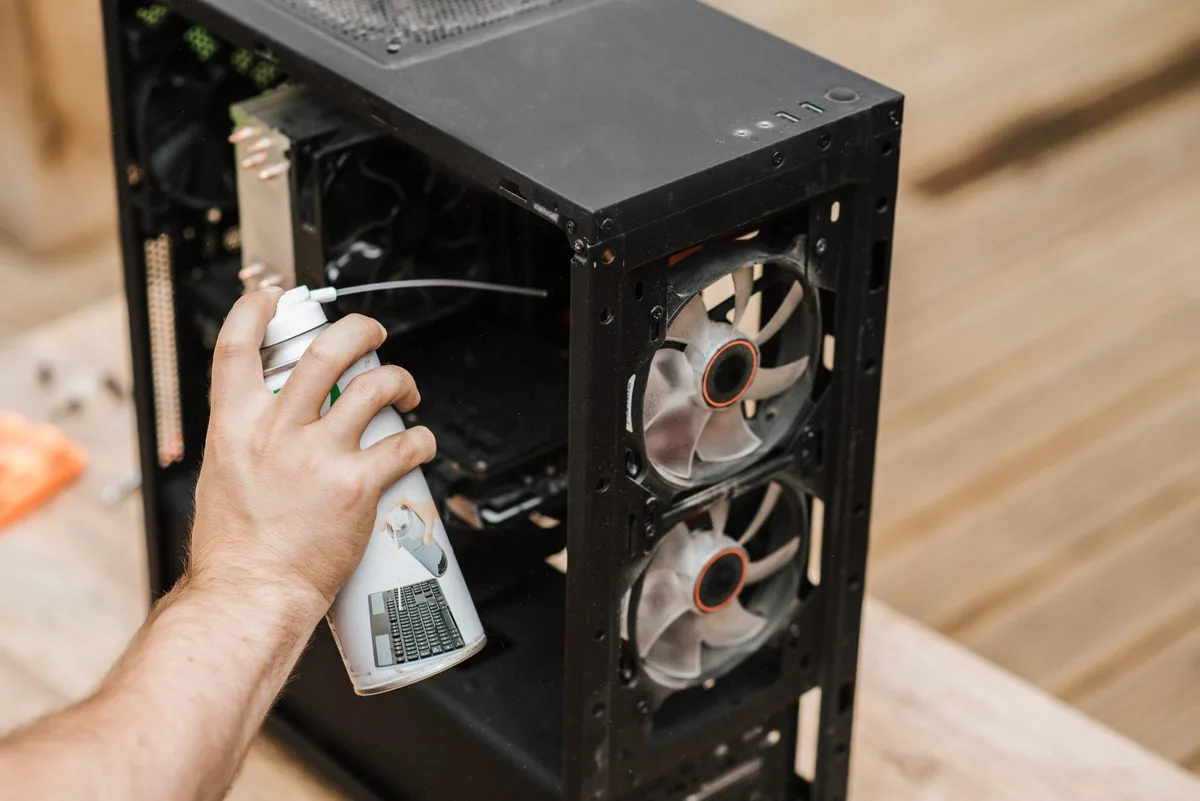
- Blow out loose dust. Hold the compressed‑air can upright. Use short bursts aimed at vents, seams, and the control panel. Keep the nozzle a few inches away to avoid freezing sensitive parts.
- Brush the exterior. Sweep the soft‑bristle brush across the entire housing. Pay special attention to the base’s rubber feet and the area where the jar sits.
- Vacuum if needed. Run the brush attachment over the same surfaces to capture what the brush missed.
- Tackle sticky spots. Dampen a corner of a microfiber cloth with isopropyl alcohol. Wipe only the stained area, never the whole base. Alcohol evaporates fast and leaves no residue.
- Clean buttons and ports. Dip a cotton swab in alcohol, squeeze out excess, and trace each button, the speed dial, and the power port. Swap swabs as they get dirty.
- Pick out stubborn crumbs. Use a toothpick or plastic pick to dislodge any food lodged in the jar‑lock recess. Work gently; you don’t want to scratch the plastic.
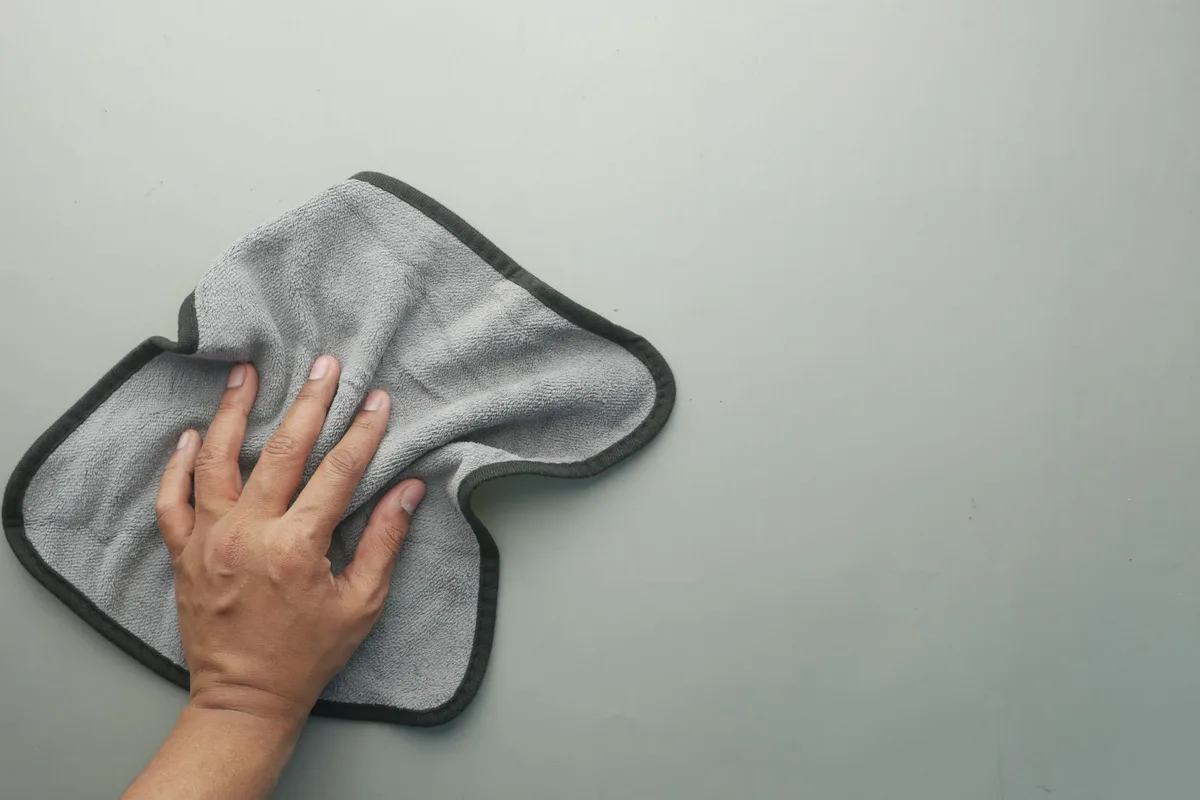
- Final wipe‑down. Give the entire base a once‑over with a dry microfiber cloth. This removes any remaining dust and restores a subtle sheen.
- Reassemble. Once the base is completely dry (alcohol evaporates in seconds), place the jar back on the base and plug in.
Dealing with Stubborn Residue
Sometimes a splash of sauce or a splash of oil bypasses the jar and lands on the base. If alcohol alone won’t cut it, try a dry‑erase method: sprinkle a pinch of baking soda on a dry microfiber cloth, then rub the spot in a circular motion. The mild abrasion lifts the film without scratching.
Follow with a clean dry cloth to remove the powder. Never use abrasive pads, steel wool, or harsh chemicals, they damage the finish and can embed particles that later attract moisture.
Maintaining a Clean Base Long‑Term
Prevention beats deep cleaning every time. Adopt these habits:
- Wipe the jar rim before seating it. A quick swipe with a dry towel stops drips from reaching the base.
- Store the blender with the jar off the base. This prevents condensation from forming between the two surfaces.
- Run a quick brush‑off after each use. Ten seconds of brushing keeps dust from building up.
- Keep the area dry. Avoid placing the blender near a sink splash zone or a steaming pot.
- Inspect the power cord regularly. Frayed insulation is a safety red flag; replace the cord or the unit if you see damage.
Common Mistakes to Avoid
| Mistake | Why It’s Bad | Fix |
|---|---|---|
| Spraying cleaner directly on the base | Liquid seeps into vents | Apply cleaner to cloth first |
| Using a wet sponge | Water pools in seams | Stick to dry or barely damp cloths |
| Ignoring the power port | Corrosion leads to failure | Clean port with a dry swab monthly |
| Scrubbing with abrasive pads | Scratches harbor bacteria | Use only soft brushes and microfiber |
| Plugging in before fully dry | Short‑circuit risk | Wait a minute after alcohol wipe |
FAQ
Can I use a disinfecting wipe?
Only if the wipe is almost dry. Squeeze out excess liquid, then follow with a dry microfiber pass.
Is compressed air safe for the motor?
Yes, as long as you keep the can upright and use short bursts. Never invert the can; liquid propellant can spray onto components.
How often should I deep‑clean the base?
Monthly for heavy users; quarterly for occasional use. A quick brush after every session keeps the deep clean easy.
What if the base smells burnt?
Unplug immediately. A burnt odor usually signals motor overheating or electrical fault. Contact the manufacturer or a qualified repair tech, do not attempt to clean a potentially damaged unit.
Closing Thought
A blender base is the heart of the machine. Treat it like any other piece of precision electronics: keep it dry, keep it clean, and it will reward you with years of reliable service. The routine above takes less than five minutes and uses tools you already own.
Stick with it, and you’ll never have to wonder whether a hidden droplet is silently shortening your blender’s life.