Scale builds up fast. Hard water leaves chalky deposits on the jar, the blade hub, and the sensor contacts. That residue dulls flavor, strains the motor, and shortens the machine’s life.
I descale my high‑speed blender every few weeks. It takes ten minutes and costs pennies. Here is the exact process I use.
Why Descale Your Blender
Mineral scale is mostly calcium carbonate. It forms when water evaporates and leaves solids behind. On a blender jar, it creates a rough texture that traps oils and old smoothie particles.
On the blade bearing, it adds friction. The motor works harder. You hear a higher‑pitched whine.
Over time, the seal degrades and leaks. Regular descaling prevents all of it. It also keeps your warranty valid, most manufacturers list mineral damage as user neglect.
Signs Your Blender Needs Descaling
Look at the jar in bright light. A cloudy film that won’t wipe off is scale. Feel the inside with a fingertip.
Rough, sandy patches mean buildup. Check the blade assembly. White crust around the gasket or on the drive socket is a dead giveaway.
Performance clues matter too. If the motor labors on ice or frozen fruit, scale might be binding the bearing. A lingering metallic taste in water blends is another red flag.
What You Need
Gather these before you start. Distilled white vinegar (5% acidity). Food‑grade citric acid powder (optional, works faster on heavy scale).
A soft bottle brush. A microfiber cloth. Warm water.
A small bowl for soaking the blade assembly. Rubber gloves if you have sensitive skin. That’s it.
No special cleaners. No abrasive pads. They scratch the Tritan or polycarbonate and create more surface area for future scale.
Method 1: The Vinegar Soak (Standard)
Fill the jar halfway with warm water. Add one cup of white vinegar. Secure the lid.
Run the blender on low for thirty seconds. This coats every interior surface. Let it sit for thirty minutes.
For heavy buildup, extend to two hours. The acid dissolves the calcium carbonate. You will see fizzing, that’s the reaction.
After the soak, dump the solution. Scrub the jar with the bottle brush. Pay attention to the measurement markings and the bottom edge where the blade seats.
Rinse until the vinegar smell vanishes.
Method 2: The Citric Acid Cycle (Alternative)
Citric acid is stronger by weight and leaves zero odor. Dissolve one tablespoon of powder in a half‑jar of warm water. Run the blender on high for one minute.
The vortex drives solution into the blade hub and sensor ring. Let it sit fifteen minutes. Dump, scrub, rinse.
This method shines on stainless‑steel blade assemblies. It also polishes the metal to a dull shine. I keep a small tub of citric acid under the sink for this exact job.
Method 3: Hot Water Flush (Heavy Buildup)
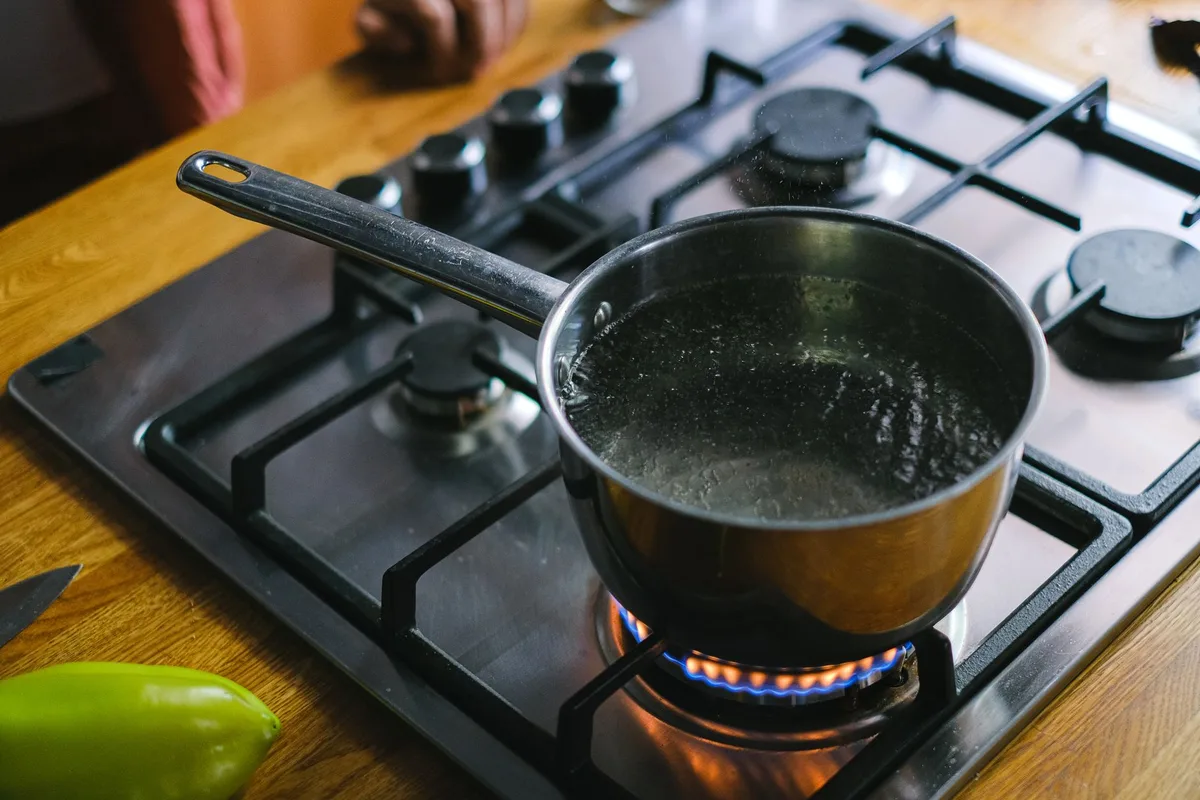
Image source: Pexels / Anna Shvets (Pexels License)
Heat water until it steams, not a full boil, just off‑simmer. Pour it into the jar up to the max line. Add a splash of vinegar or a teaspoon of citric acid.
Run the blender on the highest setting for two minutes. The heat accelerates the chemical reaction. The steam softens crusty deposits around the lid vent and handle crevices.
Wear an oven mitt when you remove the lid; pressure builds fast. Dump carefully. Scrub and rinse.
This is my go‑to when I’ve neglected the machine for a month.
Cleaning the Blade Assembly & Gasket
Scale loves the gasket groove. Remove the blade base from the jar (consult your manual, some twist off, some need a tool). Drop the assembly into a bowl of straight vinegar.
Soak ten minutes. Use an old toothbrush to clean the threads, the gasket channel, and the tiny holes around the bearing. Rinse the gasket separately.
Inspect it for cracks. A brittle gasket leaks. Replace it annually or at the first sign of flattening.
Reassemble dry.
Cold Water Rinse & Dry
Finish every descaling with a cold‑water blast. Fill the jar with ice and cold water. Pulse three times.
The thermal shock dislodges any remaining microscopic crystals. It also cools the jar fast so you can dry it immediately. Dump the ice water.
Spin the jar upside down on a rack. Wipe the exterior, base, and control panel with a damp microfiber. Never submerge the motor base.
A dry machine prevents mold on the coupling gear.
Maintenance Tips to Prevent Scale
Rinse the jar immediately after every use. Don’t let smoothie sit. Dry the jar upside down, standing water evaporates and leaves minerals.
Use filtered water for blends if your tap is very hard. Once a month, run a plain water cycle on high for thirty seconds. It flushes the bearing before scale hardens.
Store the jar without the lid sealed. Airflow stops condensation. If you live in a hard‑water zone (over 120 ppm), descale every two weeks.
The Water Quality Association publishes a hardness map by ZIP code, check yours.
FAQ
Can I use lemon juice instead of vinegar?
Yes. Use the juice of two lemons per half‑jar of water. It works but costs more and leaves pulp you must strain.
Is descaling safe for all blender jars?
Glass, Tritan, and stainless steel handle acid fine. Polycarbonate can cloud over years of aggressive acid soaks. Stick to shorter vinegar soaks for older polycarbonate jars.
My blender has a self‑clean cycle. Does that descale?
No. Self‑clean uses water and a drop of soap. It removes oils, not mineral scale.
You still need acid.
The cloudy film won’t come off. Now what?
That’s etching, not scale. Acid cannot fix etched plastic. The jar is still safe, just ugly.
Replace it when the look bothers you.
How do I clean the base coupling gear?
Unplug the base. Wipe the drive socket with a vinegar‑dampened cotton swab. Dry instantly.
Never spray liquid near the motor vents.
Can I put the jar in the dishwasher after descaling?
Top rack only, no heated dry. High heat warps the gasket and stresses the blade bearing. Hand washing extends jar life.
Descaling is maintenance, not repair. Do it regularly and your blender stays quiet, powerful, and leak‑free for years. Skip it and you’ll be shopping for a new jar, or a new motor, sooner than you expect.
1 thought on “How to Descale a Blender”