There is nothing worse than pulling a slice of bread from your toaster only to find one side is burning while the other is still pale and soft. It is frustrating. You are hungry.
And now you have to scrape off the charred bits or accept uneven results.
Toast should be consistent across the entire surface. Every bite needs that perfect crunch without a single burnt corner or soggy patch in the middle. Achieving this consistency isn’t just about luck.
It comes down to understanding how your toaster works and making small adjustments that make a big difference.
This guide covers everything you need to know. You will learn why toast comes out uneven in the first place. You will discover practical steps to fix the problem.
And you will walk away with habits that keep your toast golden and uniform every single time.
Why Does Bread Toast Unevenly in the First Place?
Uneven toasting usually comes down to three main culprits. The first is bread placement. If the slice isn’t sitting flat in the slot, one side sits closer to the heating element.
Heat hits that side faster. The result is an asymmetric bake.
The second culprit is your toaster’s heating elements. Older units develop hot spots over time. Some coils degrade faster than others.
That means certain areas of the slot receive more radiant heat than the rest. The bread responding to those intense zones browns quicker and may burn before the cooler zones finish their work.
The third factor is moisture content. A frozen slice straight from the freezer behaves differently than a room-temperature loaf. Ice crystals inside the bread turn to steam slowly.
That steam pockets can prevent direct heat from reaching certain areas, creating pale patches surrounded by well-browned sections. Slices that are too thick also trap more moisture and take longer for heat to penetrate evenly.
Understanding these root causes helps you target the right fix. You won’t waste time adjusting settings that aren’t actually the problem.
Choosing the Right Bread for Even Toasting
Not all bread toasts the same way. Dense sourdough holds up beautifully to high heat. It crisps evenly and resists burning.
Light commercial white sandwich bread, however, has a softer crumb and thinner crust. It scorches fast and often develops inconsistent browning unless you dial the setting down.
Fresh bakery loaves present their own challenge. They carry more internal moisture than presliced supermarket bread. That extra water slows heat transfer through the center, which is why the edges sometimes overbrown before the middle catches up.
Lightly toasting such bread on a medium setting solves the issue better than cranking the dial to high and hoping for the best.
Frozen bread demands special attention. Never toast bread straight from the freezer on a high setting. Use the defrost function first if your toaster has one.
If your unit lacks a defrost cycle, run it on the lowest setting, then give it a quick second pass on a slightly higher setting. This gentle two-stage approach drives off surface moisture without charring the exterior.
For the most reliable results, pick bread that is uniformly thick. Slices cut from the middle of a loaf tend to be even in height and width. Those from the crust ends may be thinner on one edge and thicker on the other, leading to uneven heat exposure.
Setting Up Your Toaster for Consistent Results
Before you even load the bread, check a few things. Make sure your toaster sits on a flat, stable surface. A wobbly counter causes the appliance to tilt slightly.
That tilt shifts the bread against one side of the slot instead of resting centrally between the coils.
Clean the crumb tray regularly. Built-up crumbs underneath old ones insulate the lower heating elements. That insulation raises the temperature near the bottom of the slot and forces the top of your bread to overcompensate.
Empty the tray weekly if you toast daily. Monthly cleaning is a must if you go longer between runs.
Check the lever action. The lever should drop smoothly and stay engaged without sticking. A sticky lever sometimes releases early, cutting the cycle short and leaving the center underdone while the edges already browned.
If the lever feels stiff, unplug the unit and gently vacuum around the slot openings. Do not insert any metal objects into the slots.
Adjust your browning control with purpose. Start at a mid-level setting if you are unsure. Three out of five or four out of seven is a good baseline for most everyday bread.
You can always run another quick cycle. Going too dark on the first attempt creates bitterness you cannot undo.
Proper Bread Placement Technique
Where and how you position the bread inside the slot matters more than most people realize. Slide the slice in gently. Let it settle flat against the guides.
Do not bend or fold the bread to force it into place. Bent slices press one edge harder against the coil and leave another edge hanging loose.
If you are toasting two slices at once, space them evenly within their respective slots. Avoid tilting one slice toward the other. Both slices need direct exposure to their heating elements without obstruction.
Stacking slices in a single slot guarantees a disaster. The inner surfaces never see radiant heat directly and end up steamed rather than toasted.
Bagels deserve their own positioning note. Cut them flat side outward whenever possible. The flat face absorbs more radiant energy efficiently.
A rounded bagel half faces its curved skin toward the coils, and the heat has to travel farther through air gaps before reaching the flesh. That delay produces uneven browning.
Thick-cut artisan bread often benefits from being laid at a slight angle rather than perfectly vertical. Tilting it about ten degrees lets the slice sit flush against both sides of the slot simultaneously. The contact points stabilize the bread and reduce shifting during the cycle.
Just ensure the slice still drops freely when you release the lever.
The Defrost and Reheat Functions You Should Be Using
Many toasters come with a defrost button. That button extends the cycle automatically. It adds time at a lower effective heat level to thaw frozen bread before browning begins.
Using defrost rather than simply lowering the browning dial achieves better results. The elongated low-heat phase brings the interior up to temperature gradually. By the time browning ramps up, the entire slice shares roughly the same starting point.
The reheat function works differently. It runs the coils briefly at a low setting without triggering the browning threshold. Use reheat for day-old bread that has gone stale but does not need additional color.
Stale bread retains moisture poorly and benefits from gentle warming before any aggressive toasting.
A practical workflow for frozen bread looks like this:
Defrost cycle first. Wait for the pop. Inspect the slice.
If it looks pale but thoroughly warmed through, run a brief high-setting pass. If it is already close to your desired color after defrosting, skip the second pass entirely.
Working through the two functions separately prevents the common mistake of running a long high-heat cycle on frozen bread. The outside carbonizes before the inside thaws. That combination yields a crust that tastes acrid alongside a cold, doughy center.
Cleaning Your Toaster for Optimal Heat Distribution
A clean toaster distributes heat more evenly than a neglected one. Old crumbs compact into dense layers under the coils. Those layers act as thermal barriers.
Heat cannot radiate uniformly through them, so the zones above clean slots run hotter than the zones above packed crumb beds.
Unplug the toaster before any cleaning. Turn it upside down over the trash can and give it a firm shake. Run a soft brush along the slots to loosen adhered particles.
For stubborn residue, use a dry cloth wrapped around a wooden chopstick or a non-metallic utensil handle. Never use metal tools. Metal can damage the coil coating and create electrical hazards.
Wipe the exterior with a damp cloth and mild detergent. Dry it thoroughly before plugging back in. Moisture left inside the housing can affect electrical components and alter how the coils respond over time.
Monthly deep cleans keep performance steady. A toaster that has gone six months without a crumb removal tends to show visible browning inconsistency. You will notice darker edges and lighter centers more often.
Regular maintenance is the cheapest insurance policy against uneven toast.
Adjusting Timing and Settings for Different Bread Types
Different breads require different approaches. Here is a quick reference guide:
Light white sandwich bread. Set the dial to two or three. Check after the first cycle.
Add ten seconds if needed.
Whole wheat bread. Set the dial to three or four. Whole grains brown faster than refined flour because the bran and germ contain oils that caramelize quickly.
Watch closely to avoid overshooting.
Sourdough. Set the dial to four or five. The tangy crust and dense crumb handle moderate heat well.
Aim for a deep golden tone rather than dark brown.
Bagels. Cut side out. Set the dial to three or four.
Bagels have thick interiors that need sustained heat to toast through without scorching the cut surface.
English muffins. Split them open. Set the dial to three.
The nooks and crannies trap crumbs easily, so keep the heat moderate and clean the tray frequently.
Frozen waffles. Use the defrost function first. Follow with a normal cycle at setting three.
Skipping defrost leaves the center icy while the exterior burns.
Pita bread. Lay the pocket open flat. Set the dial to two.
Pita crisps almost instantly and can go from perfect to leather-like in seconds.
Using a Thermometer to Check Toast Doneness
Some serious toast makers swear by using a thermometer to verify internal temperature. A digital instant-read thermometer gives you objective data instead of guesswork. Target an internal temperature of around 180 to 200 degrees Fahrenheit for properly toasted bread.
Below that range, the crumb retains too much moisture and feels gummy. Above 210, the structure begins drying out excessively.
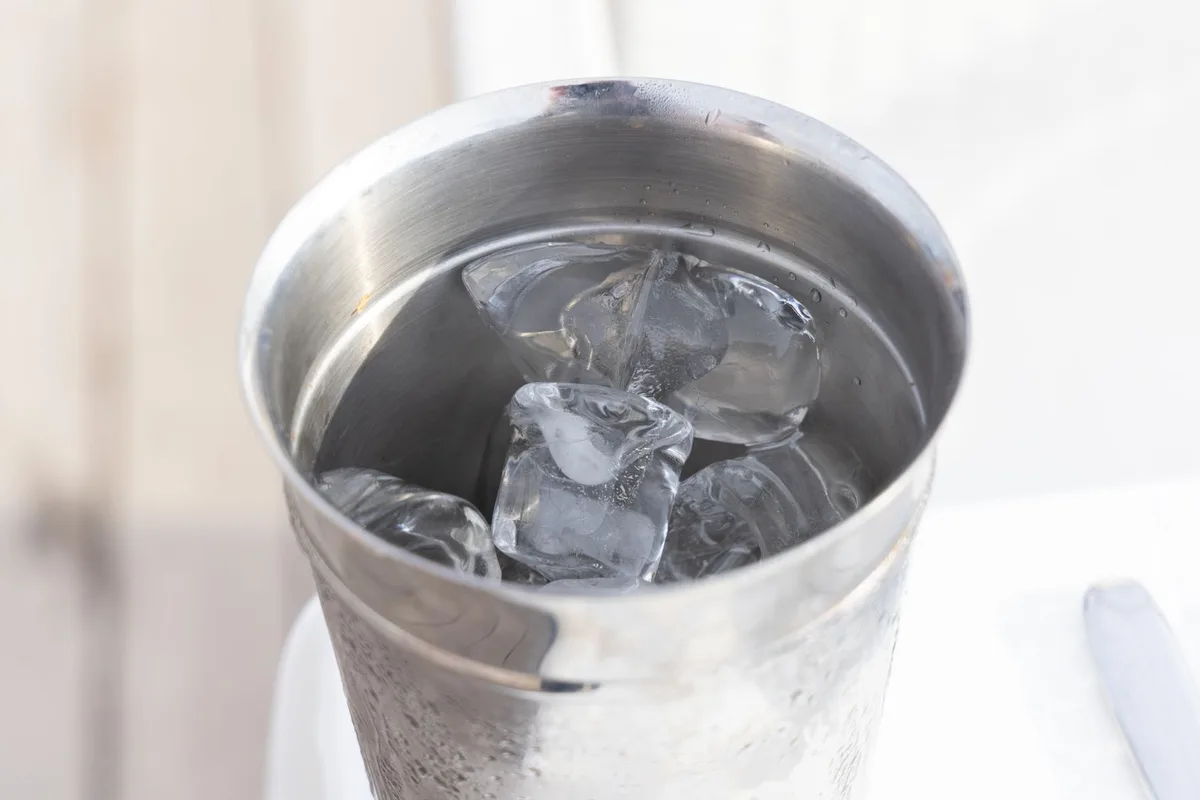
Image source: Pexels / Engin Akyurt (Pexels License)
To use this method effectively, insert the probe into the thickest part of the slice immediately after the cycle ends. Hold it there for three to five seconds until the reading stabilizes. Record the number.
If it reads low, run another thirty-second cycle and test again.
Calibrating your thermometer periodically ensures accuracy. Fill a glass with ice water. Stir gently.
Insert the probe. The reading should sit at or very near thirty-two degrees Fahrenheit. Adjust according to the manufacturer’s instructions if it does not.
An uncalibrated thermometer gives false confidence and leads to repeat under-toasting.
Common Mistakes That Ruin Even Toasting
Avoid these pitfalls and your results improve dramatically.
Overcrowding the slots. Trying to toast three slices in a two-slot toaster forces stacking. Stacked bread blocks radiant heat from reaching inner surfaces. Each slice ends up steamed against the one below it.
Always stick to one slice per slot.
Assuming higher is better. Pushing the browning dial to the maximum setting does not produce superior toast. It produces char. High heat shocks the exterior before moisture has escaped the interior.
The bread ends up black on the outside and damp inside.
Ignoring the crumb tray. We touched on this earlier, but it bears repeating. Neglected crumb trays are the silent killer of even browning. Compacted debris insulates coils unpredictably.
The resulting hot and cool patches scatter your toast quality randomly.
Opening the lever mid-cycle. Pulling the lever up halfway through running a cycle interrupts the heat pattern. The exposed portion stops receiving radiant energy immediately. The shaded portion continues baking longer once you reset the lever.
The result is a gradient from undercooked to overcooked across the same slice.
Using butter or spread before toasting. Spreading anything on bread before it enters the toaster invites drips onto the coils. Butter burns onto hot metal and smokes. The smoke deposits onto nearby surfaces, including the next slice you toast.
That flavor contamination ruins the clean taste of plain toast. Always spread after toasting.
Advanced Tips for Professional-Grade Toast
Once you have mastered the basics, these refined techniques push your results into restaurant territory.
Toast bread slightly stale. Freshly sliced loaf traps too much moisture. Leaving bread uncovered on a rack for several hours or overnight draws out surface humidity.
Drier bread crisps faster and more uniformly because heat meets less resistance traveling through the crumb.
Rotate thick slices halfway through. If your toaster model allows safe manual intervention, flip the bread after about sixty seconds. This exposes the opposite face to the coils and balances browning on both sides.
Only do this if the lever stays engaged and the slice remains secure. Never attempt it with a toaster that automatically ejects at cycle completion.
Use the pause feature wisely. Many modern toasters include a cancel or pause button. Pressing it stops the cycle instantly.
You can lift the lever, inspect the toast, adjust expectations, and restart if needed. This feedback loop prevents overcooking better than any fixed timer.
Keep a log of successful settings. Write down which dial number worked best for each bread type you own. Over time you build a personal cheat sheet.
The next time you grab that particular sourdough batch, you already know exactly where to set the knob. No trial and error required.
Troubleshooting Persistent Uneven Toast
If you have followed every recommendation and your toast still comes out uneven, the problem likely lies with the appliance itself.
First, test both slots independently. Toast a plain slice in the left slot and another in the right. Compare the results.
If one side consistently outperforms the other, that slot’s heating element may be failing or partially broken. Contact the manufacturer. Many toasters carry warranties covering coil defects.
Second, check for warping. Place the empty toaster on a flat countertop. Look down into each slot.
The rails should appear parallel and level. Warped housings shift bread out of alignment and change the distance between the slice and the coils. An out-of-spec toaster should be replaced rather than repaired in most cases.
Third, consider age and wear. Toasters typically last three to seven years depending on usage frequency and build quality. Coils degrade gradually.
Insulation materials break down. Electronic controls drift. If yours is past its prime and troubleshooting hasn’t helped, investing in a new unit with even heating design is smarter than continuing to fight diminishing returns.
Final Thoughts on Mastering Even Toast
Even toasting is achievable once you treat the process with intention. Pick the right bread. Position it correctly.
Clean your machine. Dial in the setting. Avoid shortcuts that compromise heat distribution.
The gap between mediocre toast and excellent toast is usually just a matter of awareness. You now understand what causes uneven browning and how to counter each cause. Apply these steps consistently and your morning routine improves measurably.
A perfectly toasted slice takes seconds to make but minutes to appreciate. The crunch sounds right. The color is uniform.
The flavor is clean. That is the standard worth aiming for every time you press down the lever.