Image source: Pexels / Hawksbill.24 (Pexels License)
I’ve been cooking with silicone for over a decade. And I’ll be honest, I made plenty of mistakes early on. I melted a spatula.
I ruined a batch of muffins because I didn’t adjust the baking time. I nearly tossed an entire set because I thought the “non-stick” claim was a lie.
Turns out, I was using them wrong.
Silicone cookware is brilliant when you know how to handle it. It’s flexible, durable, and genuinely non-stick. But it’s not invincible.
And it definitely doesn’t behave like metal, glass, or ceramic.
If you’ve bought silicone bakeware or utensils and felt confused, frustrated, or disappointed, this guide is for you. I’ll walk you through exactly how to use silicone cookware, from first use to daily care, so you get the results you paid for.
What Is Silicone Cookware, Really?
Before we talk about using it, you need to understand what silicone is. And what it isn’t.
Silicone isn’t plastic. It’s a synthetic rubber made from silicon (a natural element found in sand), oxygen, carbon, and hydrogen. The FDA has approved food-grade silicone as safe for cooking.
It doesn’t leach chemicals into food, and it won’t rust or corrode.
What makes silicone special is its flexibility and heat tolerance. You can bend a silicone muffin pan into a pretzel shape, and it snaps right back. You can freeze it.
You can boil it. You can bake it.
But here’s the catch, not all silicone is created equal. Cheap, low-quality silicone often contains fillers that make it less durable and less heat-resistant. That’s why buying from reputable brands matters.
The U.S. Food and Drug Administration regulates food-contact materials, including silicone. Look for products labeled “100% food-grade silicone” or “LFGB certified” (a strict European standard).
If a silicone product smells like plastic or has a greasy feel, put it back on the shelf.
Before You Use Silicone Cookware for the First Time
You just unboxed a shiny new silicone baking mat or a set of colorful spatulas. The temptation to use them immediately is strong. Don’t.
First-use prep is dead simple, but it matters.
Wash it first. Even though silicone is non-porous and doesn’t absorb much, manufacturing residue can linger. Wash your new silicone cookware in warm, soapy water. Use a soft sponge, no steel wool or abrasive scrubbers.
Rinse thoroughly and dry with a clean towel.
Bake off the factory smell. Some new silicone items have a faint rubbery odor. It’s harmless, but it can transfer to food. Pop your silicone bakeware in a 350°F (175°C) oven for 10, 15 minutes before first use.
That burns off any residual manufacturing compounds. Let it cool, wash again, and you’re good to go.
Skip the oil. Most silicone cookware is naturally non-stick. You don’t need to grease it before first use. In fact, oiling silicone unnecessarily can create a sticky residue over time.
Are Silicone Cooking Utensils Heat Resistant?
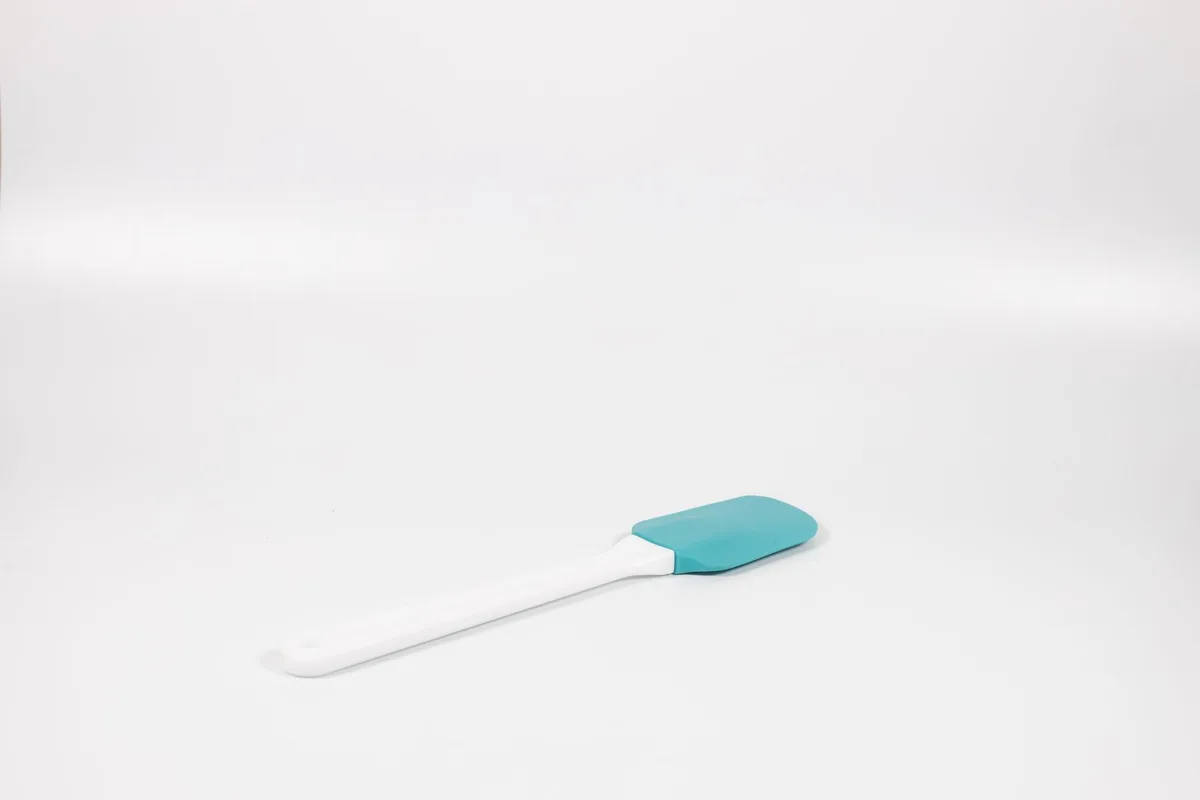
Image source: Pexels / Chris Flaten (Pexels License)
This is the number one question I get from readers. And I’ve tested it myself, with a thermometer and a ruined spatula (for science).
Yes, silicone cookware is heat-resistant. But the limits matter.
High-quality food-grade silicone typically withstands temperatures from -40°F to 446°F (-40°C to 230°C). Some premium brands go up to 500°F (260°C). Check your manufacturer’s specs, they’re usually printed on the packaging or the product itself.
Here’s what that means in practice:
- Baking: Safe. Most baking happens between 325°F and 425°F. You’re well within the range.
- Boiling water: Safe. Water boils at 212°F. Silicone laughs at that.
- Deep frying: Risky. Oil temperatures can reach 375°F to 450°F. You’re close to the limit. I don’t recommend silicone utensils for deep frying.
- Direct flame: Never. Silicone will melt or burn if placed directly on a gas burner or under a hot broiler element.
- Microwave: Yes, silicone is microwave-safe. But test it first, put a cup of water in the microwave with the silicone item for 30 seconds. If the silicone feels hot, it’s absorbing microwave energy and shouldn’t be used.
The “twist test” for quality: Pinch and twist a corner of your silicone item. If it turns white, it contains fillers, cheap bulk ingredients that lower heat tolerance. Pure silicone stays the same color when twisted.
If you see white, limit your heat exposure to 350°F or less.
Is Silicone Cookware Non-Stick?
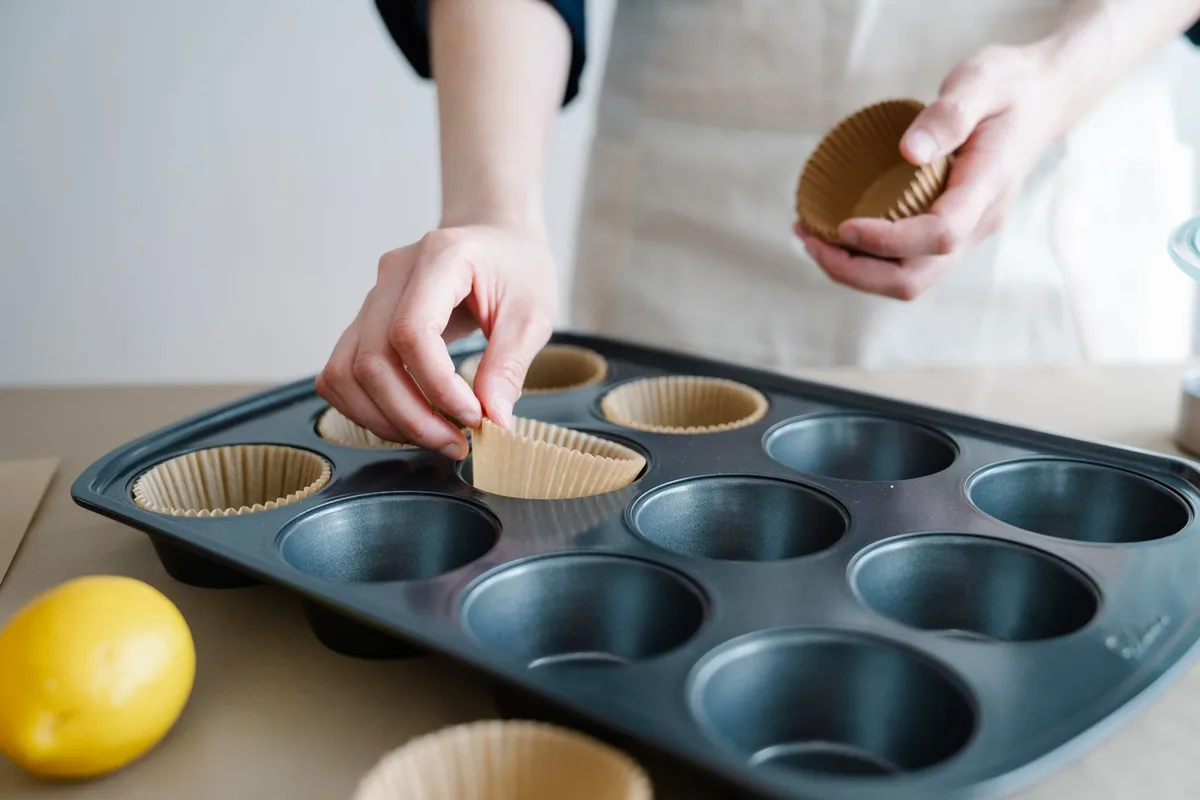
Image source: Pexels / Felicity Tai (Pexels License)
Yes, but it’s a different kind of non-stick than Teflon.
Silicone is naturally non-stick because of its surface chemistry. Food doesn’t bond easily to it. That’s why silicone spatulas scrape bowls so cleanly, and why silicone muffin cups release cakes with a gentle squeeze.
But here’s the thing, silicone non-stick isn’t magic. It works best when you follow a few rules:
Don’t use cooking spray. I know this sounds backward. But cooking spray leaves a gummy residue on silicone that builds up over time. Eventually, your “non-stick” pan becomes sticky.
Use butter, oil, or nothing at all. If you need a release agent, brush on a thin layer of oil.
Let it cool before you pop things out. Silicone bakeware is flexible. When it’s hot, it’s even more flexible. If you try to remove a cake while it’s still piping hot, it can tear or collapse.
Let it cool on a wire rack for 5, 10 minutes. Then gently press the bottom of the mold to release the food.
Place silicone bakeware on a metal sheet pan. Silicone is floppy. A muffin pan or loaf pan made of silicone will wobble and spill batter if you try to carry it when full. Always put silicone bakeware on a sturdy metal baking sheet before filling it.
The sheet provides stability and makes it easier to get in and out of the oven.
How to Use Silicone Bakeware Step by Step
Let me walk you through the exact process I use for silicone baking pans, molds, and mats.
Step 1: Place on a baking sheet. Always. No exceptions. Silicone pans are unstable when full.
Step 2: Fill the mold. Use the same batter or dough you’d use for metal or glass bakeware. No modifications needed.
Step 3: Adjust baking time. This is the biggest gotcha. Silicone conducts heat differently than metal. It’s an insulator, not a conductor.
That means your food may take longer to cook. Start checking at the recipe’s recommended time, but expect to add 5, 10 minutes. For dense batters like brownies, it could be even more.
Step 4: Check doneness with a toothpick. The top of your baked goods may look pale because silicone doesn’t brown food the same way metal does. Don’t rely on visual cues alone. Insert a toothpick, if it comes out clean, it’s done.
Step 5: Cool completely on a wire rack. I mentioned this earlier, but it’s worth repeating. Silicone needs to cool before you unmold. Patience pays off.
Step 6: Flex and release. Gently push the bottom of the silicone mold. The food should slide right out. If it sticks, run a thin spatula around the edge or flex the sides gently.
Can You Use Silicone on the Stovetop?
Short answer: yes, but with major caveats.
Silicone spatulas, spoons, and tongs are excellent for stovetop cooking. They won’t scratch your non-stick pans. They handle high heat well.
They’re soft enough to stir without clanging against the pot.
But silicone pans are not designed for stovetop use. Silicone frying pans and saucepans exist, but they don’t work with direct heat. They’re meant for microwave or oven use only.
If you put a silicone pan on a gas or electric burner, it will warp, melt, or catch fire.
For stirring and flipping: Silicone utensils are perfect. Use them on medium heat. Don’t leave them resting against the side of a hot pan for extended periods, the prolonged contact can degrade the silicone over time.
For searing or high-heat cooking: Use metal or wood. Silicone won’t give you the heat transfer you need for a good sear.
How to Clean Silicone Cookware Properly
Silicone is easy to clean, but it has quirks.
Dishwasher safe? Yes, most silicone cookware is dishwasher safe. But I recommend hand washing for longevity. The high heat and harsh detergents in dishwashers can eventually dull the surface and reduce non-stick performance.
Hand washing method: Use hot water, mild dish soap, and a soft sponge. Silicone is non-porous, so food residue shouldn’t stick. If it does, soak it in warm soapy water for 10 minutes.
For stubborn stains or odors: Silicone can absorb strong smells from garlic, onion, or tomato sauce. To remove odors, boil the silicone item in water for 5 minutes. Or soak it in a mixture of baking soda and warm water.
For stains, make a paste of baking soda and water, scrub gently, rinse.
What not to do:
- No steel wool or abrasive pads, they scratch the surface.
- No bleach or harsh chemicals, they can degrade the silicone.
- No dry heat above 446°F, this includes leaving it in an empty hot oven.
Common Mistakes People Make with Silicone Cookware
I’ve made every mistake on this list. You don’t have to.
Mistake 1: Using silicone bakeware without a sheet pan. Your batter will spill. Your pan will wobble. Your oven will get messy.
Mistake 2: Not adjusting baking time. Silicone takes longer. Plan for it.
Mistake 3: Expecting crispiness. Silicone doesn’t brown or crisp food the way metal does. It’s great for soft cakes, muffins, and breads. It’s terrible for pizza crust or roasted vegetables.
Mistake 4: Cutting on silicone. Don’t use knives directly on silicone cutting boards or mats. You’ll cut into the surface, creating grooves where bacteria can hide.
Mistake 5: Storing silicone folded or crushed. Silicone is flexible, but creasing it repeatedly can cause permanent wrinkles and cracks. Store flat or rolled loosely.
When to Replace Silicone Cookware
Silicone is durable, but it doesn’t last forever. Here’s when to toss it:
- Cracks or tears appear. Any damage to the surface can harbor bacteria.
- It feels sticky or greasy after washing. That’s a sign the silicone has degraded.
- It smells like plastic when heated. Pure silicone doesn’t smell. If it does, the material has broken down.
- It’s more than 5, 7 years old with heavy use. Replace it.
Final Thoughts on Using Silicone Cookware
Silicone cookware is a fantastic tool when you use it right. It’s lightweight, non-stick, and nearly indestructible within its temperature range. It makes cleanup faster and baking easier.
But it’s not a replacement for everything in your kitchen. You still need metal for browning. You still need wood for high-heat stirring.
You still need glass for certain baking tasks.
Know your silicone’s limits. Respect its temperature rating. Use a baking sheet underneath.
Adjust your cooking times. Clean it gently.
Do those things, and your silicone cookware will serve you well for years.
I’ve melted one spatula and stained two muffin pans on my journey. But the silicone items I bought right, the ones I treated properly, are still going strong after five years of weekly use.
That’s the difference between owning silicone cookware and knowing how to use it.