A roaster pan is the workhorse of any kitchen that takes Sunday dinner seriously. It’s a wide, shallow vessel with a tight‑fitting lid, built to hold a whole bird, a rib roast, or a tray of vegetables while the oven does the heavy lifting. The design lets hot air circulate evenly, so meat browns on top while the bottom stays moist.
I reach for mine every time I need a one‑pan meal that feeds a crowd without a mountain of cleanup.
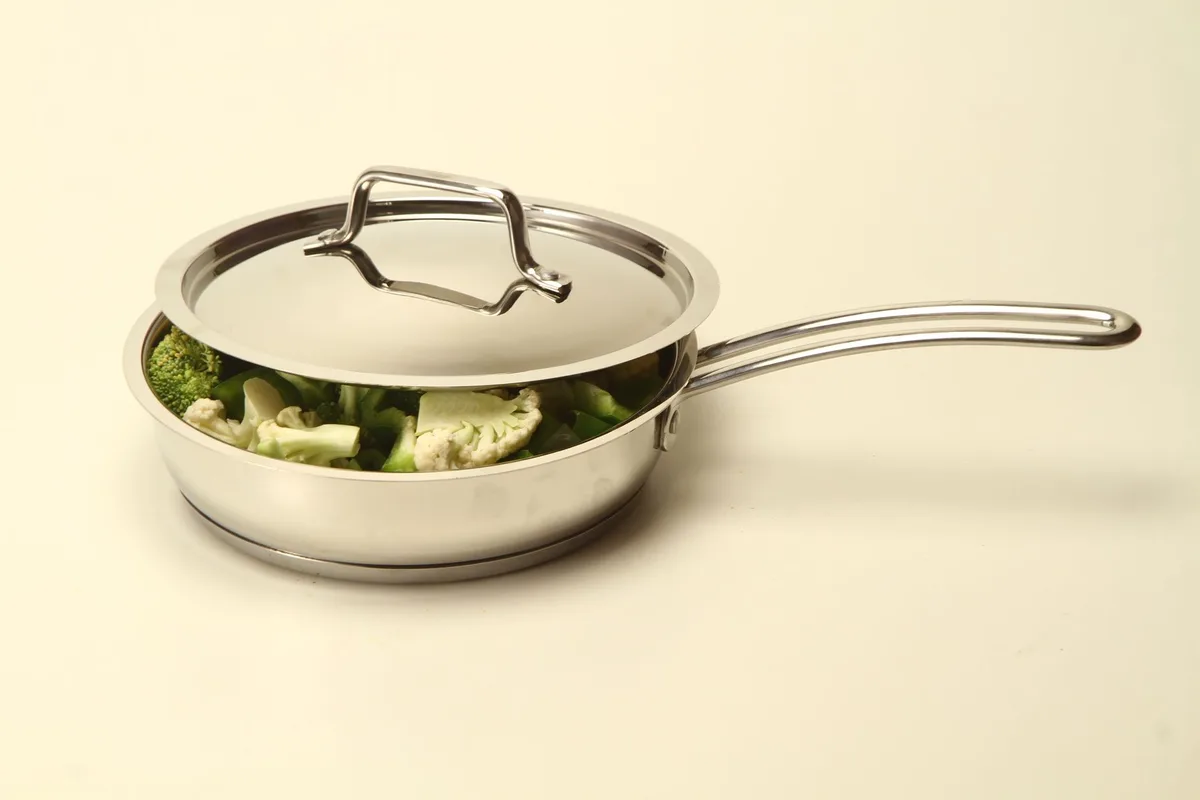
This classic stainless steel roaster is sized for a whole turkey and fits neatly into a standard home oven.
What Is a Roaster Pan?
At its core, a roaster pan is a rectangular or oval metal tray paired with a domed lid. The pan’s low sides expose food to direct heat, while the lid traps steam and prevents splatter. Most models include a removable rack that lifts the protein above the drippings, letting fat render away and making gravy a breeze.
Sizes range from a modest 12‑inch tray for a chicken to a 22‑inch beast that swallows a turkey whole.
Unlike a deep Dutch oven, a roaster pan is built for dry‑heat cooking and large cuts of meat rather than stovetop braising. The low profile matters: it maximizes surface area so hot air can reach the top and sides of the food for even browning. Many cooks keep both on hand, reaching for the roaster when they need breadth and a covered pot when they need depth. If you are comparing shapes, understanding how a covered cooking vessel with a sealed lid behaves can help you decide which one truly fits the way you cook.
Key Parts of a Roaster Pan
The three main components — base, rack, and dome lid — work together to roast, steam, and catch drippings.
Every roaster pan shares three essential components. The base provides the cooking surface and collects juices. The rack, usually stainless steel or coated wire, sits inside the base, raising food for even browning.
The lid seals the cavity, creating a mini‑oven that speeds cooking and locks in moisture. Some premium units add handles that stay cool, a non‑stick coating on the base, or a built‑in thermometer port. Knowing each part helps you spot quality when you shop.
The handles deserve closer attention than most shoppers give them. A loaded 20‑pound turkey can make the pan weigh over 25 pounds, so handles that are too short, too thin, or poorly positioned become a real safety hazard when you’re moving it from oven to counter. Look for handles that are wide enough for two fingers of an oven mitt and securely riveted to the base rather than spot‑welded. In practice, a pan with comfortable handles feels dramatically safer to lift than one with flimsy stamped loops.
Types of Roaster Pans
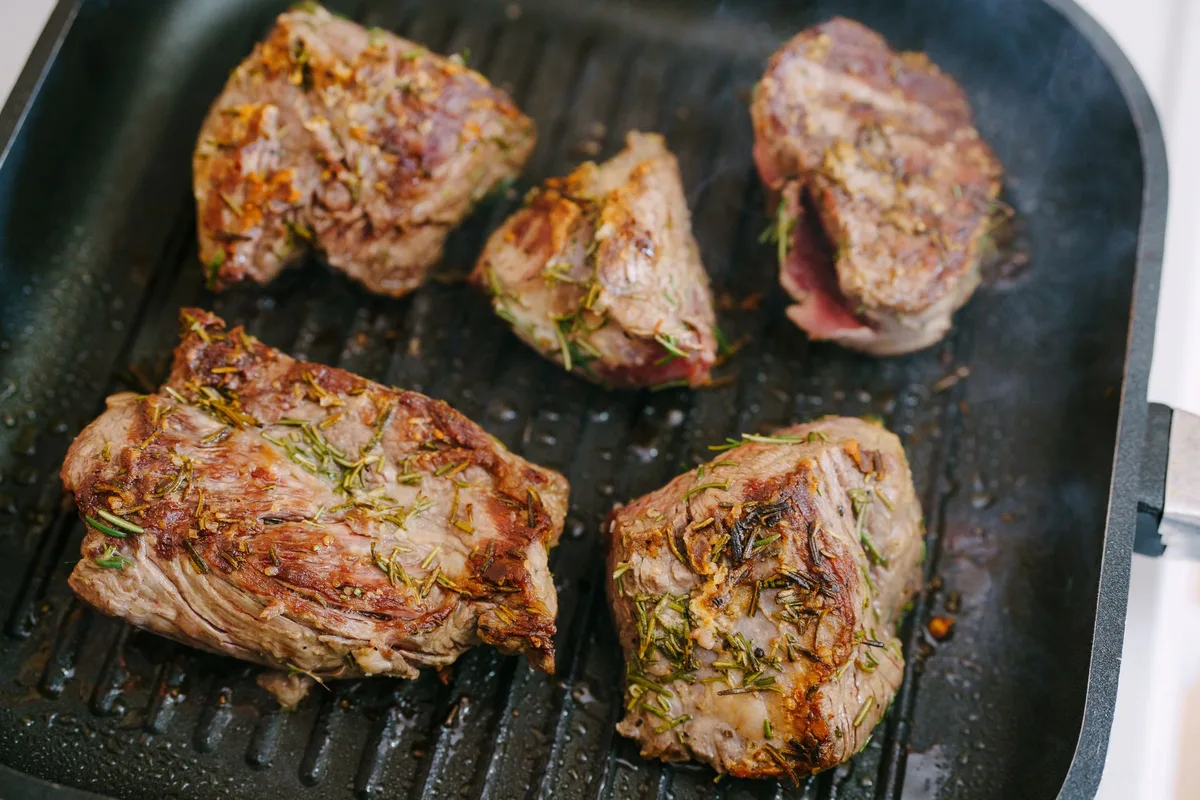
From left: disposable aluminum, non-stick, stainless steel, and enameled cast iron roasters.
Stainless‑Steel Classics
Heavy‑gauge stainless steel distributes heat uniformly and resists warping. It’s dishwasher safe, non‑reactive, and looks professional on the stovetop if you need to deglaze.
Enameled Cast Iron
The enamel coating gives you cast‑iron heat retention without the seasoning chore. Colors add a pop to the table, and the lid’s tight seal makes braising effortless.
Aluminum with Non‑Stick
Lightweight and budget‑friendly, these pans heat fast. The non‑stick layer eases cleanup, but avoid metal utensils to preserve the coating.
Disposable Aluminum
Thin, single‑use trays work for a holiday turkey when you don’t want to scrub a massive pan. They recycle easily but lack the durability for repeat roasts.
Electric Roaster Ovens
Countertop units combine a heating element with a removable pan. They free the main oven for side dishes and often include a temperature probe.
Materials and Construction
Material choice drives performance. Tri‑ply stainless (stainless‑aluminum‑stainless) gives the best heat spread and eliminates hot spots. Cast iron holds heat longest, ideal for low‑and‑slow braises. Hard‑anodized aluminum resists scratches and conducts heat quickly, but it can react with acidic sauces unless coated. Look for riveted handles, welded ones can loosen under a heavy bird. A well‑fitted lid should sit flush; gaps let steam escape and extend cook time.
Aluminum is the most conductive of the common pan materials, which is why budget pans and even many commercial kitchen roasters use it as the core layer. However, bare aluminum can leach a metallic taste into acidic dishes like tomato‑based braises. If you cook those regularly, choose tri‑ply stainless or enameled cast iron instead. For more on the safety profile of different pan surfaces, this explainer on aluminum cookware safety covers what to look for in the materials you cook with daily.
How to Choose the Right Roaster Pan
Start with capacity. A 16‑inch pan handles a 12‑pound turkey; a 20‑inch model covers a 20‑pounder with room for vegetables. Next, weigh the rack.
A sturdy, flat rack prevents the meat from stewing in its own fat. Check handle design: wide, riveted grips let you maneuver a loaded pan with oven mitts. If you deglaze on the stovetop, pick a pan that’s induction compatible.
Finally, consider storage. Nesting lids and removable racks shrink the footprint in a crowded cabinet.
Before you buy, measure your oven’s interior width and height. A 22‑inch roaster may fit in a standard 30‑inch oven, but the domed lid often needs more vertical clearance than you expect. In practice, a common mistake is buying the largest pan available only to discover it blocks the heating element or won’t fit on the middle rack. Take a tape measure to your oven before you shop, and also measure the distance between oven racks so you know whether the lid can sit upright on the upper shelf.
Common Uses Beyond the Holiday Bird
A roaster pan shines year‑round. Roast a sheet‑pan of root vegetables at 425 °F for caramelized edges. Braise short ribs in the oven with the lid on, then finish uncovered for a glossy glaze.
Bake a lasagna or a giant batch of baked ziti, no boiling noodles required. Use the rack to steam a whole fish or a pile of tamales. The collected drippings become the base for a rich pan sauce or a starter for soup stock.
The deep sides and domed lid also make a roaster pan an excellent vessel for no‑knead bread baking. Preheat the covered pan in the oven, then slide in a loaf of dough and bake with the lid on for the first 30 minutes. The trapped steam creates a crackling crust that rivals what you’d get from a dedicated bread cloche. Similarly, a roaster works beautifully for feeding a crowd at a buffet — the lid keeps food warm during serving, and the handles make transport manageable.
If your roaster is non‑stick, you can even use it for gently cooking a big batch of delicate items, like frittatas or stuffed peppers, knowing they’ll release cleanly. For everyday cooking questions on searing or browning in other pans, a guide to getting the most from a stainless steel pan is a handy companion.
Care and Maintenance
Stainless steel pans tolerate a scouring pad and a dash of Bar Keepers Friend for stubborn residue. Enameled cast iron needs only hot water and a soft brush; avoid abrasive cleaners that chip the glaze. Non‑stick aluminum demands silicone or wooden tools and a gentle hand‑wash, dishwasher cycles degrade the coating.
Dry every piece thoroughly before stacking to prevent rust on any exposed steel. Store the rack separately or upside down inside the base to keep air flowing.
If you roast frequently, get into the habit of cleaning the pan while it is still warm, not hot. Letting drippings cool and harden makes the job noticeably harder and can lead to soaking, which is rarely good for any pan. For the occasional burnt‑on mess, fill the cooled pan with warm water and a few drops of dish soap, then let it sit for 15 minutes before scrubbing. Avoid harsh chemical oven cleaners, which can strip the finish from most roaster surfaces. If you manage to scorch a stainless steel roaster, prompt action usually lifts even the worst residue — the same technique that rescues a burnt stainless pan works on a full‑size roaster.
Roasting Techniques for Better Results
Master a few basic techniques and your roaster will pay for itself many times over. Start with these three:
- Trussing for even cooking. Tuck the wing tips under the bird and tie the legs together with kitchen twine. This keeps the bird compact, so it cooks evenly and browns uniformly.
- Starting hot, then lowering the heat. Begin roasting at 425 °F for 20 minutes to sear the skin, then drop the temperature to 325 °F for the remainder. This gives you crisp skin without drying out the breast.
- Resting before carving. Transfer the meat to a cutting board and loosely tent it with foil for 15–20 minutes. This lets the juices redistribute so they stay in the meat rather than pooling on the board.
Resting is the step most home cooks skip, yet it makes the single biggest difference in moisture. While the meat rests, move the roaster to the stovetop to start the pan sauce while the drippings are still warm.
Roaster Pan vs. Other Cookware
Many kitchens already own a few pans that seem similar to a roaster. Here’s when each one wins:
| Feature | Roaster Pan | Dutch Oven | Sheet Pan | Electric Roaster |
|---|---|---|---|---|
| Best for | Whole birds, large roasts | Braises, stews, bread | Vegetables, cookies | Holiday meals, buffet service |
| Oven space needed | Large footprint | Moderate | Large, flat | None (countertop) |
| Heat retention | Moderate | Excellent | Low | Moderate |
| Stovetop safe | Many models | Yes | No | No |
| Typical capacity | 12–22 inches | 5–8 quarts | 13×18 inches | 18–22 quarts |
A Dutch oven braises better because its thick walls hold steady low heat, but its depth limits how much surface area you get for browning. A sheet pan is lighter and easier to store, yet it lacks the depth to catch drippings safely. If you already own a versatile Dutch oven for slow cooking, you can often get away with skipping a roaster — but for whole birds and large holiday roasts, the dedicated pan makes the job noticeably easier.
Frequently Asked Questions
Can I use a roaster pan on the stovetop?
Yes, if the base is magnetic stainless or cast iron. Check the manufacturer’s label for induction compatibility.
Do I need a rack?
A rack improves air circulation and keeps meat out of fat. For a simple vegetable roast you can skip it, but for poultry or roasts it’s essential.
What’s the best way to make gravy from the drippings?
Place the pan over two burners, whisk in flour, then slowly add stock while scraping the browned bits. The wide surface makes reduction fast.
How do I prevent the lid from rattling?
A snug fit is normal. If the lid vibrates, set a folded kitchen towel between lid and pan; it dampens noise without breaking the seal.
Is a disposable aluminum pan safe for a 20‑pound turkey?
It works for a single use, but the thin walls can buckle under weight. Support the pan on a sturdy baking sheet for extra stability.
What size roaster pan do I need for a turkey?
The USDA recommends cooking poultry to an internal temperature of 165 °F for safety. A reliable probe thermometer inserted through the lid’s vent gives you that certainty without opening the oven. As a rule of thumb, allow about 1 to 1.5 inches of clearance on each side of the bird. For a 12-pound turkey, a 16-inch pan works well; for a 20-pound bird, step up to a 20‑inch pan. When in doubt, always size up slightly — a crammed pan cooks unevenly and makes basting awkward.
Can I use a roaster pan instead of a slow cooker?
Yes, for many recipes. Roast low at 250–275 °F with the lid on and you’ll get results close to a slow cooker, but with better browning if you finish the dish uncovered. The main trade-off is energy use: a countertop slow cooker draws less power than a full oven. For unattended all-day cooking, the slow cooker is still more convenient.
A good roaster pan lasts decades. Choose the material that matches your cooking style, size it for the biggest bird you’ll ever tackle, and treat it right. The payoff is golden skin, juicy meat, and a pan sauce that tastes like you spent all day at the stove, even when you didn’t.
Conclusion
A roaster pan is one of the most versatile large-format pans you can own — it handles holiday turkeys, weekend braises, tray-baked sides, and even bread with equal skill. The key is matching the material to how you cook, sizing it for your largest meal, and learning the simple techniques — trussing, starting hot then lowering the heat, and resting — that turn a good roast into a great one. If you’re still using a flimsy disposable tray every Thanksgiving, now is the time to invest in a solid 16‑ or 20‑inch roaster that will serve you for decades. Measure your oven, choose stainless or enameled cast iron for durability, and make this the year you finally get the pan sauce you’ve been chasing.