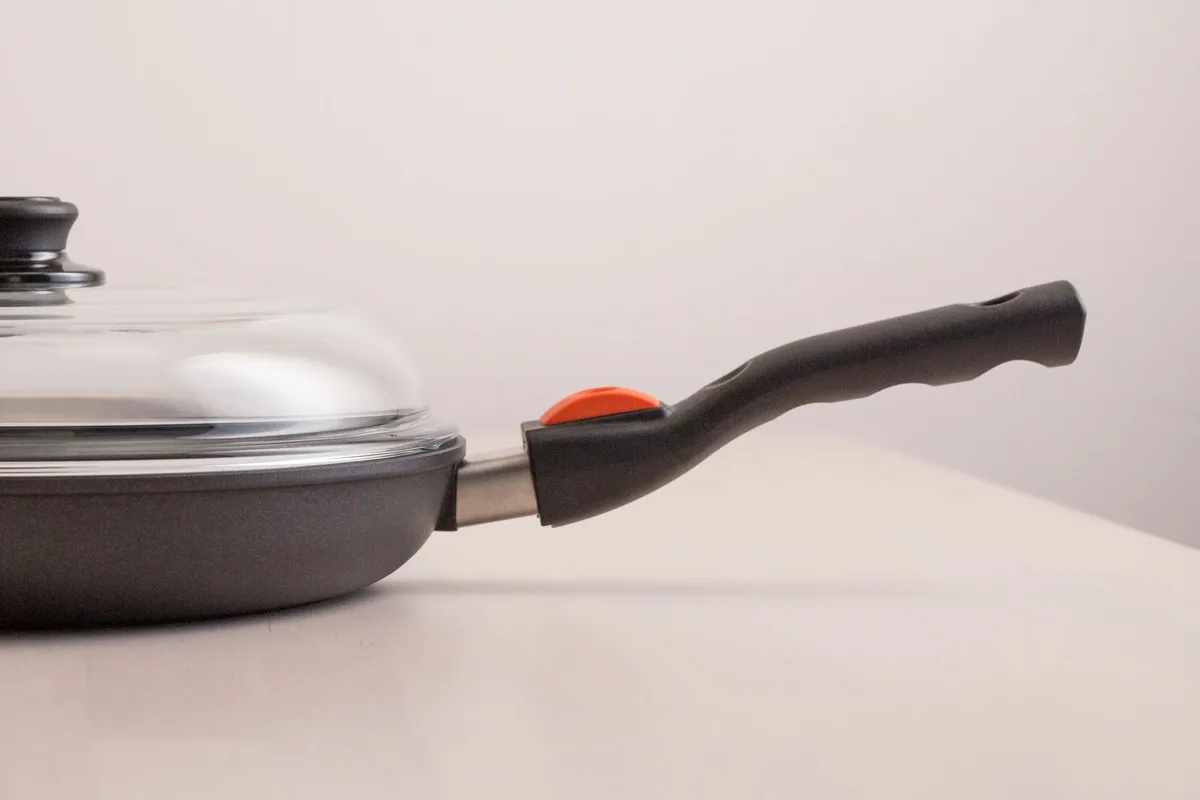
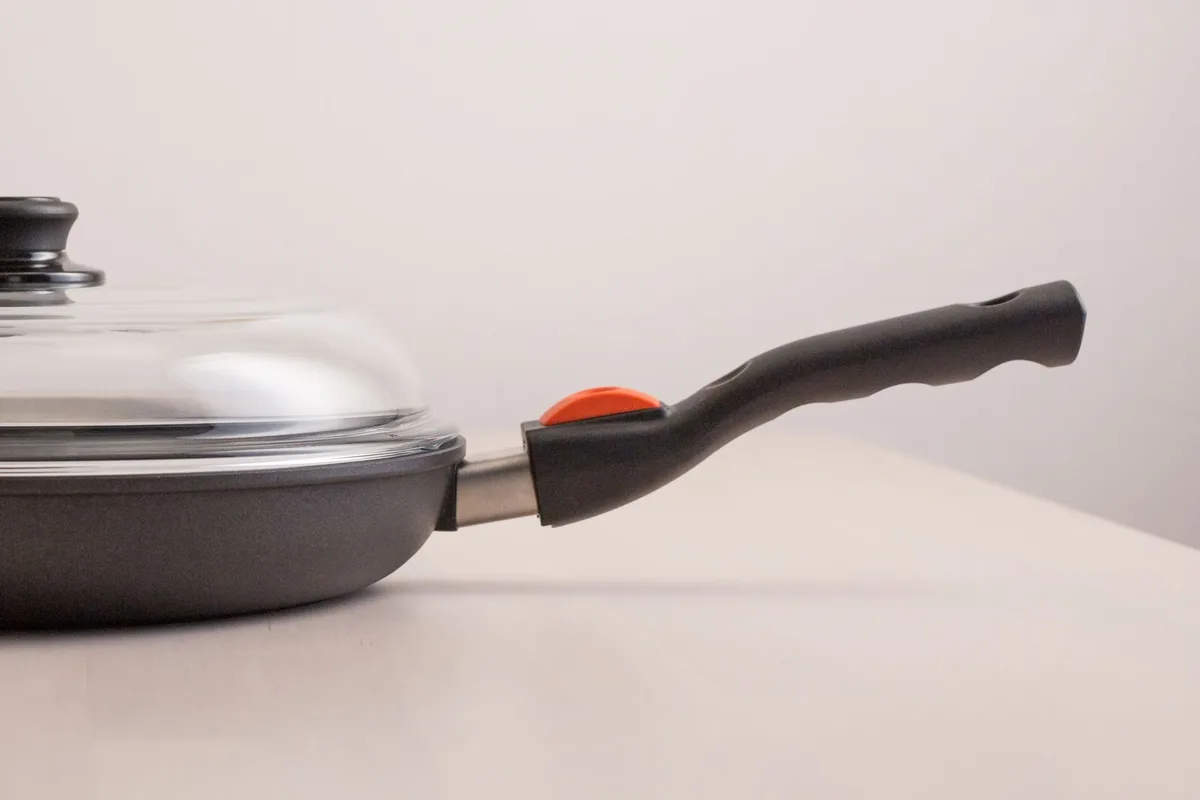
Let me guess. Your once-slick non-stick pan has started sticking. Eggs leave a messy residue.
Pancakes tear instead of flip. You’re wondering if you need to buy a new pan.
Don’t toss it yet.
Seasoning non-stick cookware isn’t about creating a polymerized oil layer like you do with cast iron. The process is different, and simpler. But most people get it wrong.
They either over-oil, under-heat, or use the wrong fat entirely.
I’ve tested this on dozens of pans over the years. I’ve burned, scraped, and ruined a few. But I’ve also brought dead-looking non-stick surfaces back to life.
Here’s exactly how to do it right.
What “Seasoning” Actually Means for Non-Stick Cookware
First, let’s clear up a major confusion point. Seasoning a cast iron pan means baking oil into the metal until it polymerizes into a hard, non-stick coating. That process doesn’t apply to non-stick pans.
Non-stick cookware already has a coating, usually PTFE (Teflon) or ceramic. When I talk about seasoning non-stick, I mean reconditioning the existing coating to restore its slickness. You’re not creating a new layer.
You’re filling microscopic pores and cracks in the coating with oil, then heating it to create a temporary protective barrier.
Think of it like waxing a car. The wax doesn’t become part of the paint. It sits on top, fills tiny imperfections, and makes the surface repel water.
Same concept here.
This matters because non-stick coatings degrade over time. Heat cycles, metal utensils, and abrasive cleaning all take their toll. Seasoning fills those micro-damage points and buys you months of extra life.
Can You Actually Re-Season Non-Stick Cookware?
Short answer: Yes, but only if the coating isn’t physically peeling or flaking.
Here’s the hard truth. If your non-stick pan has visible scratches, chips, or peeling spots, seasoning won’t fix it. The coating is compromised.
Those flakes can end up in your food. Replace the pan.
But if the surface just looks dull, feels rough, or doesn’t release food like it used to? Seasoning works. I’ve saved pans that were on their last legs with this method.
The key is catching it early.
Signs Your Pan Needs Seasoning
- Food sticks even with oil or butter
- The surface looks matte or cloudy instead of glossy
- You see faint scratches or abrasions
- Water doesn’t bead up on the surface anymore
- The pan feels rough to the touch when dry
Any one of these means it’s time to season.
What You’ll Need to Season Non-Stick Cookware
Keep it simple. You don’t need special tools or expensive products.
Essential items:
- Your non-stick pan (clean and dry)
- A high-smoke-point oil
- Paper towels or a soft cloth
- Stove or oven
- Mild dish soap
Oil selection matters. This is where most people mess up. You need an oil with a smoke point above 400°F. Low-smoke-point oils like butter, olive oil, or coconut oil will burn before they help.
They leave sticky, gummy residue that ruins the coating.
Here are oils that work:
| Oil | Smoke Point | Best For |
|---|---|---|
| Avocado oil | 520°F | Best all-around choice |
| Grapeseed oil | 420°F | Good budget option |
| Canola oil | 400°F | Acceptable, not ideal |
| Vegetable oil | 400°F | Works in a pinch |
| Peanut oil | 450°F | Solid choice |
I use avocado oil. It’s neutral, handles high heat, and doesn’t go rancid. Grapeseed is my second pick.
Avoid: Olive oil, butter, coconut oil, flaxseed oil, and any flavored oils. They smoke at low temperatures and leave carbon deposits.
Step-by-Step: How to Season Non-Stick Cookware
I’m giving you the method I’ve refined through trial and error. Follow these steps exactly.
Step 1: Clean the Pan Thoroughly
Start with a spotless pan. Any food residue, grease, or soap film will prevent the oil from bonding properly.
Wash the pan with warm water and mild dish soap. Use a soft sponge or cloth. Never use steel wool, scouring pads, or abrasive cleaners.
They scratch the coating.
Dry the pan completely with a clean towel. Put it on the stove over low heat for 30 seconds to evaporate any moisture you missed.
Step 2: Inspect for Damage
Look at the surface under good light. Run your finger across it. Feel for rough spots.
If you find peeling, flaking, or deep scratches that expose the underlying metal, stop here. Seasoning won’t help. Buy a new pan.
If the surface is intact but just looks tired, move forward.
Step 3: Apply a Thin Layer of Oil
This step separates success from failure. Use the smallest amount of oil possible. Most people use way too much.
Pour about half a teaspoon of oil into the pan. That’s it. Less is more.
Spread it with a paper towel. Rub it over the entire cooking surface. Don’t forget the sides, oil can wick up the walls.
Wipe it around until the pan looks barely damp. You want a sheen, not a puddle.
Now here’s the trick: Wipe it again with a clean paper towel. You’ll think you’ve removed all the oil. That’s exactly what you want. The microscopic layer that remains is perfect.
I can’t stress this enough. Too much oil creates a sticky, uneven surface. It attracts dust.
It burns onto the pan. The thinnest possible layer does the real work.
Step 4: Heat the Pan Properly
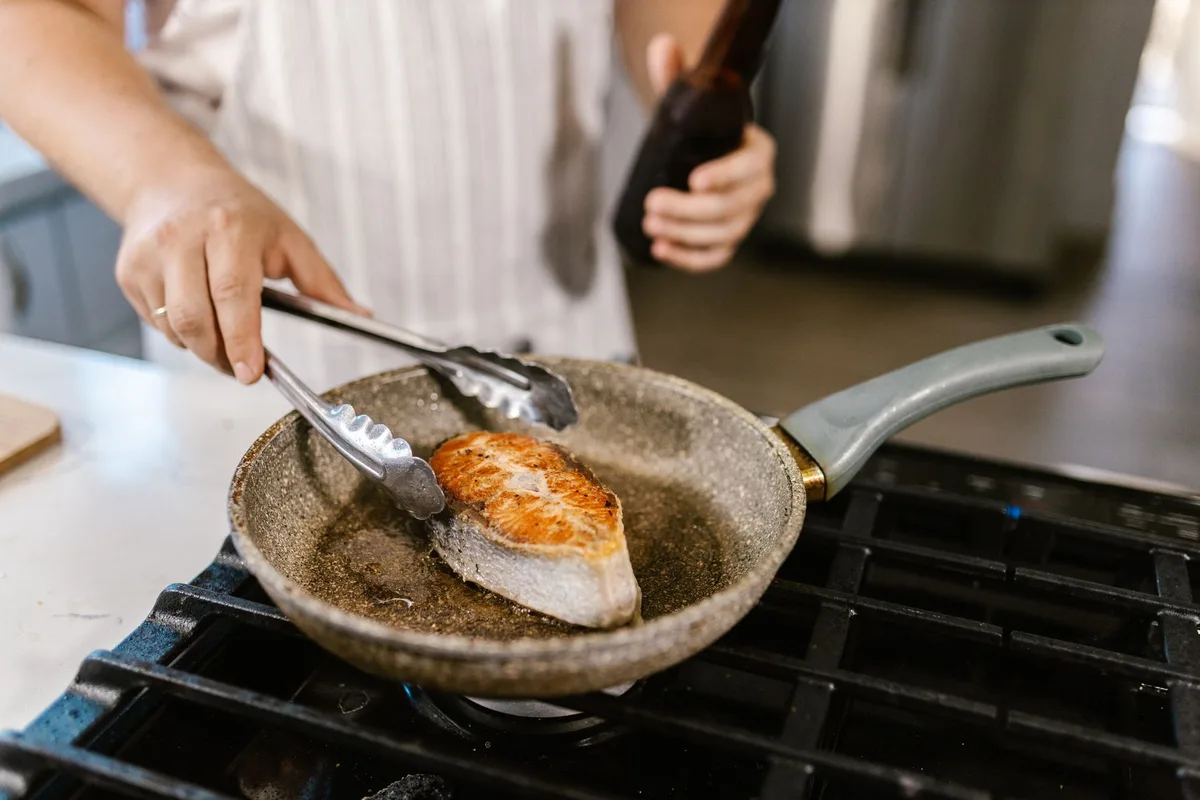
Place the pan on the stove over medium heat. Not high. Medium.
Let it heat for 2 to 3 minutes. You’ll see the oil start to shimmer and then disappear. That’s the oil bonding to the coating.
Watch for smoke. A faint wisp is fine, it means the oil is reaching its smoke point. Thick, billowing smoke means your heat is too high or you used the wrong oil.
Back the heat down immediately.
After 3 minutes, remove the pan from heat. Let it cool completely on the stove or a trivet.
Oven method alternative: Some non-stick pans are oven-safe up to 350°F or 400°F. If yours is, you can season in the oven. Wipe the pan with oil (same thin layer), place it upside down on the middle rack with a baking sheet below to catch drips, and bake at 350°F for one hour.
Let it cool in the oven. This gives more even results.
Check your pan’s manual before trying the oven method. Many non-stick handles aren’t oven-safe.
Step 5: Cool and Wipe Again
Once the pan is completely cool, wipe it one more time with a clean paper towel. This removes any excess oil that didn’t bond.
You’re done. Your pan should look slightly glossy. Run your finger across it.
It should feel smooth, almost slippery.
Step 6: Repeat if Needed
One round of seasoning helps. Two or three rounds build a better layer. If your pan was in rough shape, repeat steps 3 through 5 two more times.
I do three rounds on pans I’m restoring. For regular maintenance, one round after deep cleaning is plenty.
How to Maintain Your Seasoned Non-Stick Pan
Seasoning isn’t permanent. It wears off with use and cleaning. But you can extend it significantly with proper care.
Cleaning Tips
- Let the pan cool completely before washing. Thermal shock warps pans and cracks coatings.
- Wash with warm water and mild soap. Use a soft sponge. Avoid dishwashers, the high heat and harsh detergents strip seasoning.
- Dry immediately after washing. Don’t air dry. Water spots can dull the coating.
- Apply a tiny dab of oil after drying. Rub it in with a paper towel. This maintains the seasoned layer.
What NOT to Do
- Never use cooking spray. Aerosol sprays contain lecithin and propellants that bake onto non-stick surfaces. They create a gummy, impossible-to-remove residue. Hands down the fastest way to ruin a pan.
- Never use metal utensils. Silicone, wood, or nylon only. Metal scratches the coating.
- Never preheat an empty pan on high. Thermal stress degrades the coating. Always add oil or food before turning on the heat.
- Never stack pans without protection. Place a paper towel or pan protector between stacked pans. Metal-to-metal contact scratches coatings.
I learned the cooking spray lesson the hard way. Ruined a perfectly good $80 pan in three uses. Don’t make my mistake.
Common Mistakes When Seasoning Non-Stick Cookware
I’ve seen these errors over and over. Avoid them.
Using too much oil. You end up with a sticky, tacky surface that collects dust and burns. Use barely any.
Using the wrong oil. Olive oil and butter smoke at low temperatures. They leave carbon deposits that feel rough and defeat the purpose.
Heating too fast or too high. High heat degrades non-stick coatings. PTFE starts breaking down above 500°F. Slow and medium is the way.
Skipping the second wipe. You need to remove excess oil before heating. The layer that remains is enough.
Expecting cast-iron results. Seasoned non-stick won’t look or feel like seasoned cast iron. It’s a different process with a different outcome. Your pan will feel smoother and release food better, but it won’t develop that dark, glossy patina.
How Often Should You Season Non-Stick Cookware?
There’s no fixed schedule. It depends on how often you cook and how aggressively you clean.
General guidelines:
- Heavy use (daily cooking): Season every 2 to 3 months
- Moderate use (3-4 times per week): Season every 4 to 6 months
- Light use (occasional): Season once or twice a year
- After any deep cleaning: Season immediately
Pay attention to your pan. When food starts sticking more than usual, it’s time. Don’t wait until the coating looks bad.
Maintenance seasoning is easier than restoration.
Does Seasoning Work on Ceramic Non-Stick?
Yes, but it behaves differently.
Ceramic coatings are more porous than PTFE. They absorb oil more readily. The seasoning effect is more noticeable but also shorter-lived.
Use the same method with one adjustment: heat the pan on low instead of medium. Ceramic is more sensitive to thermal shock. Low heat for 3 to 4 minutes works better.
I find ceramic pans need seasoning every 4 to 6 weeks with regular use. They’re less durable than PTFE, but they don’t have the same health concerns some people worry about with Teflon.
When to Stop Seasoning and Buy a New Pan
Seasoning extends the life of non-stick cookware. It doesn’t fix broken pans.
Replace your pan when:
- The coating is visibly peeling or flaking
- You see bare metal through the coating
- Food sticks even after multiple seasoning attempts
- The pan is warped and doesn’t sit flat on the burner
- The handle is loose or damaged
Non-stick pans aren’t lifetime investments. High-quality ones last 3 to 5 years with proper care. Cheap ones might last a year.
Seasoning adds months, not years.
Don’t risk your health by using a damaged pan. Flaking coating particles can end up in food. No amount of seasoning fixes that.
Final Pro Tips for Long-Lasting Non-Stick
I’ve been cooking on non-stick for over a decade. Here’s what I’ve learned.
Store your pans properly. Hang them if you can. If you stack them, place a paper towel or felt protector between each pan. This prevents scratches from the pan above.
Use the right heat for the job. Non-stick excels at low to medium heat. Pancakes, eggs, delicate fish, and reheating leftovers. Save high heat for stainless steel or cast iron.
Don’t preheat on high. Ever. Put your food in first, then turn on the heat. This protects the coating from thermal stress.
Re-season after every thorough cleaning. If you wash with soap and water, apply a tiny bit of oil afterward. This keeps the seasoned layer intact.
Replace on schedule. Even with perfect care, non-stick coatings wear out. Budget for replacement every few years. It’s worth it for the cooking performance.
For more detailed guidance on cookware care and safety standards, I recommend checking the U.S. Food and Drug Administration’s guidance on cookware materials. They maintain current safety information for non-stick coatings and other cookware materials.
Your Next Steps
Grab your pan. Give it a clean. Pick an oil from the list above.
Apply a thin layer. Heat it gently. Let it cool.
That’s it.
The whole process takes 10 minutes. Your pan will feel noticeably slicker. Your eggs will slide right off.
Your pancakes will flip without a fight.
Seasoning non-stick cookware isn’t complicated. But it requires precision. A little oil.
The right temperature. Patience.
Do it right, and you’ll add months, maybe years, to your pan’s life. Do it wrong, and you’ll make things worse. Follow this guide exactly, and you’ll be cooking on a perfectly seasoned non-stick surface by dinner time.
I’ve walked through this with dozens of friends who thought their pans were ruined. Every single one got better results after one seasoning session. Yours will too.