Blending ice sounds simple, but a few details separate a slushy mess from a perfect snow‑like texture. I’ve tested dozens of machines, and the difference usually comes down to power, blade design, and technique. Get those right and you’ll churn out restaurant‑quality frozen drinks, smoothies, and even homemade sorbet in seconds.

Choosing the Right Blender for Ice
Not every countertop model can handle frozen cubes. Look for a motor rated at 1,200 watts or higher; anything below that will stall or overheat. A heavy‑duty base keeps the jar stable when the blades bite into hard ice.
Blade geometry matters, too, thick, stainless‑steel blades with a slight curve pull ice down rather than letting it spin on top.
Jar shape influences flow. A wide, low‑profile container creates a vortex that drags ice toward the blades. Narrow jars trap air pockets and leave chunks.
If you already own a high‑speed blender, check the manual: many manufacturers list “ice‑crushing” as a approved function. Vitamix, for example, rates its 2.2‑hp models for continuous ice work (see their specs)[https://www.vitamix.com].
Motor Power vs. Peak Power
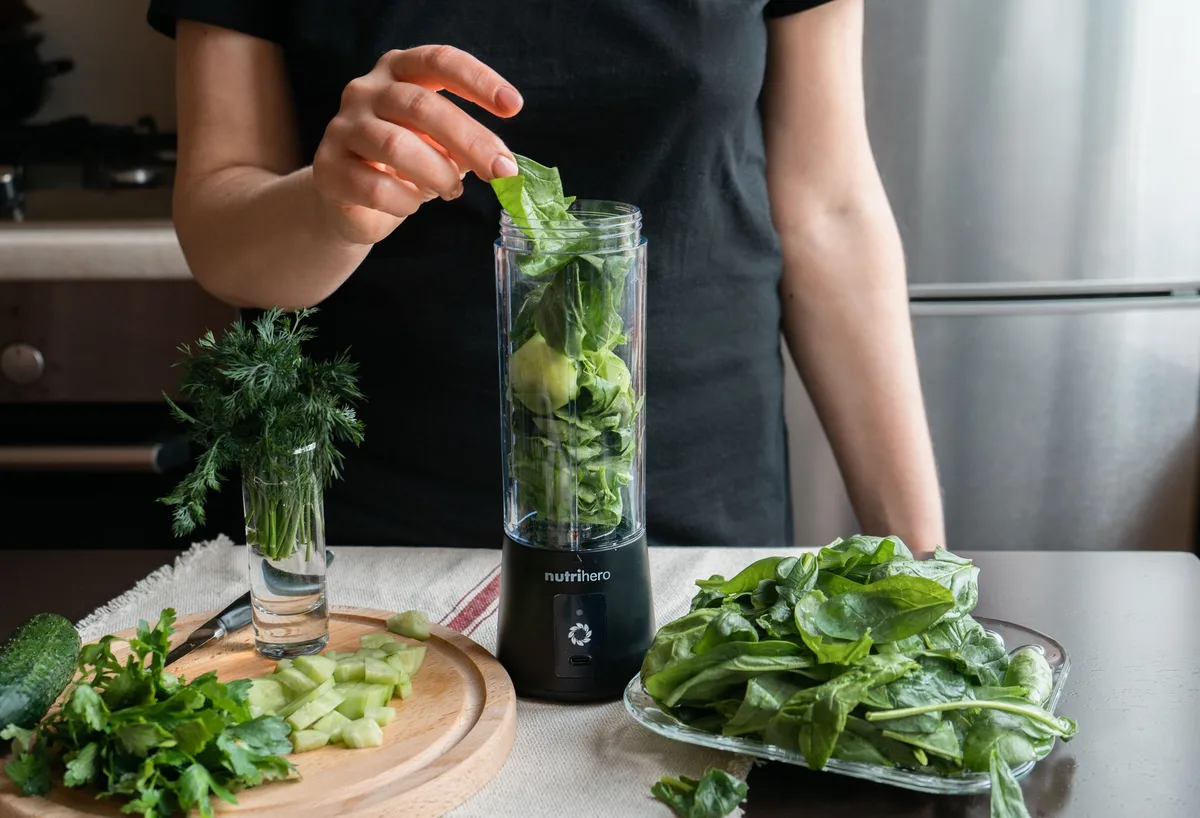
Manufacturers love to advertise peak horsepower. Ignore it. Continuous wattage tells you what the motor can sustain without tripping a thermal cutoff.
A 1,500‑watt continuous motor will crush a full tray of cubes in one go; a 900‑watt peak motor will cough after a few seconds.
Blade Material and Design
Hardened stainless steel resists pitting from mineral‑rich water. Serrated edges bite into ice faster than smooth edges. Some premium jars ship with a tamper, a plunger that pushes stubborn pieces into the vortex without stopping the motor.
Preparing Ice and Ingredients
Start with uniform cubes. Large blocks from a tray melt unevenly and stress the motor. If you have an ice maker, use its “small” setting.
For bagged ice, give the bag a quick shake to break up clumps.
Cold liquids help. Add a splash of water, juice, or milk before the ice. The liquid creates a slurry that lubricates the blades and reduces the load on the motor.
Avoid hot liquids, thermal shock can crack the jar.
Measure your add‑ins. Frozen fruit, protein powder, or sweeteners change the viscosity. Too much thickener turns the blend into a paste that the blades can’t move.
A good rule: 1 part liquid to 2 parts ice for a drinkable consistency; 1:1 for a thick slush.
Step-by-Step Blending Technique
- Load liquid first. Pour your base into the jar.
- Add dry powders. Protein, cocoa, or powdered sugar disperse better before ice.
- Drop in the ice. Fill the jar no more than three‑quarters full. Overfilling blocks the vortex.
- Secure the lid. Snap the vented cap if your model has one; it releases pressure.
- Start low, then ramp. Pulse a few times to break the largest cubes. Then run on high for 20, 30 seconds.
- Use the tamper. If the motor whines or the blend stalls, push the tamper down gently. Never force it, let the blades do the work.
- Check texture. Stop and inspect. For a finer snow, blend another 10 seconds. For a coarse slush, you’re done.
- Serve immediately. Ice melts fast; pour into chilled glasses.
Pulse vs. Continuous
Pulsing protects the motor and gives you control. Continuous high speed is fine for a single batch, but repeated runs without a cool‑down period shorten motor life. If you’re making multiple servings, give the base a 30‑second rest between batches.
Adjusting for Desired Consistency
- Snow‑cone texture: Blend 40, 50 seconds, tamp frequently.
- Slushy drink: 20, 30 seconds, minimal tamper use.
- Thick smoothie bowl: Add frozen banana or avocado; blend 60 seconds, scrape sides halfway.
Common Mistakes and How to Avoid Them
| Mistake | Result | Fix |
|---|---|---|
| Using a low‑watt blender | Motor stalls, burnt smell | Upgrade or blend smaller batches |
| Overfilling jar | No vortex, large chunks remain | Leave ¼‑½ headspace |
| Skipping liquid | Blades spin dry, jar cracks | Add at least ¼ cup liquid |
| Ignoring tamper | Ice rides on top, uneven blend | Use tamper every 5 seconds |
| Blending hot liquid + ice | Thermal shock, jar breakage | Cool liquids first |
A quick visual check after each pulse tells you whether the ice is circulating. If you see a stationary “mountain” of cubes, stop and tamp.
Cleaning and Maintenance
Rinse the jar immediately. Ice residue hardens fast and can dull blades. Most high‑end jars are dishwasher safe on the top rack, but hand‑washing with warm, soapy water extends seal life.
Dry the base thoroughly, moisture in the motor housing leads to corrosion.
Inspect the blade assembly monthly. Look for nicks, bent tips, or loose screws. Tighten the retaining nut with the supplied wrench.
Lubricate the drive shaft only if the manual specifies a food‑grade grease; many modern units are sealed for life.
Store the blender with the jar off the base. This prevents the seal from compressing permanently. Keep the power cord away from heat sources and sharp edges.
FAQ
Can I blend ice in a personal‑size blender?
Only if the model lists “ice‑crushing” and has at least 900 watts continuous. Most single‑serve units struggle with more than a handful of cubes.
Why does my blender smell like burning rubber?
The motor is overheating. Reduce batch size, add more liquid, and let the unit cool 2 minutes between runs.
Is it safe to blend dry ice?
No. Dry ice sublimates to CO₂ gas, creating pressure that can rupture the jar. Stick to regular water ice.
How do I get a finer snow without a tamper?
Blend longer on high, pause every 10 seconds to shake the jar gently. The motion redistributes ice toward the blades.
What’s the best liquid for a neutral slush?
Cold filtered water. It adds no flavor and keeps the texture light.
Final Thoughts
Mastering ice blending is about matching machine to task, prepping ingredients for flow, and respecting the motor’s limits. Follow the steps above, keep your gear clean, and you’ll turn a pile of cubes into a silky, refreshing base for any frozen creation. Happy blending.