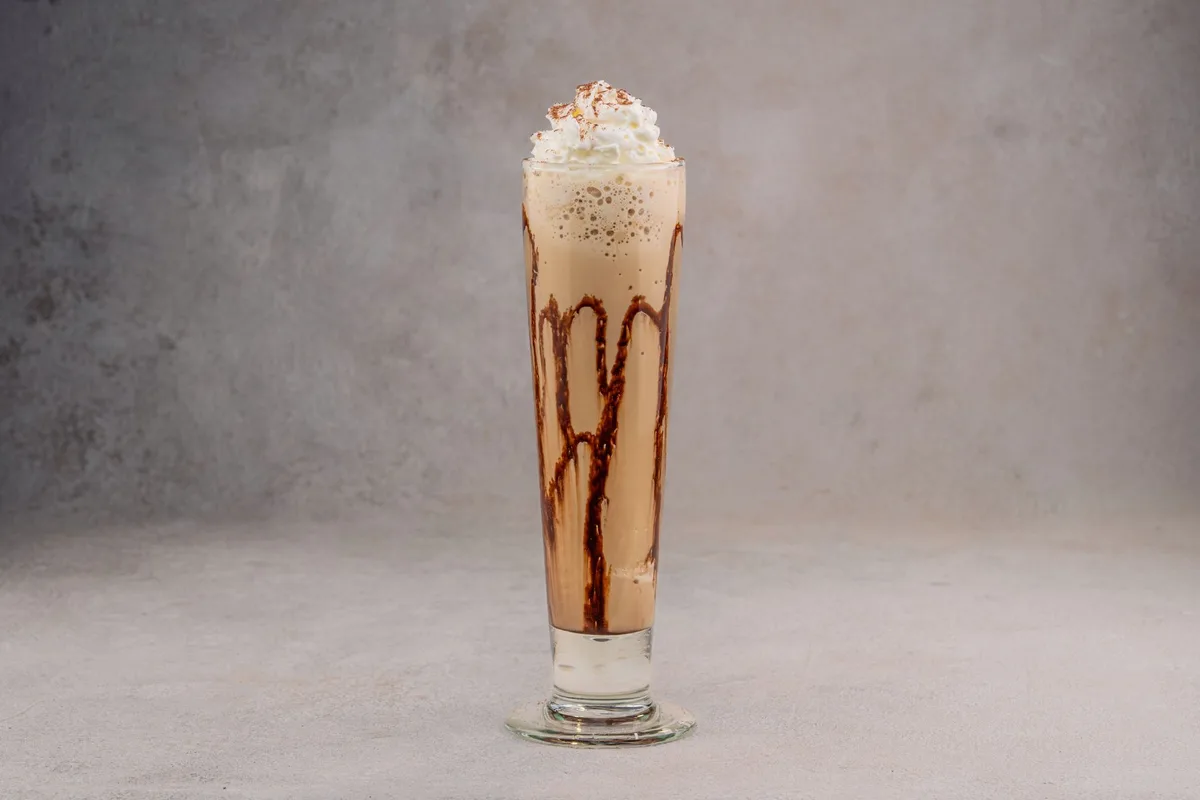
Making a milkshake at home is easier than most people think. You need a decent blender, a few pantry staples, and a little technique. The result is a thick, creamy treat that beats any drive‑through version.
Below is a straight‑forward guide that covers ingredients, equipment, blending steps, flavor ideas, and a few pro tips.
Essential Ingredients
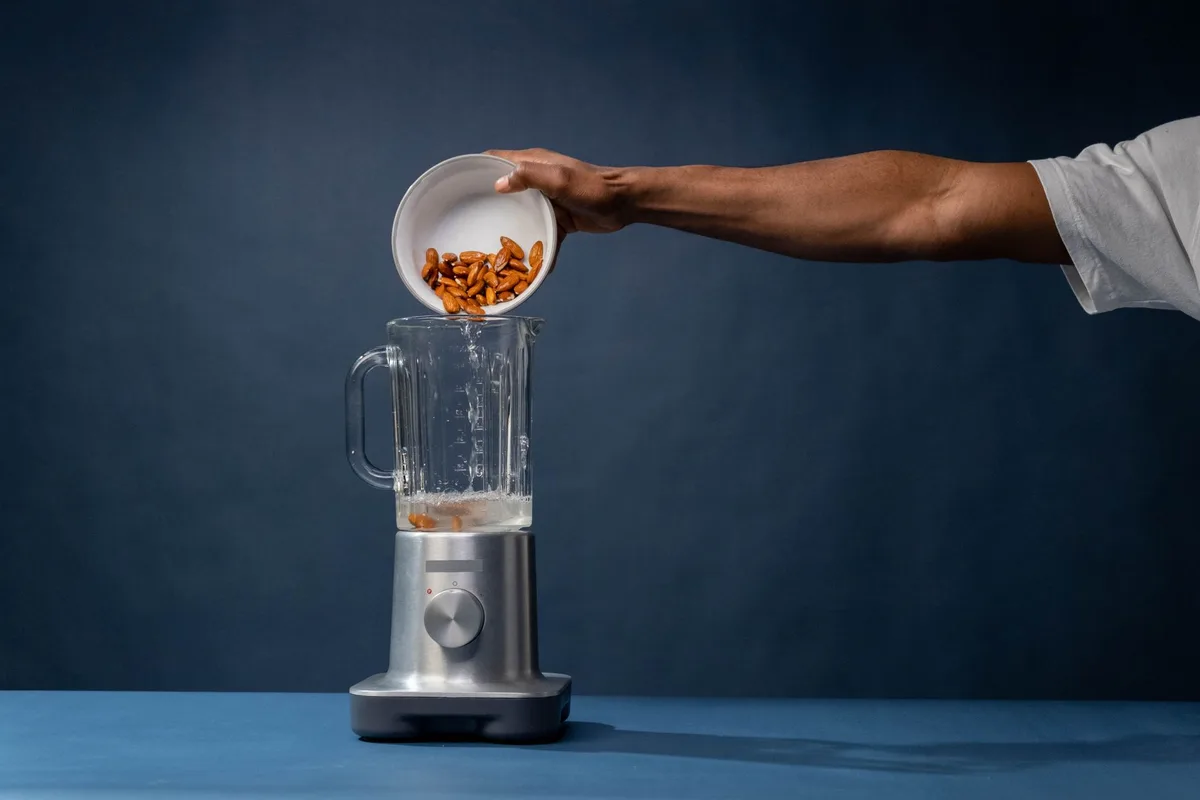
A classic milkshake starts with three core components: ice cream, milk, and a flavor booster.
Ice cream, Full‑fat vanilla works best because the fat carries flavor and creates body. Use about two cups (roughly three large scoops).
Milk, Whole milk gives the richest texture. If you prefer a lighter shake, swap half the milk for a splash of half‑and‑half. Aim for ¾ cup to start; you can add more later.
Flavor, Chocolate syrup, fruit puree, peanut butter, or a shot of espresso. Two tablespoons is a solid baseline.
Optional add‑ins: a pinch of salt, a splash of vanilla extract, or a handful of crushed cookies. Keep the total volume under the blender’s max fill line to avoid overflow.
Source tip: The USDA’s FoodData Central shows that whole milk contributes about 3.25 % fat, which is ideal for emulsifying ice cream.
Choosing the Right Blender
Not every blender handles frozen ice cream equally.
- High‑speed countertop models (1,200 W+) crush ice cream fast and leave a silky texture.
- Personal‑size blenders work for single servings but may need a longer pulse.
- Immersion blenders can work in a pinch if you blend in a tall, narrow jar and move the head up and down.
Look for a jar with a wide base; it creates a vortex that pulls ingredients down toward the blades. A tamper tool helps push thick mixtures without stopping the motor.
Step‑by‑Step Blending Process
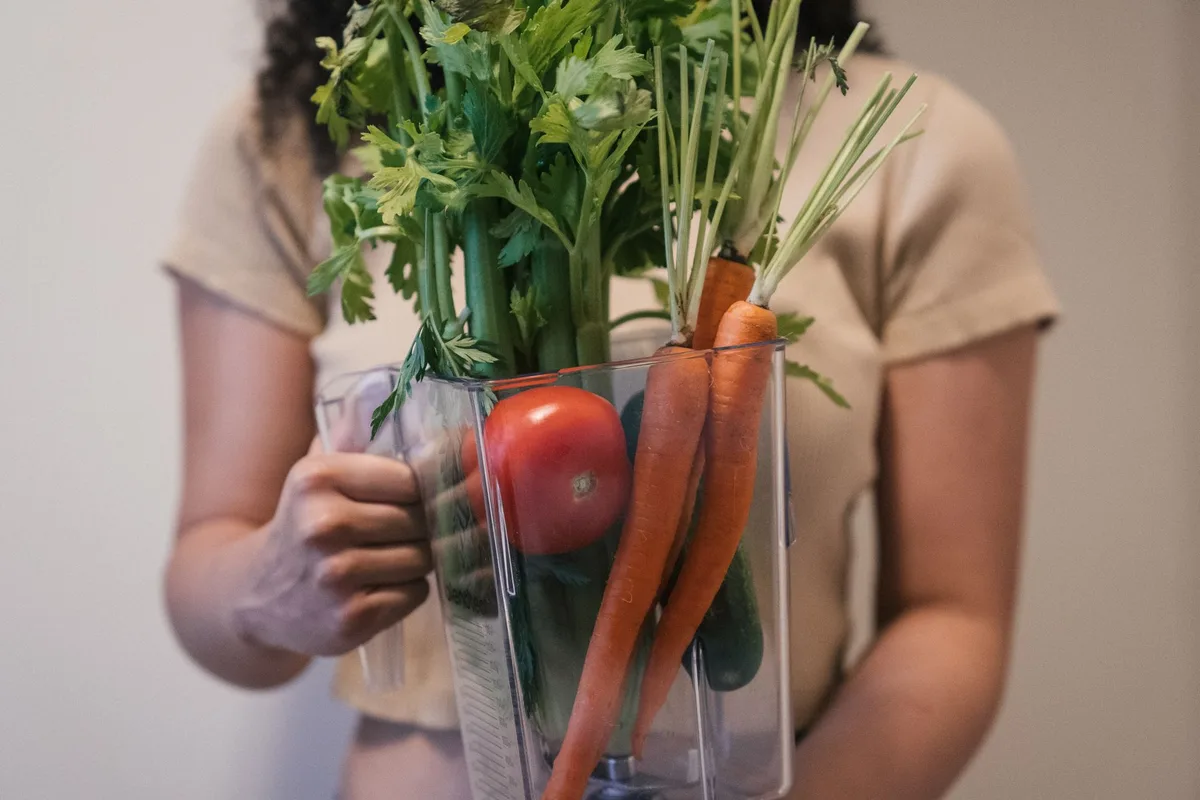
- Chill the jar, Place the blender jar in the freezer for five minutes. A cold jar slows melting and keeps the shake thick.
- Add liquid first, Pour the milk (and any liquid flavorings) into the jar. This protects the blades and starts the vortex.
- Layer ice cream, Drop the scoops on top of the milk. Do not pack them down; let them sit loosely.
- Add flavor boosters, Spoon in syrup, fruit, or nut butter.
- Start low, then ramp, Pulse at low speed for 5 seconds to break the ice cream. Increase to high and blend 20, 30 seconds. Stop when the mixture is smooth but still holds a ribbon when the blender stops.
- Check consistency, If the shake is too thick, drizzle in a tablespoon of milk and blend 5 seconds more. If it’s too thin, add a scoop of ice cream and blend again.
- Taste and adjust, Add a pinch of salt or a splash of vanilla if needed. Blend a final 3 seconds to incorporate.
Serve immediately in a chilled glass. Top with whipped cream, a drizzle of sauce, or a cherry if you like.
Texture Tweaks and Flavor Boosts
- Extra thick, Freeze the milk in an ice‑cube tray, then blend the cubes with the ice cream.
- Light and airy, Whip the milk with a hand frother before adding it to the blender.
- Boozy twist, Add 1 oz of bourbon, Baileys, or Kahlúa for an adult version. Blend just long enough to combine.
- Vegan, Use coconut‑milk ice cream and oat milk. The fat content of coconut ice cream mimics dairy richness.
- Protein boost, Stir in a scoop of whey or plant protein after the main blend; pulse once to avoid foam.
Common Mistakes to Avoid
| Mistake | Why It Hurts | Fix |
|---|---|---|
| Over‑blending | Turns the shake into a thin soup | Stop as soon as the mixture is uniform |
| Adding all milk at start | Dilutes the vortex, leaves chunks | Keep milk to ¾ cup, add more only if needed |
| Using low‑fat ice cream | Less fat = less body | Stick with premium full‑fat varieties |
| Skipping the chill step | Warm jar melts ice cream fast | Freeze jar 5 minutes before blending |
| Ignoring the tamper | Thick mix stalls the blades | Use tamper or pause and stir manually |
Serving and Storing
A milkshake is best enjoyed within ten minutes of blending. If you must hold it:
- Short hold, Keep the glass in the freezer; stir before drinking.
- Longer hold, Transfer to an airtight container, press plastic wrap onto the surface, and freeze up to 24 hours. Re‑blend with a splash of milk to restore texture.
Never microwave a milkshake; the heat breaks the emulsion and creates a grainy mess.
Quick FAQ
Can I make a milkshake without a blender?
Yes. Use a food processor or a sturdy whisk and a bowl. It takes more elbow grease and the texture will be less smooth.
What’s the ideal ice‑cream‑to‑milk ratio?
Roughly 3 parts ice cream to 1 part milk by volume. Adjust for personal thickness preference.
How do I prevent a skin from forming on top?
Press plastic wrap directly onto the surface before refrigerating. The wrap blocks air contact.
Is it okay to use frozen fruit instead of ice cream?
You’ll get a smoothie, not a milkshake. For a true shake you need the fat and sugar from ice cream.
Can I blend hot coffee into a milkshake?
Cool the coffee first. Hot liquid can crack the blender jar and melt the ice cream too fast.
Enjoy the process. A great milkshake is a balance of cold, fat, and flavor, master the basics, then experiment with your favorite mix‑ins.