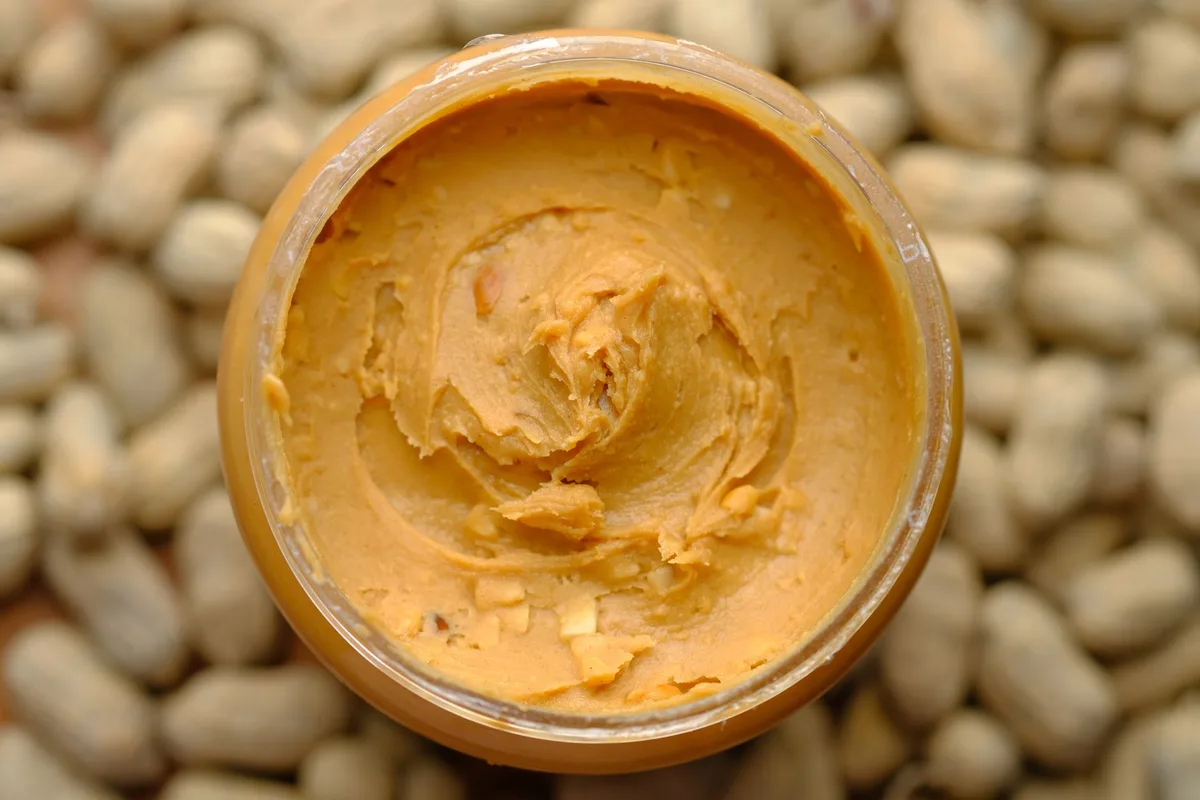
Image source: Pexels / Towfiqu barbhuiya (Pexels License)
If you’ve ever flipped a jar of store-bought peanut butter, scanned the ingredient list, and wondered why a simple spread needs a chemistry degree to understand, you’re not alone. Making peanut butter at home is one of the most satisfying kitchen projects you can tackle. And the only tool you really need?
A decent blender.
This guide walks you through exactly how to make peanut butter in a blender, from picking the right peanuts to cleaning up the splatter on your ceiling (yes, that happens). We’ll cover the science of why it works, troubleshooting tips, flavor variations, and how to store your batch so it stays fresh for weeks.
Why Make Peanut Butter at Home?
Let’s be honest, store-bought peanut butter is convenient. But once you’ve tasted fresh, creamy, homemade peanut butter, the jarred stuff never quite hits the same.
Homemade gives you full control. You decide the texture: chunky, silky smooth, or somewhere in between. You pick the salt level.
You skip the hydrogenated oils, the added sugars, and the stabilizers that keep commercial peanut butter shelf-stable for years. All you taste is peanuts.
It’s also shockingly cheap. A pound of roasted peanuts runs about the same price as a small jar of premium peanut butter, and you’ll get nearly twice the volume. According to the [U.S.
Department of Agriculture](https://www.usda.gov), peanuts are a nutrient-dense source of protein, healthy fats, and vitamin E, so you’re feeding yourself well while saving money.
And then there’s the “wow” factor. Telling someone you made your own peanut butter from scratch never gets old.
What You Need
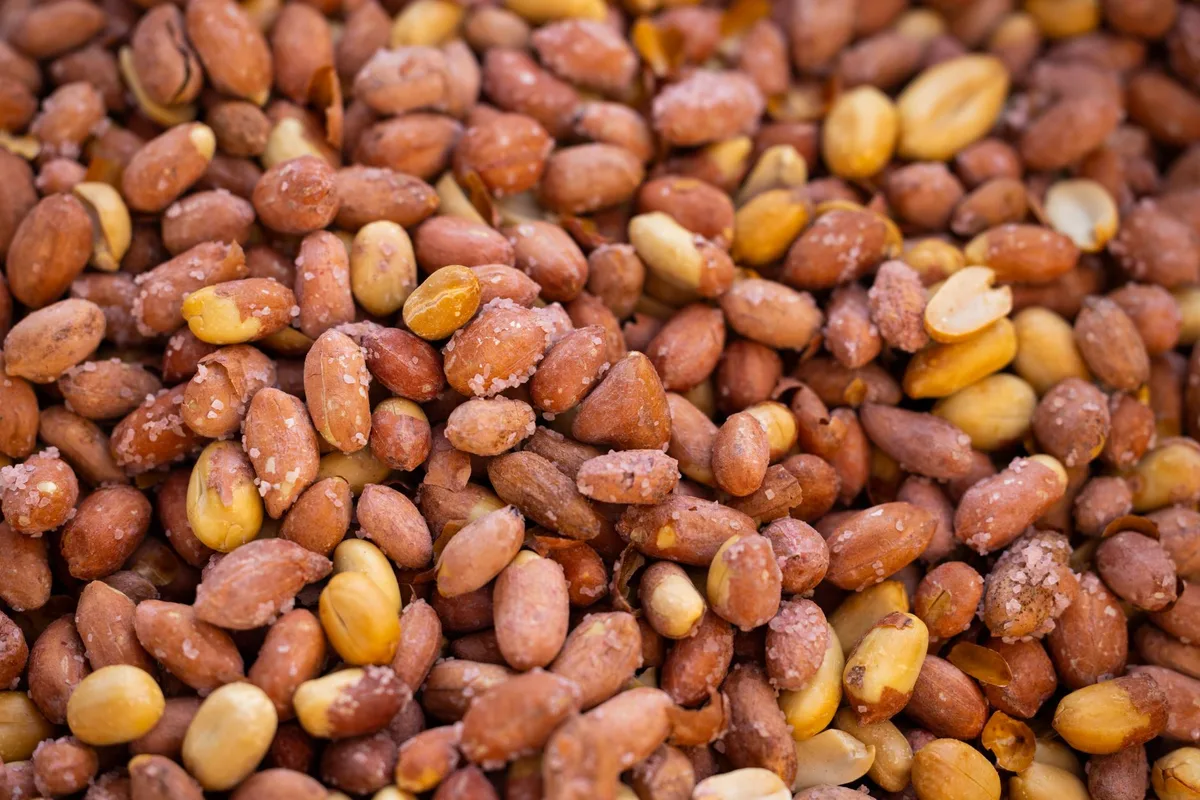
Image source: Pexels / Engin Akyurt (Pexels License)
The ingredient list is beautifully short. Everything else is about technique and timing.
Ingredients:
- 2 to 3 cups of dry-roasted, unsalted peanuts (skin-on or skin-off, your call)
- 1 to 2 teaspoons of neutral oil (peanut, sunflower, or grapeseed work best)
- ½ to 1 teaspoon of fine sea salt, or to taste
- Optional: 1 to 2 tablespoons of honey, maple syrup, or coconut sugar for sweetness
- Optional: a pinch of cinnamon, vanilla extract, or cocoa powder for flavor twists
Equipment:
- A high-powered blender (Vitamix, Blendtec, Ninja, or any model rated 1000 watts or higher)
- A rubber spatula
- A wide-mouth mason jar or airtight container for storage
Choosing the right peanuts:
Dry-roasted, unsalted peanuts give you the cleanest flavor and the most control over salt content. If you can only find salted roasted peanuts, just skip the added salt in the recipe. Raw peanuts work too, but you’ll need to roast them first (more on that in a moment).
Blanched peanuts (skins removed) produce a smoother, lighter-colored butter. Skin-on peanuts give a more rustic, slightly bitter edge and a darker color. Both are delicious.
Step-by-Step: How to Make Peanut Butter in a Blender
The process looks deceptively simple. And it is simple. But a few details separate gritty, disappointing peanut butter from the silky spread of your dreams.
Step 1: Prep Your Peanuts
If you’re starting with raw peanuts, spread them on a baking sheet and roast at 350°F (175°C) for 10 to 12 minutes, stirring once halfway through. Watch them closely, they go from golden to burnt in seconds. Let them cool for about five minutes before blending.
Warm peanuts release their oils more readily, which speeds up the process.
If you’re using pre-roasted peanuts, you can skip straight to blending.
Step 2: Load the Blender
Add the peanuts to your blender jar first. Pour the oil over the top. Hold off on the salt and sweeteners until you’ve reached a pourable consistency, adding them too early can make the mixture clump and stall the blades.
Step 3: Blend on Low, Then Ramp Up
Start on the lowest speed. Pulse a few times to break the peanuts down into a coarse meal. You’ll hear the nuts rattling around.
Don’t panic, that’s normal.
After about 30 seconds, increase to medium speed. The peanuts will look like coarse sand, then clumpy dough. Around the 1- to 2-minute mark, the natural oils begin releasing.
This is the magic moment when your blender starts to “catch”, the dough suddenly loosens, the sound drops, and you see a smooth, glossy mass forming.
If your blender struggles, stop, scrape down the sides with a spatula, add another teaspoon of oil, and try again. High-powered machines usually need no help. Budget blenders may require a few extra oil boosts and longer blending times.
Step 4: Reach Your Target Texture
For creamy peanut butter, keep blending until the mixture flows like thick honey, usually 3 to 5 minutes total in a high-powered blender. For chunky-style, reserve about ¼ cup of chopped peanuts, blend the rest smooth, then stir the chunks in at the end.
Step 5: Season and Finish
Once the butter is smooth, add salt and any optional sweeteners or flavorings. Blend for 10 more seconds to incorporate. Taste.
Adjust. This is your canvas.
Step 6: Transfer and Cool
Spoon the warm peanut butter into your storage container. It’ll be thin when hot and thicken as it cools. Don’t seal the lid tightly until the butter reaches room temperature, or condensation can form and affect texture.
The Science Behind Why It Works
Here’s the part most recipes skip, but it actually helps you troubleshoot.
Peanuts are roughly 50% fat by weight, packed inside tiny cells with strong cellulose walls. Blending mechanically crushes those walls, releasing the oils trapped inside. Once enough oil is free, the mixture transitions from a dry, crumbly powder to a thick paste, then to a fluid spread.
This is called the “phase inversion”, and it’s the same principle behind any nut butter, whether you’re making almond, cashew, or sunflower seed butter.
The higher the fat content of your nuts, the faster this happens. Peanuts sit in a sweet spot: fatty enough to blend smoothly in a standard home blender, but not so oily that the butter separates quickly.
Heat matters too. Warm peanuts release oils more readily. That’s why freshly roasted nuts blend faster and smoother than room-temperature ones.
Cold peanuts make the blender work harder and may require extra oil.
Troubleshooting Common Problems
Even a straightforward recipe can hit snags. Here’s how to fix the usual culprits.
My peanut butter is dry and crumbly.
Your blender probably needs more help releasing the oils. Add a teaspoon of oil, blend for 30 seconds, and repeat. Don’t add too much at once or you’ll end up with peanut sauce.
The mixture is stuck to the sides and won’t move.
Stop the blender. Use a spatula to scrape everything off the walls and push it down toward the blades. Add a splash of oil.
Restart on low, then ramp back up.
It’s been 10 minutes and still not smooth.
Your blender may not be powerful enough. Switch to a food processor if you have one, or work in smaller batches. A 1,000-watt blender handles about 2 cups of peanuts at a time.
Larger loads can stall weaker motors.
The texture is gritty.
Keep blending. True smoothness takes time, especially without added oils. If you’ve gone past 8 minutes and it’s still grainy, strain the butter through a fine mesh sieve, though this is rare with a high-powered machine.
My peanut butter separated in the jar.
That’s actually a sign of quality. Commercial peanut butter contains stabilizers that prevent this. Natural separation just means real oils rising to the top.
Stir it back in, or decant the oil off and use it for cooking, it makes a fantastic base for salad dressings or stir-fries.
Flavor Variations to Try
Once you’ve nailed the basic recipe, the fun begins. Peanut butter is a versatile base that pairs beautifully with both sweet and savory additions.
Honey Cinnamon: Add 2 tablespoons of honey and ½ teaspoon of cinnamon. Tastes like a peanut butter cookie in spreadable form.
Chocolate Peanut Butter: Blend in 2 tablespoons of unsweetened cocoa powder and a tablespoon of maple syrup. You just made a homemade version of that famous chocolate-peanut butter cup spread.
Spicy Thai-Inspired: Add a teaspoon of coconut oil, a tablespoon of soy sauce, a teaspoon of lime juice, and a pinch of cayenne. Brilliant on rice noodles or grilled chicken.
Maple Vanilla: Use maple syrup as your sweetener and add a teaspoon of pure vanilla extract. Pairs perfectly with apple slices or oatmeal.
Coconut Crunch: Fold in ¼ cup of toasted shredded coconut after blending. Adds texture and a tropical twist.
Storage and Shelf Life
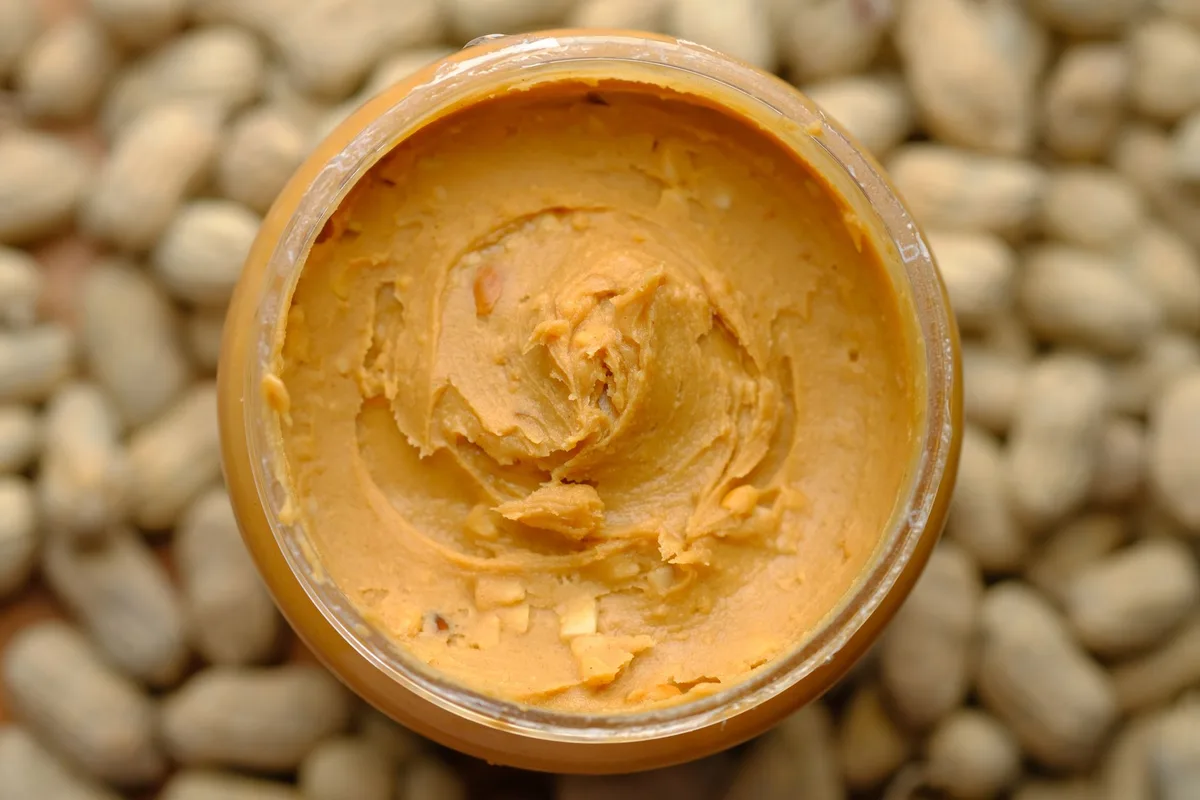
Image source: Pexels / Towfiqu barbhuiya (Pexels License)
Homemade peanut butter keeps surprisingly well, but it lacks the preservatives that extend commercial shelf life.
Room temperature: In an airtight jar, your peanut butter will stay fresh for about 2 to 3 weeks. Keep it in a cool, dark pantry away from direct sunlight.
Refrigerated: Cold storage extends shelf life to 2 to 3 months. The butter will firm up considerably in the fridge, so let it sit at room temperature for 10 to 15 minutes before spreading.
Frozen: For long-term storage, freeze in portioned containers or ice cube trays for up to 6 months. Thaw in the fridge overnight.
Always use a clean, dry spoon to scoop. Introducing moisture or crumbs shortens shelf life and can encourage mold.
The oil separation you’ll see on top is normal and harmless. Stir it back in before each use, or pour it off and save it for cooking. Many home peanut butter makers consider this oil a bonus ingredient, not a flaw.
Choosing the Right Blender
Not every blender handles nut butter equally well. Here’s what to look for.
Power: Aim for at least 1,000 watts. Anything below 800 watts will struggle and overheat.
Blade design: Four-prong, aircraft-grade stainless steel blades (like those in Vitamix or Blendtec machines) crush peanuts more efficiently than flat, two-prong blades.
Tamper tool: A tamper lets you push ingredients down toward the blades without stopping the machine. It’s nearly essential for thick mixtures like nut butter.
Jar size: A 64-ounce jar handles up to 3 cups of peanuts comfortably. Smaller jars mean smaller batches.
If you already own a decent blender, give it a try before buying anything new. Many home cooks make excellent peanut butter in mid-range machines, they just need a bit more patience and possibly an extra splash of oil.
Is Homemade Peanut Butter Healthier?
Mostly, yes. But with caveats.
Homemade peanut butter contains no added hydrogenated oils, no refined sugars (unless you add them), and no stabilizers. The fat content is identical to commercial versions, peanuts are peanuts, but you’re avoiding the trans fats and emulsifiers found in some lower-quality brands.
The U.S. Food and Drug Administration regulates labeling of added oils and sugars in food products, which is why reading ingredient lists matters even on “natural” peanut butter.
On the flip side, homemade peanut butter is calorie-dense like all nut butters. A two-tablespoon serving runs about 190 calories and 16 grams of fat. That’s actually a feature, not a bug, those fats are mostly heart-healthy monounsaturated and polyunsaturated fats, and they help your body absorb fat-soluble vitamins.
If you’re managing sodium intake, skip added salt or use a tiny pinch. If you’re diabetic, go easy on sweeteners or stick with a sugar-free version.
Frequently Asked Questions
Can I make peanut butter without a high-powered blender?
Yes, but it’ll take longer and require more oil. Work in smaller batches, scrape down the sides frequently, and add oil in small increments. A food processor actually performs better than a low-watt blender.
Do I need to add oil?
Not always. Peanuts release enough natural oil on their own. Adding oil speeds the process and produces a smoother result, but it’s optional.
Start without oil and add only if needed.
Can I use peanuts still in the shell?
No. Shell fragments will wreck your blender blades and make the butter gritty and unpleasant.
How long does homemade peanut butter last?
Two to three weeks at room temperature, two to three months refrigerated, or up to six months frozen. Always check for off smells or mold before using.
Why is my peanut butter bitter?
Over-roasted peanuts or skins left on can create bitterness. Roast lightly, or blanch your peanuts by rubbing them in a clean kitchen towel after roasting to remove the skins.
Can I make other nut butters the same way?
Absolutely. Almonds, cashews, hazelnuts, and pecans all work with the same method. Just adjust oil amounts based on the fat content, almonds and pecans need more, cashews need less.
The Bottom Line
Learning how to make peanut butter in a blender is one of those small kitchen wins that pays off forever. You’ve got a versatile, healthy, customizable spread that costs less than store-bought, tastes dramatically better, and lasts for weeks. Once you start, you’ll find yourself tweaking the recipe to match your mood, cinnamon today, chocolate tomorrow, straight peanuts the day after.
The hardest part is waiting those five minutes for the blender to work its magic. The rest is just good peanuts, a decent blender, and a little patience.