A good blender should chew through ice like it’s nothing. A bad one will leave you with a pile of crunchy chunks, a smoking motor, and a warranty claim. The gap between the two is wider than most people think, and the box rarely tells you which one you’re buying.
I’ve been testing blenders long enough to know the marketing copy doesn’t mean much. “Powerful motor” gets stamped on anything with a plug. What matters is how the whole machine, blade geometry, jar shape, coupling, speed electronics, works together when you dump a tray of cubes in and hit the button.
That’s what this guide breaks down.
Whether you’re mixing frozen margaritas on the patio, prepping smoothies every morning, or crushing enough ice to fill a cooler for a party, here’s how to pick the right blender without wasting money.
Image source: Pexels / Los Muertos Crew (Pexels License)
Why Ice Crushing Is the Real Blender Test
Ice is the toughest thing you can put in a countertop blender. It’s hard, it’s cold, and it doesn’t yield easily to dull blades or weak motors. If a blender can crush ice cleanly, it can handle almost anything else, fibrous greens, frozen fruit, nuts, you name it.
Most blenders don’t crush ice well. They mush it, push it around the jar, or stall out completely. The reason is simple: crushing ice requires a specific combination of blade speed, blade design, jar geometry, and motor torque.
Get any one of those wrong and the machine struggles.
So when you shop for a blender and ice is on your list of priorities, you’re really shopping for a small, high-speed crusher with enough power to keep spinning under load. Everything else is secondary.
Motor Power: What Actually Matters
You’d think the wattage rating would settle the question. It doesn’t.
Manufacturers measure wattage differently. Some rate peak power (the spike at startup), some rate continuous power (what the motor actually delivers over time). A 1,500-watt peak blender might only deliver 1,000 watts when it’s grinding.
Look for the continuous or running wattage when you can find it.
For serious ice crushing, I look for at least 1,000 watts of continuous power. Anything below that tends to struggle with full trays of cubes. The strongest home models run between 1,200 and 1,500 watts continuous, and those are the ones that pulverize ice to snow in seconds.
But horsepower alone won’t save you. A powerful motor paired with a weak drive coupling or a poorly designed blade will still disappoint. Think of the wattage as the floor, not the ceiling.
Blade Design: Where the Real Work Happens
The blade is where the magic, or the disaster, happens. Three blade factors matter most for ice.
Blade Material
You want hardened stainless steel. Cheap stamped steel bends and dulls fast, especially when it hits ice day after day. Forged or machined stainless holds an edge and resists warping.
Blade Shape
There are three common shapes you’ll see:
- Flat blades, two or four straight wings. Common on cheaper blenders. They work fine for smoothies but struggle with whole cubes.
- Winged or airfoil blades, curved profiles that pull ingredients down into the cutting zone. Much better ice performance.
- Multi-prong / star blades, found on high-end machines. These create a vortex and pulverize ice almost instantly.
The blade also needs to spin fast enough. Most quality blenders run between 20,000 and 30,000 RPM at their top ice-crushing speed. Anything slower and you start leaving chunks.
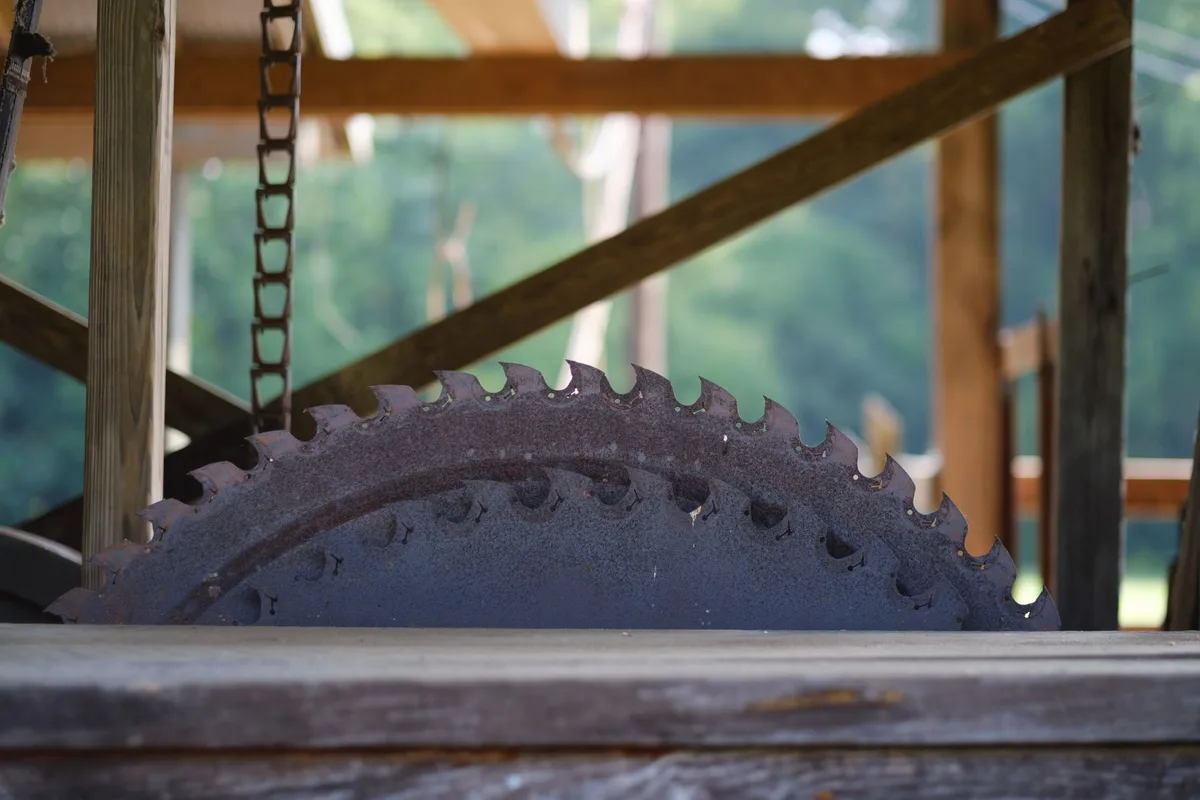
Image source: Pexels / Sawyer Sutton (Pexels License)
Blade Placement and Coupling
Here’s the part nobody talks about. The blade sits on a metal drive coupling at the bottom of the jar. If that coupling is small, plastic, or poorly aligned, even a great motor can’t transfer torque efficiently.
Big blenders use wide metal-to-metal couplings that grip the blade directly. Smaller machines use plastic or thin metal pieces that slip under load.
When you read blender reviews, look for any mention of the drive system. If the coupling is wobbly or cheap, ice crushing will suffer.
Jar Material and Shape
The jar isn’t just a container. It shapes how the ice moves through the blade zone.
Glass jars look great and resist scratches, but they’re heavy and don’t always show ice clarity well. They also tend to be narrower at the base, which can trap ice chunks.
Plastic (Tritan) jars are lighter, shatter-resistant, and the modern standard for most mid- to high-end blenders. Look for BPA-free Tritan, which most major brands use now.
Shape matters more than material. Wide-base jars with a tapered bottom create a vortex that pulls ice down into the blades. Tall, narrow jars can leave ice circling the top forever without getting chopped. If you can, pick a jar that’s wider at the base than the top, that’s the ideal shape for ice.
Capacity is a smaller consideration. A 40-oz jar handles a full ice tray with room to spare. A 64-oz jar is overkill for one drink but great if you’re batching cocktails for a group.
Speed Settings and Ice-Specific Modes
The best blenders for ice have dedicated ice-crush buttons or pulses. These run the motor at full tilt for short bursts, exactly what ice needs. A blender with only a low-medium-high dial will leave you fiddling with the dial, hoping for the right spin rate.
Here’s what to look for in the controls:
- Pulse function, gives you manual control for short bursts. Great for ice when you want snow rather than slush.
- Ice-crush preset, runs the motor at peak speed for a timed cycle, usually 5, 10 seconds.
- Variable speed dial, lets you ramp up gradually. Useful but optional if you have presets.
- Tamper, a long plastic rod that lets you push ice down toward the blades while the machine is running. The best blenders include one. It’s a small thing that makes a huge difference with stubborn ingredients.
Durability and Heat Management
Ice crushing puts a lot of stress on a blender. The motor works hard, the blades spin fast, and the drive system takes repeated shock loads. Cheap blenders overheat after two or three cycles.
Quality blenders have thermal protection that shuts them down before damage occurs.
Look for:
- Overload protection, automatic shutoff when the motor gets too hot
- Cooling vents, usually at the base, around the motor housing
- Heavy base, reduces walking and vibration when the load is heavy
A blender that feels solid and stable on the counter is usually better built than one that rattles around.
Counter Space and Noise
A heavy-duty ice-crushing blender is, by nature, loud. The motor and blades are working hard. If noise matters to you, and it does if you have thin apartment walls or early-morning smoothies, look for models with sound-dampening enclosures.
These wraps reduce noise by 50% or more and are worth the upgrade if you can afford them.
Counter footprint is worth thinking through too. The biggest blenders take up about 8 x 10 inches of real estate. Compact models fit in a 6 x 8 footprint but usually trade power for size.
Top Use Cases: Match the Blender to Your Life
Not everyone needs the same blender. Here’s how I’d narrow it down by use case.
For Daily Smoothies With Ice
You don’t need a monster. A solid 1,000-watt blender with a wide-base jar and a pulse function will handle a cup of ice per day without breaking a sweat. Spend your money on blade quality, not raw wattage.
For Cocktails and Frozen Drinks
Go bigger. If you’re hosting, look for a 1,200+ watt machine with a dedicated ice-crush button and a 60-oz jar. The extra capacity means you can do margaritas for four in one cycle.
A tamper is non-negotiable here.
For Commercial or Heavy Use
If you’re running a bar, food truck, or smoothie shop, you want a commercial-grade blender. These have heavier motors, metal drive couplings, and parts you can replace when they wear out. Expect to spend more, but expect the machine to last through thousands of cycles.
Image source: Pexels / Los Muertos Crew (Pexels License)
Common Mistakes When Buying an Ice Blender
A few traps I see people fall into every time.
Chasing peak wattage. The biggest number on the box isn’t always the most useful one. Continuous wattage and blade quality matter more.
Skipping the coupling. Most buyers never think about the drive system. They should. It’s the most common failure point.
Buying a narrow jar. Tall and narrow looks sleek, but ice just spins in circles in those jars. Wider at the base, always.
Ignoring the warranty. A one-year warranty on a high-end blender is a red flag. Quality manufacturers stand behind their machines for 5, 10 years on the motor and at least 2, 3 years on the jar and parts.
Trusting “ice crushing” labels. Many blenders advertise ice-crushing capability and then ship with blades that can’t handle more than a few cubes. Read independent reviews, not just the brand’s marketing.
How to Test Ice-Crushing Performance (Before You Buy, If Possible)
If you can get to a showroom or know someone with the model, here’s the real test. Drop a full tray of standard ice cubes into the blender, add a splash of water, and run the ice-crush cycle. In a good machine, you’ll see fine, snow-like ice in 8, 15 seconds.
In a bad one, you’ll hear the motor bog down and end up with chunks.
If you can’t test in person, look for reviewers who post side-by-side videos. Photos of fine crushed ice vs. chunky bits tell the whole story.
Price Tiers: What You Get at Each Level
Here’s a rough breakdown of what to expect across price points.
- Under $50, basic, low-power machines. Fine for soft ingredients but struggle with full ice cubes.
- $50, $150, the sweet spot for most home users. You’ll find solid mid-range blenders with 900, 1,200 watts and decent blades.
- $150, $300, premium home models. Better materials, longer warranties, faster ice crushing.
- $300, $600, prosumer or commercial-grade. Heavy-duty motors, replaceable parts, multi-function presets.
- $600+, high-end specialty machines with sound enclosures, smart features, and build quality that lasts a decade or more.
For most people who want great ice performance without overspending, the $150, $300 range delivers the best balance.
Care and Maintenance
Even the best blender needs basic care if you want it to keep crushing ice well.
- Rinse immediately after use. Ice residue melts and leaves mineral deposits that dull blades.
- Run a hot water cycle. Add warm water and a drop of dish soap, then run on high for 30 seconds. This cleans the blades and the jar.
- Sharpen or replace blades as needed. Most manufacturers sell replacement blade assemblies. Order one when you notice ice taking longer to crush.
- Check the coupling. Every few months, make sure the blade sits firmly on the drive. A loose coupling causes slipping and poor crushing.
A blender that gets this basic care will last 5, 10 years even with daily ice use.
FAQ
Can any blender crush ice?
Technically yes, but not all of them crush it well. Low-wattage blenders with flat blades and narrow jars will leave you with chunks or stall out completely. Look for at least 1,000 watts of continuous power, a wide-base jar, and winged or multi-prong blades for reliable ice crushing.
Is higher wattage always better for ice?
Not always. A higher-wattage motor with a weak blade or poor coupling can perform worse than a slightly lower-wattage motor with great blade geometry. Wattage sets the floor, but blade design and jar shape set the ceiling.
Do I need a special “ice” setting?
It’s helpful but not required. A strong pulse function works just as well for crushing ice. The dedicated ice-crush button just automates the cycle and is convenient if you crush ice often.
How long should a blender last with regular ice use?
A well-built home blender should last 5, 8 years with daily ice crushing. Commercial-grade machines can go 10+ years with proper care. The motor and the drive coupling are the parts that wear out first.
Are glass jars better than plastic for ice?
Glass is more scratch-resistant and doesn’t absorb odors, but it’s heavier and more fragile. Plastic (Tritan) jars are lighter, shatterproof, and the standard for most modern blenders. For pure ice performance, the jar shape matters more than the material.
Can I crush ice without adding liquid?
It’s possible but not recommended. A splash of water helps the ice circulate and prevents the motor from bogging down. Without liquid, ice tends to clump and stall the blades.
The Bottom Line
The best blender for crushing ice is the one that combines a strong, thermally protected motor, hardened multi-prong blades, a wide-base jar, and a drive system that holds up under load. Wattage matters, but only as part of the whole package.
Spend time matching the machine to how you’ll actually use it. A daily smoothie drinker doesn’t need the same blender as a weekend cocktail host. And whatever you choose, skip the marketing hype and focus on the parts that do the actual work, motor, blade, coupling, jar shape.
Those four factors decide whether your next round of ice ends up as fine, fluffy snow or a pile of disappointing chunks.