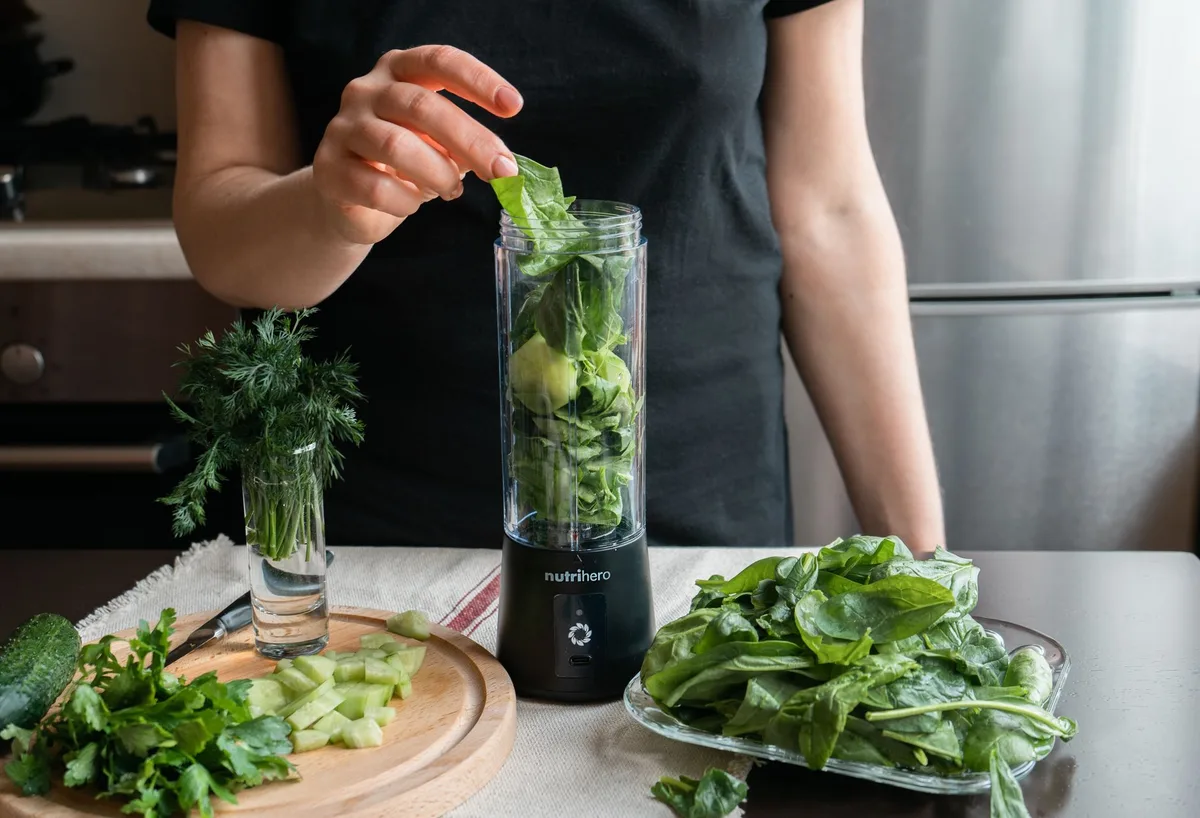
Image source: Pexels / Natalie Bond (Pexels License)
How to Use a Blender for Green Juice
I’ve made green juice in a blender more times than I can count. Some mornings I’ve nailed it on the first pour. Other mornings I’ve ended up with chunky, foamy liquid that tastes like lawn clippings.
The difference almost always comes down to technique, not the produce.
This guide walks you through exactly how to use a blender for green juice, from picking the right machine to cleaning it out when you’re done. I’ll cover blending order, speed settings, the greens that work best, and a few small habits that turn “decent” juice into “actually craveable” juice.
Let’s get into it.
Why Use a Blender Instead of a Juicer for Green Juice
A juicer extracts liquid and leaves dry pulp behind. A blender keeps everything in the pitcher. That changes a few things.
First, you keep the fiber. The USDA’s MyPlate nutrition guidance emphasizes whole fruits and vegetables for a reason. Fiber slows the sugar hit and feeds your gut.
With a juicer, that fiber is gone.
Second, blenders are cheaper, easier to clean, and most people already own one. No extra appliance cluttering the counter.
Third, you can blend more than just juice. Smoothies, soups, sauces, and nut milks all happen in the same pitcher.
The trade-off: blender juice is thicker than juicer juice. It’s more of a “juice-smoothie hybrid” if you strain it, or a full smoothie if you don’t. We’ll talk about both paths.
What Kind of Blender Works Best for Green Juice
You don’t need a $700 machine to make good green juice. But not all blenders handle greens equally well.
Standard Countertop Blender
A decent 1000-watt blender with sharp blades handles kale, spinach, cucumber, and apple without breaking a sweat. Look for one with a tamper if you blend thick loads. Brands like Vitamix, Blendtec, Ninja, and Oster all make solid picks in this category.
Personal or Bullet-Style Blender
These smaller cups work fine for single servings. The blades are smaller, so you have to chop your produce more, and they struggle with fibrous stems. Great for travel.
Less ideal for daily juicing.
High-Powered Blender
Anything above 1200 watts will pulverize celery strings and tough kale stems. If you drink green juice daily, the upgrade pays off in texture and speed.
What to Avoid
Old blenders with dull blades, leaky gasket rings, or weak motors. They’ll leave you with chunky bits and overheated motors. If your blender has been in a cabinet since 2014, dust it off and check the blade before trusting it with fibrous greens.
What You Need: Ingredients and Tools
Here’s the basic kit. Nothing fancy.
Ingredients:
- Leafy greens (kale, spinach, chard, romaine)
- A liquid base (water, coconut water, or cold-pressed apple juice)
- Fruit for sweetness (green apple, lemon, pear, pineapple)
- Optional boosters (ginger, turmeric, mint, parsley, celery)
Tools:
- A blender with a tight lid
- A cutting board and sharp knife
- A fine-mesh strainer, nut milk bag, or cheesecloth (only if you want juice, not a smoothie)
- A pitcher or mason jar for serving
Pro move: Pre-wash and dry your greens. Spinach and kale can hold a surprising amount of water. Extra moisture dilutes flavor and makes blending slower.
Step-by-Step: How to Blend a Green Juice
This is where most people mess up. The order matters more than the ingredients.
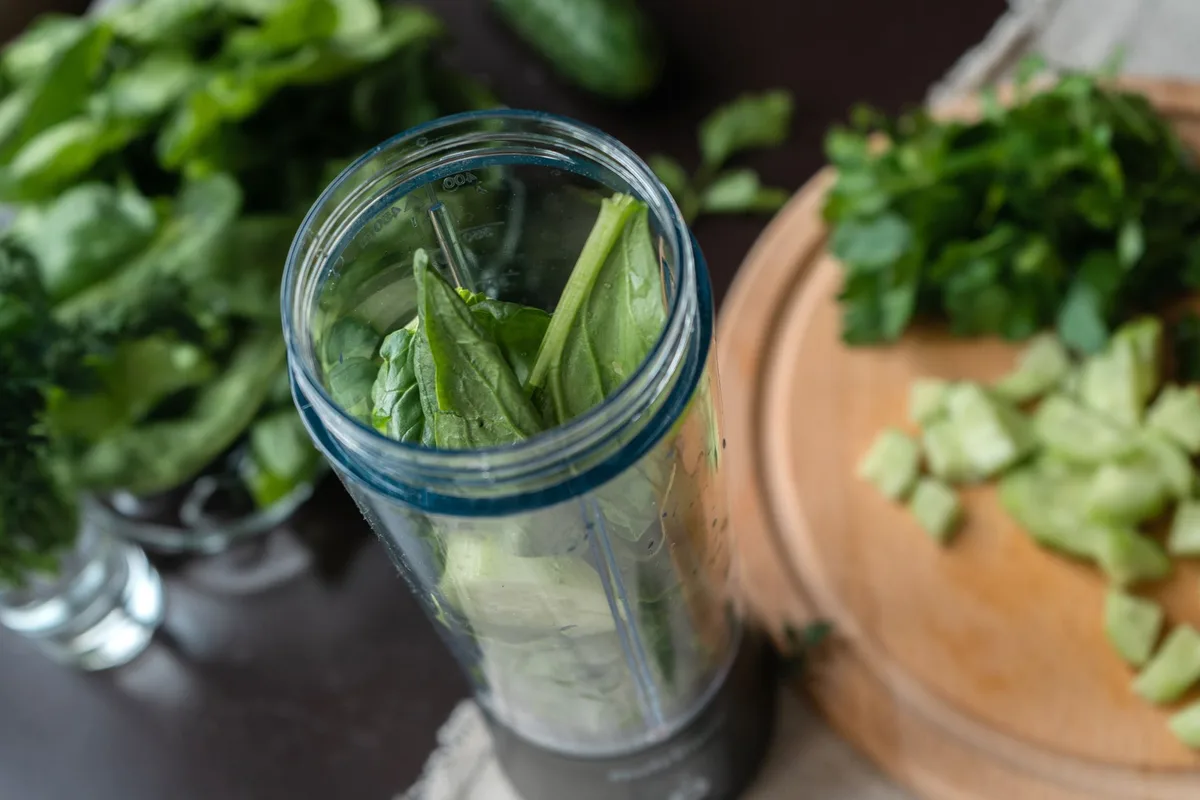
Image source: Pexels / Natalie Bond (Pexels License)
Step 1: Add Liquid First
Pour your liquid base into the pitcher before anything else. Water, coconut water, or cold-pressed apple juice works well. Aim for about 1 to 1.5 cups of liquid for a single-serve batch.
The liquid hits the blades first and gives everything something to circulate in.
Step 2: Add Soft Produce Next
Green apple chunks, peeled lemon, peeled cucumber, and any softer items go in next. These break down fast and create a slurry that helps pull the greens into the blade.
Step 3: Pack Greens Last
Loosely pack your leafy greens on top. Don’t ball them into a tight wad or they’ll trap air and refuse to move. Push them down gently so they sit below the lid line.
Step 4: Blend on Low, Then Ramp Up
Start at the lowest speed for 10 to 15 seconds. This lets the liquid circulate and pull the greens down. Then ramp to high for 30 to 60 seconds.
You want the mixture to look uniform, with no visible leaf bits.
Step 5: Check the Texture
Stop the blender. Look at the surface. If you see floating chunks or streaks of green that haven’t broken down, blend another 20 seconds.
The liquid should be smooth, opaque, and evenly colored.
Step 6: Strain If You Want Juice
Place a nut milk bag or fine-mesh strainer over a pitcher. Pour the blended mixture through it. Squeeze the bag gently to extract liquid.
Discard (or compost) the pulp.
If you want a smoothie, skip this step and pour straight into your glass.
Step 7: Serve Immediately
Green juice oxidizes fast. The color shifts from bright green to muddy brown within an hour. Drink it now for the best flavor and the highest vitamin payoff.
Best Blender Settings for Smooth Green Juice
Different blenders have different controls. The principle stays the same.
Image source: Pexels / Natalie Bond (Pexels License)
Low Speed for the First 15 Seconds
Low speed pulls ingredients down into the blade without creating a vortex that traps air pockets. This is especially important if you’re blending thick greens or frozen produce.
High Speed for the Main Blend
High speed fully pulverizes the cell walls of your greens. That matters because nutrients are locked inside plant cells. The higher the speed and the longer the blend, the more cells break open and the more bioavailable your juice becomes.
Pulse for Tough Bits
If your blender stalls, pulse it 3 to 5 times in short bursts. This kicks the contents loose without overheating the motor. Avoid running the blender continuously for more than 90 seconds at a time.
Give it a 30-second break if you’re doing a big batch.
Tamper Trick for High-End Blenders
If your blender came with a tamper, use it. The tamper pushes ingredients down into the blades without stopping the machine. You can run it at full speed the whole time and get a smoother result.
Common Mistakes That Ruin Green Juice
I’ve made most of these. Save yourself the trouble.
Overloading the pitcher. If you fill it past the max line, the blades can’t catch the greens. Work in batches.
Skipping the liquid base. Dry ingredients make the blades spin in place. Always add liquid first.
Using whole apples with seeds. Apple seeds contain trace amounts of cyanide compounds. Always core your apples. (The amounts are tiny, but the habit is worth keeping.)
Blending too long. More than 90 seconds builds up heat. Heat destroys vitamin C and turns your juice bitter. Stick to the minimum time you need for smoothness.
Not cleaning right away. Greens stain the pitcher green. Rinse immediately or you’ll scrub for ten minutes later.
Skipping the strain. If you want true juice, strain. If you want fiber, skip it. Decide ahead of time.
How to Strain Blender Green Juice (If You Want It Smooth)
Some people love the thick, pulpy texture. Others want something closer to juice. Here’s how to strain without losing all the good stuff.
Method 1: Fine-Mesh Strainer
Pour the blended mixture through a fine-mesh strainer into a pitcher. Press the pulp with a spoon to squeeze out extra liquid. This leaves behind small bits but keeps most of the fiber out of your glass.
Fast and easy.
Method 2: Nut Milk Bag
A nut milk bag catches more pulp than a mesh strainer. Pour the mixture in, gather the top, and squeeze. The result is smoother and more juice-like.
These bags cost a few dollars and last for years.
Method 3: Cheesecloth
Layer cheesecloth over a bowl and pour the mixture through. Gather the edges and squeeze. Works well, but cheesecloth tears if you’re rough with it.
Should You Strain at All?
The Harvard T.H. Chan School of Public Health notes that whole fruits and vegetables deliver more fiber and satiety than juices. If weight loss or blood sugar control is your goal, skip the strain.
If you’re after a lighter drink, strain it.
Recipe: My Go-To Everyday Green Juice
This is the one I make most mornings. It tastes bright, balances bitter greens with sweet apple, and takes under five minutes.
Ingredients:
- 1 cup cold water or coconut water
- 1 large green apple, cored and chopped
- 1 lemon, peeled and seeded
- 1 medium cucumber, chopped
- 2 cups baby spinach (loosely packed)
- 1 cup kale, stems removed
- 1-inch knob fresh ginger, peeled
- 4 ice cubes (optional)
Instructions:
- Pour the liquid into the blender.
- Add apple, lemon, and cucumber.
- Top with spinach, kale, and ginger.
- Blend on low for 15 seconds.
- Ramp to high for 45 seconds.
- Strain through a nut milk bag if you want juice. Pour straight if you want a smoothie.
Yield: About 16 ounces of juice or 20 ounces of smoothie.
Tweaks that work:
- Swap ginger for fresh mint when it’s hot outside.
- Add half a frozen banana for a creamier smoothie version.
- Use romaine instead of kale for a milder flavor.
How to Clean Your Blender After Green Juice
Green juice leaves a stubborn residue. Clean it right after you pour.
Quick Rinse Method
Rinse the pitcher with warm water immediately. Add a drop of dish soap and a cup of water. Run the blender on high for 15 seconds.
Dump, rinse, and air-dry upside down.
Deep Clean
If the pitcher is stained or smells off, fill it with warm water and a tablespoon of baking soda. Let it sit for 30 minutes, then blend briefly and rinse. The baking soda neutralizes odors and lifts stains.
Blade Care
Unplug the blender before touching the blades. They stay sharp. Use a bottle brush to clean around the blade base.
Don’t soak the base in water if it’s a model with a sealed motor.
How to Store Green Juice if You Must Make It Ahead
Fresh is best, but life gets busy. Here’s how to keep juice drinkable for a day or two.
Use a glass mason jar with a tight lid. Plastic lets oxygen in faster.
Fill the jar to the very top. Less air means less oxidation.
Add a squeeze of lemon. The acid slows browning.
Store in the fridge, not the door. Door temperature fluctuates.
Drink within 24 hours. After that, the flavor drops and the nutrient content starts to decline.
Skip the freezer. Frozen green juice separates when thawed and loses the fresh taste.
Green Juice Variations Worth Trying
Once you’ve got the basic technique down, branch out.
Tropical Green
Replace apple with pineapple. Add half a banana and a splash of coconut milk. Tastes like a beach vacation.
Spicy Green
Add a small piece of fresh turmeric root and a pinch of black pepper. Black pepper boosts curcumin absorption.
Protein Green
Add a scoop of unflavored protein powder or a tablespoon of hemp seeds after blending. Great post-workout.
Citrus Green
Use two oranges instead of apple. Drop the ginger. Add a sprig of fresh mint.
Detox Green
Add parsley, cilantro, and a small piece of beet. Earthy and intense. Drink this one slowly.
Final Thoughts
Learning how to use a blender for green juice is one of the highest-return kitchen skills you can pick up. The startup cost is low. The daily payoff is real.
You get more nutrients, more fiber, and more control over what goes into your body than any store-bought bottle can match.
Start with the basics. Use the order I outlined. Pick a recipe you actually want to drink.
After a week of practice, you’ll build a feel for it. You’ll know when the texture is right, when to add more liquid, and which greens taste best to you.
That’s really the whole game. Fresh produce, the right blending order, a tight lid, and a quick cleanup. Everything else is personal taste.
Now go make some green juice. The blender’s waiting.