Image source: Pexels / atelierbyvineeth . . . (Pexels License)
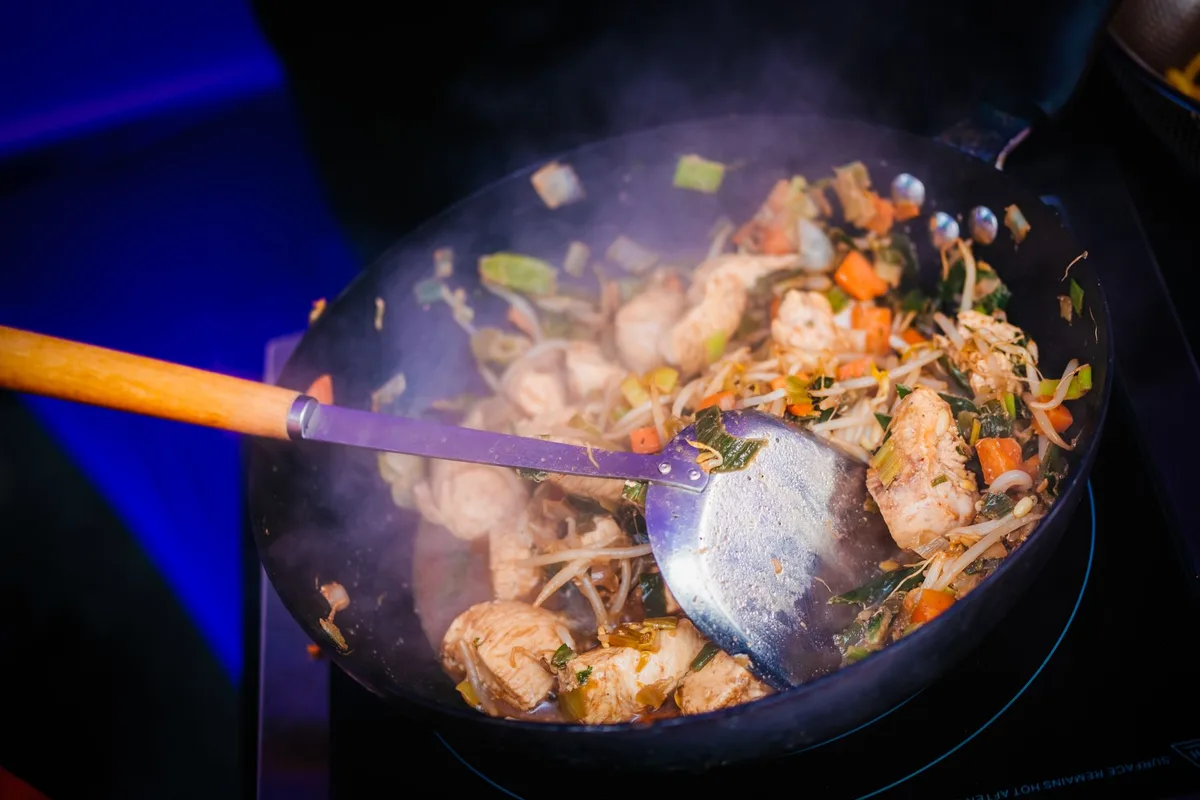
Let’s get one thing straight from the start: a great chicken stir-fry doesn’t need a wok. You don’t need a gas burner that roars like a dragon. You don’t need a cleaver, a carbon-steel pan, or a trip to a specialty store.
What you need is a regular skillet, a handful of fresh ingredients, and a technique that works every single time.
I’ve cooked hundreds of stir-fries in home kitchens. Some were spectacular. A few were sad, soggy messes.
The difference? Heat management, ingredient prep, and the sauce. Master those three, and you’ll turn out a restaurant-quality chicken stir-fry in about fifteen minutes of active cooking.
No smoke alarms. No rubbery chicken. No sad, watery puddles.
This guide covers everything: the best pan, the right cut of chicken, the sauce that ties it all together, and the exact sequence of steps that keeps your stir-fry crisp and your chicken juicy. Let’s cook.
Why a Pan Works Better Than a Wok (for Most Home Cooks)
I love a good wok. But here’s the truth: most home stoves can’t get a wok hot enough to do real stir-fry. A wok needs a high-output burner, the kind restaurants use, to maintain that intense, searing heat across the curved surface.
On a standard electric coil or even a gas range, the wok’s sides stay lukewarm while the bottom scorches.
A flat-bottomed pan, especially a heavy stainless steel or cast-iron skillet, solves that problem. The entire cooking surface makes direct contact with the heat source. You get even, aggressive heat.
That’s exactly what stir-fry needs: high heat, fast cooking, and a surface that doesn’t cool down when you add cold chicken.
Best pan choices for chicken stir-fry:
- Stainless steel skillet, Best for high heat. Gets screaming hot and holds that heat. Requires a little extra oil to prevent sticking, but rewards you with a beautiful sear.
- Cast-iron skillet, Excellent heat retention. Preheats slowly but stays hot. Great for a deep, browned crust on chicken. Heavy, though.
- Nonstick skillet, Easy cleanup. Lower heat limit (most nonstick coatings degrade above 500°F). Works fine but won’t give you the same browned bits that add flavor.
Avoid thin pans. Aluminum or cheap nonstick warps under high heat and cooks unevenly. Your chicken will steam instead of sear.
The Pan-Fry Method vs. Traditional Stir-Fry
This recipe uses a pan-fry approach, a hybrid of stir-fry and skillet cooking. You’re not tossing ingredients in a wok with a flick of the wrist. Instead, you’re cooking in batches, building layers of flavor, and finishing everything together in the pan.
It’s more forgiving. It’s less chaotic. And it still delivers that bright, savory, slightly charred taste that makes stir-fry so satisfying.
Ingredients and Preparation
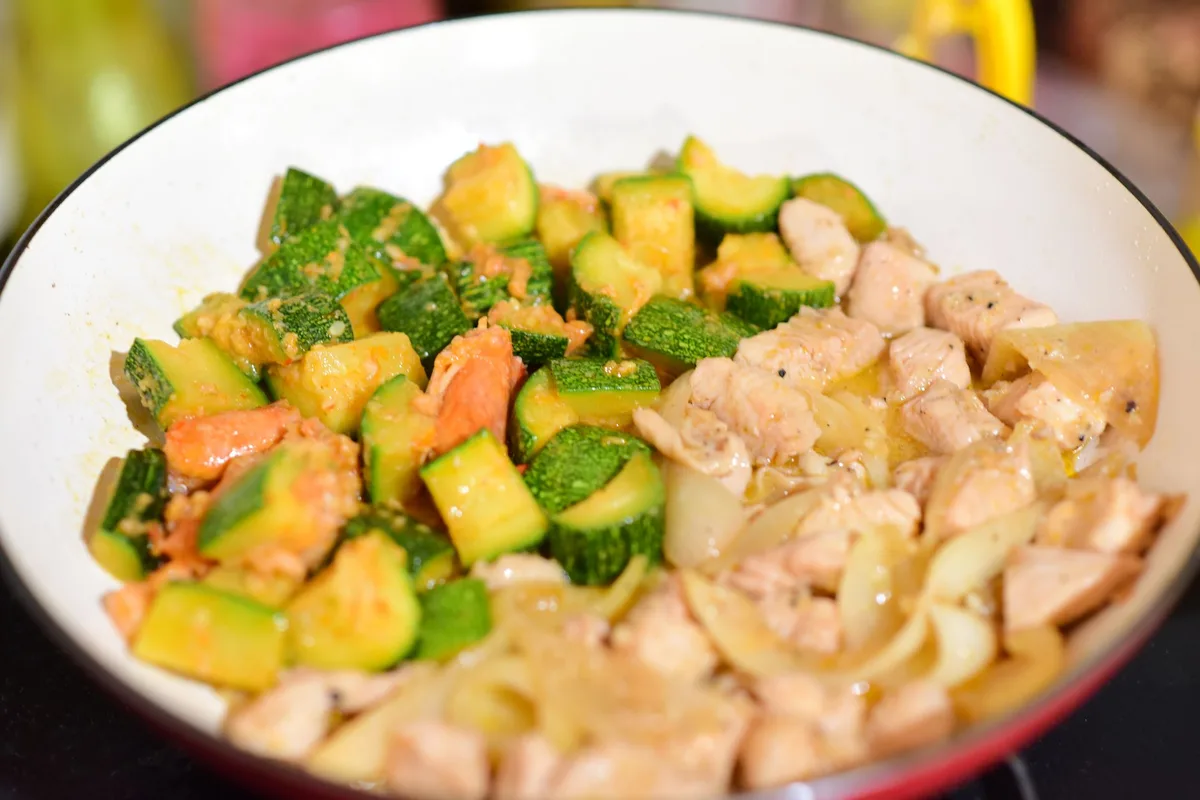
Image source: Pexels / Sóc Năng Động (Pexels License)
Everything about stir-fry happens fast. So you need to prep everything before you turn on the heat. Mise en place isn’t just a fancy French term, it’s the difference between a perfect stir-fry and a pan full of burnt garlic.
The Chicken
Boneless, skinless chicken thighs are the gold standard. They stay juicy, they don’t dry out, and they have enough fat to keep the meat tender. Breast meat works too, but it requires more careful timing.
If you use breast, slice it thin against the grain and don’t overcook it.
How to prepare the chicken:
- Pat the chicken dry with paper towels. Moisture is the enemy of browning. Dry chicken = good sear.
- Slice into bite-sized pieces, about 1-inch cubes or thin strips. Uniform size matters, everything cooks at the same rate.
- Season lightly with salt and white pepper. Skip the soy sauce at this stage, it adds moisture and prevents browning.
- Optional: Coat with a teaspoon of cornstarch. This helps create a thin, crispy crust and helps the sauce cling.
The Vegetables
Choose vegetables that can handle high heat without turning to mush. Classic choices: bell peppers, broccoli, snap peas, carrots, bok choy, mushrooms, and onions. Cut them into similar sizes so they cook evenly.
Dense vegetables like carrots and broccoli florets should be cut smaller than quick-cooking ones like bell peppers.
Vegetable prep tips:
- Broccoli: Cut into small florets, no bigger than a thumb. Blanch or microwave for 30 seconds before stir-frying to ensure tenderness.
- Carrots: Slice on a bias into thin ovals. They cook faster than rounds.
- Bell peppers: Cut into 1-inch squares. Keep the skin side intact.
- Garlic and ginger: Mince finely. These will burn if left in the pan too long, so we often add them late in the process.
The Aromatics
Fresh garlic and ginger are non-negotiable. Use a microplane or a fine mince. Don’t use jarred pre-minced garlic, it’s watery and tastes flat.
Fresh ginger peeled with a spoon (yes, a spoon scrapes the skin off easily) and then minced releases a sharp, bright flavor that defines stir-fry.
The Oil
Use a neutral oil with a high smoke point. Peanut oil is classic. Avocado oil, grapeseed oil, or refined coconut oil all work.
Olive oil has too low a smoke point, it will burn and taste bitter. You need about 2, 3 tablespoons for a standard pan.
Making the Sauce
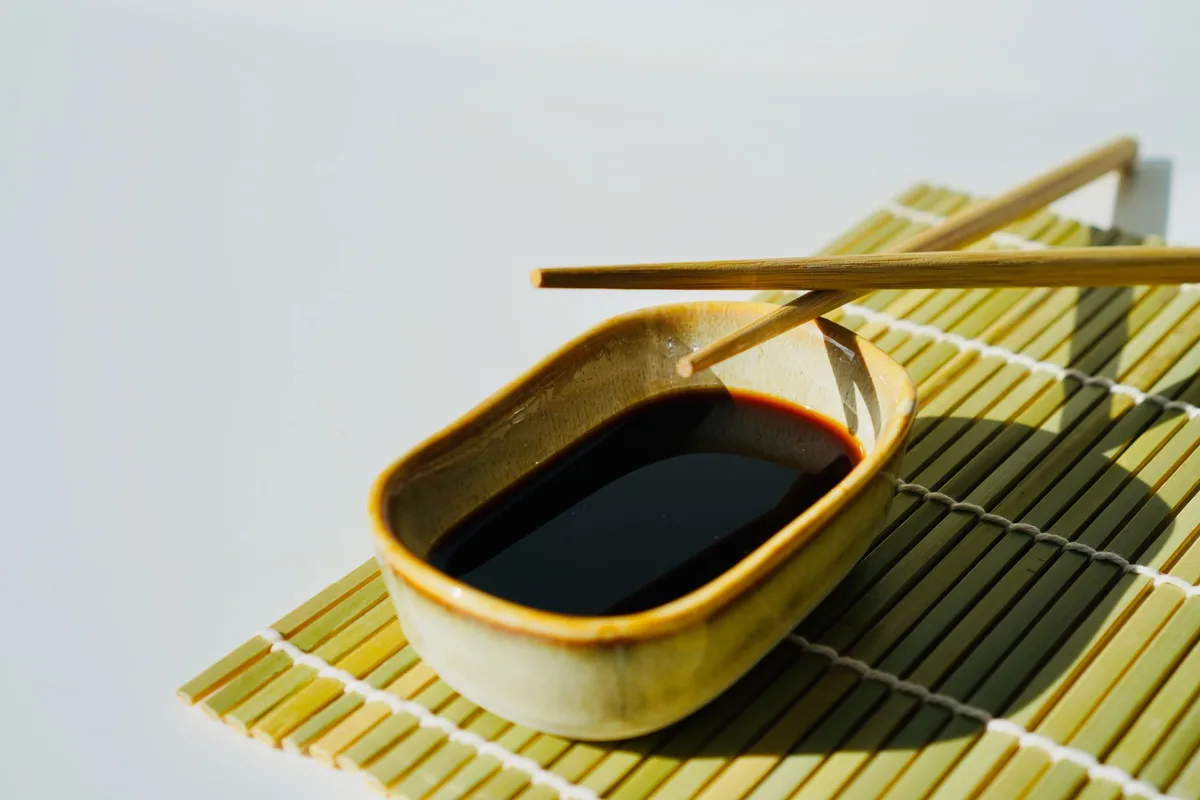
Image source: Pexels / Ivan Vi (Pexels License)
A good stir-fry sauce balances salty, sweet, sour, and savory. It’s not complicated. You’re aiming for a sauce that clings to the chicken and vegetables without pooling at the bottom of the pan.
Basic chicken stir-fry sauce recipe:
- 3 tablespoons soy sauce (low sodium preferred)
- 1 tablespoon oyster sauce (or hoisin for a sweeter profile)
- 1 tablespoon rice vinegar (or Shaoxing wine if you have it)
- 1 teaspoon sesame oil
- 1 teaspoon sugar (brown or white)
- 1 teaspoon cornstarch mixed with 2 tablespoons cold water (slurry)
- Optional: ½ teaspoon chili flakes or sriracha for heat
Whisk everything except the cornstarch slurry in a small bowl. Set aside. The slurry gets added at the end, after the ingredients are cooked.
Why cornstarch matters: It thickens the sauce and gives it that glossy, clingy texture. Without it, the sauce runs off the chicken and pools on the plate. With it, every bite carries flavor.
Step-by-Step: How to Cook Chicken Stir-Fry in a Pan
Let’s walk through the process. I’ll give you the exact sequence, the timing, and the visual cues that tell you when to move to the next step.
Step 1: Preheat the Pan
Place your pan over high heat. Let it sit for 2, 3 minutes. The pan is ready when a drop of water dances across the surface and evaporates immediately.
If the water just sits there and sizzles, the pan isn’t hot enough. If it vanishes instantly, you’re good.
Step 2: Sear the Chicken
Add 2 tablespoons of oil to the hot pan. Swirl to coat. Add the chicken pieces in a single layer.
Do not crowd the pan, if you have a lot of chicken, cook it in two batches. Crowding drops the pan temperature and causes the chicken to steam instead of sear.
Let the chicken cook undisturbed for 2, 3 minutes. It should develop a golden-brown crust on the bottom. Flip and cook another 2 minutes.
The chicken should be just cooked through, about 165°F internal temperature. Use an instant-read thermometer if you want to be precise. According to the USDA, chicken is safe at 165°F.
(You can check the USDA’s safe minimum internal temperature chart for reference.)
Remove the chicken from the pan and set it aside on a plate. Don’t cover it, you want the crust to stay crisp.
Step 3: Cook the Aromatics (Quickly)
Reduce the heat to medium-high. Add a splash more oil if the pan looks dry. Toss in the minced garlic and ginger.
Stir constantly for about 15 seconds. They should become fragrant but not brown. Burnt garlic tastes bitter and ruins the dish.
Step 4: Cook the Vegetables (In Order of Density)
Add the hardest vegetables first, carrots, broccoli, cauliflower. Stir-fry for 2 minutes, tossing occasionally. Then add the medium-density vegetables, bell peppers, snap peas, mushrooms.
Stir-fry another 2 minutes. Finally, add any delicate greens like bok choy or spinach. Cook 1 minute, until just wilted.
The vegetables should stay bright and slightly crisp. If they turn limp and watery, your heat is too low or you’re overcooking them.
Step 5: Combine Chicken and Sauce
Return the chicken to the pan. Pour the prepared sauce (without the slurry yet) over everything. Toss to coat.
Let the sauce bubble and reduce slightly, about 30 seconds.
Step 6: Thicken the Sauce
Give the cornstarch slurry a quick stir (it settles fast). Pour it into the pan while stirring constantly. The sauce will thicken almost immediately.
Keep stirring for another 15, 20 seconds until the sauce clings to the chicken and vegetables.
Step 7: Finish and Serve
Turn off the heat. Drizzle a little extra sesame oil over the top for fragrance. Toss one last time.
Serve immediately over steamed rice or noodles.
Common Mistakes and How to Fix Them
Even experienced cooks mess up stir-fry. Here are the most common problems and the simple fixes.
Problem: Chicken is dry and tough.
Fix: You overcooked it. Chicken thighs are more forgiving than breasts. Or you sliced the breast too thick.
Slice against the grain in thin pieces. Cook just until done.
Problem: Vegetables are soggy.
Fix: Your pan wasn’t hot enough. Or you added too many vegetables at once. Cook in batches if needed.
Also, cut vegetables larger, small pieces release more water.
Problem: Sauce is watery.
Fix: The cornstarch slurry might be too thin. Use a 1:2 ratio of cornstarch to cold water. Also, make sure the pan is hot enough to activate the starch.
If the sauce thins out after a minute, your heat is too low.
Problem: Sauce is too salty.
Fix: Low-sodium soy sauce is your friend. Oyster sauce is also salty. Taste before adding more salt.
If it’s already salty, add a squeeze of lime juice or a pinch of sugar to balance.
Problem: Garlic burned.
Fix: You added garlic too early or left it too long. Garlic goes in after the chicken comes out, and it cooks for only 15 seconds. If the pan is screaming hot, turn the heat down slightly before adding aromatics.
Variations and Customizations
Once you nail the basic technique, the possibilities are endless. Here are a few riffs that keep the same pan-fry method but change the flavor profile.
Spicy Szechuan Chicken Stir-Fry: Add 1 tablespoon of doubanjiang (fermented chili bean paste) along with the garlic. Toss in a handful of dried red chilies and a teaspoon of Szechuan peppercorns. Finish with sliced scallions.
Teriyaki Chicken Stir-Fry: Replace the oyster sauce with 2 tablespoons of bottled teriyaki sauce. Add a splash of pineapple juice. Skip the vinegar and use mirin instead.
Serve with sesame seeds.
Thai Basil Chicken (Pad Krapow): Use fish sauce instead of soy sauce. Add a tablespoon of oyster sauce. Throw in a generous handful of Thai basil leaves at the very end, they wilt in seconds.
Top with a fried egg if you’re feeling bold.
Lemon Chicken Stir-Fry: Use lemon juice instead of rice vinegar. Add a teaspoon of lemon zest. Omit the oyster sauce and use a tablespoon of honey for sweetness.
This is bright and refreshing.
The Science of Stir-Fry in a Pan
Understanding the physics helps you cook better. Stir-fry is about high heat, short cooking times, and minimal moisture. The high heat triggers the Maillard reaction, the browning that creates complex, savory flavors.
That’s why you need a dry pan and dry ingredients. Water boils at 212°F, but browning happens above 300°F. If you add wet chicken, the pan temperature drops below that threshold, and you get gray, steamed meat.
The same principle applies to vegetables. High heat caramelizes their natural sugars. Low heat makes them leak water and turn mushy.
That’s why the order matters: dense vegetables get more time; delicate ones get less.
Equipment and Tools You Actually Need
You don’t need a drawer full of gadgets. But a few items make the job easier.
- Heavy skillet (10, 12 inch), Stainless steel or cast-iron preferred.
- Sharp chef’s knife, Dull knives crush vegetables and make slicing chicken dangerous.
- Wooden spoon or silicone spatula, For stirring. Metal can scratch nonstick pans.
- Small bowls, For prepped ingredients. You’ll thank yourself later.
- Instant-read thermometer, Not essential, but takes the guesswork out of chicken doneness.
Serving Suggestions
Chicken stir-fry is a complete meal on its own, but it pairs beautifully with:
- Steamed jasmine rice, Classic. Fluffy and neutral.
- Brown rice, Chewier, more fiber.
- Rice noodles, Toss them in the pan at the end with the sauce.
- Lettuce cups, Scoop the stir-fry into butter lettuce leaves for a low-carb option.
Garnish with sliced scallions, sesame seeds, or chopped peanuts. A squeeze of lime juice brightens everything.
Storage and Reheating
Stir-fry is best eaten immediately. But leftovers keep for 2, 3 days in an airtight container in the fridge. Reheat in a hot pan with a splash of water, the steam will rehydrate the chicken and vegetables without making them soggy.
Microwave reheating works but tends to toughen the chicken.
Don’t freeze stir-fry. The vegetables lose their structure, and the sauce separates.
Final Thoughts on the Method
I’ve given you the technique, the ingredients, and the science. Now it’s your turn. The pan-fry method is forgiving, fast, and flexible.
Once you get comfortable, you’ll start experimenting, swapping vegetables, adjusting the sauce, adding spice. That’s the beauty of stir-fry. It’s a template, not a rigid recipe.
One last piece of advice: trust the heat. When the pan is hot, the oil is shimmering, and the ingredients hit the metal, you should hear that satisfying sizzle. If you don’t, wait.
Let the pan recover. Then proceed.
Cooking chicken stir-fry in a pan is not complicated. It’s about preparation, heat, and timing. Do those three things right, and you’ll never miss a wok again.