You’ve probably seen one sitting on a back burner in a cozy kitchen photo, or maybe you inherited a heavy, enameled pot from a relative and wondered what to do with it. Let me clear that up right now: a Dutch oven is the single most versatile piece of cookware you can own. I’ve been cooking with them for over a decade, and I still reach for mine at least three times a week.
A Dutch oven is a thick-walled, heavy pot with a tight-fitting lid. The magic comes from the cast iron construction, which holds heat like a bank vault. It distributes heat evenly across the bottom and up the sides, and once it gets hot, it stays hot.
That’s the secret to everything this pot does well.
Whether you want deep browning, slow simmering, or oven baking, this one pot handles it all. Let me walk you through exactly how to cook with a Dutch oven, from seasoning and sizing to specific techniques that actually work.
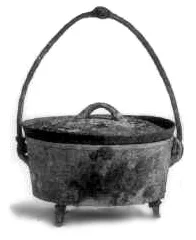
Image source: Wikimedia Commons / McClure’s Magazine
What Makes a Dutch Oven Different From Other Pots
Before we dive into techniques, you need to understand the physics at play here. A stainless steel pot responds quickly to temperature changes. Turn the heat up, it gets hot fast.
Turn it down, it cools fast. That’s great for sauces, but terrible for slow cooking.
A Dutch oven is the opposite. The cast iron walls are thick, usually about a quarter inch or more. That mass takes time to heat up, but once it’s hot, temperature fluctuations barely register.
Add cold meat to a preheated Dutch oven? The pot barely dips in temperature.
That thermal stability is why:
- Bread bakes with a crispy, crackling crust
- Braised meats fall apart tender
- Stews simmer evenly without scorching
- Deep frying stays at a consistent temperature
The heavy lid also matters. It traps steam inside, creating a mini-oven environment. Moisture condenses on the lid and drips back down onto the food, which is exactly what you want for long, slow cooking.
Choosing the Right Size Dutch Oven
Let’s talk size before anything else. The wrong size pot makes cooking harder than it needs to be.
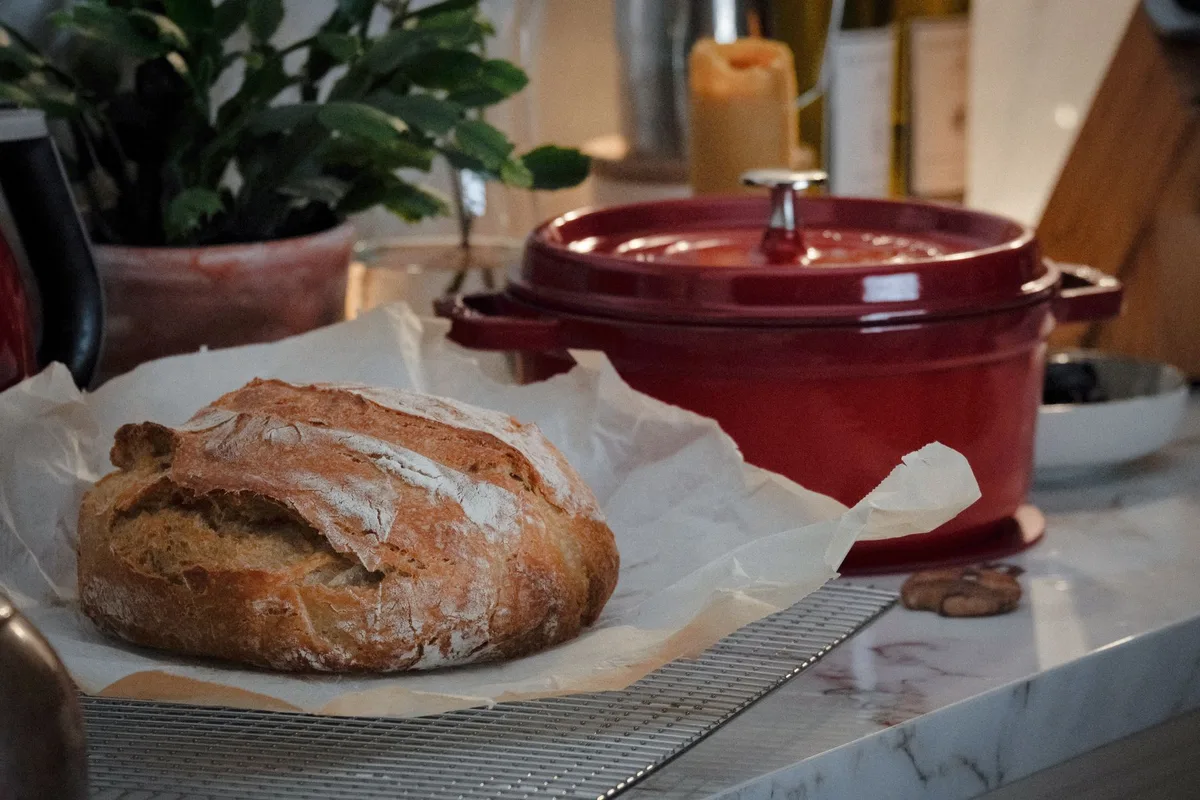
Image source: Pexels / Merve (Pexels License)
5 to 6 quarts, This is the sweet spot for most home cooks. It handles a whole chicken, a 3-pound roast, a batch of soup, or a loaf of bread. If you buy one Dutch oven, make it this size.
7 to 9 quarts, You need this if you cook for a crowd regularly. It fits a large chuck roast, a whole pork shoulder, or enough chili to feed eight people. It also works well for deep frying since the extra volume keeps oil from splashing over.
3 to 4 quarts, This is a great second pot. I use mine for side dishes, smaller batches of soup, or cooking grains. It’s easier to handle and preheats faster.
10 quarts and up, Only buy this if you routinely cook for twelve or more people, or if you camp and need to feed a crew. These things get heavy fast. A 12-quart enameled pot weighs close to 25 pounds empty.
My advice: start with a 6-quart. You’ll use it for 80% of your cooking. Add a smaller size later if you find yourself wanting it.
Seasoning a Bare Cast Iron Dutch Oven
If you have a raw, uncoated cast iron Dutch oven, the kind that feels rough to the touch, you need to season it before cooking. Seasoning is not optional. It’s what makes the pot non-stick and rust-proof.
Here’s the process I’ve used hundreds of times:
-
Wash and dry, Scrub the pot with hot water and a stiff brush. No soap for bare cast iron. Dry it thoroughly, then put it on a low burner for a few minutes to evaporate every last drop of moisture.
-
Apply oil, Use a paper towel to rub a thin layer of vegetable oil, canola oil, or grapeseed oil over the entire surface, inside and out. Thin is the key word here. You want it so thin it barely looks oily. Excess oil will pool and create sticky spots.
-
Bake it, Place the pot upside down in a 450°F oven. Put a sheet of foil on the rack below to catch drips. Bake for one hour, then turn the oven off and let the pot cool inside.
-
Repeat, Do this two or three times for a good initial seasoning. The oil polymerizes into a hard, dark coating. That coating is what makes the pot non-stick.
After that first seasoning, every time you cook something fatty, bacon, browned meat, fried chicken, you’re adding more layers. The pot gets better with age.
For enameled Dutch ovens, You don’t need to season these at all. The enamel coating is already non-reactive and doesn’t rust. Just wash it and start cooking.
Preheating Your Dutch Oven
This step gets overlooked more than any other. Let me be direct: a cold Dutch oven produces poor results.
When searing meat, preheat the pot over medium heat for at least 5 minutes. I usually go 7 to 8 minutes. Drop a drop of water on the surface.
If it sizzles and evaporates instantly, you’re ready.
For bread, put the covered pot in a cold oven, then preheat the oven to 450°F or 500°F. Let it sit at that temperature for a full 30 minutes after the oven reaches temp. That long soak guarantees the cast iron is evenly hot all the way through.
Never preheat an empty enameled Dutch oven on high heat. The thermal shock can crack the enamel. Medium heat for longer is the correct approach.
Searing Meat in a Dutch Oven
Searing is where a Dutch oven proves its worth. That heavy bottom holds heat even when you drop in cold, wet meat. A thin pan would drop in temperature immediately, but the Dutch oven barely flinches.
Here’s how I do it every time:
Pat the meat bone-dry with paper towels. Moisture is the enemy of browning. Salt generously.
Heat a tablespoon of oil over medium-high until it shimmers. Place the meat in the pot and leave it alone.
This is the hard part for most people. You want to poke and move it. Don’t.
Let it cook for 4 to 5 minutes on the first side. When it releases from the pan on its own, flip it. If it sticks, it’s not done searing.
Work in batches if needed. Crowding the pot drops the temperature and steams the meat instead of browning it. A single layer with space between each piece is the rule.
Once everything is deeply browned, deglaze the pot with wine, broth, or even water. Scrape up those browned bits, that’s concentrated flavor that carries through the entire dish.
Braising: The Dutch Oven’s Best Trick
Braising is the process of searing food, then cooking it slowly in a small amount of liquid. It’s how you turn a tough cut of meat into something fork-tender.
The science is straightforward. Collagen, the connective tissue that makes meat tough, breaks down into gelatin at around 160°F to 180°F. That gelatin adds body and richness to the cooking liquid.
The Dutch oven maintains that temperature range perfectly over hours of cooking.
My classic braising method:
- Sear the meat on all sides
- Remove it and cook aromatics, onions, garlic, carrots, celery, in the remaining fat
- Add liquid, usually stock or wine, until it comes about a third of the way up the meat
- Return the meat, bring to a gentle simmer
- Cover and put it in a 300°F oven
Leave it alone for 2 to 3 hours. Check occasionally to make sure the liquid hasn’t evaporated too much. The meat is done when you can slide a fork in with almost no resistance.
Braised short ribs, coq au vin, pot roast, osso buco, these are the dishes a Dutch oven was made for.
Baking Bread in a Dutch Oven
Baking bread in a Dutch oven changed my entire relationship with homemade bread. The results are dramatically better than anything you get from a baking sheet.
Professional bread bakers use steam injection ovens. The steam keeps the crust soft during the first part of baking, allowing the bread to expand fully. Then as the steam clears, the crust hardens and turns golden.
A Dutch oven creates the same environment. The covered pot traps steam released by the dough during baking. Your home kitchen suddenly has a steam oven.
The method:
- Preheat the covered pot at 450°F to 500°F for 30 minutes
- Remove the lid carefully, that steam is hot
- Drop in your proofed dough, seam side up
- Cover and bake for 30 minutes
- Remove the lid and bake another 15 to 20 minutes
The crust comes out thick, crackling, and deeply browned. The inside stays airy and open. You literally cannot get this result from any other piece of home cookware.
Any no-knead bread recipe works well here. The most famous one, from Jim Lahey’s method published in the New York Times, uses just flour, water, salt, and yeast. Let it rise overnight, then bake in your preheated Dutch oven.
Soups, Stews, and Chili
For stovetop cooking, a Dutch oven handles everything a stockpot does, but better. The even heat distribution prevents hot spots that scorch the bottom of a thinner pot.
When I make chili, I brown the meat first in the Dutch oven, remove it, cook the onions and peppers, then add everything back. The whole dish comes together in one pot. Cleanup is one pot instead of four.
The heavy lid keeps moisture in, so you don’t need as much liquid as you think. Start with less broth than a recipe calls for. You can always add more, but you can’t take it out if it’s too watery.
For bean soups, the slow, even heat breaks down dried beans without turning them to mush. I cook unsoaked beans directly in the pot, bring them to a boil, cover, and simmer on the stovetop or in a 300°F oven. They come out creamy on the inside and intact on the outside.
Deep Frying in a Dutch Oven
This is one of the least talked about uses, but it’s one of the best. The high sides prevent splatter. The cast iron holds temperature steady, so the oil doesn’t spike and drop with each batch.
Fill the pot no more than halfway with oil. Any more than that and it can bubble up dangerously when you add food. Use a thermometer, clip it to the side and watch it.
For chicken, fish, or french fries, bring the oil to 350°F to 375°F. The Dutch oven’s mass means it recovers temperature quickly after each batch. That gives you consistently crispy results.
When you’re done, let the oil cool completely. Strain it through a fine mesh sieve and store it in a sealed container. You can reuse it several times.
How to Clean a Dutch Oven
Cleaning depends entirely on whether you have enameled or bare cast iron.
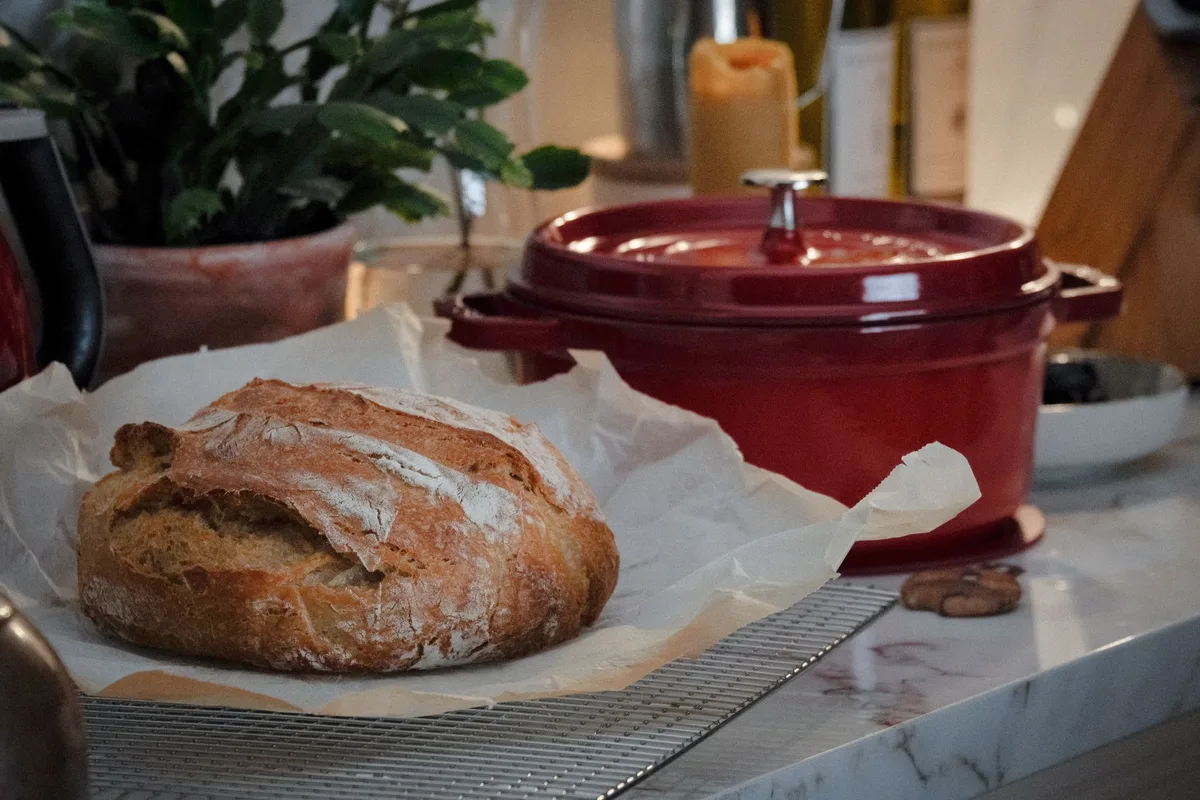
Image source: Pexels / Merve (Pexels License)
Enameled Dutch oven, Let it cool completely. Hot enamel can crack if you run cold water over it. Wash with warm water, dish soap, and a non-scratch sponge.
For stuck-on food, fill the pot with warm water and a tablespoon of baking soda. Bring it to a simmer for 5 minutes. The food lifts right off.
Don’t use steel wool or abrasive scrubbers on enamel. They’ll scratch the surface and ruin the non-stick properties.
Bare cast iron, No soap. I’m serious. Soap breaks down the seasoning.
Use hot water and a stiff brush. For stuck bits, add coarse salt and scrub with a paper towel. The salt acts as an abrasive without damaging the seasoning.
After washing, dry the pot thoroughly. Put it on a low burner for a few minutes to evaporate any residual moisture. Rub a thin layer of oil over the surface to protect it until next use.
If rust appears, scrub it off with steel wool, wash, dry, and re-season. It’s not ruined, just needs a little care.
What Not to Do With a Dutch Oven
Some things damage a Dutch oven. I’ve learned these the hard way.
Don’t use high heat on an empty enameled pot, The enamel can crack from thermal shock. Always have food or liquid in the pot before cranking the heat.
Don’t use metal utensils on enamel, They’ll scratch and chip the surface. Use wood, silicone, or plastic.
Don’t soak bare cast iron, Water causes rust. Clean it promptly and dry it thoroughly.
Don’t put a cold pot directly into a hot oven, The temperature difference can crack enamel or warp bare cast iron. Let it come to room temperature first, or put it in a cold oven and heat them together.
Don’t store food in the pot, Acidic foods like tomato sauce can react with bare cast iron, giving a metallic taste. Enameled pots are fine for storage, but it’s still better practice to transfer leftovers to a container.
Adapting Recipes for a Dutch Oven
Most stovetop-to-oven recipes work perfectly in a Dutch oven. The rule of thumb: if a recipe calls for a covered pot in the oven, your Dutch oven does it better.
For recipes that say “brown in a large pot, then transfer to a baking dish,” ignore that nonsense. Brown directly in the Dutch oven, cover it, and transfer the whole thing to the oven. You save washing a dish and get better results because the pot retains heat so well.
You can also use a Dutch oven as a slow cooker. Set your oven to 250°F to 300°F, and let the pot do its work for 4 to 8 hours. The results actually surpass a standard slow cooker because you get the initial sear and the even oven heat.
Temperature Management Tips
Getting the temperature right takes practice. Here are the things I’ve learned:
-
Low heat on a stove burner with a Dutch oven is often hotter than you think. The pot retains heat so well that medium-low is usually enough for simmering.
-
Oven temperatures are more reliable than stovetop for long cooking. The oven heats the pot evenly from all sides. The stovetop only heats from the bottom.
-
Let it rest after cooking. A Dutch oven stays hot for 20 to 30 minutes after you turn off the heat. Account for that carryover cooking, especially with meat.
-
Use a thermometer to check the surface temperature. An infrared thermometer gun is cheap and takes the guesswork out of preheating.
Final Practical Advice
A Dutch oven is heavy. The 6-quart size I recommend weighs about 15 pounds empty. Fill it with food, and you’re lifting 20 to 25 pounds.
Make sure you can handle that weight, especially when transferring it in and out of the oven.
Get an oven mitt that goes past your wrist. The pot handles get hot, and the lid handle gets dangerously hot. Good protection is not optional.
Don’t obsess over brands. The most expensive options from Le Creuset and Staub are beautiful and perform excellently, but a Lodge cast iron pot costs a fraction of the price and delivers 90% of the performance. Start with what fits your budget.
The more you use your Dutch oven, the better it becomes. Seasoned cast iron improves with age. Enameled pots develop a patina of use that doesn’t affect performance.
This is not a piece of cookware you replace every few years. Buy one good one, and it lasts the rest of your life.
Now go make something in that pot. Bread, stew, braised meat, fried chicken, pick one and start. You’ll wonder why you waited so long.