Cooking a whole turkey can feel like a high-stakes operation. You’re juggling a giant bird, a hot oven, and the fear of serving dry meat. I’ve been there.
Then I discovered the Dutch oven method, and it changed everything. A heavy, lidded pot traps steam. The bird bastes itself.
The skin turns golden. The meat stays moist. And the cleanup?
Almost nothing.
In this guide, I’ll walk you through every step to cook a turkey in a Dutch oven. No brining shortcuts. No guesswork.
Just a reliable, repeatable process that works for a 10-pound bird or a 16-pounder. Let’s get started.
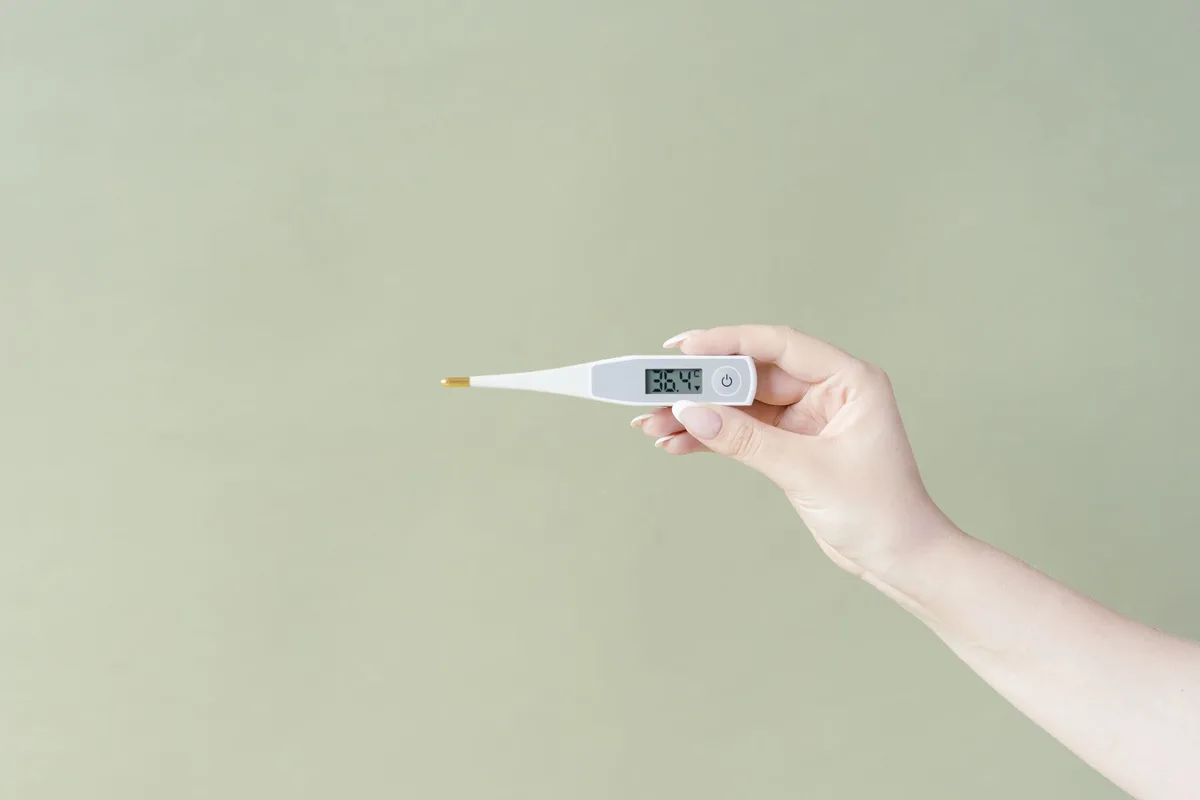
Image source: Pexels / Mikhail Nilov (Pexels License)
Why a Dutch Oven Is the Best Tool for Turkey
A Dutch oven isn’t just for stews and bread. Its cast-iron walls hold heat evenly. The tight-fitting lid creates a mini-oven inside your oven.
Moisture stays in, so the turkey doesn’t dry out. You also get fond, those browned bits on the bottom, which make killer gravy.
Compared to roasting in an open pan, the Dutch oven gives you more control. The bird cooks faster because the trapped heat is more intense. And you don’t need to baste every 20 minutes.
The steam does the work.
One more thing: you can start the turkey on the stovetop for a sear, then transfer the whole pot to the oven. That’s a luxury an open roaster can’t offer.
Choosing the Right Dutch Oven and Turkey Size
Dutch oven size matters. For a whole turkey, you need at least a 7-quart pot. A 5-quart is too small for anything over 10 pounds. I recommend an 8- or 9-quart Dutch oven.
That gives you room for the bird plus aromatics. Lodge, Le Creuset, and Staub all make good options. Enameled cast iron is easiest to clean, but bare cast iron works too, just make sure it’s seasoned.
Turkey size: The largest bird I’d cram into a 9-quart pot is about 16 pounds. Anything bigger and the lid won’t fit snugly. Aim for a 10, 14 pound turkey for the best results.
That’s a manageable size for a family meal and fits comfortably.
Fresh or frozen? Fresh is ideal because you skip the thawing. If you buy frozen, give it 3, 4 days in the fridge to thaw completely. Never thaw on the counter.
Prep Work: Brine, Dry, and Season
You don’t have to brine, but I strongly recommend it. Dry brining is easier than wet brining and produces the same juicy meat and crispy skin.
Dry brine recipe:
- 1 tablespoon kosher salt per 5 pounds of turkey
- 1 teaspoon baking powder (optional, helps skin crisp)
- Your favorite herbs: thyme, rosemary, sage, black pepper
Pat the turkey dry with paper towels. Rub the salt mixture all over the bird, including under the skin. Place it on a rack in a sheet pan, uncovered, in the fridge for 12, 24 hours.
That’s it. The salt penetrates the meat, and the skin dries out.
If you can’t brine, at least season generously an hour before cooking. Don’t skip the drying step. A dry bird = crispy skin.
Aromatics and Flavor Boosters
While the turkey brines, think about what you’ll put inside the cavity and under the skin. Aromatics add subtle flavor to the meat and the drippings.
My go-to combo:
- 1 quartered onion
- 3 garlic cloves, smashed
- 2 sprigs rosemary
- 4 sprigs thyme
- 1 lemon, halved
Stuff these into the cavity. Don’t pack too tight, air needs to circulate. Under the skin, slide a few pats of butter or herb butter.
That adds richness and helps the skin brown.
How to Cook a Turkey in a Dutch Oven: Step-by-Step
Now we cook. This method works for any oven that can sustain 350°F. I’ll use a 12-pound turkey as my example; adjust times slightly for larger or smaller birds.
Step 1: Preheat and Truss
Preheat your oven to 425°F. Yes, higher than you might expect, we want initial heat to kick-start browning.
Truss the turkey loosely. Tuck the wing tips under the shoulders and tie the drumsticks together with kitchen twine. Trussing helps the bird cook evenly and prevents the legs from burning.
Step 2: Sear the Turkey (Optional but Recommended)
Place your Dutch oven on the stovetop over medium-high heat. Add 1, 2 tablespoons of oil. Once shimmering, set the turkey breast-side down in the pot.
Sear for 3, 4 minutes until the skin is deep golden. Flip it over (use tongs and a spatula, it’s heavy) and sear the other side for 3 minutes.
Searing locks in flavor and gives you those valuable browned bits for gravy. If you’re short on time, skip this step and go straight to the oven.
Step 3: Add Aromatics and Liquid
After searing, turn off the heat. Add your cavity aromatics around the turkey, not inside if you’ve already stuffed them. Pour in 1 cup of chicken broth or water.
The liquid shouldn’t come more than a quarter-inch up the sides, you’re not poaching, just creating steam.
Place the lid on the Dutch oven.
Step 4: Roast
Put the pot in the oven at 425°F for 30 minutes. Then reduce the temperature to 350°F (don’t open the oven; just turn the dial). Continue roasting for about 12, 15 minutes per pound.
For a 12-pound bird, that’s 2.5 to 3 hours total.
Check the internal temperature after about 2 hours. Insert an instant-read thermometer into the thickest part of the thigh without hitting bone. You want 165°F in the thigh and 165°F in the breast.
The breast often reaches temperature faster, so start checking the thigh.
Step 5: Uncover and Brown the Skin
During the last 30, 40 minutes of cooking, remove the lid. This lets the skin dry out and crisp up. If you want extra color, increase the oven to 400°F for the final 15 minutes.
Watch carefully so the skin doesn’t burn.
Step 6: Rest
This is not the time to rush. A rested turkey is a juicy turkey. Take the pot out of the oven and transfer the bird to a cutting board.
Tent loosely with foil. Let it rest for 20, 25 minutes.
While it rests, make gravy from the drippings in the pot. (More on that below.)
Temperature and Doneness: No Guesswork
You absolutely need a reliable thermometer. Wing it and you risk dry meat or undercooked thighs. I’m serious.
A digital instant-read thermometer is cheap and essential.
The USDA says turkey is safe at 165°F. But here’s the nuance: breast meat is best at 150, 155°F if it holds that temp for a few minutes, thanks to pasteurization. Many chefs prefer pulling the turkey at 155°F in the thigh and letting carryover cooking bring it to 165°F.
If you follow this Dutch oven method, the carryover heat is significant because the pot retains heat well.
To be safe, aim for 160°F in the thigh, then rest. The temperature will climb to 165°F. I’ve never had an issue.
How to Test Your Thermometer with Ice Water
Before you trust any reading, verify your thermometer is accurate. A faulty reading can ruin a turkey or make you sick. Testing with ice water is the easiest method.
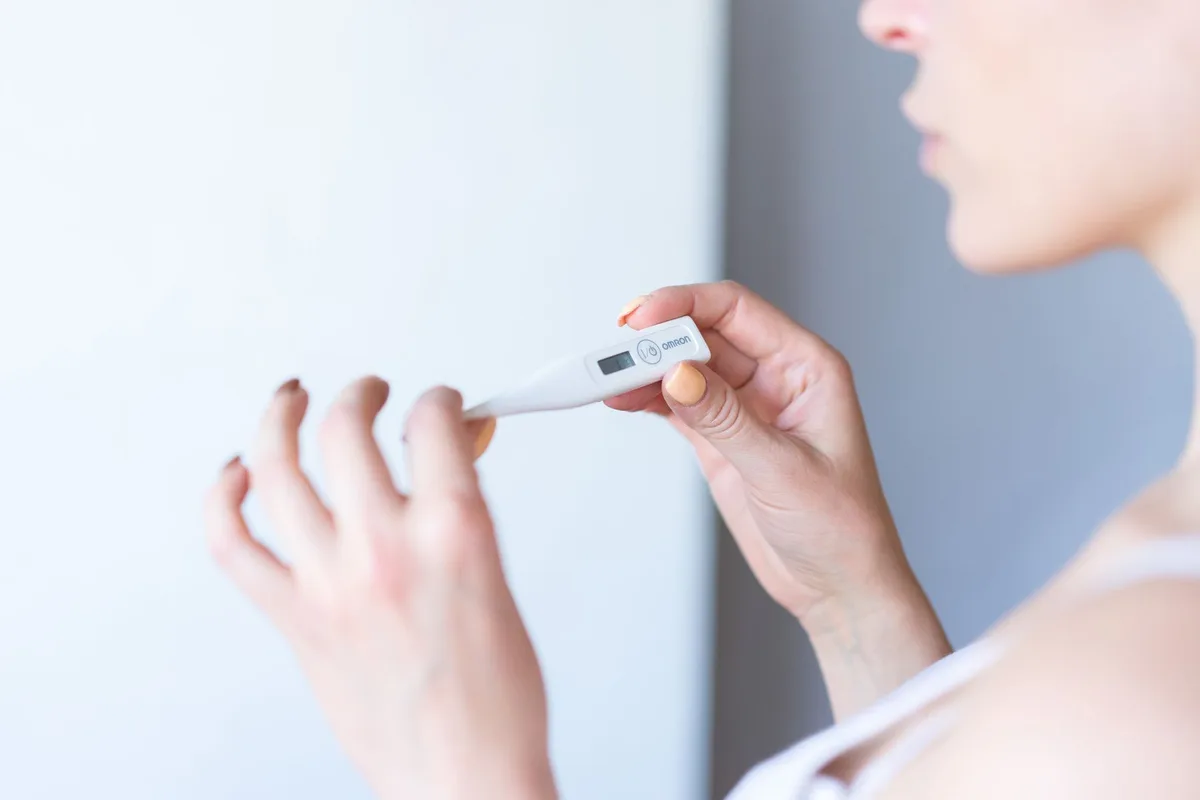
Image source: Pexels / Atlantic Ambience (Pexels License)
Fill a glass with crushed ice. Add just enough cold water to fill the gaps. Stir and let it sit for a minute.
Insert the thermometer probe into the ice water, making sure it doesn’t touch the sides or bottom. The reading should be 32°F (0°C). If it’s off by more than 2 degrees, recalibrate (many digital probes have a calibration function) or buy a new one.
Don’t risk a bad reading on a holiday meal.
How to Test Your Thermometer with Boiling Water
Boiling water is another quick verification method, especially if you don’t have ice.
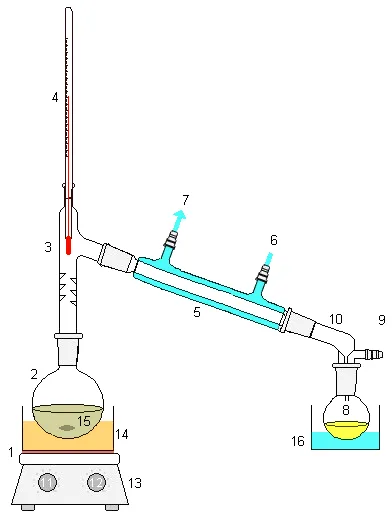
Image source: Wikimedia Commons / Quantockgoblin
Bring a pot of water to a rolling boil. Insert the probe, again, not touching the pot’s sides or bottom. At sea level, the reading should be 212°F (100°C).
If you live at a high altitude, the boiling point drops about 1°F per 500 feet above sea level. Adjust your expectation accordingly. If the reading is off, recalibrate or replace the thermometer.
Accurate temperature is the difference between a perfect turkey and a disaster.
Resting, Carving, and Making Gravy
Resting time is non-negotiable. The juices need to redistribute throughout the meat. Carve a hot turkey and you’ll watch those juices flood the cutting board.
Let it rest 20 minutes under foil.
Carving tips: Remove the legs and thighs first. Then slice the breast against the grain. Keep slices thick, about ½ inch, so they stay moist.
Gravy from the drippings: Remove the turkey and aromatics from the Dutch oven. Place the pot on the stovetop over medium heat. Whisk in 2 tablespoons of flour (or a cornstarch slurry for gluten-free).
Cook for a minute, then slowly pour in 2 cups of turkey or chicken stock while whisking. Simmer until thickened. Season with salt and pepper.
You’ll have enough gravy for everyone.
Common Mistakes and How to Avoid Them
Mistake 1: Overcrowding the pot. If the turkey touches the lid, it will steam rather than roast. The lid should sit flush on the pot without pressing the bird.
Mistake 2: Skipping the dry brine. You can still get a decent turkey without it, but dry brining guarantees juiciness and crisp skin. It’s minimal effort for maximum payoff.
Mistake 3: Opening the oven too often. Every time you open the door or lift the lid, heat escapes. Use the oven light and check temperature through the lid crack only when necessary.
Mistake 4: Not resting long enough. I know you’re hungry. But carving too early dries out the meat. Trust the process.
Scaling for Larger or Smaller Birds
The same method works for turkeys from 8 to 16 pounds. Adjust the cooking time: roughly 13 minutes per pound at 350°F after the initial 30-minute sear at 425°F. For an 8-pound bird, start checking at the 90-minute mark.
For a 16-pounder, expect about 3 hours total after the initial high-heat blast.
If you’re cooking a turkey breast only (boneless or bone-in), the timing is shorter. A 5-pound bone-in breast might take 1.5 to 2 hours. Use the same uncovered step at the end for crispy skin.
Safety and Storage
Leftover turkey should be refrigerated within two hours of cooking. Slice the meat off the bone and store in airtight containers. It keeps in the fridge for 3, 4 days.
For longer storage, freeze in portions for up to 3 months.
Reheat gently: add a splash of broth and cover with foil in a 300°F oven, or use the microwave with a damp paper towel. Avoid high heat, it will dry the meat.
The US Department of Agriculture (USDA) offers excellent guidelines on turkey handling, thawing, and safety. Check their official site for further reading: USDA turkey safety page. It’s a trustworthy source for any cooking questions.
Final Thoughts on Dutch Oven Turkey
Cooking a turkey in a Dutch oven is one of the most forgiving methods I know. The lid traps steam, the heavy pot distributes heat, and the results are consistently juicy. You don’t need a fancy roasting rack or a massive oven.
You just need a good Dutch oven, a reliable thermometer, and a little patience.
I’ve used this technique for Thanksgiving, Christmas, and random Sunday dinners. Every time, the bird comes out golden, tender, and full of flavor. The gravy alone is worth the effort.
Now go preheat your oven. Your perfect Dutch oven turkey is waiting.