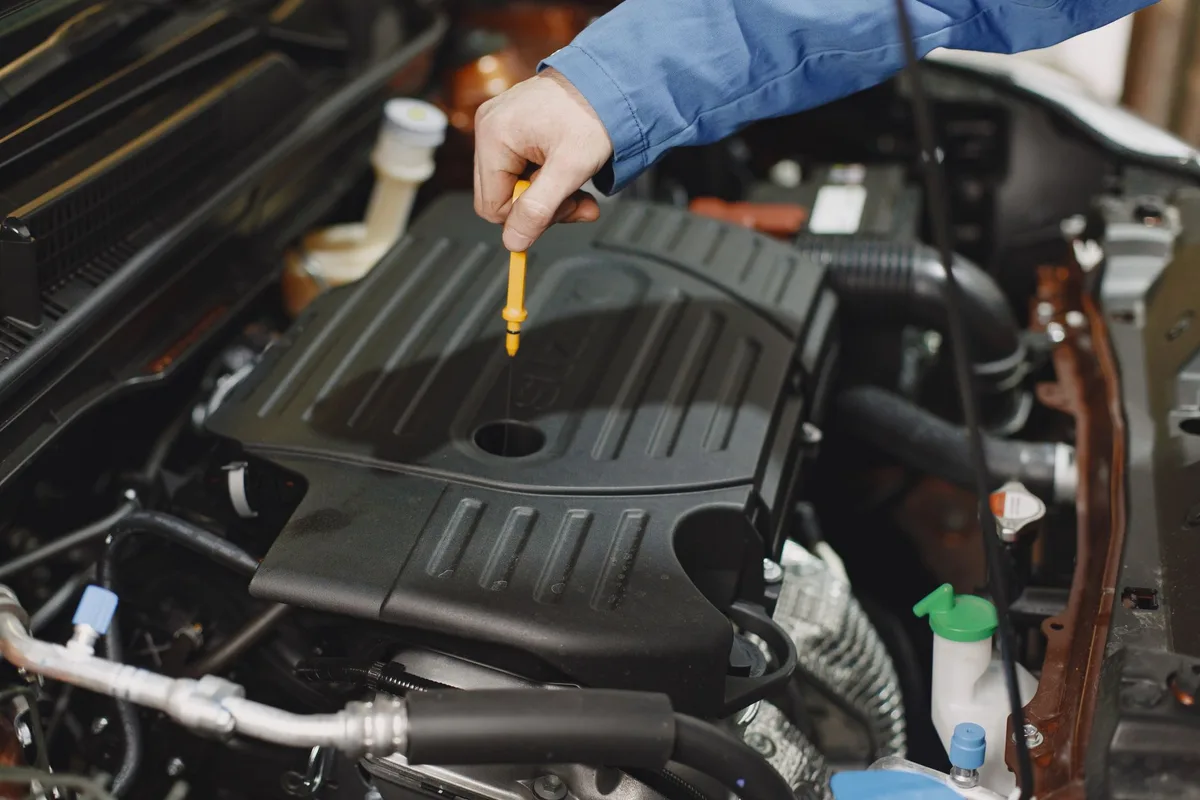
Fixing an oil pan leak starts with knowing what you’re looking at. A small drip can turn into a major loss of oil pressure, and that means engine damage you don’t want. I’ve chased these leaks on everything from a 1998 Civic to a 2022 F‑150, and the process is almost always the same: locate the source, gather the right tools, clean the mating surfaces, install a fresh gasket or sealant, and torque everything to spec.
Below is the exact workflow I use in the shop, stripped of fluff and ready for a DIYer or a seasoned tech.
Signs of an Oil Pan Leak
You’ll usually spot the problem before the low‑oil light flashes. Look for:
- Puddles under the engine, dark, slick spots that grow after the car sits overnight.
- Burning oil smell, especially after a hard pull when the pan gets hot.
- Low oil level, even if you top off regularly, the dipstick keeps dropping.
- Oil on the underside of the pan, a wet sheen on the metal or on the transmission bell housing.
If you see any of those, grab a flashlight and trace the trail back to the pan bolts, the gasket lip, or the drain plug. A cracked pan is rare but possible on older steel units; aluminum pans usually leak at the gasket.
Tools and Materials Needed
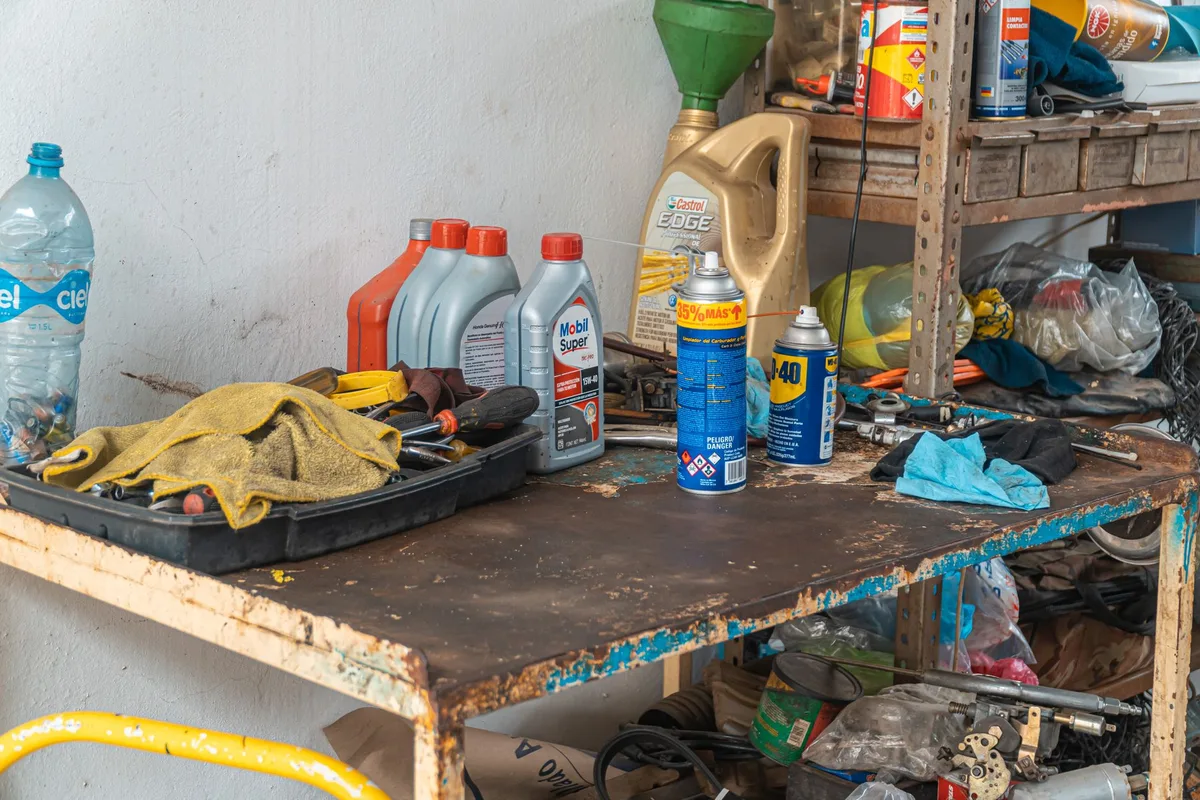
| Item | Why you need it |
|---|---|
| Floor jack & jack stands | Safe, stable lift |
| Socket set (metric & SAE) | Pan bolts vary by make |
| Torque wrench (½‑inch drive) | Prevents over‑tightening |
| Gasket scraper or plastic razor | Removes old material without gouging |
| Brake‑clean or degreaser | Cleans mating surfaces |
| New oil‑pan gasket (OEM or quality aftermarket) | Seals the joint |
| RTV silicone (high‑temp, oil‑resistant) – optional | Extra insurance on uneven flanges |
| Fresh engine oil & filter | Refill after the job |
| Drain pan | Catches old oil |
| Shop rags & nitrile gloves | Keeps things tidy |
Pro tip: Buy a gasket kit that includes the pan bolts. Stretched bolts lose clamp load and cause repeat leaks.
Preparing the Vehicle
- Warm the engine for 5 minutes. Warm oil flows faster and carries debris out of the pan.
- Raise the front on a level surface, secure on jack stands, and chock the rear wheels.
- Remove the splash shield (if equipped) to expose the pan bolts.
- Place the drain pan under the drain plug, remove the plug, and let the oil empty completely.
- Spin off the oil filter while the oil drains, it saves a second trip later.
While the oil is draining, spray the pan bolts with penetrating oil. Ten minutes of soak time makes a huge difference on rusted hardware.
Step‑by‑Step Oil Pan Leak Repair
1. Remove the pan bolts
Work in a criss‑cross pattern, loosening each bolt a half turn before moving to the next. This prevents warping the pan flange. Keep the bolts organized; some engines use different lengths for front vs. rear.
2. Separate the pan
Tap the pan gently with a rubber mallet. If it sticks, slide a flat‑blade pry bar between the pan and block, never force it. The gasket will usually stay on the block; peel it off cleanly.
3. Clean both surfaces
Scrape every trace of old gasket, RTV, and metal shavings. Finish with brake‑clean and a lint‑free rag. The block surface must be dry and smooth; any residue creates a leak path.
4. Inspect the pan
Check for cracks, stripped bolt holes, or a warped flange. A straightedge across the flange should show no light gaps. If the pan is damaged, replace it, don’t try to “seal” a cracked aluminum pan with silicone.
5. Install the new gasket
Lay the gasket on the pan (most modern gaskets are “dry‑fit” and don’t need sealant). If the service manual calls for a thin bead of RTV on the block side, apply a continuous 2 mm bead around each bolt hole and the perimeter. Do not over‑apply; excess squeezes into the oil pickup.
6. Re‑mount the pan
Start all bolts by hand, then torque in the same criss‑cross sequence. Typical spec: 18‑22 ft‑lb for steel pans, 12‑15 ft‑lb for aluminum. Verify the exact number in the factory service manual, torque specs vary by engine family.
7. Re‑install the drain plug & filter
Torque the drain plug to spec (usually 20‑25 ft‑lb). Spin the new filter on hand‑tight, then give it a ¾ turn.
8. Refill oil
Pour the correct viscosity and quantity. Start the engine, let it run 30 seconds, shut off, wait a minute, then check the dipstick. Top off as needed.
9. Leak test
With the engine at operating temperature, inspect the pan perimeter with a flashlight. No drips means you’re done. Re‑install the splash shield and lower the car.
Common Mistakes to Avoid
| Mistake | Consequence |
|---|---|
| Re‑using old bolts | Stretched threads lose clamp load → repeat leak |
| Over‑torquing aluminum pan | Warped flange, cracked bolt holes |
| Skipping surface prep | Tiny particles create micro‑channels for oil |
| Using generic “blue” RTV on high‑temp joints | Sealant breaks down, leaks after a few heat cycles |
| Forgetting to replace the oil filter | Contaminated oil circulates, masks the real issue |
Take the extra five minutes to clean and torque correctly; it saves hours of re‑work.
When to Call a Professional
- Cracked or severely corroded pan, welding aluminum is a specialist job.
- Stripped block threads, requires helicoil or thread‑insert installation.
- Persistent leak after a proper gasket job, could indicate a cracked block or a failed rear main seal masquerading as a pan leak.
If any of those appear, a shop with a machine‑shop capability will save you money long term.
Quick FAQ
Q: Can I just use a thicker gasket?
A: Thicker gaskets change the bolt load and can cause uneven sealing. Stick to OEM thickness.
Q: Do I need to replace the oil pan bolts every time?
A: If they’re stretched or show corrosion, yes. Otherwise, a single reuse is acceptable on most steel pans.
Q: How long does the repair take?
A: 1.5‑2 hours for a typical front‑wheel‑drive car, longer if the exhaust or subframe must be dropped.
Q: What oil should I refill with?
A: Follow the viscosity grade in the owner’s manual (e.g., 5W‑30). Using the wrong weight can affect oil pressure and leak behavior.
Bottom line
A clean surface, a fresh gasket, and proper torque are the three pillars of a lasting oil‑pan seal. Follow the steps above, respect the specs, and that drip under the car becomes a memory. For official torque values and safety guidelines, the National Highway Traffic Safety Administration publishes vehicle‑specific service bulletins, check them at nhtsa.gov before you start.