The skillet is the workhorse of the kitchen. It’s the first pan most of us reach for on a weeknight, the pan we use to crisp a chicken thigh, caramelize onions, or flip a golden pancake. But here’s the thing: a lot of people never actually learn how to use a skillet pan properly.
They just… wing it. And then they wonder why their food sticks, why it cooks unevenly, or why that “non-stick” surface they paid extra for is now flaking.
I’ve cooked thousands of meals in skillets of every size, shape, and material. I’ve ruined my fair share of pans and burned my fair share of dinners. But I’ve also learned exactly what works.
Let me walk you through it so you don’t have to make those same mistakes.
Preheat: The Most Underrated Step
Here’s the truth: most skillet problems start before the food even hits the pan. You’re rushing, you throw the pan on the stove, you drizzle in some oil, and you drop the food in two seconds later. That’s a recipe for sticking and uneven cooking.
The fix is simple: preheat the pan properly.
Place your skillet on the burner and turn the heat to medium (more on heat levels in a moment). Wait, actually wait. Give the pan two to three minutes to heat up.
How do you know it’s ready? Here’s my favorite test: flick a few droplets of water onto the surface. If they instantly sizzle and evaporate, the pan is too hot.
If they just sit there and bubble, it’s not hot enough. But if those droplets bead up and dance across the surface like tiny glass marbles, that’s the Leidenfrost effect, you’ve hit the perfect temperature.
Now, and only now, do you add your cooking fat. Add it to a hot pan, not a cold one. This isn’t just about flavor.
A properly preheated pan creates a thin barrier of steam between the food and the metal, which is what actually prevents sticking.
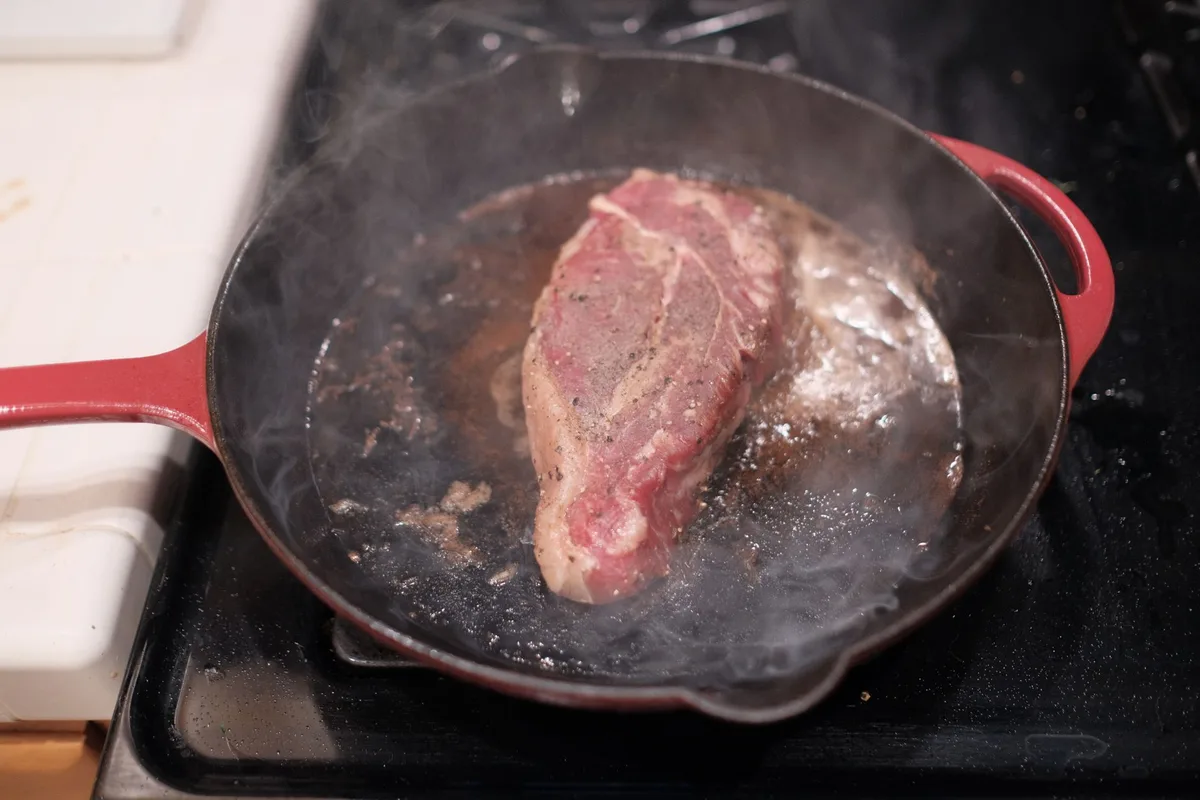
Image source: Pexels / Deane Bayas (Pexels License)
Best Types of Oil and Fat for Searing, Sautéing, and Frying
Not all oils are created equal, and using the wrong one can ruin both your food and your pan. The key factor here is something called the smoke point, the temperature at which an oil starts to break down and burn. When oil burns, it turns bitter, releases harmful compounds, and glues itself to your pan.
Choose your fat based on how hot you’re going, which depends on what you’re cooking:
- High heat (searing meat, deep frying): Use avocado oil (smoke point around 500°F), safflower oil, or clarified butter (ghee). These can handle the heat without burning.
- Medium-high heat (sautéing vegetables, browning ground meat): Regular butter, extra-virgin olive oil, or canola oil (all around 350°F, 420°F) work well. Just watch the butter, it burns fast.
- Low heat (egg dishes, delicate fish): Butter is your best friend here, but even it needs supervision.
One common mistake: people buy extra-virgin olive oil for everything and then complain it tastes bitter. That bitterness is the oil smoking and breaking down. Save the fancy EVOO for finishing dishes and salad dressings.
For high-heat skillet work, stick to oils that can take the punishment.
How to Properly Sear Meat in a Skillet
A perfect sear, that deep, mahogany-brown crust on a steak or chop, is the whole reason many of us reach for a skillet instead of a slow cooker. But achieving it requires a little technique.
First: dry your meat. This is non-negotiable. Take your steak out of the fridge and pat it completely dry with paper towels. Water is the enemy of a good sear.
It steams the surface instead of browning it, leaving you with gray, tough meat. If you have time, let it sit uncovered on a wire rack in the fridge for a few hours. Dry surface equals golden crust.
Second: salt it early. Season generously with kosher salt at least 40 minutes before cooking, ideally longer. This draws moisture to the surface, then that moisture reabsorbs and season the meat all the way through.
Third: use the right heat. Remember how I said to preheat? For searing, you want the pan smoking hot. Get that skillet up to temperature for about three to five minutes on medium-high.
Add a high-smoke-point oil, then lay the meat down, away from you, so oil doesn’t splash on your hand.
Fourth: don’t touch it. This is where people lose their minds. You’ll want to flip the meat, jiggle it, look at it. Stop.
Let the crust form. The meat will release from the pan naturally when it’s ready, usually after two to four minutes. If it sticks when you try to flip it, it’s not ready.
Give it more time.
Fifth: basting (optional but incredible). Once you flip the meat, drop in a knob of butter, a few garlic cloves, and a sprig of thyme. Tilt the pan slightly and spoon the hot butter over the meat, over and over. This adds flavor and helps cook the top more evenly.
How to Sauté Vegetables Properly
Vegetables are more forgiving than meat, but they still benefit from the same principles. You want even browning and crisp-tender texture, not limp, watery mush.
Start with a hot pan. Add oil, then immediately add your vegetables, but don’t crowd the pan. This is huge. If you dump in a mountain of mushrooms or a pile of spinach, the pan temperature drops fast.
The vegetables release their water and start boiling instead of sautéing. You end up with gray, mushy cubes instead of golden, caramelized ones.
Work in batches. If you’re cooking a large batch, cook in single layers. Let each batch brown properly, remove it, and repeat. Yes, it takes longer.
Yes, it’s worth it.
Build flavor in layers. Cook aromatics (garlic, onion, ginger) first in the oil to flavor it. Then add vegetables that take longer (root vegetables, potatoes) before quick-cooking ones like greens or peppers. This way everything finishes at the same time.
Season at the right moment. Salt draws out water, so add it late for crispy vegetables. If you salt mushrooms too early, you’ll get a pan full of liquid. Wait until they’re almost done, then season.
How to Use a Skillet for Cooking Eggs Without Sticking
If you’ve ever had an omelet turn into scrambled eggs because half of it stuck to the pan, I feel your pain. I’ve been there too. Let me tell you what actually works.
Choose the right pan. For eggs, especially delicate ones, you want either a well-seasoned cast iron skillet, a carbon steel skillet, or a quality non-stick pan. If your pan is scratched or the non-stick coating is damaged, it’ll never work well. Replace it.
Temperature control is everything. This is the mistake everyone makes: they crank the heat to high, thinking it’ll cook faster. Wrong. High heat breaks down the proteins in eggs and makes them stick.
Use low to medium-low heat. The pan should be warm, not screaming hot.
The butter trick. Use a generous amount of butter, about a tablespoon for 2, 3 eggs. Let it melt and foam slightly, but don’t let it brown. Then swirl it around to coat the entire surface, including the sides.
Let the eggs set, then push. For scrambled eggs, pour them in and let them sit for ten seconds before you start moving them. This creates curds instead of a gooey mess. For over-easy eggs, cook until the whites are set, then flip gently.
Managing Heat: When to Use High, Medium, or Low
A skillet pan is essentially a heat transfer device. Your job is to control how much heat hits your food and when. Here’s my simple breakdown:
- High heat: For searing meat, crisping battered food, boiling liquid quickly. This is for short bursts, you turn it down almost immediately.
- Medium-high heat: For sautéing, stir-frying, browning ground meat. This is the standard “cooking” temperature for most recipes.
- Medium heat: For reducing sauces, cooking thicker items, frying eggs, making grilled cheese. Golden brown, not charred.
- Low heat: For melting butter, reheating leftovers, cooking delicate fish, keeping food warm without overcooking.
Here’s the pro secret: you don’t have to just pick one. Recipes often say “reduce to a simmer” or “crank up the heat,” but in real cooking, you’re adjusting constantly. Watch your food, not the recipe. If it’s browning too fast around the edges, turn it down.
If nothing’s happening, turn it up. Your skillet is a tool, you’re the one in control.
Skillet Pan Care: Cleaning, Drying, and Oil Seasoning
How you clean your skillet depends entirely on what it’s made of. Get this wrong, and you’ll ruin a good pan quickly.
Cast iron and carbon steel: These pans are “seasoned”, they have a polymerized oil coating that makes them naturally non-stick. This means NO soap (until recently, more on that in a second). Here’s the modern consensus: a little dish soap is okay if your seasoning is strong.
But the safest bet is to rinse with hot water, scrub with a stiff brush, dry thoroughly, and wipe a very thin layer of oil over the surface to re-season it.
The rules apply to carbon steel pans, though they’re slightly more forgiving. The Canadian Food Inspection Agency has published general guidance on safe food handling that emphasizes how crucial proper cleaning is for preventing cross-contamination.
Stainless steel: This stuff can handle the dishwasher, but honestly, hand-washing is better. A scrub brush and some warm soapy water will get it clean. If food is stuck on, fill it with water, add a bit of soap, bring it to a boil, then scrape with a wooden spoon.
Non-stick: Never use metal utensils. Never crank the heat to high. The coating degrades quickly with well-intentioned scrubbing.
It’s also prone to flaking, which is bad news because PTFE (the coating) has been linked to health issues when it breaks down at high temperatures. If your non-stick surface is flaking, donate it. It’s time for a new pan.
Always dry thoroughly. Moisture is the enemy of cast iron, it causes rust. After washing, put the skillet on the stove over low heat for a minute or two to evaporate any remaining water. Then add a thin layer of oil, wipe it off with a paper towel, and store it.
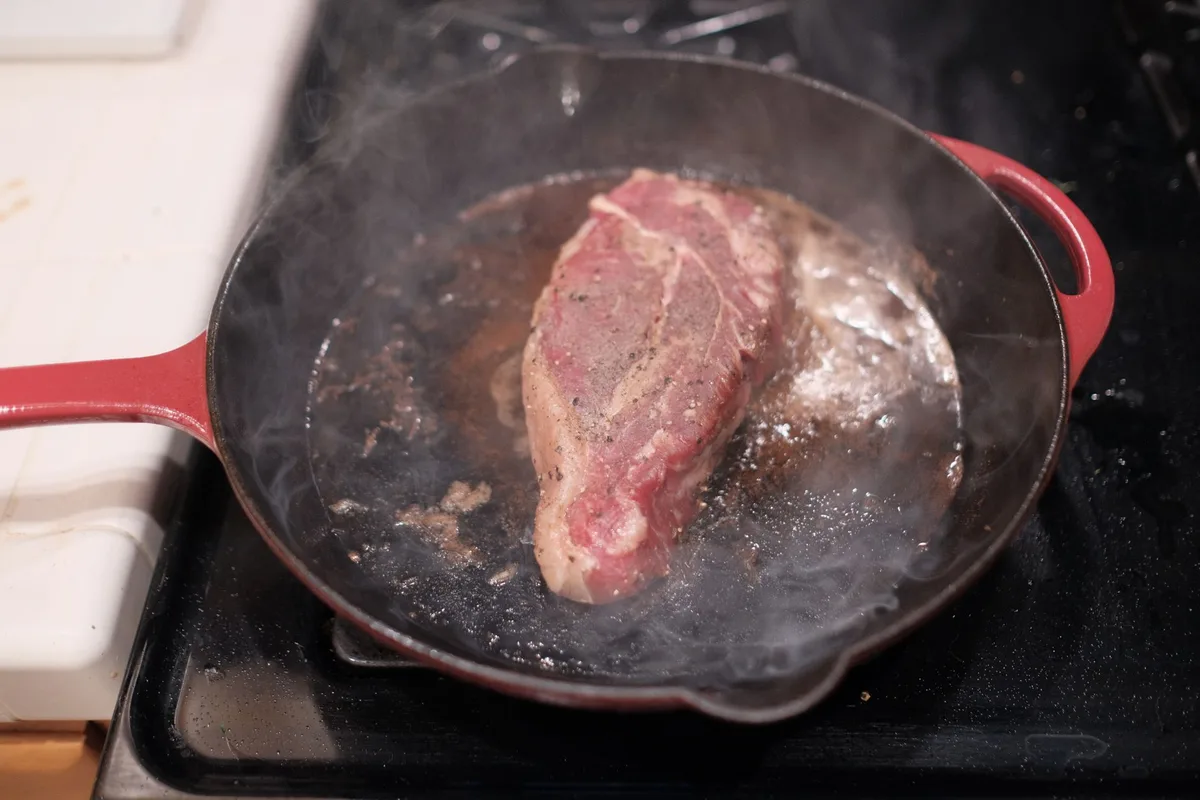
Image source: Pexels / Deane Bayas (Pexels License)
How to Season a Skillet Pan
This is the single most important thing you’ll ever do with a cast iron skillet. Seasoning is what makes it non-stick. It’s what gives it that beautiful, smooth, black patina.
And it’s really nothing more than polymerized oil, oil that’s been heated until it bonds to the metal.
Step 1: Clean it thoroughly. If your pan has any rust, scrub it off with steel wool. If it has old food or residue, wash with hot water and a stiff brush.
Step 2: Dry it completely. Put it on the stove over low heat for a few minutes to get every drop of water off.
Step 3: Apply a very thin layer of oil. Use a neutral, high-smoke-point oil (flaxseed, grapeseed, or crisco). Apply it with a paper towel, then wipe it off like you made a mistake. You want just a faint sheen, not a pool of oil.
If you put too much on, it’ll get sticky and tacky when it cools.
Step 4: Heat it. Put the skillet upside down on the oven rack (so excess oil drips off) and place a baking sheet underneath to catch drips. Set the oven to 400, 450°F, or just above the oil’s smoke point. Bake for one hour.
Step 5: Turn off the oven and let it cool completely inside. This lets the oil set properly.
Repeat this process 3, 5 times for a brand-new cast iron pan, and you’ll build up a strong seasoning layer. After that, maintain it by cooking with fat regularly and re-seasoning every few months if it starts looking dry.
Choosing the Right Skillet Material
The “best” skillet material doesn’t exist, but the right one for your cooking style does.
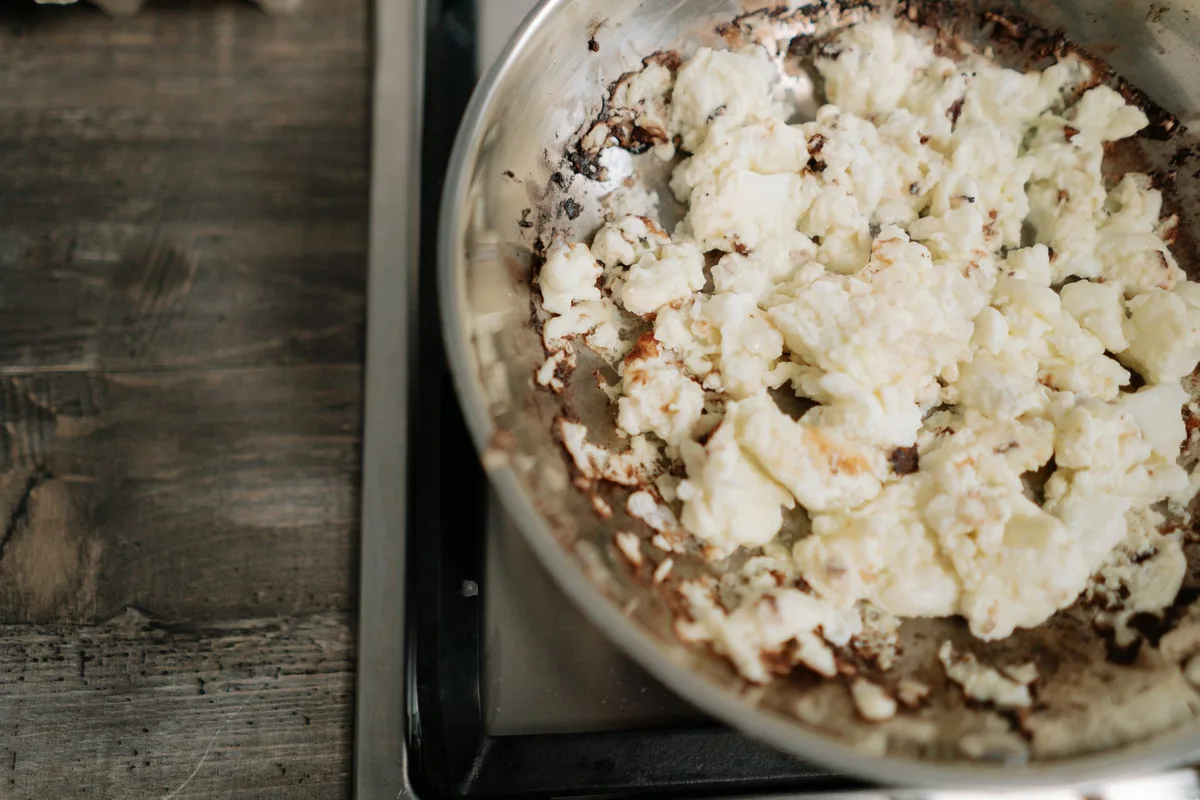
Image source: Pexels / cottonbro studio (Pexels License)
Cast iron: The heavyweight champion. It has incredible heat retention, meaning once it’s hot, it stays hot. That makes it perfect for searing thick steaks and deep-frying.
It’s also very durable, properly cared for, a cast iron pan can last 100 years. The downsides: it’s heavy, takes forever to heat up, and needs care to prevent rust.
Carbon steel: If cast iron is a sledgehammer, carbon steel is a precision tool. It’s lighter, heats a little faster, and develops a smoother, slicker seasoning. It’s the favorite of professional chefs, and it’s my personal recommendation for most home cooks who want a versatile skillet.
It’s more responsive to heat changes than cast iron, which gives you more control.
Stainless steel: This is the workhorse you’ll see in most restaurant kitchens. It’s durable, easy to clean, reactive (heats quickly), and can go in the dishwasher. But it has zero non-stick properties, you must use proper technique (preheating and enough oil) to prevent sticking.
Look for tri-ply or multi-ply stainless steel for even heat distribution. The FDA has resources on relative kitchen safety standards and the proper care of these materials.
Non-stick (Teflon): The convenience pan. Great for eggs, crepes, pancakes, anything fiddly and delicate. It requires barely any oil.
But it’s not durable, can’t handle high heat, and isn’t great for searing. See it as a special-purpose pan, not your daily driver.
Common Mistakes to Avoid
Let me save you a few disasters. These are the errors I see constantly:
- Never heat an empty non-stick pan on high. Overheating a non-stick skillet causes the coating to break down and release fumes that are toxic to you and lethal to pet birds. Don’t risk it.
- Don’t put a hot pan in cold water. The thermal shock can warp it. Warping means your pan no longer sits flat on the burner, it will rock and cook unevenly. Let it cool naturally, then wash.
- Don’t be afraid of cast iron’s reputation. Yes, it needs care. No, it’s not high-maintenance. Five minutes of wiping and oiling after each use keeps it perfect for decades.
- Don’t use metal utensils on any cooking surface. They scratch the seasoning on cast iron and instantly ruin non-stick. Use wooden spoons, silicone spatulas, or bamboo tongs.
- Don’t store food in your skillet. Acidic foods dissolve seasoning. Even leftovers in that tomato sauce will eat the iron. Always transfer food to a container before refrigerating.
The Wrap-Up: Your Skillet Is Your Best Teacher
Here’s the honest truth: no amount of reading replaces time spent at the stove. Your first few attempts will be imperfect. You’ll burn something.
You’ll stick a pancake. Everyone does.
But here’s what I want you to remember: a skillet pan is a forgiving tool. It teaches you, through smoke, sizzle, and char, what heat does to food. Once you understand how to control heat, how to season your pan, and how to clean it properly, you’ll never look back.
Start with one skillet. Preheat it correctly. Don’t crowd it.
And pay attention to what you’re seeing and hearing. That sizzle tells a story. Once you learn to listen, you’ll cook like a pro.
Now go fire up your pan and make something delicious. You’ve got this.