Most people never touch the power level button on their microwave. They punch in a time, hit start, and walk away. That’s a missed opportunity.
The power setting is arguably the most useful feature on the entire appliance. It’s the difference between a rubbery hockey puck of a baked potato and a fluffy, perfectly cooked one. It’s the difference between dried-out leftovers and a meal that tastes almost as good as the night you made it.
I’ve spent years in the kitchen, both professionally and at home, and I can tell you this: mastering the power level transforms how you cook. This guide walks you through exactly how to change the power on a microwave, regardless of your model. We’ll cover the universal steps, the quirky variances across brands, and the practical “why” behind every setting.
Why You Should Care About Microwave Power Levels
Here’s the core truth: a microwave isn’t just a “heat box.” It’s a tool with variable output. At 100% power, the magnetron fires constantly, generating intense heat that zaps moisture out of food rapidly. At lower levels, the magnetron cycles on and off, giving the heat time to distribute evenly through the food.
Think of it like a car engine. You can floor it everywhere, but you’ll burn fuel and strain the engine. Sometimes, you need to cruise in a lower gear.
The same logic applies to your food.
Using the correct power level does three things:
- Prevents overcooking: Especially for proteins and dairy.
- Ensures even cooking: No more cold centers or burnt edges.
- Improves texture: Keeps food tender and moist.
The default is always 100%. If you don’t know how to change it, you’re cooking everything at maximum intensity, which is rarely ideal.
The Core Steps: How to Change the Power on a Microwave
The good news is that once you learn the core sequence, you can operate almost any microwave on the planet. The process hasn’t changed much in decades. It relies on a simple, sequential button-pressing logic.
Here is the universal method you need to know.
Step 1: Locate the “Power Level” or “Power” Button
This is the most critical step. Look at your control panel. You are searching for one of these labels:
- Power Level
- Power
- Microwave Power
- Level
It might be a literal button with that text printed on it. On some models, it’s a “soft key” or an option within a menu.

Image source: Pexels / Robert Schwarz (Pexels License)
On many standard models, the “Power Level” button is in the upper left corner of the keypad, right next to the “Timer” button. However, on newer, expensive models with LCD screens, it might be buried in the “Options” or “Settings” menu. Don’t panic.
The logic is the same, even if the path is slightly longer.
Step 2: Set the Power Percentage
The classic method is to press “Power Level” and then enter a number on the keypad. That number does not correspond to the percentage directly in the way you might think. It’s a one-to-ten scale.
Here’s the cheat sheet:
- Press 1 = 10% power (Low)
- Press 2 = 20% power
- Press 3 = 30% power (Medium-Low, Defrost)
- Press 4 = 40% power
- Press 5 = 50% power (Medium)
- Press 6 = 60% power
- Press 7 = 70% power (Medium-High)
- Press 8 = 80% power
- Press 9 = 90% power
- Press 0 = 100% power (High)
So, if you want 70% power, you press “Power Level,” then press “7” on the keypad. If you want 50%, you press “Power Level,” then “5.”
Important Note: On some newer Panasonic and LG models, the display will show “PL” followed by a number (e.g., “PL10” for high). The logic remains the same: enter the number, and the machine interprets it as the power level.
Step 3: Enter the Cooking Time
You cannot just set the power level and walk away. The microwave will not start until you enter a cooking time. It does not save the power setting for future use unless you program it in a memory slot.
So, after you press your power level, use the number keypad to enter your cook time in minutes and seconds. For example, for 1 minute 30 seconds, press “1,” “3,” “0.”
Step 4: Hit Start
Press the “Start” or “Start/+30 Sec” button. The microwave will now begin its cycle. On most models, the display will confirm the power level you’ve selected for the first few seconds, or you’ll see it in the cycle info.
Then, your timer begins.
That’s it. That’s the entire process. Four steps.
You’ve just learned how to change the power on a microwave.
How to Change the Power Level on Different Brands
While the standard process above works for most models, the big brands have their own quirks. Let’s look at the specific sequences for the most popular manufacturers. The instructions below are for changing the power level before cooking.
Whirlpool, Maytag, and KitchenAid
These brands (which share similar control tech) often use a “Cook Time” or “Micro Time” button before the power level.
- Press “Cook Time” (or “Micro Time”).
- Enter your desired cook time using the keypad.
- Press “Power Level” (sometimes labeled “Power”).
- Enter the power level number (1-10).
- Press “Start.”
This reverses the order from the “classic” method. Here, time comes first, then power. It’s a common pattern for Whirlpool’s interface.
Samsung
Samsung microwaves are famous for their specific multi-step process. You don’t just press a button.
- Press the “Microwave” or “Cook” button.
- Enter the cook time.
- Press the “Power Level” button.
- Enter the desired level (1-10).
- Press “Start.”
If your Samsung has a “My Choice” or dial-based interface, you may need to scroll to “Power Level” within the settings menu after selecting the cook time. Always consult your model’s manual if the standard steps don’t work.
LG
LG microwaves are generally straightforward.
- Press “Power Level” (it’s usually clearly labeled).
- Enter the power level (1-10).
- Enter the cook time.
- Press “Start.”
Some LG models with “Sensor Cooking” or “EZ-ON” buttons follow the classic sequence exactly, while others have a slide bar on a touchscreen where you drag to select the power level.
Panasonic Inverter Microwaves
Panasonic uses a different technology called “Inverter.” This allows for a true continuous variation of power, rather than just cycling on and off. The control interface, however, is similar.
- Press “Power Level” (on some models, it’s a “Micro Power” symbol).
- Use the number pad to enter a level (1-10).
- Enter the cook time.
- Press “Start.”
On their flagship models with a large LCD screen, you might tap the “Power Level” field on the display and use a rotary dial to select the intensity.
GE Models
GE typically uses the classic sequence we talked about first. It’s very intuitive.
- Press “Time Cook” (this is key; don’t look for “Power Level” first).
- Enter the cook time.
- Press “Power Level.”
- Enter a number (1-10). For example, press 5 for medium.
- Press “Start.”

Image source: Pexels / Erik Mclean (Pexels License)
A Quick Guide to Power Levels and What They’re For
Knowing how to change the power on a microwave is only half the battle. Knowing which power to use is the real skill. Here’s your cheat sheet for common cooking tasks.
High (100%) – Press 0
- Use for: Boiling water, cooking fresh vegetables (with a bit of water), reheating beverages, cooking bacon, and baking potatoes (if you’re short on time).
- The effect: Fast heat, but will cause splatter and can make meat tough. Watch it closely.
Medium-High (70%) – Press 7
- Use for: Reheating most leftovers, cooking poultry pieces, and finishing off casseroles. This is my default for almost all reheating tasks. It heats through without turning the edges into rubber.
- The effect: Slightly slower than high, but far more even. The food has time to absorb the heat.
Medium (50%) – Press 5
- Use for: Cooking eggs, making custards, melting chocolate, and cooking “simmered” items like sauces or chili. This is also a great setting for defrosting delicate items.
- The effect: Gentle heat. The magnetron cycles on and off at a 50/50 ratio, giving the food time to equalize.
Low (30%) – Press 3
- Use for: Defrosting bread, softening butter, practicing dough, and removing the chill from a frozen cake.
- The effect: Very gentle. It softens without starting to cook the food. It takes longer, but it’s the safest setting for these tasks.
Warm (10%) – Press 1
- Use for: Keeping sauces warm without cooking them, proofing bread, and softening ice cream.
- The effect: Barely a hum of power. The microwave runs just enough to generate a tiny bit of heat.
How to Change the Power Level on a Convection or Combo Microwave
High-end combo ovens add a whole new layer of complexity. These appliances combine a microwave with a convection oven and sometimes a grill. They have multiple heating modes.
In convection or grill mode, the power level is often fixed or controlled by the thermostat, not a percentage. You set the oven temperature (e.g., 350°F), and it uses the heating element and fan.
However, if you want to use the “Combi” mode (microwave + convection), most models let you set the microwave power level as a percentage of the total time. The process usually looks like this:
- Select the “Combi” or “Micro + Convection” mode.
- Set the oven temperature.
- Enter the cook time.
- Press the “Microwave” button.
- Enter the microwave power level (1-10).
- Press “Start.”
This turns the microwave on periodically while the convection heat works, speeding up cooking times. It’s a great feature, but it requires a bit more active thinking about your power levels.
Tips for Setting Power and Time Together
Don’t think of power and time as two separate things. They are a single equation. When you lower the power, you almost always need to increase the time.
Here are a few rules of thumb I use every day.
The “Recalculation” Shortcut
If a recipe calls for 5 minutes at High (100%), and you want to use Medium-High (70% or Level 7), you can’t just add 2 minutes. You need to multiply the time.
Let’s say the standard recipe is 5 minutes at 100% power. The total “energy output” is 500% (5 minutes x 100%). To match that at 70% power with a setting of Level 7, you’d multiply the time by approximately 1.4.
So, 5 minutes x 1.4 = 7 minutes. Start with 6 minutes and check your food. It’s always better to undercook slightly and add time.
- Adjusting for 70%: Add ~40% more time.
- Adjusting for 50%: Add double the time.
The “Standing Time” Secret
One of the biggest errors you can make is pulling food out of the microwave the second the timer hits zero. That’s not the end of the cooking process. The residual heat continues to cook the food.
This is why you should always add “standing time” to your cooking calculations.
For example, if you’re using a lower power level (like 50%) to cook a dense casserole, the internal temperature will still be climbing for 2-3 minutes after the microwave stops. If you remove it and serve immediately, it might be underdone. Let it rest, tented with foil, and you’ll get a perfectly cooked dish.
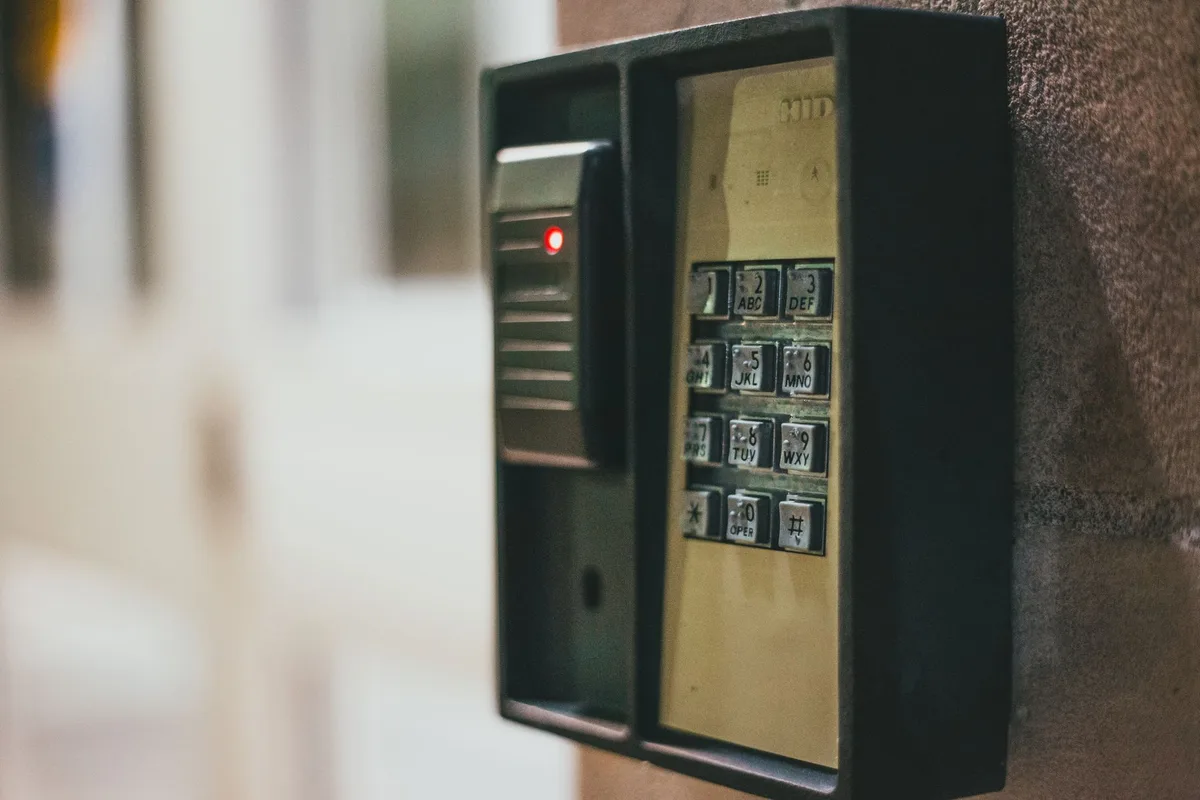
Image source: Pexels / Erik Mclean (Pexels License)
Use the “Add 30 Seconds” Button Wisely
This button runs at 100% power, not the last power level you selected. This is a common source of frustration. People assume it will reheat their coffee at 50% power.
It won’t. It blasts it at full speed.
If you want to reheat at a lower power, you must press “Power Level” and enter your desired percentage before or after the cooking sequence, depending on your model. Never use the “Add 30 Sec” quick-hold feature for this. It’s a high-power shortcut, not a neutral “more time” button.
Defrosting Is a Power Play
Defrosting is where power levels matter most. Using 100% power to defrost a pound of ground beef is a recipe for disaster. The outside will be partially cooked and the inside will still be frozen solid.
- Select the “Defrost” function if you have one. This is usually programmed at around 30% power.
- If you’re doing it manually, press “Power Level” and then “3” (for 30%). Enter the time based on weight (usually 5-6 minutes per pound for ground meat, then break it up halfway).
- Turn the food over halfway through. This ensures even thawing.
Troubleshooting: Why Isn’t My Power Level Changing?
You’ve followed the steps, but the microwave is still cooking at high power. Here are the most common culprits.
The “Start” Button Double-Click
On some models, if you double-click the start button, it engages “Quick Start,” which bypasses the power level setting. Make sure you’re pressing “Start” once after setting your power level. A double-click is often a temporary override.
The “Cooking” vs. “Sensor” Mode Confusion
If you’re using a “Sensor Cook” preset (like “Popcorn” or “Potato”), the microwave uses internal humidity sensors to determine power and time automatically. It completely ignores your manual power settings. You can’t override a sensor program in most cases.
You must use the manual “Time Cook” function to control power levels.
Sleep Mode or Eco Mode
Some energy-saving microwaves enter a deep “Standby” or “Eco” mode. This can sometimes cause the control panel to be sluggish or ignore certain inputs until you “wake” it up with a press of any button. If your keypad isn’t responding, press “Clock” or any button once to wake the display, then try your power level sequence again.
Final Thoughts on Mastering Microwaves
You don’t need a culinary degree to figure this out. The button sequence is simple. The hard part is developing the habit of using it.
It makes you a better cook immediately. You’ll find that reheated pizza has a crispy crust (use 50% power and a glass of water in the microwave), that chicken thighs come out juicy, and that your chocolate melts without seizing.
For further reading on safe food handling and cooking temperatures, which is crucial when you’re adjusting power levels and cooking times, check out the guidelines from the USDA on safe internal temperatures. Knowing the target temp for your food, like 165°F for poultry, helps you adjust time and power confidently.
Now, go to your microwave. Press that Power Level button. Experiment.
Your food will thank you.