A GE microwave that won’t start, keeps beeping, or shows a flashing error code can bring your whole kitchen routine to a halt. Before you panic or call an expensive repair service, here’s the good news: most GE microwave problems are fixed by a simple reset.
I’ve walked through dozens of these resets with homeowners, and in this guide, I’ll show you exactly how to reset a GE microwave using three different methods. We’ll start with the quickest fix and work our way to the more thorough approaches.
Image source: Pexels / Florent Bertiaux (Pexels License)
Why Does Your GE Microwave Need Resetting?
GE microwaves are packed with digital control boards, sensors, and safety interlocks. Like any computer, these components can sometimes get confused. A power surge, a brief voltage drop, or even a door slammed too hard can trigger a fault that locks up the system.
The most common signs your microwave needs a reset include:
- The control panel is completely dead, no lights, no display, no response
- The display shows an error code like “F3” or “PF”
- The microwave beeps but won’t start
- The turntable spins but there’s no heat
- The keypad responds to nothing even after unplugging briefly
- The clock is flashing and won’t let you set the time
In most cases, you’re not dealing with a broken microwave. You’re dealing with a control board that just needs to reboot.
Method 1: The 60-Second Power Reset
This is the go-to fix for about 80% of GE microwave issues. It’s the easiest method, and it works for nearly every model, whether you have a countertop GE microwave, an over-the-range model, or one of the newer Profile or Café series units.
Step-by-Step Instructions
-
Unplug the microwave from the wall outlet. If the plug is hard to reach, common with over-the-range models, switch off the dedicated circuit breaker in your electrical panel instead.
-
Wait a full 60 seconds. I know it feels like forever, but rushing this step is the number one reason the reset fails. The control board needs time to discharge completely and clear its memory.
-
Plug the microwave back in (or flip the circuit breaker back on).
-
Wait for the display to light up. You should see a clock, “0:00,” or the “PF” indicator flashing.
-
Set the clock. Most GE microwaves require you to press the “Clock” or “Kitchen Timer” button, then enter the correct time.
-
Test the microwave. Run a cup of water for 30 seconds to confirm it heats properly.
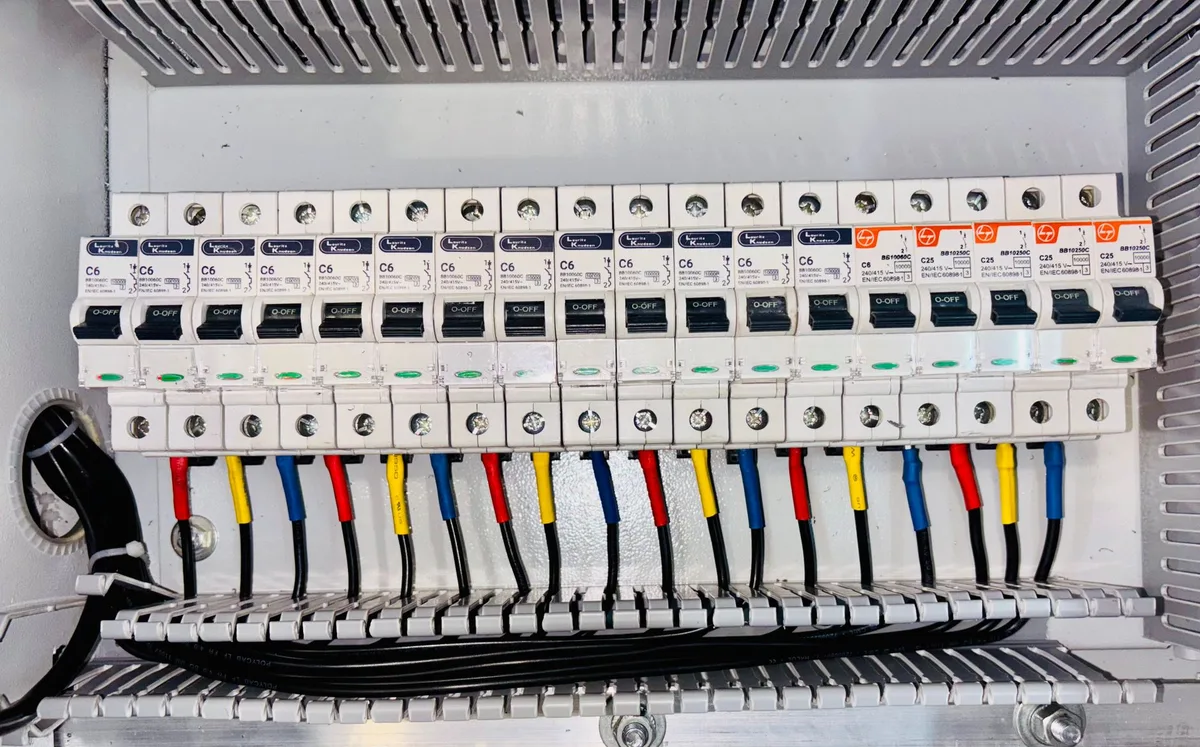
Image source: Pexels / ranjeet . (Pexels License)
What to Do If the Display Shows “PF”
“PF” stands for Power Failure. It’s not an error, it’s your microwave telling you it lost electricity at some point. Simply set the clock, and the message will disappear.
Usually, the PF message won’t even block normal operation, but resetting the clock clears it completely.
Why 60 Seconds Matters
GE’s service manuals specify a 60-second wait because the main capacitor on the control board can hold a charge for up to a minute. If you plug the microwave back in too quickly, the residual charge can keep the fault state alive. Give it the full minute, and the memory clears properly.
Method 2: Resetting a GE Microwave with the Control Panel
Some GE microwave models, particularly the newer ones with touchscreen or advanced keypad interfaces, have a built-in software reset option. You won’t find this in the user manual, but it’s a well-known trick among appliance techs.
The Keypad Reset Sequence
-
Press the “Clear/Off” button to exit any current program or error state.
-
Press the “Settings” button (if your model has one). On older models, this might be labeled “Options” or shown as a gear icon.
-
Scroll to “Factory Reset” or “Restore Defaults” using the arrow keys or the dial.
-
Press “Start” to confirm. The microwave will beep, the display will go blank for a few seconds, and then it will reboot.
-
Set the clock once the display comes back.
Models That Support This Reset
You’ll find the keypad reset on GE Profile and GE Café models with touchscreen controls. Also, many of the smart-enabled models that connect to the GE Appliances app have this feature. If your model has a physical dial and button layout, the traditional GE design, skip this method and use the power reset instead.
What This Reset Does
A factory reset through the keypad clears all your custom settings. That includes:
- Custom cook time defaults
- Sound settings and volume levels
- Display brightness preferences
- Clock format (12-hour vs. 24-hour)
- Thermostat calibration adjustments
After the reset, your microwave returns to the same state it was in when it left the factory. You’ll need to reconfigure any preferences you had set.
Method 3: Locating the Hidden Reset Button
Here’s a secret that surprises most GE microwave owners: some models have an actual physical reset button hidden on the control board. This isn’t a button you’ll find on the exterior, it requires opening the microwave’s interior access panel.
Major Warning Before You Proceed
Opening the microwave cabinet exposes you to high-voltage components. The capacitor inside can hold a lethal charge even when the microwave is unplugged. Only attempt this method if you’re comfortable working with electronics and understand the risks.
If you have any doubt, call a qualified appliance technician.
Image source: Pexels / hi room (Pexels License)
Finding the Reset Button
The physical reset button is usually a small red or black button mounted directly on the main control board. It’s the same style of reset button you’d find on a computer motherboard.
-
Unplug the microwave and wait at least 60 seconds.
-
Remove the outer cabinet cover. On most GE models, this is a metal shell held in place by screws along the back and sides.
-
Locate the control board. It’s typically positioned behind the control panel at the front of the microwave.
-
Look for a small push-button switch on the board. It might be labeled “Reset,” “SW1,” or have no label at all.
-
Press and hold the button for 5, 10 seconds.
-
Reassemble the microwave and plug it back in.
-
Set the clock and test.
Why Most People Should Skip This Method
If you’ve already tried the power reset and it didn’t fix your problem, the physical reset button rarely solves issues that the 60-second unplug didn’t. The board-level reset is mostly useful for clearing firmware glitches that have locked the system in a specific error state. Most of the time, a hardware fault needs a replacement part, not a reset.
Troubleshooting: When Resetting Doesn’t Work
A reset fixes software and logic issues. If your GE microwave still won’t work after a proper reset, you’re looking at a different problem.
The Door Switch Problem
GE microwaves refuse to run if the door switches aren’t sending the right signals. Over time, these switches wear out or get misaligned. Listen for a firm click when you close the door.
If the click sounds weak, the switch may be failing. This is a cheap part, but replacement requires opening the microwave, so many people hire a professional.
The Thermal Fuse
The thermal fuse is a safety device that cuts power if the microwave overheats. It’s a one-time-use component, once it blows, it must be replaced. If your microwave completely lacks power after a reset and you’ve verified the outlet works, the thermal fuse is a likely culprit.
The Magnetron
The magnetron is the component that actually generates the microwave radiation that heats your food. When it fails, you’ll typically hear the microwave running and the turntable spinning, but the food stays cold. Reset won’t fix this.
It’s the most expensive common repair, often costing close to the price of a new microwave.
Wondering If It’s Beyond Repair?
Here’s a practical rule: if your GE microwave is more than 8, 10 years old and needs a major repair, replacement is usually the smarter move. Repair costs typically run $150, $300 for parts and labor. You can often find a new GE microwave for $150, $250, and it’ll come with a warranty.
Preventing Future GE Microwave Problems
Now that your microwave is working again, let’s keep it that way. Most GE microwave issues trace back to avoidable habits.
Use a Surge Protector
Power surges from storms, grid switching, or appliance cycling can damage your microwave’s control board. Plugging your countertop microwave into a good surge protector adds cheap insurance. For built-in or over-the-range models, consider a whole-house surge protector at your electrical panel, GE recommends this for all major appliances.
Don’t Slam the Door
It’s tempting to give the door an extra push to ensure it’s closed, but that force stresses the door switches. Over time, this leads to misalignment and failure. Close the door gently until you hear a subtle click.
Clean the Vent Openings
Microwaves need good airflow to cool their internal components. Grease and dust block the vents, causing the unit to run hotter than designed. Wipe down the exterior vents monthly and have the interior cleaned professionally if you do heavy cooking.
Handle Error Codes Correctly
If you see an error code on your GE microwave’s display, don’t ignore it. Codes like F1 through F9 indicate specific failures. While some are cleared by a reset, others signal hard faults.
Check your owner’s manual for the code meaning, or look it up on GE Appliances’ official support page. Ignoring persistent error codes only lets the underlying issue worsen.
Knowing When to Call a Professional
I’ve given you three reset methods and a troubleshooting guide, but I want to be clear about the limits of DIY repair. Microwaves are not like toasters. They contain components that store dangerous electrical charges and components that produce potentially harmful radiation if handled incorrectly.
Call a professional if:
- Your microwave still shows no power after resetting and checking the outlet
- You smell burning or see sparks
- The microwave runs but doesn’t heat
- There’s visible damage to the power cord, interior, or door seal
- You’re not fully comfortable opening the unit and working near high-voltage parts
GE-certified technicians have the training and tools to handle these repairs safely. The manufacturer’s warranty, typically one year on parts and labor, covers defects, and having a certified tech work on your unit keeps that warranty intact.
Final Thoughts on Resetting Your GE Microwave
The reset is the first line of defense for nearly every GE microwave malfunction. It costs nothing, takes barely a minute, and resolves most common issues. Whether you’re dealing with a blank display, an error message, or unresponsive controls, the 60-second power reset should always be your starting point.
Work through the methods in order: unplug and wait, try the keypad reset if your model supports it, and only then consider opening the unit to find the hidden reset button. Most people will never need to go beyond the first method.
And if the reset doesn’t solve the problem, you now know the likely culprits, faulty door switches, a blown thermal fuse, or a failing magnetron. Armed with that knowledge, you’ll have a much more productive conversation with any repair technician you call.
Here’s to a working microwave and hot leftovers. Run that 60-second reset, you’ve got nothing to lose and a functioning kitchen appliance to gain.