You don’t need a fancy cold brew tower or a pricey specialty carafe to make smooth, rich, low-acid coffee at home. Your French press is already the perfect tool. It’s simple, it’s effective, and it’s probably sitting in your kitchen cabinet right now.
I’ve made more cups of coffee than I can count, and cold brew in a French press remains my favorite weekend ritual. The process takes about five minutes of active effort. The rest is just waiting.
Here’s exactly how to do it, step by step, so you get a concentrated, chocolatey, and completely smooth brew every single time.
Why Use a French Press for Cold Brew?
The French press is practically built for this job. It has a wide cylindrical body that gives the coffee grounds plenty of room to move and steep. The built-in mesh filter does the heavy lifting for you, keeping the grounds out of your final cup without needing any cheesecloth or paper filters.
Hot brewing in a French press can sometimes leave a bit of sludge at the bottom of your mug. Cold brewing sidesteps that issue entirely. The coarse grind required for cold brew settles at the bottom of the carafe, and the plunger’s metal mesh catches most of the fines.
You get a cleaner, crisper cup than you would with a standard drip system.
Cold brew also changes the flavor profile dramatically. When you don’t apply heat, you extract fewer of the bitter, acidic compounds from the beans. What you’re left with is a naturally sweet, heavy-bodied concentrate that tastes almost like chocolate or caramel.
It’s a completely different beast from iced coffee, which is just hot coffee poured over ice.
Choosing the Right Coffee and Grind Size
Before you even think about water, you need to address the beans. Cold brew is incredibly forgiving, but the grind size is non-negotiable.
The Perfect Grind: Coarse, Like Sea Salt
You want your coffee grounds to look like coarse sea salt or breadcrumbs. Do not use a fine drip grind. When coffee sits in water for 12 to 18 hours, a fine grind over-extracts and turns bitter.
A coarse grind slows down the extraction process, allowing the water to gently pull out the sugars and flavors without releasing the harsh, biting notes.
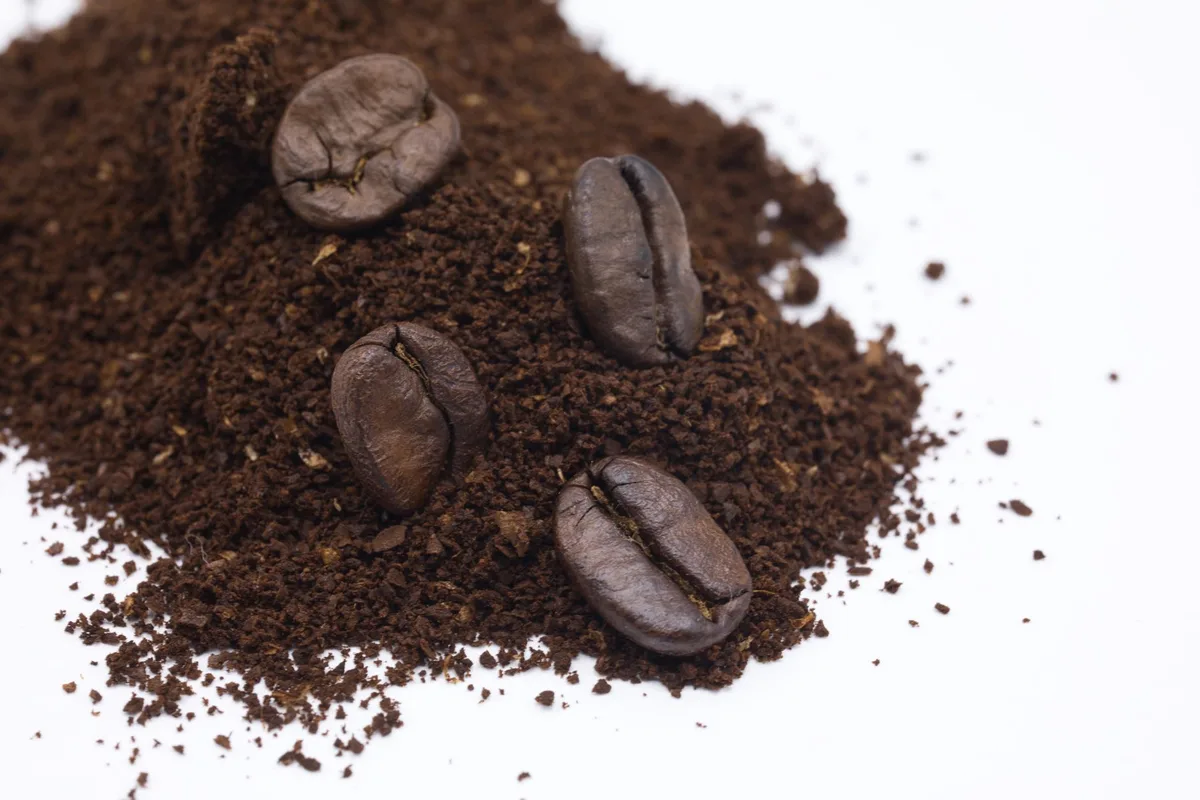
Image source: Pexels / Tony Wu (Pexels License)
If you buy pre-ground coffee, look for the “coarse” or “French press” setting. If you have a burr grinder at home, set it to the largest setting. If you’re using a blade grinder, pulse it in short bursts and shake the grinder between pulses to get a more even consistency.
Pick a Dark or Medium Roast
The bean selection matters less than the roast level. Dark roasts shine in cold brew because they offer deep, bold notes of cocoa and nuts. Medium roasts work well too, giving you a brighter, fruitier cup.
I’d steer clear of light roasts for cold brew, they tend to taste flat and grassy when steeped cold.
Aim for a 1:4 ratio for a concentrate. That means one cup of coffee grounds to four cups of water. This produces a strong base that you can dilute with milk or water later.
If you want a ready-to-drink strength, use a 1:8 ratio instead.
Step-by-Step: The Cold Brew Process
This method is nearly foolproof. Follow these steps, and you’ll have a week’s worth of coffee concentrate stored in your fridge.
Step 1: Add the Coffee Grounds
Start with your French press completely clean and dry. Remove the plunger and set it aside. Add your coarse coffee grounds directly to the bottom of the carafe.
For a standard 8-cup French press (which holds about 34 ounces), I use roughly 1.5 cups of grounds mixed with 6 cups of water to hit that 1:4 ratio.
Step 2: Add Cold, Filtered Water
Pour cold, filtered water over the grounds. You don’t need distilled water, but if your tap water tastes heavily chlorinated, use a filter. The water quality affects the final flavor, so don’t skip this step.
Pour slowly to ensure every single ground gets saturated. If you dump the water in too fast, you’ll end up with dry pockets of coffee floating at the top. Give the mixture a gentle stir with a long spoon to make sure everything is fully soaked.
Step 3: Steep at Room Temperature
Here’s where the patience comes in. Put the plunger back on the press but do NOT plunge it down. Just place the lid on to keep out dust.
Let the mixture steep at room temperature for 12 to 18 hours.
Room temperature is key. The fridge slows down extraction too much, leaving you with a weak, underdeveloped brew. I usually start mine in the early evening and let it steep overnight.
By morning, it’s ready to go.
Step 4: Plunge Slowly
After the steeping time has passed, you’ll see a thick crust of grounds on top. Press the plunger down very slowly and steadily. Don’t force it.
The metal mesh will push the grounds to the bottom and separate the liquid.
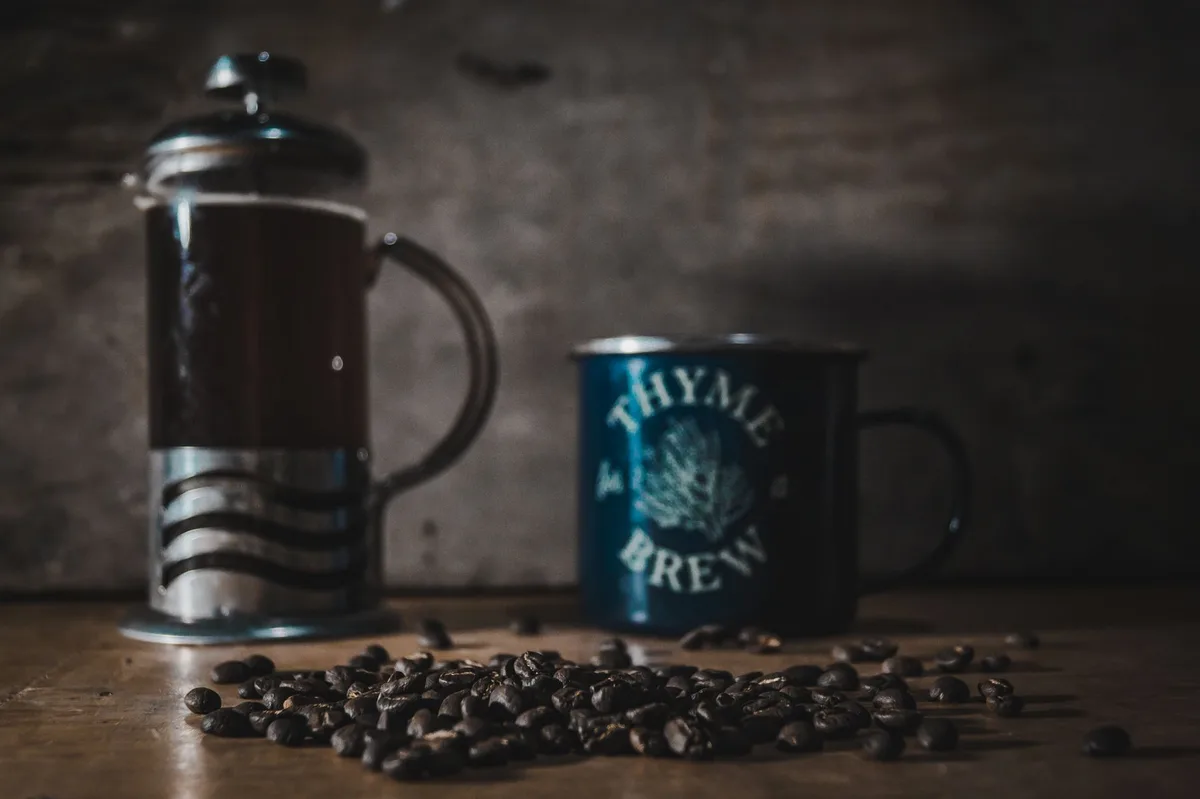
Image source: Pexels / Fabrizzio Portillo (Pexels License)
Step 5: Filter and Store
Here’s a secret that most guides skip: after plunging, you should strain the concentrate again. The French press filter is good, but it’s not perfect. Tiny sediment particles will make it through and settle at the bottom of your storage jar.
Place a paper coffee filter or a nut milk bag over a large glass jar or pitcher. Pour the cold brew through it. It’s a slow process, you’ll need to swap the paper filter once or twice because it clogs, but the result is a cleaner, silkier concentrate that will keep for up to two weeks in the fridge.
The Golden Ratio: Water to Coffee Quantities
If you want consistent results, stop measuring by volume and use a scale. Coffee grounds vary massively in density. A cup of finely ground beans weighs more than a cup of coarse grounds.
For the best results:
- Concentrate (1:4): 100 grams of coffee to 400 milliliters of water.
- Ready-to-drink (1:8): 100 grams of coffee to 800 milliliters of water.
If you don’t have a scale, that’s fine. Use the measuring cup method. Just know that a “cup” in this context refers to the standard 8-ounce measuring cup, not a “cup” on the side of your coffee maker, which is usually only 6 ounces.
Here’s a quick cheat sheet for a standard 8-cup French press:
| Brew Strength | Coffee Grounds | Water |
|---|---|---|
| Concentrate (1:4) | 1.5 cups | 6 cups |
| Standard (1:8) | 1 cup | 8 cups |
Steeping Time and Temperature: The Science of Extraction
Cold brewing is a slow extraction process. The lack of heat means the water moves much more slowly through the coffee cell walls. It only pulls out the flavorful aromatic compounds and the natural sweetness, leaving the harsh acids and bitter oils behind.
The temperature range for proper cold brew sits between 68°F and 72°F (20°C-22°C). That’s why I suggest room temperature. If your house runs hot, say above 78°F, you might find the brew turns a bit sour.
If that happens, move it to the fridge after the first 6 hours to slow down the process.
What about steeping time? 12 hours is the minimum for a decent extraction. 16 to 18 hours hits the sweet spot for most people. Once you cross the 20-hour mark, you start heading into bitter territory. The coffee can actually re-extract the bitter compounds from the grounds that have already loosened up.
Keep an eye on the clock.
How to Serve Your Cold Brew
The concentrate is strong. Drinking it straight is a slap in the face, and not in a good way. You need to dilute it.
The standard rule is equal parts concentrate and water or milk. Some people prefer two parts concentrate to one part milk for a bolder coffee flavor.
Hot or Iced? Both Work
Cold brew isn’t exclusively for ice. You can actually heat it up and make a hot cup of coffee. The acidity is still lower than regular hot brew, so it’s a great option for sensitive stomachs.
Heat it gently on the stove over low heat, don’t microwave it, as that can scorch the coffee.
Elevate It at Home
Try a vanilla syrup or a dash of cinnamon. Cold brew also makes an incredible base for a boozy cocktail. Mix it with a splash of Irish cream or bourbon over ice.
The sweetness of the cold brew pairs beautifully with spirits.
Here are my three favorite serving methods:
- Classic: 1 cup cold brew concentrate + 1 cup cold water + ice.
- Creamy: 1 cup cold brew concentrate + ½ cup milk + ½ cup water + ice.
- Strong: ¾ cup cold brew concentrate + ½ cup cold water + ice.
Cleaning and Storing Your French Press
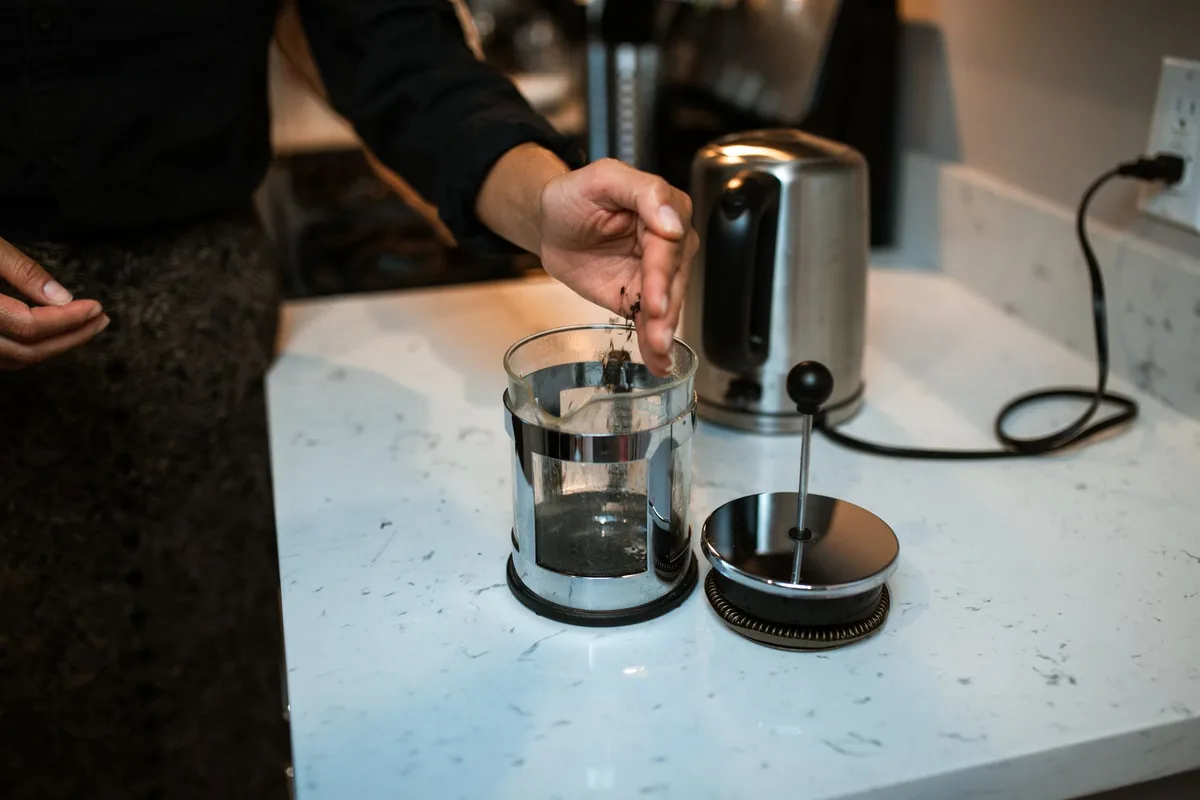
Image source: Pexels / RDNE Stock project (Pexels License)
The downside to the French press is the cleanup. The mesh filter and plunger assembly need thorough washing. If you miss it, the old grounds leave a stale oil residue that ruins your next batch.
Disassemble Every Time
Pull the plunger out. Unscrew the bottom screw and separate the two mesh plates and the spring, which sits between them. Rinse each piece individually under warm running water.
Don’t use soap on the mesh if you can avoid it, coffee oils linger, and soap residue will alter the flavor. A stiff brush works wonders.
The Glass Carafe
Wash the glass carafe by hand with warm soapy water. The glass is fragile, and putting it in the dishwasher can crack it. A sponge with a long handle will reach the bottom easily.
Storing the Concentrate
Store your cold brew in an airtight glass container in the fridge. A mason jar works perfectly. The concentrate stays fresh for up to two weeks, but honestly, it rarely lasts that long in my house.
The flavor peaks in the first three to five days.
Common Mistakes and How to Fix Them
Even with a simple process, things can go wrong. Here are the most common issues and how to troubleshoot them.
My Cold Brew Tastes Bitter
You either ground too fine or steeped too long. The bitter extraction starts happening after the 20-hour mark. Also, check your grind size.
If it looks like sand, it’s too fine. You need pebbly, chunky grounds.
My Cold Brew Tastes Weak and Watery
This usually means your water-to-coffee ratio is off. You likely used too much water. Stick to that 1:4 ratio for the concentrate.
If you’re using a 1:8 ratio and it still tastes weak, bump up the coffee amount and reduce the water.
There’s Sludge at the Bottom of My Cup
This is normal and mostly harmless. That sediment is just micro-grounds that slipped through the mesh. Use the paper filter step during pouring to eliminate this.
If you skip that, just be careful not to drink the last half-inch at the bottom of your glass.
I Forgot About It and Let It Steep for 24 Hours
It won’t be perfect, but it’s not ruined. It will be more bitter and slightly over-extracted. Rescue it by adding a pinch of salt to your cup, it counteracts the bitterness.
Or just serve it with a sweet creamer.
Why Cold Brew Is Better for Your Stomach
If you avoid coffee because it gives you heartburn, cold brew might change your mind. The cold extraction process results in a coffee that is up to 60% less acidic than traditional hot brewing methods. According to research from the National Coffee Association, the cooler water prevents the release of certain acidic compounds found in hot-brewed coffee.
That lower acidity also means cold brew is kinder to your tooth enamel. It’s not zero acidity, but it’s significantly gentler than a standard pour-over or drip coffee. If you have a sensitive stomach and still want your caffeine fix, this is the way to go.
Final Thoughts on French Press Cold Brew
Mastering this method unlocks a whole new world of coffee. You get a versatile concentrate that saves you money on expensive café cold brews. The whole process costs pennies compared to the $6 dollar cup you’d grab on your commute.
The French press isn’t just for hot coffee anymore. It’s a multi-tool. Once you nail this recipe, you’ll never go back to watery iced coffee again.
It takes a little planning ahead, but the reward is a silky, sweet concentrate that keeps your mornings caffeinated and your taste buds happy.
1 thought on “How to Make Cold Brew in French Press”