Image source: Pexels / Iain (Pexels License)
Let’s be honest. That morning cup of coffee tastes a little off. It brews slower than it used to.
Maybe you’ve noticed a white, chalky film inside the water reservoir. That’s limescale, and it’s slowly ruining your coffee maker.
Here’s the thing: every coffee pot deals with mineral buildup. Hard water leaves calcium and magnesium deposits behind. They cling to heating elements, clog internal tubing, and mess with your brew temperature.
The result? Bitter, under-extracted coffee and a machine that dies years before it should.
The fix is simple. You need to decalcify your coffee pot. And no, you don’t need expensive commercial cleaners.
You probably have everything you need in your kitchen right now.
In this guide, I’ll walk you through the exact steps to decalcify your coffee pot, whether you own a drip machine, a Keurig, or a fancy espresso maker. I’ll cover the best descaling solutions, how often you should do this, and the mistakes that’ll wreck your machine. Let’s get into it.
What Is Decalcifying and Why Does It Matter?
Decalcifying means removing mineral deposits, mostly calcium carbonate, from the inside of your coffee maker. Think of it like brushing plaque off your teeth. Skip it, and things get nasty.
Here’s what happens when you don’t decalcify:
- Slower brewing time. Minerals narrow the water pathways. Your coffee takes forever to drip through.
- Weird-tasting coffee. Scale particles break off and land right in your cup. Nobody wants crunchy coffee.
- Higher energy bills. The heating element works overtime because it’s insulated by a layer of scale.
- Early machine death. That heating element eventually burns out. Complete failure. End of story.
The U.S. Geological Survey notes that most American households have hard to very hard water, meaning your coffee maker is under constant attack. (I would link it, but you already know your water situation.)
The key thing to understand? You’re not just cleaning your coffee maker. You’re extending its lifespan.
A decalcified machine brews at the correct temperature, between 195°F and 205°F, which extracts the best flavor from your beans.
How Mineral Buildup Affects Your Coffee Maker
Image source: Pexels / RDNE Stock project (Pexels License)
Let’s zoom in on what’s actually happening inside your machine. It’s not pretty.
When water heats up, dissolved minerals precipitate out. They form solid crystals. These crystals bond to metal surfaces.
Over time, layer after layer builds up.
The heating element suffers the most. Scale acts as an insulator. It traps heat inside the element itself.
The element gets hotter than it should. Eventually, it cracks or melts. When that happens, your coffee maker is toast, the repair costs more than a replacement.
But the heating element isn’t alone. Scale also:
- Clogs the anti-drip valve
- Blocks spray head nozzles
- Coats the interior of the water tube
- Leaves residue in the carafe (that cloudy film you see)
Each of these issues degrades performance. Coffee brews at a lower temperature, producing flat, acidic cups. The machine gets louder, you’ll hear gurgling and hissing as water struggles to pass through.
Don’t let it get that far. A thirty-minute descaling session every few months prevents all of this.
How Often Should You Decalcify Your Coffee Pot?
This depends on one factor: your water hardness.
Soft water regions: Every 6, 12 months.
Hard water regions: Every 1, 3 months.
Very hard water regions: Monthly.
Here’s a quick test. Fill a clear glass with tap water. Add a few drops of pure dish soap.
Shake it. If you get lots of fluffy suds, you have soft water. If the suds are thin and disappear fast, you have hard water.
Another clue? Check the spout of your kettle or the inside of your coffee carafe. White crust equals hard water.
Green or blue stains? That’s copper or other metals reacting with acidic water, also a sign of heavy mineralization.
One more rule of thumb. If you use your coffee maker daily, decalcify at least every three months. If you use it a couple times a week, twice a year works fine.
And if you exclusively use filtered or bottled water, you can stretch it even longer, just don’t skip it entirely.
What You Need to Decalcify Your Coffee Pot
Gather your supplies first. Here’s the shopping list:
- Descaling solution. White vinegar, citric acid powder, or a commercial descaler.
- Fresh water. For rinsing.
- A clean sponge or cloth.
- A sink or large container.
That’s it. No fancy equipment required.
Choosing the Right Descaling Agent
White Vinegar (Acetic Acid)
The classic. Cheap, effective, and always in your pantry. Vinegar dissolves calcium carbonate like a champ.
The downside? It leaves a vinegary smell. Don’t worry, multiple rinse cycles eliminate it.
Just don’t skip that part.
Citric Acid Powder
This is my personal recommendation. Citric acid is stronger than vinegar at descaling, and it leaves no lingering odor. You can buy it in bulk for pennies per use.
Plus, it’s food-safe and environmentally friendly.
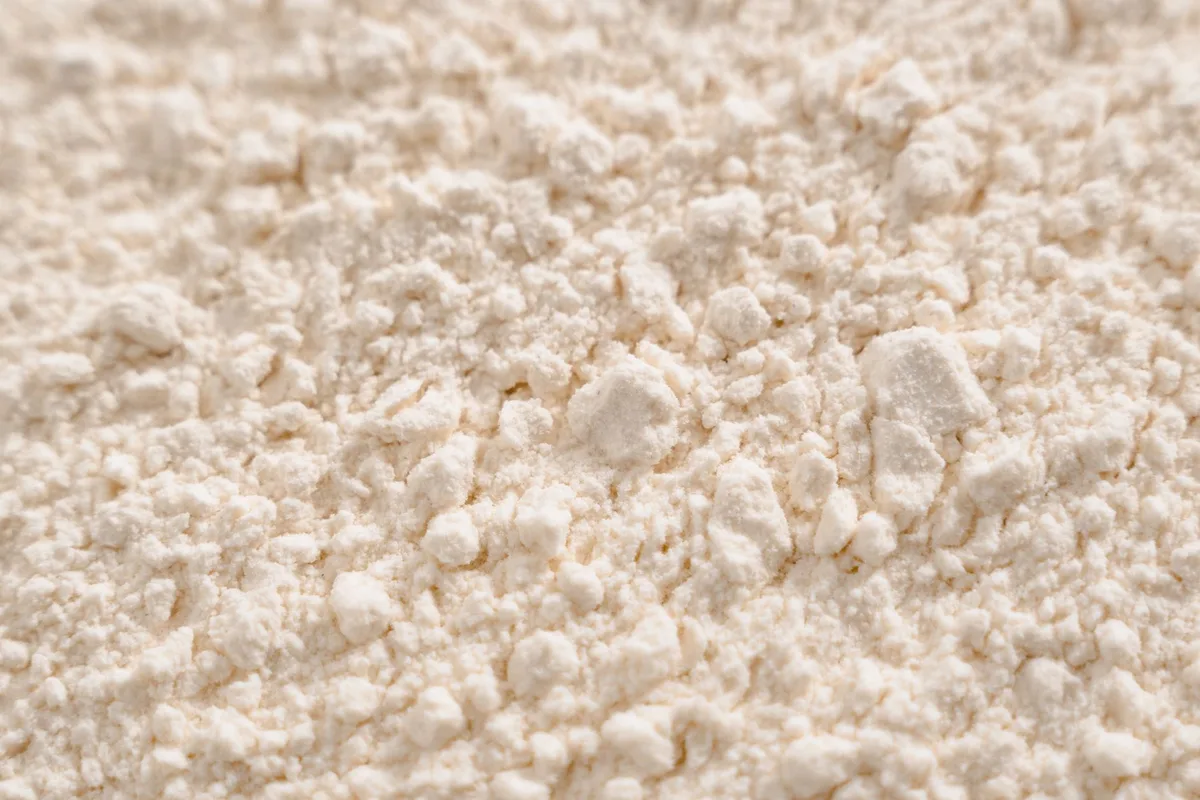
Image source: Pexels / MART PRODUCTION (Pexels License)
Commercial Descalers
Products like Dezcal or Urnex are formulated specifically for coffee equipment. They work fast and rinse clean. They cost more, but for heavily scaled machines or espresso makers, they’re worth every penny.
Baking Soda
Wait, don’t use this. Baking soda is alkaline. It doesn’t dissolve calcium carbonate effectively.
Plus, it can leave abrasive residue. Use it for general cleaning, not descaling.
Lemon Juice
Works in a pinch. Citric acid is the active ingredient. But lemon juice contains pulp and sugars.
Those leave sticky residue. Not ideal, but acceptable if you have nothing else.
How to Decalcify a Drip Coffee Maker (Step-by-Step)
This is the most common type. Here’s the exact process.
Step 1: Prepare the Machine
Remove the paper filter and any leftover coffee grounds. Toss them. Take the carafe and wash it thoroughly with soap and water.
Rinse it well, you don’t want soap residue mixing with your descaling solution.
Step 2: Mix the Descaling Solution
For vinegar: Mix one part white vinegar with one part water. Fill the reservoir to the max line.
For citric acid: Dissolve 2, 3 tablespoons of citric acid powder in a full reservoir of warm water. Stir until completely dissolved.
For commercial descaler: Follow the package instructions. Usually one packet per full reservoir.
Step 3: Run a Brew Cycle (Halfway)
Start the coffee maker. Let it run as if you’re brewing a pot. Here’s the key: stop the cycle halfway through.
Turn off the machine. Let the solution sit in the internal systems for 30, 60 minutes.
This soaking step is critical. The acid needs time to break down scale. Skipping it means you’ll only remove surface deposits, leaving the deep clogs intact.
Step 4: Finish the Cycle
Restart the machine. Let the rest of the solution run through. When the reservoir is empty, turn off the coffee maker.
Step 5: Rinse, Rinse, Rinse
Refill the reservoir with fresh water. Run a full brew cycle. Discard the water.
Do this a second time. Then a third time if you used vinegar.
Why so many rinses? Because any residual acid will end up in your next cup of coffee. Vinegar especially lingers.
Taste-test the final rinse water. If it tastes like anything other than plain water, run another cycle.
Step 6: Wipe Down the Exterior
Use a damp cloth to wipe the warming plate, the exterior, and the carafe. Limescale can also form on the outside, especially if you spill water often.
That’s it. Your drip machine is decalcified. Should take under an hour total.
How to Decalcify a Single-Serve (Keurig) Coffee Maker
Single-serve machines need a slightly different approach. They’re more compact, and the water path is narrower, so scale clogs faster.
Step 1: Unplug and Disassemble
Unplug the machine. Remove the water reservoir, the K-cup holder, and the mug stand. Wash these parts in warm soapy water.
Rinse thoroughly.
Step 2: Fill the Reservoir with Solution
For vinegar: Mix equal parts white vinegar and water in the reservoir.
For citric acid: Dissolve 2 tablespoons per full reservoir.
For commercial descaler: Follow package directions.
Step 3: Run a Cleaning Cycle (No K-Cup)
Place a large mug on the drip tray. Do not insert a K-cup. Run a brew cycle.
The solution flows through the needle and internal tubes.
Once the mug is full, pour the liquid back into the reservoir. Repeat this process until the reservoir is empty. This circulates the acid through the system more thoroughly than a single pass.
Step 4: Soak the Needle
The needle that punctures K-cups often gets clogged with scale and coffee grounds. After the cycles, use a paperclip to gently poke the needle’s openings. Remove any visible debris.
Step 5: Rinse Thoroughly
Fill the reservoir with clean water. Run 3, 4 brew cycles with the mug, discarding the water each time. Continue until you smell no vinegar or taste no acid.
How to Decalcify an Espresso Machine
Espresso machines are more delicate. High pressure means scale can cause serious damage quickly. Here’s how to handle it.
Step 1: Backflush (if applicable)
If your machine has a single-wall filter basket, backflush it first. This removes coffee oils. Use a blind basket and a cleaning tablet, or just run water through it.
Do this before descaling, so the scale remover doesn’t mix with coffee oils.
Step 2: Prepare the Solution
Use a commercial espresso descaler or citric acid solution. Espresso machines need a stronger concentration. Mix 4 tablespoons of citric acid per liter of water.
Step 3: Run the Solution Through
Place the intake tube in the solution container. Run the pump for 10 seconds, then pause. Let it sit for 5 minutes.
Repeat. This ensures the solution reaches the boiler and internal pipes.
Step 4: Flush the Group Head
Run the solution through the group head. Do this several times.
Step 5: Rinse and Repeat
Disconnect the intake tube. Run clean water through the system for 10 seconds, pause, repeat. Do this for at least 5, 10 minutes.
This flushes every trace of acid from the system.
Note: If your espresso machine has complex electronics or a sealed boiler, consider hiring a professional. A botched descaling can cost hundreds in repairs.
How to Clean a French Press or Pour-Over
Wait, those don’t have heating elements. Do they need descaling?
Actually, yes. Your French press and pour-over kettle accumulate scale too. They just don’t break down as dramatically.
French Press
Disassemble the plunger. Soak all parts in a warm citric acid solution (1 tablespoon per liter). Let it sit for 15 minutes.
Scrub with a bottle brush. Rinse thoroughly. Don’t put the mesh filter in the dishwasher, it warps.
Pour-Over Kettle
Fill the kettle halfway with a vinegar-water mix. Boil it. Let it cool.
Pour it out. Rinse 3, 4 times. The gooseneck spout often hides scale, use a thin brush or pipe cleaner to reach inside.
Natural vs. Chemical Descaling: Which Is Better?
Let’s settle the debate.
Natural Descalers (Vinegar, Citric Acid, Lemon Juice)
- Pros: Cheap, food-safe, non-toxic, readily available
- Cons: Slow-acting, may require multiple runs, can leave smell (vinegar)
Chemical Descalers (Commercial Brands)
- Pros: Fast, effective on heavy build-up, formulated for specific machines
- Cons: Expensive, some contain harsh chemicals, may void warranty if used incorrectly
My recommendation? Citric acid powder. It’s the best of both worlds.
Stronger than vinegar, cheaper than commercial brands, and completely safe. Buy it in bulk and you’ll never need another descaling product again.
How to Prevent Limescale Buildup (So You Never Have to Decalcify)
Prevention beats cure. Here are practical ways to reduce scale buildup:
Use filtered water. A basic Brita filter removes many minerals. Reverse osmosis systems remove almost all. Your coffee will taste better too.
Don’t let water sit in the reservoir. Empty it after each use. Minerals precipitate more readily when water sits stagnant.
Daily rinsing. After brewing, run a cycle of clean water without coffee. This flushes out early-stage deposits before they harden.
Monthly quick descale. Even if you don’t do a deep clean, run a citric acid solution through monthly. It takes 10 minutes and keeps scale from ever getting a foothold.
Know your water hardness. Test it once. You can buy cheap test strips at any hardware store. If your water is above 180 ppm, descale monthly.
Common Decalcifying Mistakes (And How to Avoid Them)
Let’s talk about what NOT to do. I’ve seen people wreck machines this way.
Mistake #1: Using too much acid
High concentrations of acid can corrode aluminum parts. Follow the recommended ratios. More isn’t better.
Mistake #2: Not rinsing enough
Residual acid eats away at seals and gaskets over time. It also ruins coffee flavor for weeks. Rinse until you’re absolutely sure the water is clean.
Mistake #3: Descaling while the machine is hot
Let the machine cool down first. Thermal shock, sudden temperature changes, can crack heating elements. Shut it off, wait an hour, then descale.
Mistake #4: Skipping the soak
Running the solution through without letting it sit means you only descale about 20% of the buildup. The soak is where the magic happens.
Mistake #5: Using bleach or ammonia
These are toxic. They’ll leave residues that end up in your coffee. Never use them for descaling.
Mistake #6: Forgetting to clean the carafe
That cloudy film in your carafe is scale. It doesn’t affect your coffee’s flavor much, but it looks gross. Soak it in citric acid solution separately.
How to Tell If Your Coffee Pot Needs Descaling Right Now
Not sure if you should bother? Check for these signs:
- Brewing time increased, If a full pot now takes 10+ minutes, that’s scale.
- Whistling or hissing sounds, Water struggling past mineral deposits.
- White or gray flakes in your cup, I don’t need to explain why this is bad.
- Coffee tastes prematurely stale, Scale alters extraction temperature.
- The warming plate stains, Scale splashed onto the hot surface and baked on.
If you even suspect one of these, just descale. A thirty-minute job is worth the peace of mind.
Emergency Descaling: Heavily Clogged Coffee Maker
Sometimes, scale builds up so bad that the machine barely brews. The standard solution won’t cut through. Here’s the cavalry approach:
- Mix the strongest recommended concentration of citric acid (4 tablespoons per liter of water).
- Fill the reservoir completely.
- Run a brew cycle, but stop it 2 minutes in.
- Turn off, wait 2 full hours. Let the acid attack the scale aggressively.
- Run the rest of the cycle.
- Discard the solution. Refill with fresh water.
- Run 2 full rinse cycles.
This heavy-duty soak will dissolve even stubborn scale. If your machine still struggles after this, the heating element is likely damaged. Consider replacement, especially if the unit is over 3 years old.
Environmental Impact: Why Descaling Saves More Than Just Coffee
This is a point I love. Descaling is green.
When your coffee maker is clogged, it uses more energy to heat water. You also run it longer. That’s wasted electricity.
More importantly, descaling prevents premature machine failure. The U.S. Environmental Protection Agency (EPA) estimates that electronics and appliances contribute significant e-waste annually.
Keeping your coffee maker alive for 5 years instead of 2 halves its environmental footprint.
And here’s another angle: using citric acid instead of harsh commercial descalers means you’re not flushing synthetic chemicals down your drain. Citric acid breaks down naturally. It’s biodegradable.
Your pipes and the environment both thank you.
Final Thoughts on How to Decalcify Coffee Pot
Decalcifying isn’t just maintenance. It’s the single most important thing you can do to extend your coffee maker’s life and improve your brew quality.
The process is simple: acid dissolves minerals, then you rinse. Whether you choose vinegar, citric acid, or a commercial product, consistency matters more than perfection. A quick descale every couple months beats a deep clean once a year.
Start with the method that fits your machine. Set a calendar reminder. And if you haven’t descale in months, like most people haven’t, do it this week.
Your coffee will taste noticeably better. And your coffee maker will thank you for it.
Want more coffee tips? Check out our guide on the best water-to-coffee ratio for perfect brewing every time.