Image source: Pexels / Sedanur Kunuk (Pexels License)
If you think great coffee requires a thousand-dollar espresso machine, think again. The humble stovetop moka pot has been delivering rich, bold, espresso-style coffee to kitchens across Europe and beyond for nearly a century. It’s cheap, it’s fast, and once you master it, it produces a cup that punches far above its weight.
But here’s the thing, most people make stovetop coffee wrong. They rush it. They use the wrong grind.
They let it boil. The result? A bitter, burnt mess that tastes nothing like what this little aluminum workhorse can actually deliver.
I’ve been brewing with moka pots for over a decade. I’ve scorched my share of coffee, watched geysers of brown foam erupt all over the stove, and finally dialed in a method that produces consistently excellent results. In this guide, I’ll walk you through everything you need to know, from buying the right pot to troubleshooting your brew.
By the end, you’ll make stovetop coffee that rivals your local café.
What Is Stovetop Coffee Anyway?
Stovetop coffee refers to coffee brewed in a moka pot, that iconic octagonal aluminum pot Italian inventor Alfonso Bialetti patented back in 1933. It sits directly on your stove burner, using steam pressure to push hot water up through a bed of coffee grounds.
The result sits somewhere between espresso and drip coffee. It’s stronger than what you get from a standard coffeemaker, with a heavier body and a distinctive caramel-colored foam called “crema” on top. It doesn’t have the intense concentration of true espresso (which requires about 9 bars of pressure), but it’s bold enough to stand up to milk or drink black with confidence.
The moka pot has a cult following for good reason. It’s affordable, portable, doesn’t need electricity, and makes genuinely great coffee in under five minutes. For millions of Italian households, it’s the only coffee maker they’ve ever owned.
Anatomy of a Moka Pot: Key Parts and How They Work
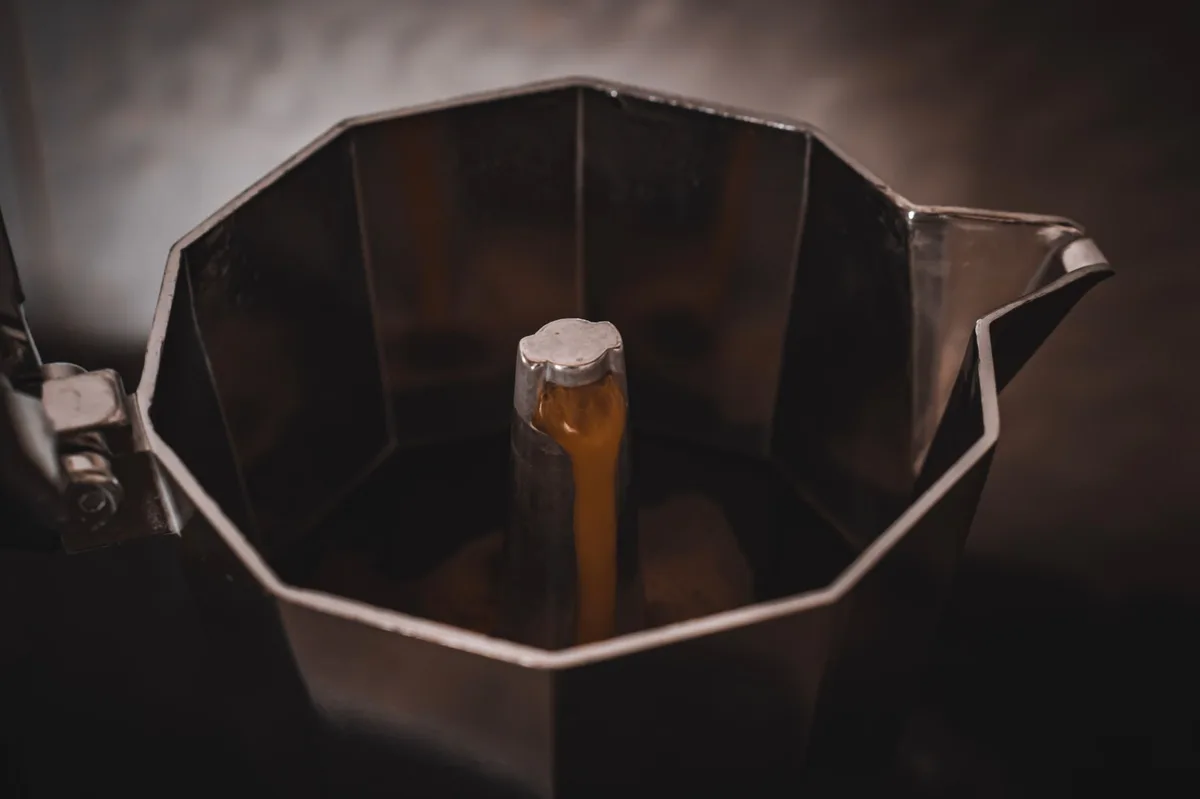
Image source: Pexels / Tolga deniz Aran (Pexels License)
Before you brew, you need to understand what you’re working with. A moka pot has three main chambers and a few smaller components that all play a critical role.
The Base (Water Chamber)
This is the bottom chamber where you pour cold water. It has a pressure-release valve, a small safety mechanism that vents excess steam if the pressure builds too high. Never block this valve.
Never fill water past it.
The Filter Basket (Grounds Chamber)
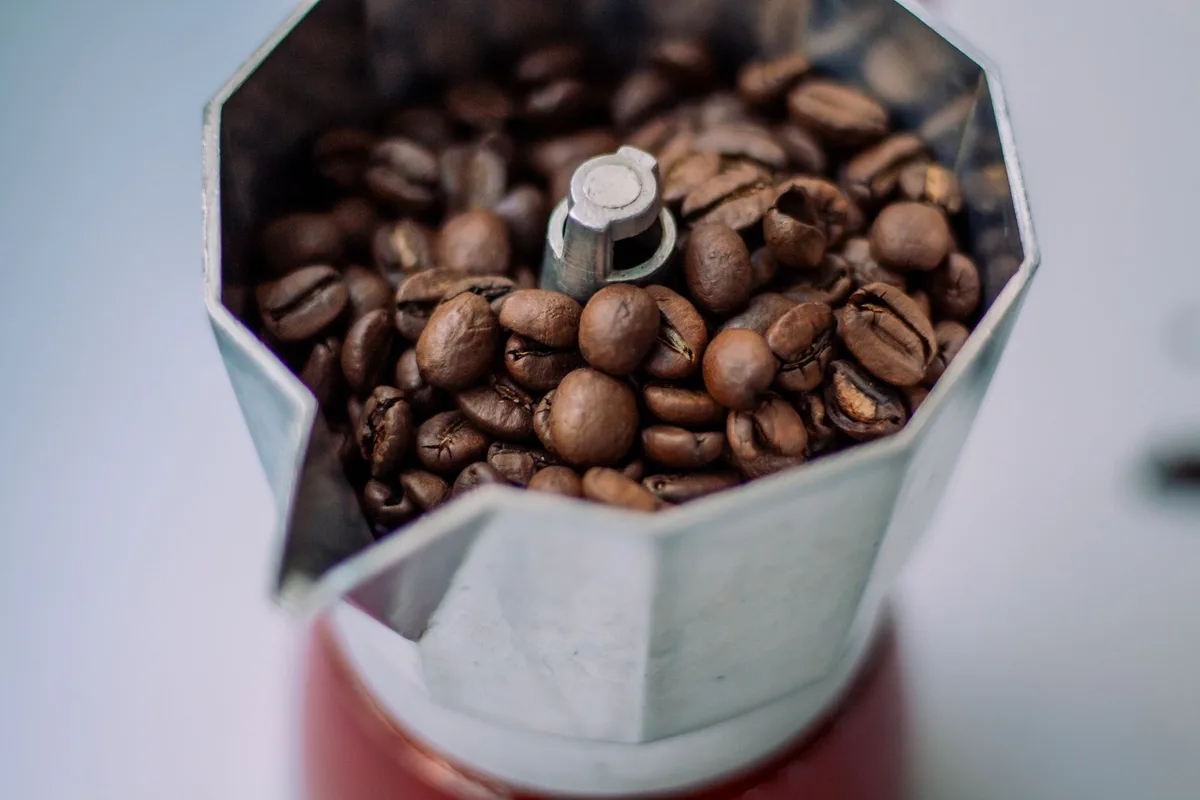
This sits inside the base and holds your coffee grounds. It looks like a small metal funnel with a perforated bottom. You fill it to the rim, level it off, but you don’t tamp it down.
The Collection Chamber (Top Pot)
Attached by screwing the base and top together, this chamber collects the finished brew. It has a central tube that extends down near the bottom of the top chamber, and an open spout for pouring. Inside, you’ll find a rubber gasket and a metal filter plate that sit between the top and bottom halves.
When water heats up in the base, it boils and creates steam pressure. That pressure forces the remaining hot water up through the grounds, through the tube, and into the collection chamber. And that’s how stovetop coffee gets made.
What You’ll Need to Get Started
You probably already own most of these items. But each one matters.
The Moka Pot Itself
Moka pots come in various sizes, from tiny 1-cup versions to 12-cup monsters. Sizes refer to the cup capacity (each cup is about 1.5 to 2 ounces of coffee, roughly an espresso serving). For most people, a 3-cup or 6-cup pot is ideal.
You can choose between aluminum (the classic, best for heat transfer) and stainless steel (more durable, dishwasher-safe in most cases, and works on induction cooktops). Aluminum pots are lighter and cheaper. Steel pots last longer.
Pick whichever fits your needs.
Coffee Grinder
Buy pre-ground if you must, but grinding fresh is always better. Coffee loses flavor quickly once exposed to air. A burr grinder gives you consistent particle size, which matters more with moka pots than with any other brewing method.
Your Stovetop
Any stove works, gas, electric, or induction. Gas gives you the most control. Electric and induction can work too, but you’ll need to manage the heat more carefully.
Water
Use filtered or bottled water if your tap water tastes heavily chlorinated or metallic. The coffee is mostly water, so good water makes a real difference. Don’t use distilled water, you actually want some minerals for better extraction.
Choosing the Right Coffee for Moka Pot
This is where most people mess up.
Use Medium or Medium-Dark Roast
Dark roasts are fine, but medium roasts tend to shine in moka pots. They preserve more of the bean’s origin flavors while still offering enough structure to hold up to the brewing process. Avoid super light roasts, they can come out tasting sour and thin.
Grind Size Is Critical
Here’s the key: moka pot needs a grind somewhere between espresso and drip. You want it fine, but not powder fine. Think table salt, not flour.
Too fine and the water can’t push through, creating excessive pressure and a bitter, over-extracted cup. Too coarse and the water flows through too fast, producing weak, sour coffee. If you look up “moka pot grind” in a coffee shop, most baristas will know exactly what to give you.
Don’t Tamp
I’ll say it again: don’t pack the grounds down. The moka pot depends on pressure, not compression, to extract properly. Just fill the basket to the top, level it slightly with your finger or the back of a spoon, and leave it loose.
Step-by-Step Guide to Brewing Stovetop Coffee
Image source: Wikimedia Commons / Padaguan (CC BY-SA)
Now we get to the actual process. Follow these steps and you’ll be drinking excellent stovetop coffee in minutes.
Step 1: Unscrew the Pot and Fill the Base with Water
Remove the top chamber. Locate the pressure valve in the base. Fill with cold water up to just below that valve’s base.
Never fill above it, boiling water needs room to expand and create the pressure that drives the brewing.
Don’t use hot water. Cold water heats more gradually, and that slower progression helps extract the coffee more evenly.
Step 2: Add Coffee to the Filter Basket
Insert the filter basket into the base. Fill it generously with your ground coffee. Use your finger to sweep off the excess, creating a level, slightly rounded mound.
Don’t press down, don’t compact.
Step 3: Assemble the Pot
Screw the top chamber onto the base. Make sure you grip the base’s flat sides, the paper-thin aluminum can bend if you squeeze too hard. Tighten until snug, but don’t overtighten.
You just need a good seal; too much force can warp the threads.
Step 4: Place on the Stove at Low to Medium Heat
Turn the burner to low or medium-low. You’ll see many recommendations for “medium heat,” but the truth is: the lower you go, the better your coffee will be. Patience pays off.
High heat is the enemy. It forces the water through too aggressively, scorches the grounds, and gives you a burnt, metallic taste that’s impossible to fix.
Step 5: Watch and Listen
Leave the lid open during brewing, you’ll see the process happening. After a few minutes, you’ll hear a gentle bubbling sound. Then the coffee starts to stream out of the central tube, a deep amber at first, turning darker as it flows.
That first run is called “pre-extraction”, it’s the sweetest, most balanced coffee. The later flow has more of the coffee’s bitterness.
Step 6: Remove from Heat When You Hear the Spurt
As the brewing continues, you’ll notice the stream becomes louder and more sputtery, a slightly rough, gurgling sound. That’s your cue. Immediately take the pot off the burner.
This timing is everything. If you let it keep going, the water will eventually boil, blow steam through the grounds, and extract compounds that make the whole pot taste scorched. Don’t wait for the pot to empty completely.
When it starts gurgling, you stop.
Step 7: Serve Immediately
Stir the coffee in the top chamber before pouring. This blends the first (sweeter) and last (more bitter) extractions into one balanced cup. Pour and drink right away.
Stovetop coffee degrades fast, it gets bitter as it sits.
Common Mistakes to Avoid
Bad stovetop coffee almost always comes from the same handful of errors. Avoid these and you’ll be way ahead of the curve.
Boiling the Coffee
The single biggest mistake. Boiling moka pot coffee causes the grounds to over-extract, releasing harsh tannins and producing a flavor that’s aggressively bitter. Keep the heat low and remove the pot at the first gurgle.
Using the Wrong Grind Size
Too fine, the water chokes. Too coarse, the water rushes through and the coffee comes out weak. Spend a few minutes dialing in your grinder.
It’s worth it.
Tamping the Grounds
The moka pot doesn’t need it, and tamping creates a dense puck that blocks the water’s path. This leads to uneven extraction and a nasty taste.
Letting It Spurt Too Long
That gurgling spurt at the end of brewing sounds fun but ruins your coffee. The last part of the stream is steam pushing through nearly-dry grounds, extracting only bitterness. Kill the heat the moment you hear it.
Running Water Through the Same Grounds Twice
Don’t “reuse” coffee grounds to make another pot. All the good stuff is already gone. You’re just extracting bitterness at that point.
How to Clean and Maintain Your Moka Pot
A dirty moka pot ruins coffee. Old coffee oils go rancid and taint every new batch. Clean it properly and it’ll last for decades.
Rinse with Warm Water After Each Use
The moment you’ve poured your coffee, run the whole pot under warm water to remove any remaining grounds. Then disassemble and rinse each piece individually.
No Soap — Seriously
Soap leaves a residue that affects flavor. The moka pot’s seasoning, that thin film of coffee oils, builds up over time and actually improves the taste. Wash with plain warm water.
Use a soft brush for stubborn spots.
If the pot is heavily stained, you can use a tiny amount of baking soda.
Dry Thoroughly Before Storing
Water left in the base causes aluminum oxidation and a metallic taste in your next brew. Dry every part completely before reassembling.
Replace the Gasket Regularly
The rubber gasket seals the two chambers together. It wears out with heat and pressure, eventually losing its shape and letting pressure escape (which means weak coffee). Replace it every 1, 2 years depending on how often you brew.
You’ll also need a new filter plate every few years.
Variations and Serving Suggestions
Once you’ve mastered the basics, you can get creative.
Moka Pot Latte
Brew a 3-cup pot, heat up some milk, and pour them together. You’ll get a rich, comforting drink with a nice layer of foam on top.
Iced Stovetop Coffee
Double the brew, pour it over ice immediately, and add a splash of cold milk. The coffee is concentrated enough to hold its flavor even when diluted.
Moka Pot “Espresso”
Not true espresso, but close enough for most home drinkers. Serve it straight in a small cup. Add sugar if you like, and drink it like the Italians do, standing at the kitchen counter.
Café Cubano
A Cuban twist: add a couple of teaspoons of sugar to the brewed coffee and whisk vigorously until it becomes a thick, creamy paste (the “espuma”), then pour the rest of the coffee in. Sweet, smooth, and dangerously drinkable.
Stovetop Coffee vs. Other Brewing Methods
How does moka pot stack up against the competition?
Vs. Drip Coffee Makers
Moka pot delivers more concentrated, richer coffee with a thicker mouthfeel. Drip coffee is lighter, cleaner, and better for large quantities.
Vs. Espresso Machines
Real espresso has a layer of thick golden crema and a more intense concentration. The moka pot is a compromise, but the price difference is enormous. A good espresso machine costs hundreds, if not thousands, of dollars.
A moka pot costs under fifty bucks.
Vs. French Press
The French press gives you full-immersion brewing with a heavy body and sediment in the cup. Moka pot coffee is cleaner, stronger, and has a slightly more structured feel.
Frequently Asked Questions
Can I use a moka pot on an induction stove?
Only if you have a stainless steel version. Aluminum doesn’t work on induction surfaces. Look for moka pots specifically marked “induction-compatible.”
How much coffee does a moka pot use?
A 3-cup pot takes about 15-18 grams of ground coffee. A 6-cup pot takes roughly double that. You’ll refine it based on your taste.
Should I use hot or cold water?
Cold water. It heats more gradually and extracts a better flavor. Some swear by pre-boiled water for speed, but you sacrifice flavor for speed.
Why does my stovetop coffee taste burnt?
You’re keeping it on the heat too long, or using too high a heat. Remove the pot the moment you hear the sputter. Your coffee should never actually boil.
Can I add salt or spices?
Some people add a pinch of salt to cut bitterness. Cardamom, cinnamon, or even a vanilla pod can add intriguing flavors. Experiment, it’s your coffee.
Is stovetop coffee more caffeinated?
It’s hard to give a definitive answer because it depends on the coffee and brewing time. Generally speaking, moka pot coffee is more concentrated than drip coffee, so a single shot has more caffeine per ounce.
How long does a moka pot last?
With care, a good one lasts decades. The gasket needs occasional replacement, but the body is incredibly durable.
Why did my moka pot explode (or spew coffee everywhere)?
That’s a pressure issue. Either you filled the water above the valve, the pot wasn’t screwed on tight enough, or the grounds were packed too densely. Fix all three, safety first.
The Bottom Line
Stovetop coffee is a skill worth learning. It’s cheap, beautiful, and delivers a seriously tasty cup once you get the technique down. The ritual matters too, filling the base, watching the stream emerge, smelling that rich aroma fill the kitchen.
It turns a routine morning chore into something to look forward to.
Get the grind right. Keep the heat low. And listen for that gurgle.
Once you’ve brewed your first perfect pot, you’ll understand why so many people never look back.
Now fire up your stove and give it a shot. Your coffee is waiting.