
I’ve rescued dozens of blenders that refused to spin. The problem is usually simple: food buildup, a seized bearing, or a mis‑aligned jar. Below is the step‑by‑step process I use every time a blade locks up.
Safety First
Unplug the unit before you touch anything. Remove the jar and set it on a stable surface. Keep a towel handy for spills.
If the motor smells burnt, stop, call the manufacturer or a qualified technician. The Consumer Product Safety Commission recommends never forcing a stuck blade; doing so can crack the housing or damage the motor winding (CPSC).
Common Reasons a Blender Gets Stuck
- Dried residue, Smoothie pulp, nut butter, or ice shards harden around the blade hub.
- Over‑tightened jar, Some models lock the jar by twisting; too much torque binds the drive coupling.
- Worn drive socket, The plastic spline that mates the motor shaft to the blade can strip.
- Motor shaft corrosion, Moisture that seeps past the seal rusts the metal shaft.
- Foreign object, A stray seed, bone fragment, or utensil tip can jam the blades.
Identify the cause before you start tearing things apart. A quick visual check often tells the story.
Quick Fixes You Can Try Right Now
Tap the jar, Turn the jar upside down and give it a firm tap on the counter. The vibration can dislodge a light buildup.
Run a pulse cycle, Add a cup of warm water and a drop of dish soap. Pulse for 10 seconds. The suds lubricate the blades and often free them.
Manual rotation, With the jar off, grip the blade hub (use a thick glove) and try to turn it by hand. If it moves a few degrees, the motor shaft is free; the jam is in the jar coupling.
Check the coupling, Many brands use a removable drive socket. Pull it out, inspect for cracks, and reinstall it squarely.
If none of these work, move on to a deeper clean.
Deep Cleaning the Blade Assembly
- Disassemble, Unscrew the blade base from the jar. Most models use a clockwise‑turn lock; hold the jar steady and twist the base counter‑clockwise.
- Soak, Submerge the blade assembly in a bowl of hot water mixed with a tablespoon of baking soda. Let it sit 15 minutes.
- Scrub, Use a soft‑bristle brush (an old toothbrush works) to clean between the blades and around the hub. Avoid steel wool; it scores the stainless steel.
- Rinse and dry, Rinse thoroughly, shake off excess water, and air‑dry on a clean towel.
- Re‑assemble, Align the drive socket, press the blade base onto the jar, and lock it.
A clean blade hub eliminates 80 % of stuck‑blade cases I see.
Ice Water Calibration Method
Sometimes the motor’s thermal protector trips because the blade assembly is out of balance. The ice‑water test reveals that quickly.

- Fill the jar halfway with ice cubes.
- Add cold water to cover the ice.
- Secure the lid and run the blender on low for 30 seconds.
- Listen for a steady hum. A wobble or intermittent stop means the blade hub is bent or the drive socket is worn.
If the motor runs smooth, the issue was likely just residue. If it still stalls, the hub or socket needs replacement.
Boiling Water Calibration Method
Heat can expand a tight fit just enough to free a seized bearing.
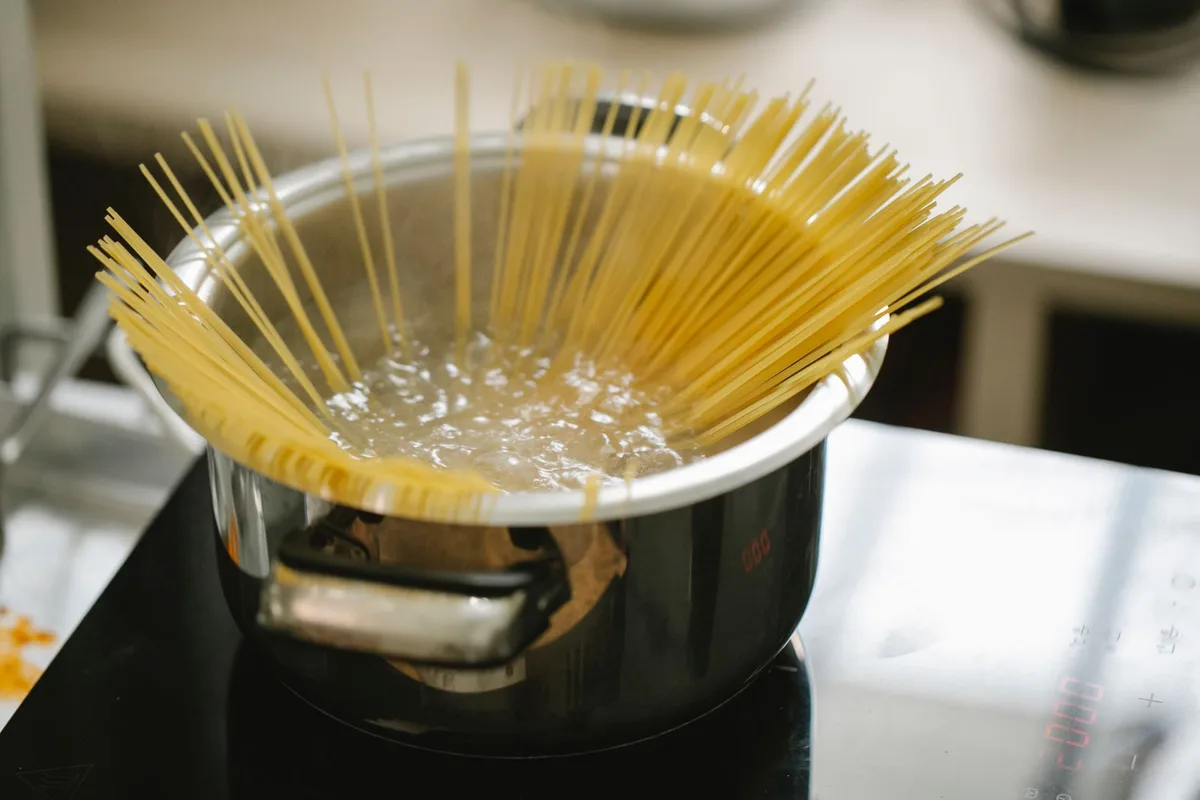
- Bring a pot of water to a rolling boil.
- Remove the blade assembly (see Deep Cleaning).
- Submerge the metal hub only, keep the plastic housing out of the water, for 45 seconds.
- Pull it out with tongs, shake off water, and immediately try to spin the blades by hand.
- If they turn freely, re‑assemble and test with a normal blend.
Do this only on metal‑only hubs. Plastic parts warp above 140 °F.
When to Replace Parts
- Drive socket, Cracks, stripped splines, or excessive play.
- Blade hub, Visible bending, cracked welds, or rust that won’t scrub off.
- Motor shaft, Corrosion that leaves pitting; the shaft will never seal again.
- Jar coupling, If the jar’s drive gear is rounded, the blender will never engage properly.
Order genuine parts from the maker’s site. Vitamix, Blendtec, and Ninja all sell direct replacements with a one‑year warranty (Vitamix).
Preventive Maintenance Tips
- Rinse immediately after each use. Don’t let smoothies sit.
- Run a cleaning cycle (warm water + soap) once a week.
- Inspect the drive socket monthly; replace at the first sign of wear.
- Store the jar upright with the lid off to let moisture evaporate.
- Avoid over‑loading, fill no more than ¾ of the jar’s capacity.
A little habit saves a lot of headache.
FAQ
Q: My blender makes a grinding noise but the blades turn.
A: That’s usually a worn drive socket. Replace it before it strips completely.
Q: Can I use WD‑40 on the blade hub?
A: No. Food‑grade lubricants only. WD‑40 leaves a residue that contaminates blends.
Q: The motor hums but nothing moves.
A: The thermal overload may have tripped. Unplug, wait 10 minutes, then try again. If it repeats, the motor windings are likely damaged.
Q: Is it safe to blend hot liquids?
A: Only if the manufacturer rates the jar for heat. Otherwise pressure builds and the lid can blow off.
Q: How often should I replace the blade assembly?
A: Every 2, 3 years for heavy daily use; longer for occasional use.
A stuck blender is rarely a death sentence for the machine. Most of the time a thorough clean, a quick calibration, or a $10 drive socket does the trick. Follow the steps above, keep the unit dry, and you’ll be back to smooth soups and frozen margaritas in minutes.