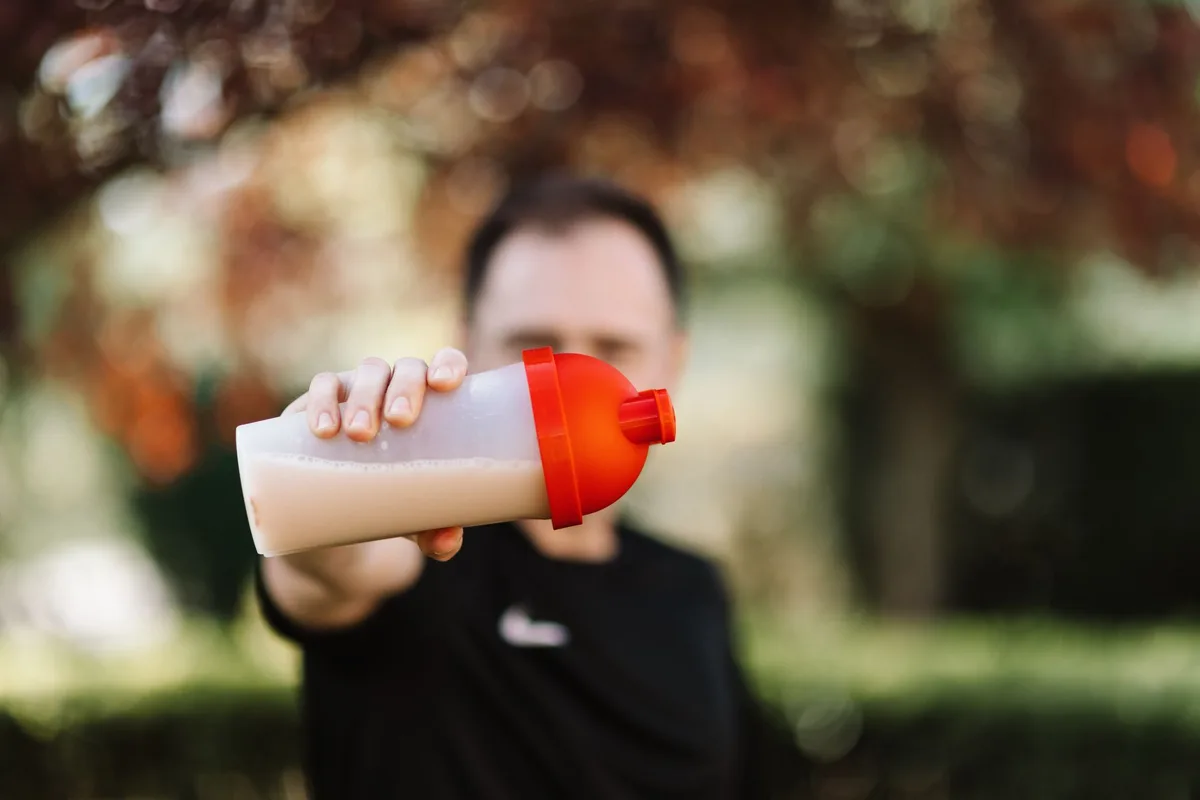
A protein shake made in a blender hits different. It’s thicker, smoother, and colder than anything you can shake up in a bottle. And the best part?
You can toss in whatever extras you want, fruit, nut butter, oats, spinach, and end up with something that actually tastes like a treat.
I’ve been making blender protein shakes for years, both at home and on the road, and I’m going to walk you through everything. What blender to use. What ingredients work best.
The exact step-by-step method. Common mistakes that wreck the texture. Plus a couple of variations I make on rotation, including a banana-peanut butter recipe that honestly tastes like dessert.
Let’s get into it.
Why Use a Blender Instead of a Shaker Bottle?
A shaker bottle is fine for a quick post-workout scoop of protein and water. But that’s about it. The moment you add banana, frozen berries, oats, or anything thick, you’re going to end up with clumps that won’t budge no matter how hard you shake.
A blender solves all of that. The blades break down ice, frozen fruit, and fibrous ingredients into a silky, drinkable consistency. You also get way more flexibility, nut butter blends in smoothly, greens disappear into the mix, and you can crank up the volume without overflowing the cup.
If you care about texture, go with a blender. If you care about speed and convenience above all else, a shaker still has its place. Most people who get serious about their protein shakes end up using both.
What You’ll Need
The gear is simple. You don’t need a $600 Vitamix to make a great shake, though if you’ve got one, it’ll obviously do the job. A basic countertop blender or a personal bullet-style blender both work great.
Here’s the short list:
- A blender, countertop, bullet, or immersion stick all work
- Protein powder, whey, casein, plant-based, whatever you prefer
- Liquid base, water, milk, almond milk, oat milk, etc.
- Mix-ins, fruit, nut butter, oats, yogurt, seeds, greens
- Optional extras, ice, sweetener, cinnamon, vanilla extract
That’s it. No fancy gadgets. No secret tools.
Choosing the Right Protein Powder
Not all protein powders blend the same way. Some are thick and chalky out of the gate. Others mix smoothly but foam up when you hit them with a blender.
Knowing what to expect from your powder saves you a lot of frustration.
Whey protein is the most popular pick for a reason. It blends smoothly, tastes neutral (depending on the flavor), and mixes easily with just about anything. Whey isolate is even cleaner, less fat, less lactose, and almost no foam.
Casein is thicker and mixes more slowly. It tends to make a denser shake, which some people love.
Plant-based proteins (pea, rice, hemp, soy) vary wildly. Pea protein is one of the smoother plant options. Blends with rice protein tend to come out grittier unless you use a high-speed blender.
The FDA regulates dietary supplements, including protein powders, under specific labeling and safety standards. If you want to check what’s actually in your powder, you can review the basics on the U.S. Food and Drug Administration’s dietary supplements page.
A quick tip: if your shake foams up a lot, try adding the liquid first, then the powder. It cuts down on air being whipped into the mix.
Step-by-Step: How to Make a Protein Shake in a Blender
This is the core method. Once you’ve done it a few times, you’ll barely need to think about the order. But the order matters more than most people realize.
Step 1: Add Your Liquid First
Pour in 8 to 12 ounces of your liquid base. Milk, water, or whatever milk alternative you prefer. Starting with liquid prevents the powder from clumping at the bottom and sticking to the blades.
Step 2: Add the Protein Powder
Drop in one scoop (about 25 to 30 grams) of protein powder. If you’re using flavored powder like chocolate or vanilla, this is the moment.
Step 3: Toss in Any Mix-Ins
Fruit, nut butter, oats, yogurt, spinach, anything solid goes in now. If you’re using frozen fruit, add it after the softer ingredients so the blades can catch them.
Step 4: Add Ice (If You Want It Cold)
A handful of ice cubes makes the shake colder and thicker. Skip the ice if you’re already using frozen fruit.
Step 5: Blend
Start on low for 5 to 10 seconds to break everything up. Then crank it to high for 20 to 30 seconds. You’re done when the surface looks smooth and you don’t see any chunks floating around.
Step 6: Pour and Drink
Pour it into a glass or your shaker cup. If you’re not drinking it right away, give it a quick stir before you take the first sip, separation is normal.
That’s the whole process. Six steps. Under two minutes from start to finish.
Blender vs Shaker Bottle: Which One Works Better?
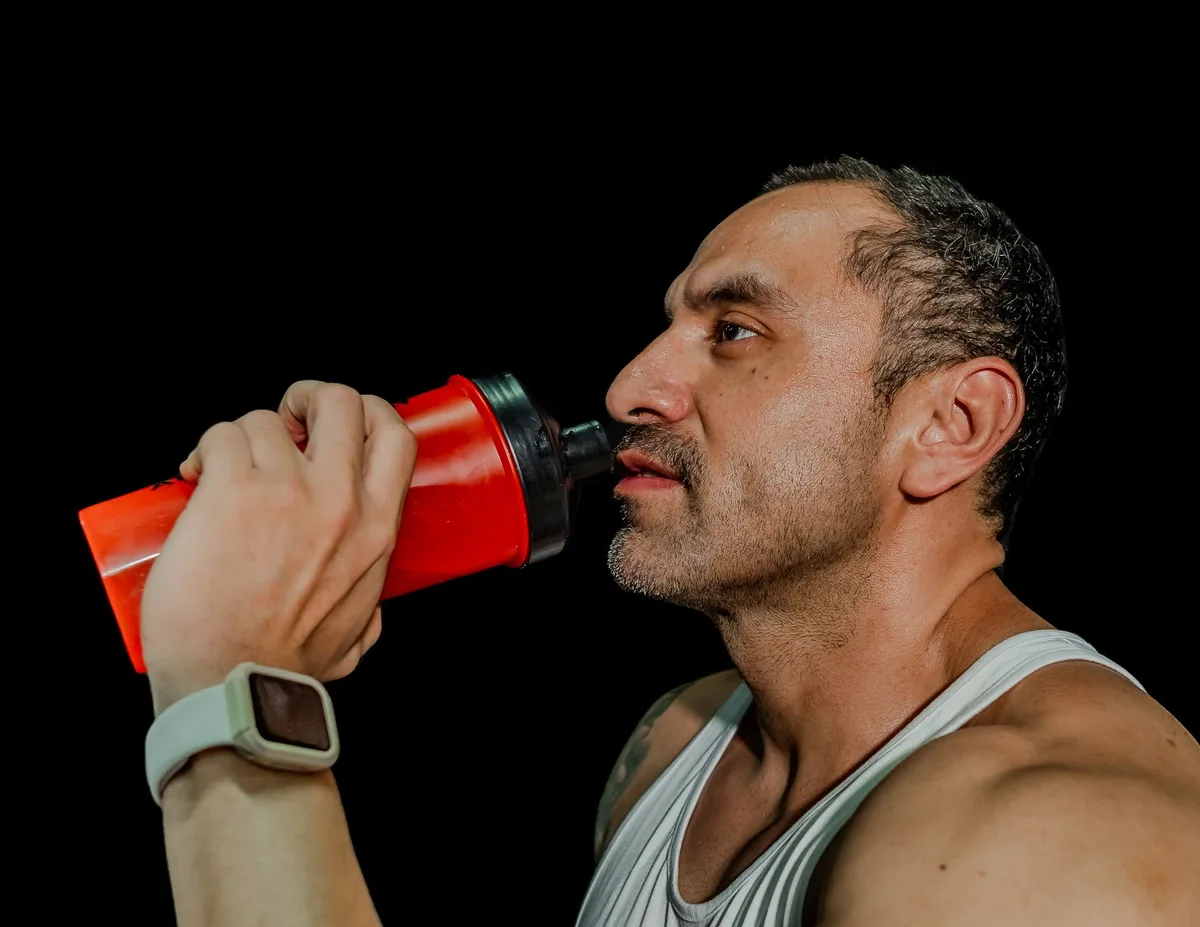
Here’s the honest breakdown. Both tools have their place, and the right answer depends on what you’re making.
Blender wins for:
- Thick shakes with frozen fruit
- Recipes with nut butter or oats
- Anything with leafy greens
- Smoothies that double as meal replacements
- Smoother overall texture
Shaker bottle wins for:
- Speed and portability
- Post-workout protein + water only
- Travel and gym bags
- Easy cleanup
- No electricity required
If you want a shake that’s basically just protein powder and water, the shaker is faster. If you want anything more interesting, and you probably do, or you wouldn’t be reading this, the blender wins every time.
Here’s a quick comparison:
| Feature | Blender | Shaker Bottle |
|---|---|---|
| Texture | Silky smooth | Often gritty or foamy |
| Frozen fruit | Handles easily | Doesn’t work |
| Nut butter | Blends in clean | Sticks to the bottom |
| Speed | 60-90 seconds | 15-20 seconds |
| Cleanup | More involved | Rinse and go |
| Portability | Low | High |
For most home use, the blender is the better tool. Keep a shaker bottle in your gym bag for emergencies, and use the blender for everything else.
Common Mistakes (And How to Avoid Them)
I’ve made every one of these mistakes at some point. Save yourself the trouble.
Adding powder first. It clumps at the bottom. Liquid always goes in first.
Too much powder. More isn’t better. One scoop in 10 to 12 ounces of liquid is the sweet spot. Anything more gets gritty and chalky.
Not blending long enough. Give it at least 20 to 30 seconds on high. Anything less leaves chunks behind.
Too much ice. A handful is plenty. A full tray of ice turns your shake into a frozen block that barely pours.
Skipping the lid. I know someone who did this once. It was a disaster. Always check the lid.
Letting it sit. A blended shake will start separating within 10 to 15 minutes. Drink it fresh or stir it back together.
Simple Protein Shake Recipe With Banana and Peanut Butter
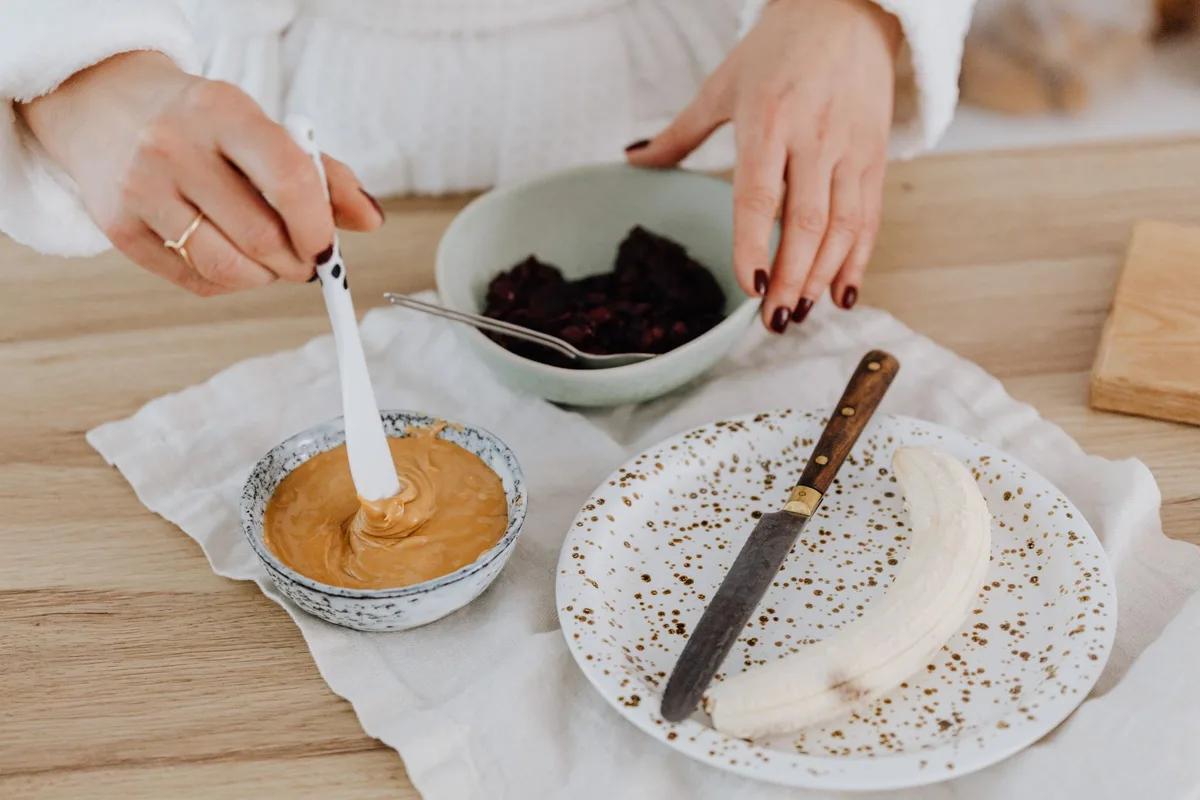
This is the recipe I make most often. It tastes like a milkshake, packs a serious protein punch, and takes about 90 seconds from start to finish.
Ingredients:
- 1 scoop chocolate or vanilla protein powder
- 1 medium banana (fresh or frozen)
- 1 tablespoon peanut butter (or any nut butter)
- 1 cup milk (dairy or oat milk both work great)
- 1/2 cup ice
- Optional: 1/2 teaspoon cinnamon or a splash of vanilla extract
Directions:
- Pour the milk into the blender first.
- Add the protein powder.
- Drop in the banana, peanut butter, and any optional extras.
- Add the ice on top.
- Blend on low for 10 seconds, then high for 25 to 30 seconds.
- Pour into a tall glass and drink immediately.
Macros (approximate):
- Calories: 350-400
- Protein: 30-35g
- Carbs: 35-40g
- Fat: 10-12g
The frozen banana is what gives it that milkshake thickness. If you only have fresh bananas, just add a few extra ice cubes to compensate.
Variations to Try
Once you’ve nailed the basic method, the variations are endless. Here are a few worth trying.
Berry Recovery Shake
1 scoop vanilla protein, 1 cup mixed frozen berries, 1 cup almond milk, 1 tablespoon chia seeds, handful of spinach. Blend until smooth. The spinach disappears completely, you’ll never taste it.
Coffee Protein Shake
1 scoop chocolate or vanilla protein, 1 cup cold brew coffee, 1/2 banana, 1/2 cup milk, ice. Great as a morning pre-workout option. The caffeine plus protein is a strong combo.
Tropical Green Shake
1 scoop vanilla protein, 1/2 cup frozen mango, 1/2 cup frozen pineapple, 1 cup coconut milk, handful of spinach. Tastes like a piña colada. Don’t judge it until you’ve tried it.
Oatmeal Power Shake
1 scoop protein powder, 1/3 cup rolled oats, 1 tablespoon peanut butter, 1 banana, 1 cup milk, cinnamon. The oats blend into a thick, filling shake that works great as a breakfast replacement.
Tips for Better Texture Every Time
Texture is the difference between a protein shake you look forward to and one you force down. A few small tricks make a big difference.
Use frozen fruit instead of ice. It chills the shake without watering it down.
Let frozen ingredients sit for a minute before blending. Five minutes on the counter takes the edge off and helps the blades catch them.
Add a tablespoon of nut butter or avocado. Both make the shake thicker and creamier without adding much flavor.
Blend in two stages. Liquids and powder first, then frozen stuff. This prevents air pockets and clumps.
Use a high-fat liquid base. Whole milk or full-fat oat milk makes a noticeably creamier shake than water or skim milk.
How to Clean Your Blender
Cleanup is the part nobody wants to talk about, but it matters. Protein shakes leave a sticky residue that gets gross fast if you leave it sitting.
The fastest method: rinse the blender pitcher right after you pour your shake. Add a drop of dish soap and warm water, blend for 10 seconds, and rinse. The whole thing takes 30 seconds and your blender is clean.
If you let it sit overnight, soak the pitcher in warm soapy water for 15 minutes before washing. Don’t put the pitcher in the dishwasher unless it’s dishwasher-safe, check the bottom for the symbol.
The blade assembly needs extra care. Unplug the blender, then carefully wash around the blades with a sponge. Don’t run your fingers across them.
FAQ
Can I make a protein shake without a blender?
Yes, but you’ll need to use a shaker bottle and stick to liquid ingredients. No frozen fruit, no nut butter, no oats. The texture won’t be as smooth.
How long does a blended protein shake last in the fridge?
About 24 hours before it starts separating and losing texture. Give it a shake or stir before drinking if it’s been sitting.
Is it okay to drink a protein shake every day?
For most healthy adults, yes. The key is matching your protein intake to your activity level and goals. If you have kidney issues or other health concerns, talk to your doctor first.
Can I use water instead of milk?
Absolutely. Water works fine and cuts calories. You’ll sacrifice some creaminess, but it’s still a solid shake.
Should I use whey or plant protein?
Depends on your dietary needs and taste preferences. Whey tends to blend smoother. Plant proteins are better for anyone avoiding dairy.
Both work great in a blender.
Why does my shake foam up?
Usually because the powder is getting whipped with too much air. Add the liquid first, blend on low first, and use whey isolate if foaming is a persistent problem.
Wrapping Up
Making a protein shake in a blender is one of the easiest kitchen skills to learn, and it pays off every single day. Once you’ve got the method down, liquid first, then powder, then mix-ins, then ice, you can throw together a shake in under two minutes with whatever’s in your fridge.
Start with the basics. Master the banana peanut butter recipe. Then start experimenting with berries, oats, greens, and whatever else sounds good.
The blender is the tool that opens up all of it.
A shaker bottle is fine for emergencies. But for everything else? Blender, every time.