
Store-bought nut milk has come a long way, but once you’ve tried the homemade version, it’s tough to go back. It’s fresher, creamier, and you control exactly what goes in. No gums, no “natural flavors,” no mystery ingredients.
Just nuts, water, and maybe a pinch of salt.
The best part? You probably already own the only tool you need: a regular blender. No fancy juicer.
No nut milk bag required (though it helps). In the next ten minutes of reading, I’ll walk you through every step of how to make nut milk in a blender, plus troubleshoot the stuff that goes wrong, swap in different nuts, and store it so it actually lasts.
Let’s get started.
Why Make Nut Milk at Home?
I get this question a lot. Store-bought is convenient, right? Sure, but here’s what you’re paying for when you grab a carton off the shelf: a lot of water (usually 90% or more), a handful of nuts, and a list of stabilizers like gellan gum, carrageenan, or sunflower lecithin.
Those aren’t necessarily harmful, but they’re not doing much for flavor either.
When you DIY it, you’re in charge. Want it thinner? Add more water.
Want it sweeter? Toss in a date or two. Want it extra rich?
Use fewer cups of water or add a splash of coconut cream. Want it without added oils or gums? You can do that too.
It’s also cheaper in the long run. A pound of almonds runs about $10 to $15 and yields roughly 8 to 10 cups of milk, depending on how concentrated you make it. That same amount of store-bought almond milk?
Easily $25 to $30.
What You’ll Need
The equipment list is short. That’s the whole appeal.
- A high-speed blender. A Vitamix, Blendtec, or any blender with at least 1000 watts will give you the smoothest result. A standard blender works too, but you’ll want to blend longer and strain more carefully.
- Nuts. Raw, unsalted nuts are the gold standard. Almonds, cashews, pecans, walnuts, hazelnuts, pistachios, and macadamias are all fair game.
- Filtered water. Tap water is fine in most places, but filtered water gives cleaner flavor.
- A nut milk bag or fine-mesh strainer. Optional but recommended. Cheesecloth works too, though it’s slower.
- A pinch of salt. Just a tiny bit brings out the sweetness and rounds out the flavor.
- Optional add-ins. Medjool dates, vanilla extract, maple syrup, cinnamon, cocoa powder, or a tablespoon of coconut oil for richness.
Choosing Your Nuts
Different nuts give wildly different results. Here’s a quick breakdown to help you decide.
Almonds are the classic choice. They make a mild, slightly sweet milk that works in coffee, cereal, smoothies, and baking. They’re also one of the cheapest options per cup of milk produced.
Cashews blend into the silkiest milk you’ve ever tasted. Because they’re softer, you don’t even need to strain them. Skip the bag entirely.
The flavor is richer and slightly buttery.
Hazelnuts make a milk that tastes like a liquid version of Nutella without the sugar. It’s incredible in coffee and desserts.
Walnuts are nutritious but the milk has a stronger, earthier flavor. Some people love it. Others find it overpowering.
It’s worth experimenting with.
Pecans are buttery and sweet. Pecan milk is a treat, especially in fall recipes.
Macadamia nuts make the richest, creamiest nut milk on the planet. They’re pricey, but a little goes a long way.
For your first batch, I’d start with almonds or cashews. They’re forgiving, affordable, and crowd-pleasing.
Soaking the Nuts
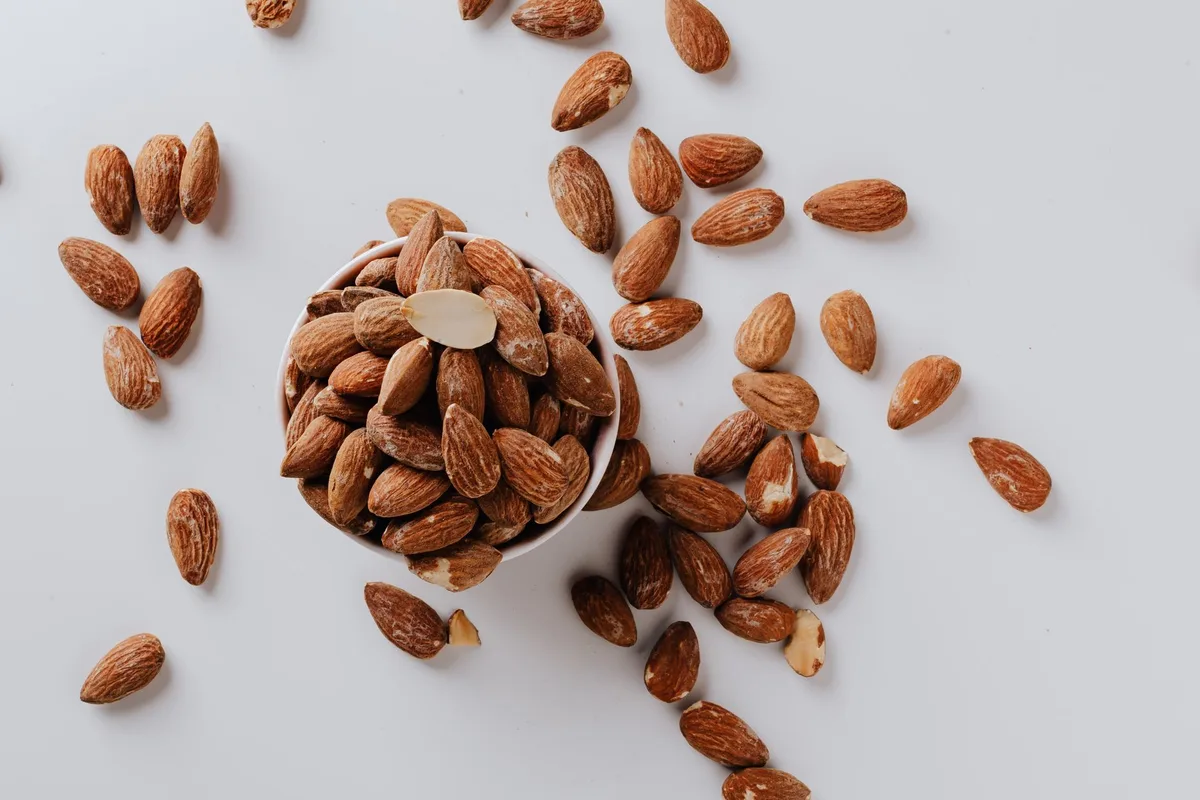
Soaking isn’t optional if you want smooth, easy-to-digest milk. It softens the nuts, which means your blender doesn’t have to work as hard. It also reduces phytic acid, a compound that can interfere with mineral absorption.
The Harvard T.H. Chan School of Public Health notes that soaking nuts and seeds is one practical way to reduce anti-nutrient content and improve digestibility.
Here’s the soaking cheat sheet:
- Almonds: 8 to 12 hours (overnight is perfect).
- Cashews: 2 to 4 hours. They soften fast.
- Hazelnuts: 8 to 12 hours.
- Walnuts and pecans: 4 to 6 hours.
- Macadamias: 2 to 4 hours.
Cover the nuts with at least two inches of cool water because they’ll swell as they absorb moisture. When they’re done soaking, drain and rinse thoroughly. Some people also peel the skins off almonds after soaking by pinching them.
The skins slip right off. This step is optional, but it makes the milk a bit smoother and lighter in color.
The Basic Recipe
Now for the main event. Here’s the master ratio I use as a starting point:
- 1 cup of soaked nuts
- 4 cups of filtered water (for richer milk, use 3 cups)
- 1/8 teaspoon of salt
- 1 to 2 pitted Medjool dates (optional, for sweetness)
Step 1: Add everything to your blender. Nuts first, then water, then salt and any sweeteners. Putting liquids on top of solids helps the blender catch properly.
Step 2: Blend on high for 1 to 2 minutes. If you have a high-speed blender, this is plenty. With a regular blender, plan on 2 to 4 minutes and stop once or twice to scrape down the sides. You’re done when the mixture looks completely smooth and milky, with no gritty bits floating around.
Step 3: Strain. If you’re using cashews and a high-speed blender, you can skip this. For everything else, pour the milk through a nut milk bag or fine-mesh strainer set over a large bowl or pitcher. Squeeze or press to extract every last drop.
Don’t toss the pulp. I’ll cover what to do with it below.
Step 4: Transfer and chill. Pour the finished milk into a glass jar or airtight container. It’ll keep in the fridge for 4 to 5 days. Some folks stretch it to a week, but I find it starts to taste a little off by day five.
That’s it. Four steps and you’ve got better nut milk than anything you’ll find at the grocery store.
Blending and Straining Tips

A few tricks make a noticeable difference in your final product:
- Blend in batches if needed. If your blender is on the smaller side, work in two batches rather than cramming it full.
- Use cold water for better texture. Cold water keeps the milk from getting warm during blending, which can affect the consistency.
- Don’t skip the salt. It sounds weird, but a tiny pinch makes everything taste more like itself. Without it, nut milk can taste flat.
- Strain while still warm. The milk strains more easily when it’s fresh from the blender. Once it chills, it thickens slightly and gets harder to push through the bag.
- Press, don’t squeeze. When using a nut milk bag, gentle pressure gets the most milk out without ripping the bag. If you’re using cheesecloth, gather the corners and squeeze firmly.
Flavor Variations to Try
Once you’ve nailed the basic recipe, the fun begins. Here are some flavor combos worth experimenting with:
- Vanilla almond milk: Add 1 teaspoon of vanilla extract and 2 dates during blending.
- Chocolate hazelnut milk: Use hazelnuts, add 2 tablespoons of cocoa powder, 2 dates, and a splash of vanilla.
- Cinnamon cashew milk: Use cashews, add 1 pitted date and 1/2 teaspoon of ground cinnamon.
- Coffee nut milk: Add 1/2 cup of cold brew concentrate to your base recipe. Works beautifully with hazelnuts.
- Golden milk: Add 1/2 teaspoon of turmeric, 1/4 teaspoon of cinnamon, a pinch of black pepper, and 1 date to almond milk.
Don’t Waste the Pulp
After straining, you’ll have a pile of nutty pulp left over. Don’t throw it out. It’s still full of fiber and flavor.
Here are my favorite uses:
- Add it to smoothies for extra body and nutrition.
- Stir it into oatmeal or yogurt.
- Mix it into baked goods. Replace up to 1/4 of the flour in muffins, cookies, or quick breads with the pulp.
- Make nut pulp crackers or granola bars. Search for recipes online. There are tons.
- Dry it in a low oven to make almond meal for breading or crusts.
Troubleshooting Common Problems
Even with a simple recipe, things can go sideways. Here are the issues I hear about most often.
My milk is gritty.
You didn’t blend long enough, or your blender isn’t powerful enough. Try blending for another minute or two. If the problem persists, strain through a finer mesh or double up your nut milk bag.
My milk separated in the fridge.
That’s completely normal. Nut milk doesn’t have the stabilizers that store-bought versions use. Just give it a good shake before pouring.
My milk tastes bitter.
You probably used nuts that were old or had gone rancid. Nuts go bad faster than people think because of their high oil content. Always taste a nut before blending.
If it tastes paint-like or soapy, toss the batch.
My milk is too thin / too thick.
Adjust the water ratio next time. Less water = thicker, richer milk. More water = thinner, lighter milk.
Start with 4 cups of water per cup of nuts and tweak from there.
My blender sounds like it’s dying.
You’re probably overfilling it or blending too long without breaks. Stop and let it rest for 30 seconds, then continue. A high-speed blender handles nuts better, but even powerful units can overheat if you push them.
Storing Your Nut Milk
Homemade nut milk won’t last as long as the commercial stuff. Without preservatives, you’re looking at 4 to 5 days in the fridge.
A few storage tips:
- Use glass containers. They don’t absorb odors and they’re easier to clean.
- Keep it cold. Don’t leave it on the counter for hours.
- Freeze it for longer storage. Pour into ice cube trays or silicone molds, then transfer the frozen cubes to a freezer bag. They’ll keep for 2 to 3 months. Thaw in the fridge overnight when you’re ready to use them.
How Nut Milk Compares Nutritionally
Homemade nut milk isn’t going to match the protein or calcium content of dairy milk, and that’s okay. Most store-bought versions are fortified to make up for what the nuts don’t provide. If you want a more nutritionally complete option, consider these add-ins:
- A tablespoon of chia seeds or hemp seeds for omega-3s.
- A scoop of protein powder for extra protein.
- A teaspoon of spirulina for iron and B vitamins.
Nut milk is naturally low in calories and rich in healthy fats, vitamin E, and magnesium. It’s a satisfying swap for dairy in most recipes.
A Quick Note on Safety
The U.S. Food and Drug Administration recommends keeping homemade plant-based milks refrigerated and consuming them within a few days. Unlike pasteurized commercial products, homemade versions don’t go through heat treatment that kills bacteria.
So once you’ve made a batch, use it up quickly and keep it cold.
Final Thoughts
Learning how to make nut milk in a blender is one of those small kitchen skills that pays off forever. It’s cheaper, tastier, and more customizable than anything you can buy. You get exactly what you want, with no fillers or weird stabilizers.
Start simple. Almonds, water, a pinch of salt. Once you love that, branch out.
Cashews for silky richness. Hazelnuts for coffee. Macadamias for dessert.
The basic method stays the same. The possibilities are endless.
Give it a try this week. You’ll be hooked by the second batch.
1 thought on “How to Make Nut Milk in a Blender”