Title: How to Remove Burnt Milk From a Pan
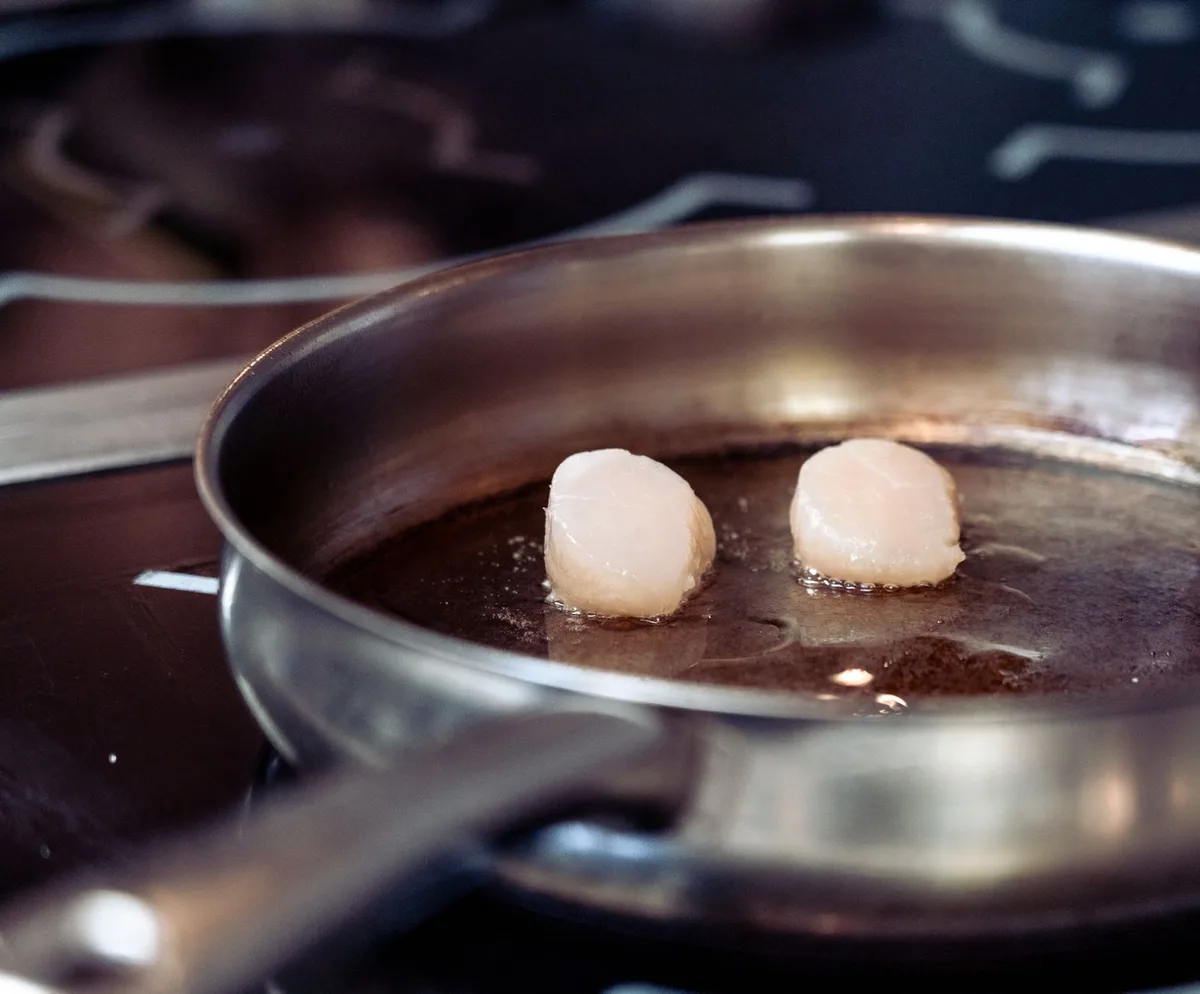 Burnt milk forms a dark crust on the pan bottom after overheating.
Burnt milk clings to a pan like stubborn glue. The sugars and proteins caramelize fast, leaving a dark, crusty film that resists a quick rinse. I’ve faced this more times than I can count, and each time I learned a new trick.
Below is the complete, step‐by‐step playbook I use every time the stove gets away from me.
Why Milk Burns So Fast
Milk contains lactose, whey, and casein. When heat hits, lactose caramelizes at a lower temperature than water boils. Proteins then denature and stick to metal.
The result is a thin, carbonized layer that bonds to the surface. A study from the University of Minnesota Extension explains that the Maillard reaction accelerates once the temperature climbs past 180 °F (82 °C) University of Minnesota Extension. Knowing the chemistry helps you pick the right cleaner.
In practice, the pan material changes how quickly this happens. Thin aluminum and lightweight stainless can develop hot spots faster than a heavier vessel, so dairy may scorch before the surface looks dangerously hot. If you regularly warm milk for sauces, custards, or hot chocolate, choosing a compact cooking pot with a thicker base gives you a wider safety margin.
Immediate Steps After the Spill
Turn off the heat the second you see smoke.
Remove the pan from the burner.
Let it cool for five minutes. Hot metal warps under sudden temperature changes.
Scrape loose bits with a wooden spoon or silicone spatula. Metal scrapers scratch non‐stick coatings.
Fill the pan with hot water and a drop of dish soap. Let it sit while you gather supplies.
These five actions stop the residue from hardening further and cut your scrubbing time in half.
A common mistake is pouring cold water into a hot pan. The shock can warp thin metal and may crack enamel. Instead, use warm tap water and let the pan cool on a trivet or back burner. For food-contact surfaces, official guidance from the U.S. Food and Drug Administration emphasizes cleaning with hot, soapy water before any deeper sanitizing step.
Overnight Soak for Thick Crust
If the pan has sat for several hours, skip aggressive scraping and start with a long soak. Fill the pan with hot water, add a squirt of dish soap and 2 tablespoons of baking soda, then let it sit for 8 hours or overnight. Pour out the water, use a nylon scraper, and repeat with a fresh paste if needed. Do not use this soak on bare cast iron or pans with wooden handles.
Clean with Baking Soda and Water
 Baking soda paste sitting on scorched milk residue before scrubbing.
Baking soda is a mild abrasive and a natural deodorizer. It lifts the carbonized layer without damaging stainless steel, enamel, or cast iron.
Materials
2 tablespoons baking soda
1 cup water
Non‐scratch scrub pad
Method
Sprinkle the soda evenly over the burnt area.
Add water to form a thick paste.
Let the paste sit for 15 minutes. The alkaline solution breaks down the protein bonds.
Scrub in a circular motion. Rinse and repeat if any shadow remains.
For stubborn spots, add a splash of hydrogen peroxide. The oxygen bubbles lift the last particles.
When the dark patch still feels rough after this step, move to darkened residue removal rather than using harsher abrasives. On stainless steel, scrub with the grain if you can see it. On enamel, let the paste dwell longer instead of pressing harder.
Simmer Vinegar and Water Solution
 Vinegar and water simmering in a pan to loosen burnt milk.
White vinegar’s acetic acid dissolves mineral deposits and softens the burnt film. It works especially well on copper‐bottom pans.
Materials
1 cup white vinegar
2 cups water
Method
Combine liquids in the pan.
Bring to a gentle simmer, do not boil hard.
Simmer for 10 minutes. The steam loosens the crust.
Remove from heat, let cool, then scrub with a soft brush.
Rinse thoroughly; any lingering vinegar smell disappears after a final wash with soap.
If the pan is non‐stick, keep the temperature low and limit the simmer to five minutes to protect the coating.
Because vinegar is acidic, keep contact time short on bare aluminum and rinse promptly. If you use hard-anodized cookware, review hard-anodized upkeep before long acidic soaks, because prolonged acid can dull the finish.
Use Lemon and Salt for Light Residue
When the burn is faint, a lemon‐salt combo works fast and smells fresh.
Steps
Cut a lemon in half.
Sprinkle coarse salt on the cut side.
Rub the lemon over the stain, squeezing juice as you go.
Let the mixture sit five minutes.
Wipe clean with a damp cloth.
The citric acid cuts through the remaining film while the salt provides gentle abrasion. This method shines on enamel and ceramic interiors.
In practice, this is best as a finishing step after the main crust is gone. If the salt starts to scratch a glossy surface, stop and switch back to a soaking method.
Commercial Cleaners and When to Use Them
Sometimes home remedies fall short, especially on heavy carbon buildup. Choose a cleaner labeled safe for your pan material.
Pan type Recommended product Key ingredient
Stainless steel Bar Keepers Friend Oxalic acid
Cast iron Lodge Cast Iron Cleaner Mild surfactant
Non‐stick Cerama Bryte Non‐abrasive polymer
Follow the label exactly. Apply, let dwell, then scrub with a non‐scratch pad. Rinse twice to remove any chemical residue.
If a commercial cleaner leaves a haze, wash the pan again with hot soapy water and dry it fully. Do not mix commercial cleaners with vinegar, bleach, or other chemicals; rinse completely before trying another method.
Material-Specific Cleanup Notes
| Pan material | Best first approach | Avoid | Practical note |
|---|---|---|---|
| Stainless steel | Baking-soda paste, then vinegar simmer | Steel wool on mirror finishes | Scrub with the grain when visible. |
| Non-stick or ceramic-coated | Warm soapy soak, then low-heat vinegar simmer | Abrasive powders and metal tools | If the coating is flaking, stop scrubbing and assess the pan. |
| Enameled cast iron | Baking-soda soak and nylon scraper | Oven cleaner and sudden temperature shocks | Work gently around chips or cracks. |
| Bare cast iron | Simmer water, scrape with wood, dry and oil | Long acidic soaks or dishwasher cycles | Re-oil immediately to prevent rust. |
| Aluminum | Short vinegar simmer, then thorough rinse | Prolonged acidic or alkaline soaking | Review uncoated aluminum care if discoloration keeps returning. |
| Anodized aluminum | Warm soapy water and soft sponge | Harsh scouring pads | Use the earlier vinegar step only briefly. |
When the Burn Includes Oil or Butter
Milk often burns alongside butter, cocoa, or custard fats. If the residue feels sticky and amber rather than chalky, the film may be polymerized fat. Lift the milk crust first, then follow cooked-on grease methods to remove the remaining tacky layer.
Preventing Future Burn‐Ons
Prevention beats cure every time.
Use a heavy‐bottom pan , it distributes heat evenly.
Stir constantly once milk reaches a simmer.
Lower the flame as soon as bubbles appear.
Add a splash of water to the milk; it raises the boiling point slightly.
Invest in a milk‐watch , a small silicone disc that rattles when the liquid rises.
A few habit changes save you hours of scrubbing later.
If milk is part of your daily routine, dedicate one heavy-bottomed pan to dairy tasks. That simple habit reduces hot spots and keeps you from using a delicate non-stick pan for high-heat simmering.
Common Mistakes That Make Burnt Milk Worse
Adding cold water to a hot pan, which can warp metal or crack enamel.
Scrubbing before the pan has cooled enough for the crust to soften.
Using steel wool on polished stainless, enamel, or coated surfaces.
Boiling vinegar aggressively in a non-stick pan.
Putting cast iron in the dishwasher or leaving it wet after cleaning.
Quick FAQ
Can I put a burnt pan in the dishwasher?
Only if the manufacturer says it’s dishwasher safe. High heat and harsh detergents can worsen the stain.
Will steel wool ruin my pan?
Yes, on non‐stick, enamel, and polished stainless. Use a nylon pad instead.
How do I remove the smell after cleaning?
Rinse with a solution of 1 tablespoon baking soda per quart of water, then dry thoroughly.
Is it safe to use oven cleaner on a stove‐top pan?
No. Oven cleaners contain lye that damages most cookware finishes.
What if the burnt layer is thick?
Repeat the vinegar simmer twice, then finish with a baking‐soda paste. Persistence wins.
Can burnt milk permanently stain stainless steel?
Usually no. Gray or rainbow discoloration is often heat tint or mineral marking. A baking-soda paste or a stainless-safe polish can reduce it, but deep pitting requires professional assessment.
How do I remove burnt milk from the outside of a pan?
Turn the pan upside down in a shallow tray of hot soapy water, keeping the exterior submerged for 30 minutes. Scrub with a nylon pad, rinse, and dry. Avoid soaking cast iron or pans with wooden handles.
Burnt milk doesn’t have to ruin your favorite pan. With the right chemistry, a little patience, and the right tools, the surface comes back to shine. Keep this guide handy, and the next spill will be a minor inconvenience, not a kitchen disaster.
Conclusion
In 2026, the safest sequence is still gentle heat control, soaking, and material-appropriate cleaning. Start with warm soapy water, move to baking soda for protein-bound crusts, and use vinegar when mineral deposits or stubborn films remain. Save this page for the next boil-over, and begin with the baking-soda paste before the residue sets.