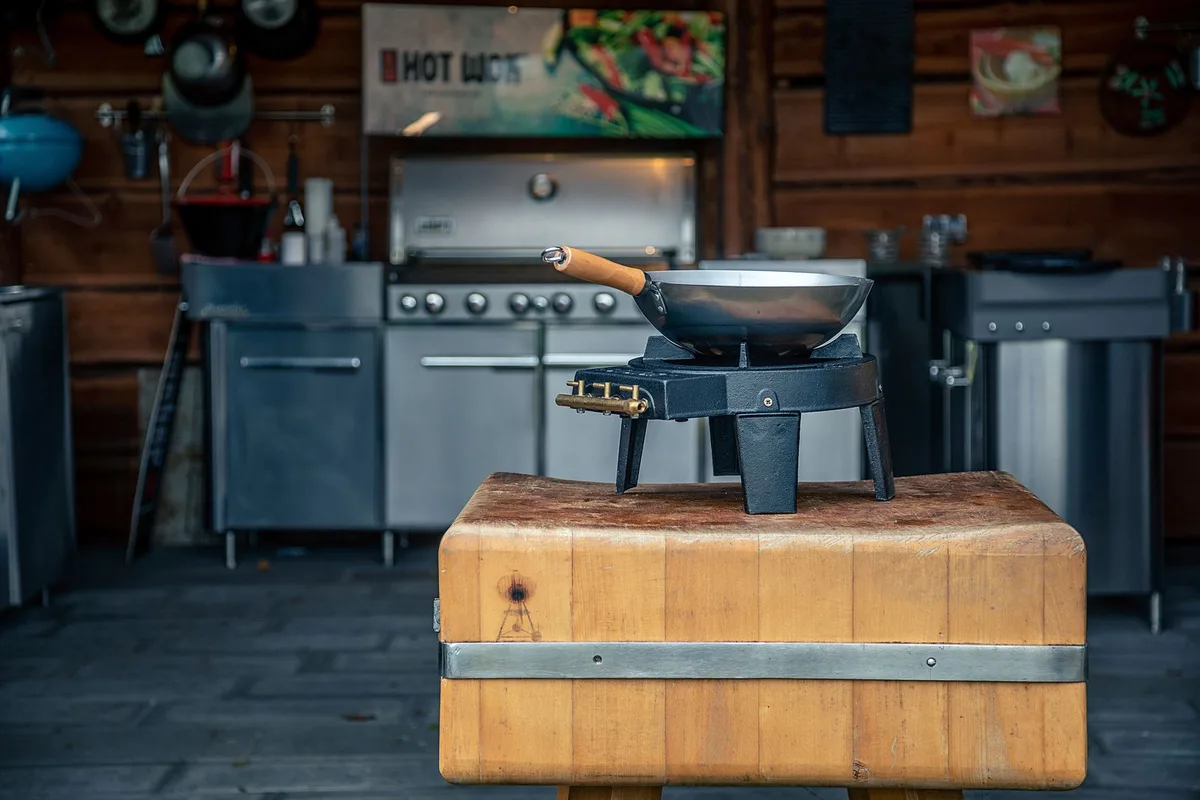
Image source: Pexels / HOT WOK (Pexels License)
I’ve seasoned dozens of woks over the years, and I’ll tell you straight up: the oven method is the most reliable way to get that deep, glassy patina you see on professional kitchen woks. No uneven spots. No sticky residue.
Just a beautiful, non-stick surface that gets better with every cook.
Let me walk you through exactly how to season a wok in oven, step by step, no shortcuts, no fluff.
What Oven Seasoning Actually Does to Your Wok
Before we get into the process, you need to understand what’s happening inside that oven. Seasoning isn’t about applying oil and leaving it. It’s about transforming that oil into a polymerized coating.
When you heat oil past its smoke point, the fatty acids break down and bond with the metal surface. This creates a plastic-like layer that’s hydrophobic. That means food won’t stick.
The more layers you build, the darker and more non-stick your wok becomes.
Oven seasoning gives you three advantages over stovetop methods:
- Even heat distribution, No hot spots that burn oil in one area while leaving another raw
- Consistent temperature, The oven holds steady, so every part of the wok reaches the right temp
- Hands-free operation, Set it and forget it while the chemistry does its work
The result is a seasoning layer that’s harder, more uniform, and longer-lasting than anything you can achieve on a burner.
Choosing the Right Oil for Oven Seasoning
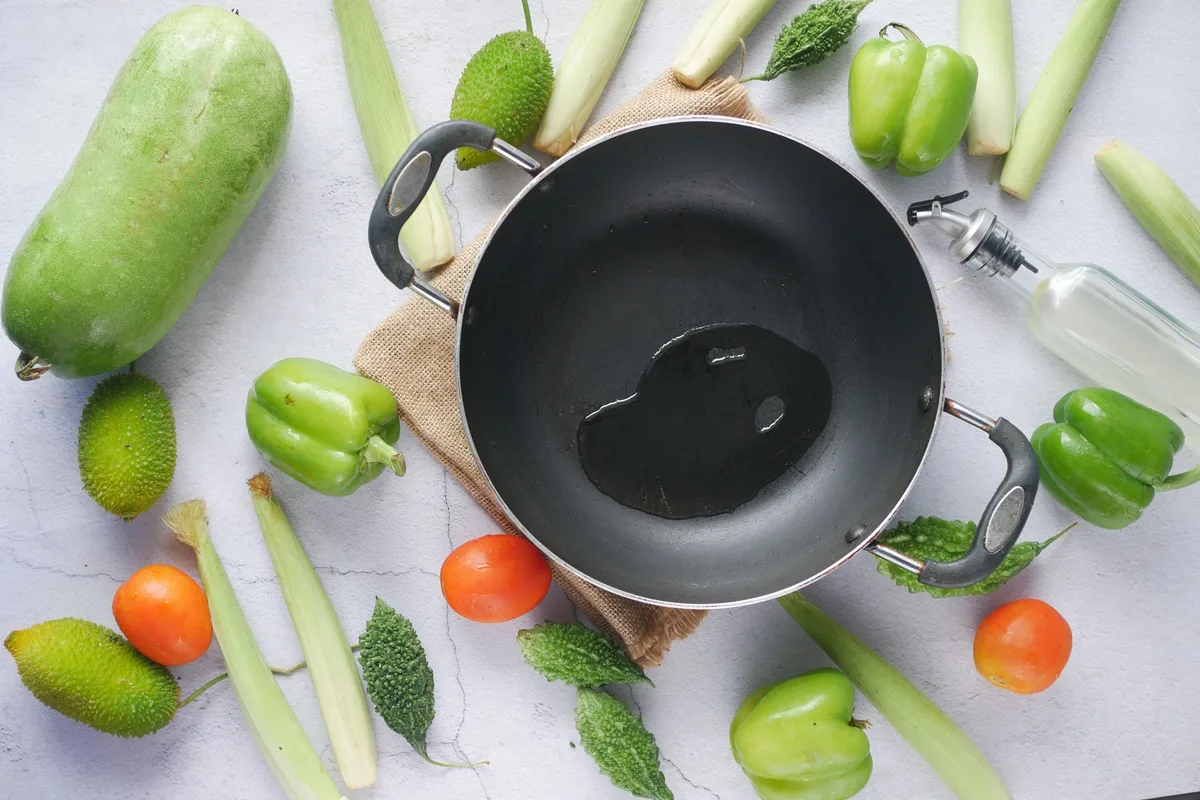
Image source: Pexels / Towfiqu barbhuiya (Pexels License)
Oil selection makes or breaks your seasoning. Period. Here’s the deal: you need an oil with a high smoke point and a high polyunsaturated fat content.
Polyunsaturated fats polymerize more readily than saturated fats.
Best Oils for Wok Seasoning
| Oil | Smoke Point | Polymerization | Best For |
|---|---|---|---|
| Flaxseed oil | 225°F (107°C) | Excellent | Initial seasoning layers |
| Grapeseed oil | 420°F (216°C) | Very good | All-purpose seasoning |
| Avocado oil | 520°F (271°C) | Good | High-heat finishing layers |
| Vegetable oil | 400°F (204°C) | Good | Budget-friendly option |
| Canola oil | 400°F (204°C) | Good | Reliable standard |
Flaxseed oil is the gold standard for initial seasoning. It polymerizes faster than almost any other cooking oil. But it has trade-offs: its low smoke point means it can burn if you crank the heat too high during cooking.
That’s why many experienced cooks do the first 2-3 layers with flaxseed, then switch to grapeseed or avocado for the top layers.
Avoid olive oil (too low smoke point), butter (burns), and coconut oil (resists polymerization). They’ll leave you with a gummy mess.
What About Wok-Specific Seasoning Oils?
They exist. Some brands market “wok seasoning oil” blends. Honestly?
Most are just flaxseed oil with a markup. Check the ingredients. If it’s just flax or grapeseed oil, save your money and buy the pure stuff.
Why Oven Seasoning Works Better Than Stovetop
Image source: Pexels / Towfiqu barbhuiya (Pexels License)
I used to season woks on a gas burner. I’d rub oil, heat the wok until it smoked, then repeat. The result was always patchy.
The sides never got as hot as the bottom. The handle area barely seasoned at all.
Oven seasoning fixes every one of those problems.
The Temperature Control Factor
Your oven maintains temperature within about 5-10 degrees of your set point. A gas burner fluctuates wildly. When you’re trying to hit that sweet spot just above the oil’s smoke point, consistency is everything.
The Chemical Reaction
Polymerization requires the oil molecule to break apart and reform into long hydrocarbon chains. This reaction needs sustained heat. If the temperature drops, the reaction stops.
If it spikes, the oil burns into carbon ash instead of seasoning.
Your oven gives you that sustained, controlled heat for the full 45-60 minutes each cycle needs.
The Geometry Advantage
Woks have steep, sloped sides. On a burner, only the bottom third gets hot enough to season. The upper walls stay raw.
In an oven, hot air surrounds the entire wok. Every surface reaches the same temperature. You get seasoning on the inside walls, the outside walls, and even the handle (if it’s metal).
Preparing Your Wok for Oven Seasoning
Clean your wok thoroughly before you start. I’m talking bare metal clean. Here’s the prep sequence:
-
Scrub off any factory coating, Most new woks come with a protective lacquer. Use hot water, dish soap, and a stiff brush. Scrub until no residue remains. Some carbon steel woks ship with a wax coating; remove it with warm water and a degreaser.
-
Dry immediately, Water causes flash rust on bare carbon steel. Dry the wok over medium heat on your stove until every drop evaporates.
-
Remove rust spots, If you see orange patches, scrub them off with fine steel wool before seasoning. Rust under seasoning creates weak points that flake later.
-
Wipe with vinegar, A light wipe with white vinegar neutralizes any remaining alkaline residue from soap. Rinse and dry again.
-
Heat to open the pores, Place the empty wok in your preheated oven at 200°F for 10 minutes. Warm metal absorbs oil better than cold metal.
Step-by-Step: How to Season a Wok in Oven
Now the main event. Follow these steps exactly, and you’ll have a wok that outperforms any non-stick pan you’ve owned.
Step 1: Preheat Your Oven
Set your oven to the smoke point of your chosen oil minus 50°F. For grapeseed oil (420°F smoke point), set your oven to 370°F. For flaxseed oil (225°F), use 175°F.
Why below the smoke point? Because the wok itself will heat above the oven’s ambient temperature when it absorbs radiant heat. You want to land right at the smoke point, not blast past it.
Step 2: Apply a Microscopic Oil Layer
Here’s where most people mess up. They apply too much oil. Excess oil pools, thickens unevenly, and creates a sticky, tacky surface.
Instead:
- Put 1 teaspoon of oil in the warm wok
- Rub it over every interior surface with a paper towel
- Wipe it off like you made a mistake
That last part is critical. You want a layer so thin you can barely see it. If you see visible oil sheen, you’ve applied too much.
Wipe more off.
Step 3: Place the Wok Upside Down
This trick changes everything. Place your oiled wok upside down on the middle oven rack. Put a baking sheet or aluminum foil on the rack below to catch any oil drips.
Why upside down? So excess oil drips off instead of pooling in the bottom of the wok. Pooled oil leads to thick, uneven seasoning that flakes off.
Step 4: Bake for 45-60 Minutes
Let the wok bake for 45-60 minutes. During this time, the oil polymerizes into a hard coating. You’ll see the wok darken from silver to bronze to deep brown as the layers build.
Don’t open the oven door. Don’t check on it. Let the chemistry work.
Step 5: Cool and Repeat
Turn off the oven and let the wok cool completely inside. Once it’s cool enough to handle, inspect the surface. It should feel dry, smooth, and slightly glossy.
If it feels tacky, the oil layer was too thick. You’ll need to scrub that layer off and start over.
For a proper initial seasoning, repeat steps 1-5 four to six times. Yes, that’s a whole afternoon. Yes, it’s worth it.
Step 6: Final High-Heat Bake
After 4-6 layers at moderate temperature, do one final bake at 450°F for 30 minutes. This extra heat strengthens the polymer chains and creates a harder, more durable surface.
How Many Layers Do You Actually Need?
This depends on what you’re cooking.
- Stir-frying only, 4 layers minimum. The constant oil and high heat will continue building seasoning during cooking.
- General cooking, 6 layers. This handles scrambled eggs, fried rice, and seared meats without sticking.
- Wok as daily driver, 8-10 layers. Overkill for most people, but if you want weekend-proof non-stick, go for it.
Each layer adds to the coating’s thickness and durability. But there’s a diminishing return. After about 8 layers, the difference becomes negligible.
Your cooking will build more seasoning naturally after that.
What If Your Wok Has a Wooden or Plastic Handle?
Not all woks can go in the oven. Check your handle material:
- Metal handle, Safe for oven seasoning. Most carbon steel woks have metal handles.
- Wooden handle, Remove it if possible. Wood cracks and chars at seasoning temperatures.
- Plastic or silicone handle, Do not put this in the oven. Remove the handle or use stovetop seasoning instead.
If your handle is removable, unscrew it before oven seasoning. If it’s permanently attached to a metal base but has wood or plastic accents, you’re better off using the stovetop method. Alternatively, wrap the handle in several layers of damp paper towel and then aluminum foil.
The moisture prevents the handle from reaching dangerous temperatures. This works in a pinch but isn’t foolproof.
Troubleshooting Common Oven Seasoning Problems
Sticky or Tacky Surface
You used too much oil. The excess didn’t fully polymerize. Here’s the fix: scrub the sticky layer off with hot water and a stiff brush.
Dry the wok thoroughly. Apply a thinner oil layer next time. Remember: thinner is better.
Uneven Color (Spotty Seasoning)
Your oven has hot spots. Rotate the wok halfway through each baking cycle. Also, make sure the wok is centered on the rack.
If one side faces the heating element, that side will season faster.
Silver Patches After Cooking
The seasoning flaked off. This usually means the metal wasn’t clean enough before you started. Oil can’t bond to grease or residue.
Scrub the entire wok down to bare metal and re-season from scratch. Also check if you’re using enough cooking oil when you cook. A dry wok scrapes seasoning off.
Rust Spots
Moisture got under the seasoning. Always dry your wok immediately after washing. Store it in a dry place.
If you see rust, scrub it off with steel wool, rinse, dry, and apply a single touch-up seasoning layer in the oven.
Smoke Filling Your Kitchen
This is normal during the first few layers. The oil hits its smoke point and releases smoke. Open windows, turn on your range hood, and accept that seasoning is a smoky process.
The smoke decreases with each layer as the wok builds more coating.
How to Maintain Your Oven-Seasoned Wok
Once you’ve done the initial oven seasoning, your wok needs ongoing care to keep that non-stick surface intact.
Cleaning After Cooking
- Hot water and a soft brush, That’s it. No soap for the first few weeks. A bamboo wok brush is ideal.
- Scrub stuck food gently, If food sticks, soak the wok in hot water for 5-10 minutes, then scrub.
- Dry thoroughly, Heat the wok on the stove for 30 seconds after washing to evaporate all moisture.
When to Use Soap
After about 20-30 cooking sessions, your seasoning is tough enough to handle mild soap. Use a tiny amount of dish soap. Never use steel wool or abrasive pads.
They’ll scratch the seasoning right off.
Touch-Up Seasoning
After a few months, you’ll notice the seasoning thinning in high-wear areas (the bottom where you stir-fry). Fix this with a quick oven touch-up:
- Clean and dry the wok
- Apply a thin oil layer
- Bake at 350°F for 30 minutes
- Cool and repeat once
This restores the worn areas without doing a full re-season.
Oven Seasoning vs. Stovetop vs. Grill
Here’s the honest comparison:
| Method | Evenness | Time | Smoke | Difficulty |
|---|---|---|---|---|
| Oven | Excellent | 4-6 hours | Moderate | Easy |
| Stovetop | Patchy | 30 minutes per layer | High | Medium |
| Grill | Good | 2-3 hours | Very high | Hard |
The oven wins on evenness and ease. The stovetop wins on speed. The grill is only worth it if you’re already cooking outside and don’t want smoke in your kitchen.
For your first seasoning, use the oven. For touch-ups later, stovetop works fine.
When You Should NOT Use Oven Seasoning
Oven seasoning isn’t for every wok.
- Non-stick coated woks, Toxic at high temperatures. These go in the trash, not the oven.
- Enameled woks, The enamel is already non-stick. Seasoning won’t adhere.
- Stainless steel woks, Technically possible but extremely difficult. Stainless resists seasoning. You’re better off using stainless for sauces and leaving wok cooking to carbon steel.
- Aluminum woks, Aluminum reacts with the polymerized oil and creates a weak bond. The seasoning flakes quickly.
Stick with carbon steel woks. That’s what restaurant chefs use. That’s what oven seasoning was designed for.
Frequently Asked Questions
Can I season a wok in a convection oven?
Yes. Convection ovens work even better because they circulate hot air around the wok. Reduce the temperature by 25°F from what you’d use in a standard oven.
Check the wok after 30 minutes instead of 45, convection speeds up polymerization.
Do I need to wash my wok between layers?
No. Leave the polymerized layer in place. Just apply the next thin oil coat on top.
Washing between layers removes the very seasoning you’re building.
How do I know when the wok is fully seasoned?
Two tests. First: poke the surface with your finger. It should feel dry and smooth, not sticky.
Second: cook an egg with a teaspoon of oil. If it slides around without sticking, you’re done.
Can I use the oven method on an old rusty wok?
Yes. First remove all rust with steel wool or a rust eraser. Get down to bare metal.
Then season normally. Old woks often season better than new ones because the metal has developed a more porous surface structure.
Is oven seasoning toxic?
No. Polymerized oil is chemically inert. It won’t leach into your food.
In fact, it’s the same material as the seasoning on cast iron pans, which have been used for centuries.
Final Thoughts on Oven Seasoning
Seasoning a wok in the oven is the most reliable path to a professional-quality non-stick surface. You trade a few hours of your time for years of superior cooking performance.
The key takeaways:
- Use flaxseed or grapeseed oil
- Apply the thinnest layer possible
- Bake at the right temperature for the full time
- Repeat 4-6 times
- Maintain with proper cleaning and touch-ups
That’s how to season a wok in oven. No guesswork. No shortcuts.
Just a wok that’ll outlast any non-stick pan you’ve ever owned.
Now go cook something amazing in your freshly seasoned wok. You’ve earned it.