You slide a stick of butter across a warm skillet and think, “That’s it, right?” Not quite. There’s a small window between butter that releases your food and butter that burns into sticky, brown residue. That window is what this guide is about.
“How to butter a pan” comes down to three variables: what you’re cooking, what your pan is made of, and how hot the surface gets. The right method is different for a cake tin, a cast iron skillet, and a delicate omelet. In our research, the single most common cooking failure we see, sticking, burnt food, or greasy results, traces back to a mismatched buttering technique.
Quick Answer: How to Butter a Pan
Rub a thin layer of butter across the cooking surface. Use a cold stick for low-heat stovetop cooking. Use melted butter with a brush for baking pans.
Use clarified butter or ghee for high-heat searing.
Why Buttering a Pan Matters More Than You Think
Butter does two distinct jobs in a pan. First, it fills the microscopic pores in the metal surface, creating a barrier between the food and the pan. Second, it adds flavor, that rich, nutty taste you get on a golden omelet or a seared steak.
Get the coating right and food releases cleanly. Get it wrong and you’re scraping dinner off the bottom.
The real challenge? Butter has a smoke point around 350°F (175°C). Heat it beyond that and the milk solids scorch.
Burnt butter doesn’t just taste bitter, it turns sticky. That sticky residue reverses the nonstick effect entirely.
Here’s what our research across manufacturer guidance and cooking standards reveals: most home cooks use the right fat but the wrong method for their pan type. A cold butter rub works beautifully on a medium-low nonstick skillet. It fails completely on a screaming-hot stainless steel pan meant for searing.
The fix isn’t complicated. It just requires matching technique to situation.
The 3 Core Methods for Buttering a Pan
There are exactly three ways to butter a pan. Each has a specific purpose, and none is universally “correct.”
Solid Butter Rub: The Everyday Standard
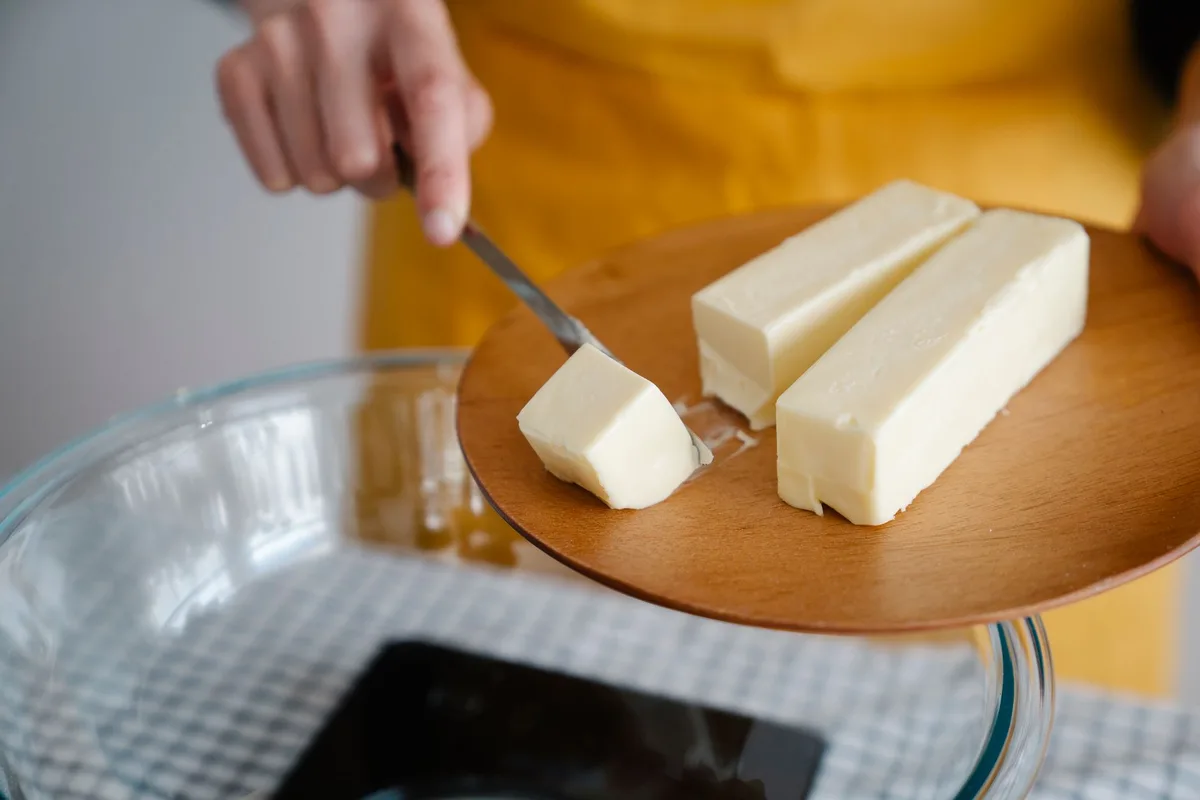
This is the classic move. Take a cold or room-temperature stick of butter, unwrap it, and rub it directly across the pan’s surface.
The solid rub works best for eggs, pancakes, and any stovetop cooking at low or medium heat. The thin, even layer it leaves behind is exactly what you need for a nonstick release without pooling.
Keep a paper towel between your hand and the butter if your palms are warm. Otherwise, the butter melts before it coats the pan.
Melted Butter Brush: Precision for Baking Pans
Melt a tablespoon or two of butter in a small bowl. Dip a pastry brush in and coat every surface of the pan.
This method shines with baking pans, cake tins, muffin trays, and anything with corners or crevices. A brush reaches spots a solid stick can’t, and it gives you complete control over the coating thickness.
Use a silicone brush, not a natural bristle one. Silicone is easier to clean and won’t shed bristles into your batter.
Clarified Butter: The High-Heat Option
Clarified butter, sometimes called ghee, has its milk solids removed. What’s left is pure butterfat with a smoke point around 450°F (232°C).
That’s roughly 100 degrees higher than whole butter. The higher smoke point makes clarified butter the right choice for searing steaks, sautéing at medium-high heat, or frying eggs crispy.
You can buy clarified butter in most grocery stores, or make it at home by melting butter, skimming the foam, and pouring off the clear golden liquid.
How to Butter a Pan for Specific Foods
Different foods need different approaches. Here’s the breakdown by what’s hitting the pan.
Eggs (Omelets, Fried, Scrambled)
Heat the pan first, then add your butter. This is the biggest mistake we see, people add butter to a cold pan.
When the pan is already warm, the butter melts quickly and spreads into a thin layer. When the pan is cold, the butter melts slowly and soaks into the eggs. You end up with greasy eggs that stick anyway.
For scrambled eggs, melt the butter fully and swirl to coat before adding the eggs. For fried eggs, a thin rub on medium heat gives you the crispy edges people crave without burning the butter.
Pancakes and French Toast
Use medium heat and a thin coating of butter. Excess butter makes batter fry unevenly. You’ll get crispy brown edges and a raw center.
After greasing the pan, wipe away any extra butter with a paper towel. You want a sheen, not a pool. The same rule applies to French toast, a light coating gives you golden browning without a greasy finish.
Cakes and Baked Goods
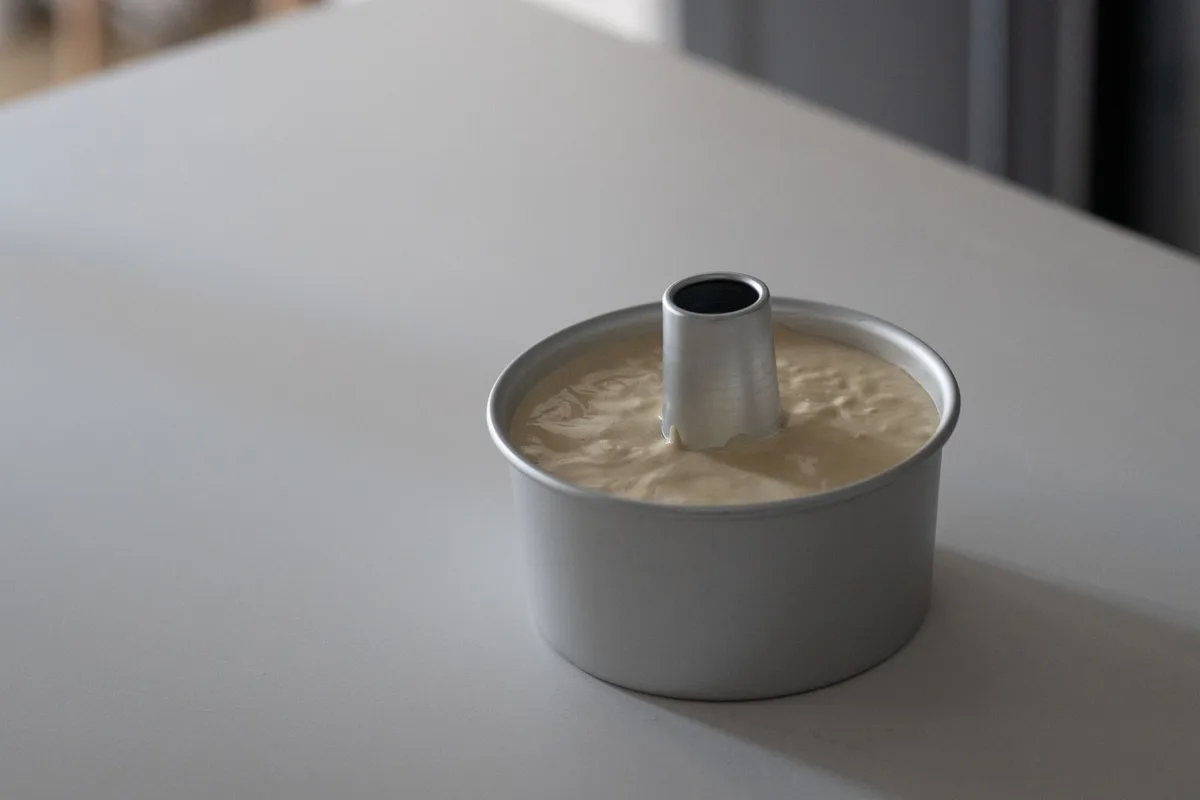
This one has a specific sequence. For cakes, the standard release prep is butter plus a dusting of flour.
- Butter the entire pan, bottom and sides.
- Add a spoonful of flour to the pan.
- Shake and tap until every greased surface is covered.
- Turn the pan upside down and tap out the extra flour.
That flour layer grips the batter as it rises, so the cake holds its shape instead of collapsing onto the pan. You can skip the flour if you’re using parchment paper or a nonstick springform pan, but the butter-flour combo is the most reliable release method we’ve found.
Seared Meat (Steaks, Chicken, Pork)
Don’t start searing meat with butter. Start with a high-heat oil like canola or avocado in the pan. Sear your meat on both sides, then add butter in the final minute.
Tilt the pan and spoon the foaming butter over the meat. That’s called basting, and it’s how you get a rich, buttery crust without burning the butter into bitterness.
The science is straightforward: the oil handles the high heat for the sear, and the butter only enters once the pan temperature drops below its smoke point.
Matching Your Butter Method to Your Pan Type
Every pan material behaves differently with butter. Here’s the quick reference table for what works best.
| Pan Type | Best Butter Method | Heat Level | Notes |
|---|---|---|---|
| Nonstick skillet | Solid butter rub | Low to medium | Nonstick needs minimal fat. |
| Stainless steel | Solid rub or clarified | Medium to medium-high | Preheat before adding butter. |
| Cast iron | Melted butter (thin coat) | Medium | Seasoned surface absorbs fat quickly. |
| Carbon steel | Solid butter rub | Medium | Same as cast iron, thin coat. |
| Metal baking pan | Melted butter brush | Oven temp | Coat every corner and edge. |
| Glass baking dish | Melted butter brush | Oven temp | Parchment paper is more reliable. |
| Ceramic / enamel | Solid butter rub | Low to medium | Avoid high heat, coating can crack. |
The cast iron note deserves extra attention. A well-seasoned cast iron pan has a polymerized oil layer that butter sits on top of, rather than soaking into. If your cast iron looks dull, it needs re-seasoning, not just butter.
Stainless steel requires a different approach entirely. Preheat the pan until a droplet of water dances across the surface, called the Leidenfrost effect, then add butter. The butter should glide smoothly without burning.
If it browns immediately, the pan’s too hot.
Butter vs. Oil vs. Nonstick Spray: Which Should You Use?
Butter isn’t the only option for greasing a pan. Oil and nonstick spray both have their place, and the right choice depends on your priorities.
| Factor | Butter | Oil | Nonstick Spray |
|---|---|---|---|
| Flavor | Rich, nutty, savory | Neutral (unless olive oil) | Minimal, slightly artificial |
| Smoke point | 350°F (175°C) | 400–450°F (204–232°C) | Varies by brand, often 400°F+ |
| Best for | Eggs, pancakes, baked goods | Searing, frying, high heat | Quick everyday greasing |
| Common issue | Burns quickly on high heat | Can turn food greasy if overused | Leaves residue that builds up |
Use butter when flavor matters and you’re cooking low and slow. Eggs, pancakes, grilled cheese, and baked goods all benefit from butter’s taste.
Use oil when you need high heat without burning. Canola, grapeseed, and avocado oil all handle searing temperatures that would scorch butter.
Use nonstick spray for convenience. It’s fast and covers a pan evenly. But the aerosol residue builds up on nonstick surfaces over time, and verified buyer feedback reports that it gets sticky.
There’s also a hybrid approach worth mentioning. Start with a splash of oil in the pan, then add a knob of butter just before the food goes in. The oil handles the heat, the butter adds flavor.
It’s a common technique in professional kitchens for good reason.
7 Common Mistakes (and How to Fix Them)
Even experienced cooks hit these walls. Here’s what goes wrong and how to correct it.
1. Using cold butter on a hot pan.
The butter melts unevenly and pools in patches. Pull your butter out of the fridge a few minutes early, or use melted butter with a brush.
2. Using too much butter.
Excess butter makes food greasy and burns into sticky residue. You want a thin, even sheen, not a puddle.
3. Not heating the pan first.
A cold pan soaks up butter and leaves food tasting raw. Heat the pan, then grease it.
4. Buttering a cold baking pan.
For cakes, the batter needs the butter to grip the pan as it rises. If the pan is cold, the butter solidifies unevenly. Let the buttered pan sit at room temperature for a few minutes, or chill it briefly before adding batter.
5. Forgetting the edges.
Especially for cakes and loaves, the sides need greasing too. Miss the edges and your loaf will tear when you try to unmold it.
6. Burning the butter.
If the butter turns brown before your food hits the pan, the heat is too high. Lower it, wipe the pan clean, and start over with fresh butter.
7. Ignoring your pan’s condition.
A scratched nonstick pan or a dull cast iron surface won’t release food regardless of how much butter you use. Maintain your pans, and buttering becomes far more effective.
Step-by-Step: Perfectly Butter a Pan Every Time
Here’s the sequence that works across every pan type. Follow these steps and you’ll eliminate most sticking issues.
Step 1: Choose your butter method.
Match the method to the pan and the food. Solid rub for low-heat stovetop, melted brush for baking pans, clarified for searing.
Step 2: Heat the pan.
Add butter to a warm pan, not a cold one. For a skillet, 1 to 2 minutes on medium-low is usually enough. For baking pans, warmth isn’t necessary.
Step 3: Apply the butter.
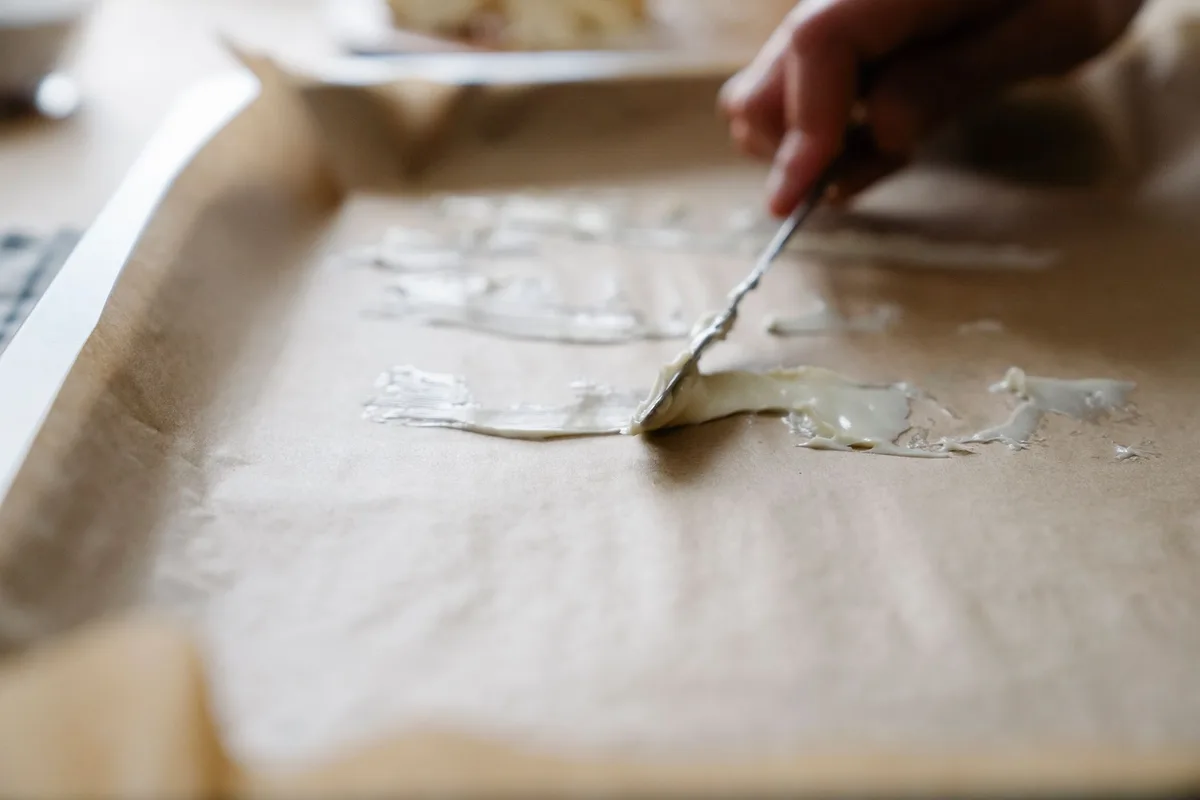
Rub the stick in a circular motion across the surface. Or brush on melted butter. Either way, cover every inch, including the sides.
Step 4: Wipe away excess.
A paper towel can remove the extra butter that pools in the center. You’re after a thin, glossy coat.
Step 5: Check the temperature.
The butter should sizzle gently, not smoke or brown immediately. If it browns, the pan’s too hot. Let it cool and start over.
Step 6: Add your food.
Wait until the butter stops sizzling hard. That means the pan is at temperature, and the butter has settled into an even layer.
Step 7: Clean up while warm.
Butter hardens as it cools, which makes cleanup harder. Wipe the pan out with a paper towel while it’s still warm, then wash normally.
Expert Tips: Little Tricks That Make a Big Difference
The basics get you 90% of the way there. These finer points close the gap.
Keep salted butter for table use and unsalted for cooking. Unsalted butter has a more consistent fat content, which means more predictable browning. Salted butter can leave a faint salty residue on baked goods.
European-style butter has more butterfat. Brands like Kerrygold run around 82% butterfat compared to 80% for standard American butter. The extra fat means less water, so it browns more slowly and coats more evenly.
Brown butter is a different tool entirely. When you intentionally cook butter until the milk solids turn nutty and brown, it’s called brown butter or beurre noisette. It adds depth to baked goods and sauces, but it doesn’t work as a pan release. The solids make it stickier, not less sticky.
Room temperature butter spreads more evenly. If you’re buttering a baking pan, let the butter soften first. It’s easier to apply in a thin, even coat.
Parchment paper is your backup. For sticky bakes like brownies or sticky buns, butter alone isn’t always enough. Cut a parchment sling that fits the bottom of the pan, butter the sides, and you’ll never fight to remove a baked good again.
Flour isn’t the only dusting option. For chocolate cakes, use cocoa powder instead of flour. It prevents sticking without leaving white streaks on the finished cake. For cornbread, cornmeal adds a pleasant texture.
If your butter tears or crumbles, your pan is too hot. This usually happens with cast iron or carbon steel. Let the pan cool slightly, then try again with a softer butter.
Frequently Asked Questions
Can I use butter on a nonstick pan?
Yes. Nonstick pans don’t require butter for release, but a small amount adds flavor and protects the coating. Keep the heat on low or medium, since high heat degrades both the butter and the nonstick surface.
Why does my butter burn in the pan?
Butter burns when it exceeds its smoke point around 350°F (175°C). The milk solids scorch and turn bitter. Use clarified butter or oil for higher heat, or reduce your stovetop temperature.
Should I butter the pan before or after heating it?
After heating it. A warm pan melts butter into an even, gliding coat. A cold pan soaks butter into the food or the pan’s surface, leading to sticking and grease.
How do I butter a cake pan without tearing the cake?
Butter the entire pan, then dust with flour or cocoa powder. Tap out the excess, then pour in the batter. For especially sticky bakes, line the bottom with parchment paper as well.
Is it better to use butter or oil for eggs?
Butter for flavor, oil for crispy edges. Butter gives eggs a rich, classic taste. Oil, especially with a little butter added, creates a crispier crust because of its higher smoke point.
Can I reuse butter that’s been sitting in a hot pan?
No. Butter that has been heated past its smoke point has degraded. The flavor turns bitter, and the milk solids become sticky.
Wipe the pan clean and start fresh with new butter.
The Bottom Line: What You Really Need to Remember
Buttering a pan comes down to matching your method to your heat and your pan. Low heat and delicate food? Use a solid butter rub.
Baking? Brush on melted butter and dust with flour. High-heat searing?
Switch to clarified butter or oil.
The three most important takeaways:
- Heat the pan before adding butter. A warm pan creates a thin, even coat. A cold pan soaks up the butter and causes sticking.
- Use the right fat for the temperature. Whole butter burns above 350°F (175°C). Clarified butter handles up to 450°F (232°C). Oil handles even more.
- Less is more. A thin, even layer of butter releases food cleanly. Excess butter turns greasy and sticky.
Keep these principles in mind and you’ll never scrape a burned cake or a stuck omelet out of a pan again.