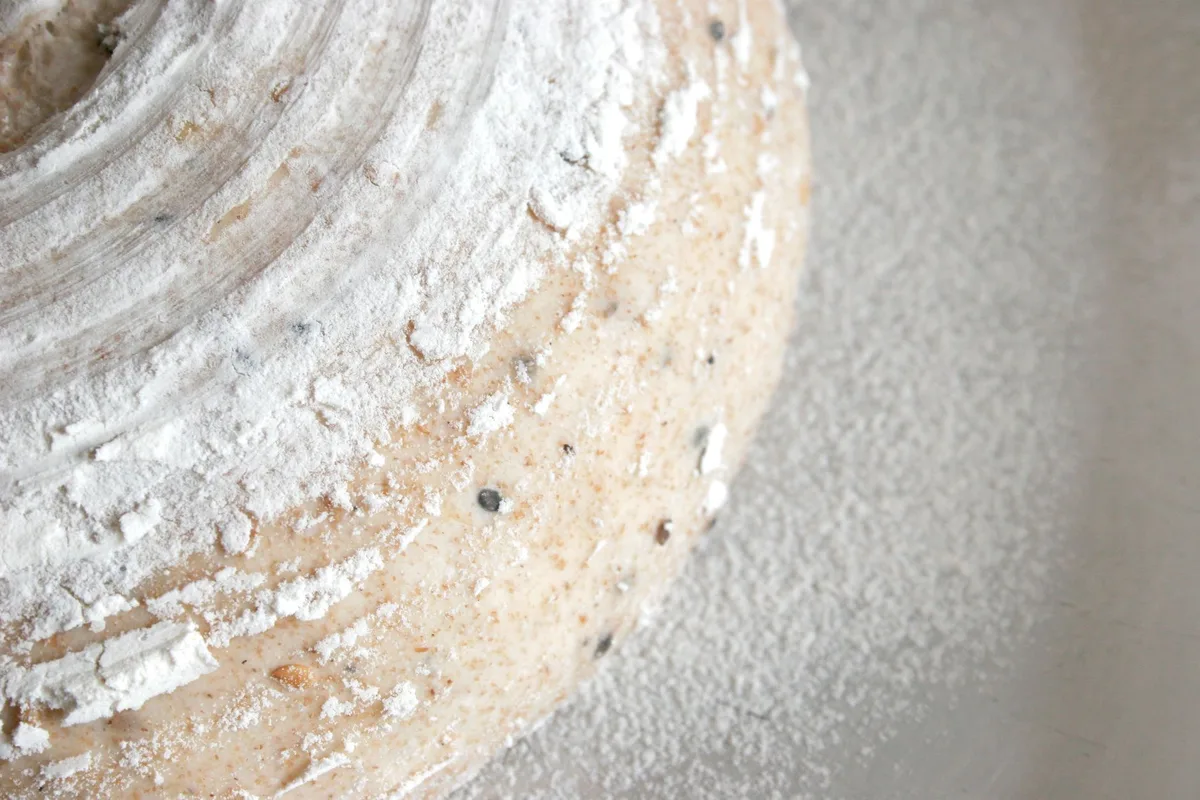
A stuck cake is frustrating. How to flour a pan is the simple fix that keeps batter from bonding to metal, glass, or ceramic. The goal is a thin, even release barrier, not a thick white shell.
Most standard cake pans need only 1 to 2 tablespoons of flour after a thin coat of fat. As of 2026, many recipes still rely on this method because it is cheap and dependable. Your pan shape and batter type decide the best dusting.
How to flour a pan
Quick Answer
How to flour a pan starts with a thin fat layer. Use softened butter, oil, or shortening. Dust the pan with about 1 tablespoon of flour.
Rotate and tap until the surface is evenly coated. Pour out all loose flour. Do this just before adding batter.
Why Cakes Stick When a Pan Is Floured Wrong
Cakes stick when the pan surface is not sealed. Batter needs a barrier between it and the pan. Fat helps, but fat alone can leave weak spots.
Flour fills those weak spots. It creates a dry film that absorbs moisture at the edge. If the film is too thick, it can bake into a crust.
If it is too thin, the batter can grab the metal.
In our research, the most common failure is uneven coverage. Missed corners are common. The center tube and fluted edges need extra attention.
A heavy flour layer also causes white streaks. This is obvious on chocolate cakes. Cocoa powder solves that problem because it matches the batter color.
Greasing and flouring a pan means coating the pan with fat, then dusting it with a dry powder. The powder should be barely visible after tapping. That is the standard for clean release.
Check These Conditions Before You Flour a Pan
Check the recipe and pan before you reach for the flour bag. The right method changes with the bake. A simple decision habit saves the cake.
Recipe Type
Does the recipe rely on the pan for structure? If yes, do not grease the sides. Angel food cake and chiffon cake need an ungreased tube pan so the batter can climb.
If the recipe is a pound cake, layer cake, quick bread, or brownie, then a release layer usually helps. These batters have enough fat and leavening to release with proper prep.
If the recipe says “grease and flour the pan,” follow that literally. It means fat first, then flour. If it says “line the pan,” use parchment paper.
Parchment paper is paper cut to fit the pan bottom or sides.
Raw flour can carry harmful bacteria. The U.S. Food and Drug Administration advises against tasting raw dough or batter.
Wash hands and tools after handling flour.
Pan Material and Shape
Pan material changes release behavior. Uncoated aluminum conducts heat fast and can grab delicate cakes. Nonstick metal pans release more easily, but worn coating needs less trust.
Glass and ceramic pans heat slowly. They can hold heat longer. That can overbake edges if the recipe is not adjusted.
Bundt pans and tube pans have crevices. A Bundt pan is a fluted ring pan with a center tube. Those details need fat and flour in every groove.
Sheet pans and loaf pans are simpler. A loaf pan often benefits from a parchment sling. A sling is a strip of parchment that hangs over two sides for lifting.
Batter or Dough Characteristics
Wet batter needs more careful pan prep. High sugar batters can stick as they cool. Sticky toppings, like caramel or fruit, need extra protection.
Lean doughs may need cornmeal or semolina instead of flour. These coarse dustings keep bread from sticking and add texture.
Chocolate batter needs cocoa powder instead of flour. Cocoa prevents white marks and keeps flavor clean.
Gluten-free batters can use a gluten-free flour blend or cornstarch. This matters if you serve someone avoiding gluten. Cross-contact can happen if wheat flour dusts the pan.
In humid kitchens, flour can clump. Sift the dusting flour if needed. A fine-mesh sieve helps.
Decision Guide: Flour, Cocoa, Sugar, Parchment, or No Flour at All
Use this table to choose the fastest safe prep. The best choice depends on the bake, not habit.
| Bake or pan | Best prep | Why it works |
|---|---|---|
| Layer cake | Grease, flour, parchment round | Clean sides and flat bottom |
| Pound cake | Grease and flour | Strong release for dense batter |
| Chocolate cake | Grease and cocoa powder | No white streaks |
| Bundt cake | Grease and flour every crevice | Detailed design releases cleanly |
| Angel food cake | No grease, no flour | Batter needs to climb the pan |
| Brownies or bars | Grease or parchment sling | Easy lifting and neat squares |
| Quick bread | Grease and flour or parchment sling | Prevents torn loaf edges |
| Sweet crust cake | Grease and granulated sugar | Adds crisp sweet edge |
If the cake is delicate, add parchment to the bottom. If the pan is decorative, flour the sides well. If the recipe is sticky, use parchment instead of relying on flour alone.
Baking spray can save time. Baking spray with flour mixes oil and starch in one can. It works for many simple pans.
On nonstick pans, heavy spray use can leave sticky residue, so wash the pan well after baking.
Manufacturer care guides often warn that residue can reduce nonstick performance. If you use spray, clean the pan fully after each bake.
How to Flour a Bundt Pan or Decorative Tube Pan
A decorative pan needs careful attention, not more flour. Use a pastry brush or paper towel to push softened butter or shortening into every groove. Then add about 2 tablespoons of flour.
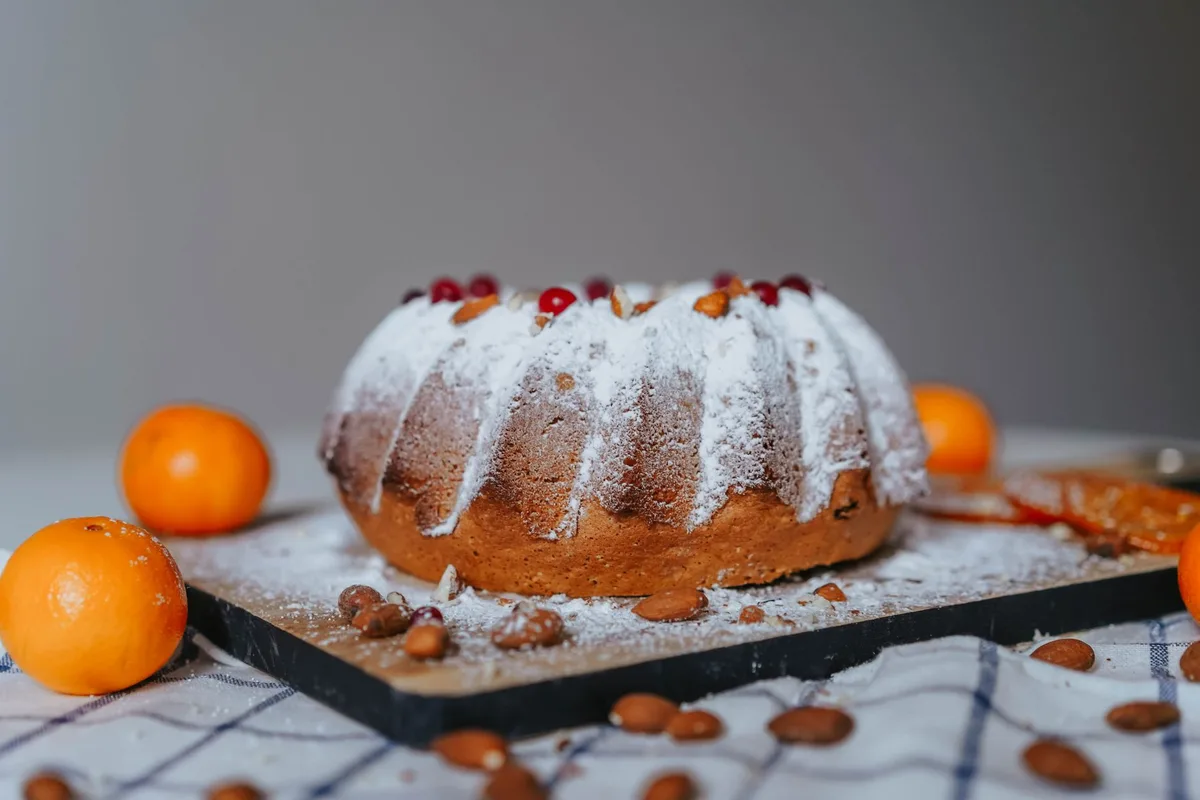
Rotate the pan slowly. Tap the sides so flour settles into the pattern. Turn the pan upside down and tap out all loose flour.
Leftover flour can bake into dry patches.
How to Grease and Flour a Standard Cake Pan
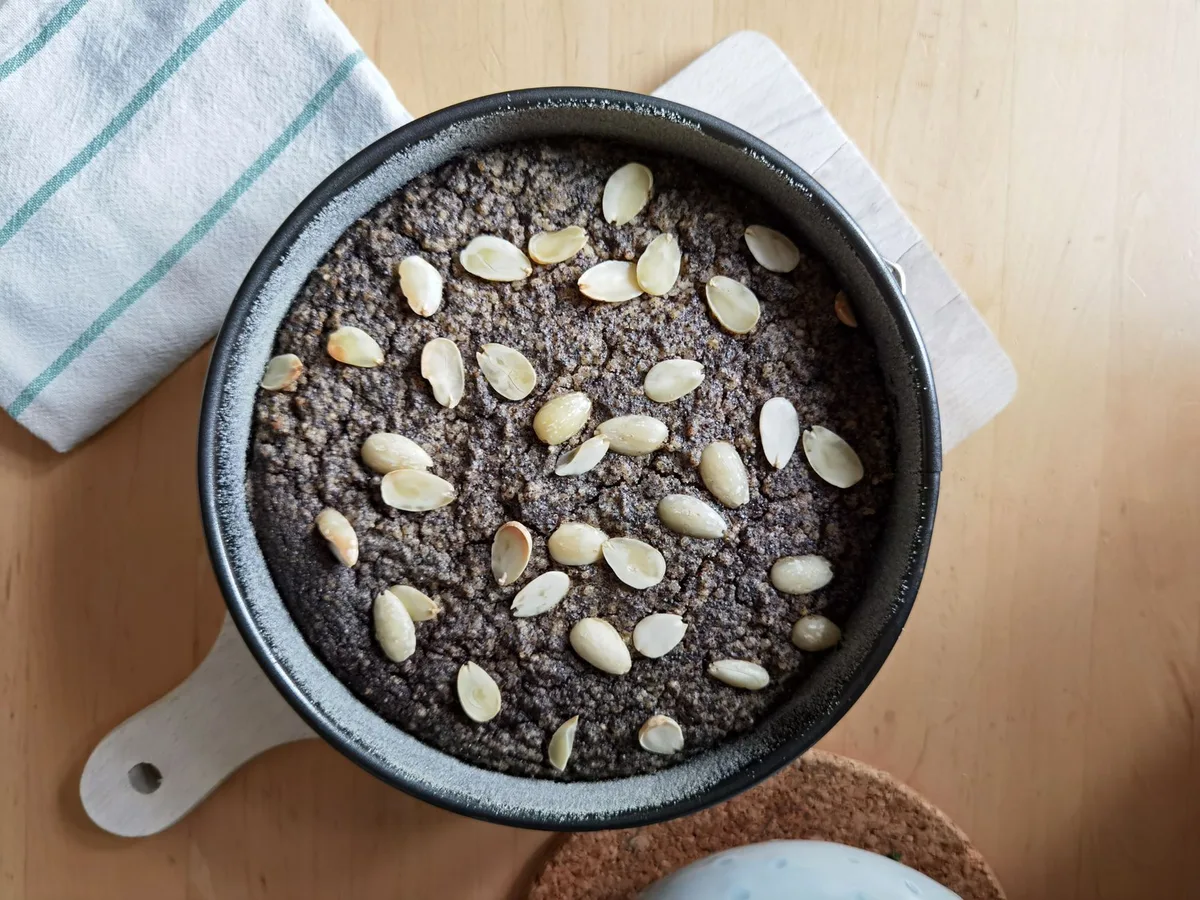
This method works for most round, square, and rectangular cake pans. It takes about one minute. You need fat, flour, and a way to spread both evenly.
Tools and Materials
| Item | Purpose |
|---|---|
| Softened butter, shortening, or neutral oil | Creates the sticky base layer |
| All-purpose flour or cake flour | Forms the release dusting |
| Cocoa powder | Replaces flour for chocolate batters |
| Pastry brush or paper towel | Spreads fat into corners |
| Fine-mesh sieve | Gives an even dusting |
Use softened butter for flavor and control. Use shortening if you want a neutral taste and firm film. Shortening is a solid baking fat with little flavor.
Use oil for thin coverage, but apply it lightly so it does not pool. Neutral oil, such as canola oil, works well when you do not want butter flavor.
Step by Step Process
-
Wash and dry the pan. Any old residue can cause sticking.
-
Apply a thin coat of fat to the bottom and sides. Cover the corners. Do not leave pools.
-
Add 1 to 2 tablespoons of flour. Use less for small pans and more for large pans.
-
Tilt and rotate the pan until flour sticks everywhere. Tap the pan gently to settle the coating.
-
Turn the pan upside down over the sink or trash. Tap out loose flour. If you see clumps, sift them out and repeat lightly.
-
Add a parchment round if the recipe is delicate. Cut parchment to fit the bottom. Press it into the greased pan.
-
Fill the pan soon after prep. Batter can soften the fat layer if it sits too long.
A 9 inch round pan often needs about 1 tablespoon of flour. A large pan or a pan with deep corners may need closer to 2 tablespoons.
What Should the Finished Pan Look Like?
The pan should look matte and lightly dusted. It should not look snowy. It should not have shiny grease pools.
Run a finger lightly over one corner. If flour comes off in a thick patch, tap the pan again. If bare metal shows, add a tiny bit of fat and flour.
For food safety, follow general handling guidance from the U.S. Department of Agriculture. Keep flour away from foods eaten raw and wash surfaces after prep.
How to Flour a Bundt Pan or Decorative Tube Pan
The basic fat and flour order stays the same, but decorative pans need a coverage check before batter goes in. Use softened shortening or butter because it stays put on vertical surfaces. Oil can slide out of fluted grooves if applied too heavily.
Work fat into the center tube, top rim, and every groove. A small pastry brush gives better control than a paper towel. If the pan has a worn nonstick finish, avoid metal tools and abrasive scrubbers.
Add the flour last. Use about 1 to 2 tablespoons, then rotate the pan slowly. Tap the outside so the dusting settles into the pattern.
Turn the pan upside down and tap until no loose powder falls.
After baking, let the cake rest 10 to 15 minutes. This lets the structure firm slightly. If the cake resists, do not force it.
Let it cool a few more minutes, then gently press the edges away from the pan.
How to Prep Chocolate, Gluten-Free, and Sticky Batters
Chocolate cakes need cocoa powder instead of flour. Cocoa gives the same release barrier without white streaks. Use natural cocoa or Dutch-process cocoa, but avoid sweetened drinking chocolate because sugar can burn and stick.
For gluten-free batters, use a dedicated gluten-free flour blend, cornstarch, or cocoa powder. Wheat flour dusting can create cross-contact on shared pans. Wash the pan well if it previously held wheat flour.
Sticky batters need a stronger plan. If the recipe has caramel, honey, fruit, or an upside-down topping, flour alone may not be enough. Line the bottom with parchment paper and grease the paper lightly.
Should you flour a sticky caramel pan?
Usually no. Use parchment on the bottom and grease the sides. Caramel can bond to flour and tear the cake when you invert it.
If the recipe requires a decorative pan, choose a simple design, not deep crevices.
When Not to Flour a Pan: Angel Food, Chiffon, and Some Nonstick Pans
Do not flour angel food cake pans or chiffon cake pans. These batters need to cling to the sides of the pan to rise. Grease or flour can make the sides too slick, so the cake may collapse or rise poorly.
Use a clean, dry tube pan for these cakes. If the recipe says ungreased, follow it exactly. After baking, many angel food cakes need to cool upside down.
This helps the crumb set without shrinking.
Some nonstick pans also need less flour. If the pan is in good condition and the recipe is not delicate, a thin grease layer may be enough. Heavy flouring can leave residue in nonstick texture and reduce release over time.
If you use silicone bakeware, check the manufacturer guidance. Some silicone molds release well with light grease, while others need no coating for simple batters. When in doubt, test one small bake first.
Flouring Alternatives: Baking Spray, Parchment, Cornstarch, and Homemade Pan Release
Baking spray is fastest for simple pans. Baking spray with flour adds starch to the oil, which can help with Bundt pans. It can also leave buildup on nonstick surfaces if not washed off fully.
Parchment paper is the safest choice for sticky bars, brownies, and loaf cakes. A parchment round protects the bottom. A parchment sling lets you lift the whole bake out.
Cornstarch works as a light dusting for gluten-free prep. It is finer than flour and can leave a softer crust. Use a very thin layer because it can clump in humid air.
| Option | Best for | Watch for |
|---|---|---|
| Baking spray | Simple metal pans | Residue on nonstick pans |
| Spray with flour | Bundt and loaf pans | Wash pans well after use |
| Parchment paper | Brownies, bars, loaf cakes | Does not coat fluted sides |
| Cornstarch | Gluten-free dusting | Clumping in humidity |
Homemade pan release can work for intricate pans. A common blend is equal parts flour, oil, and shortening mixed into a paste. Apply it thinly with a brush.
Do not use this for angel food or chiffon cakes.
Common Flouring Mistakes That Cause White Streaks or Sticking
Most sticking problems come from one small prep error. The fix is usually less product and better coverage.
- Using too much flour: Tap out every loose spoonful. A thick layer can bake into a dry crust.
- Skipping the center tube: This is the most common Bundt failure. Coat the tube as carefully as the sides.
- Flouring before greasing: Flour needs fat to stick. If the pan is dry, the powder will pool and leave bare spots.
- Using wheat flour on chocolate cake: Cocoa powder prevents white streaks.
- Letting the prepared pan sit too long: Butter can soften and slide, especially in a warm kitchen. Fill the pan soon after prep.
- Removing the cake too early: Delicate cakes can tear if inverted hot. Give them 10 to 15 minutes unless the recipe says otherwise.
If a cake still sticks, inspect the pan after it cools. Look for dark residue, scratches, or worn nonstick coating. A damaged pan may need replacement or a parchment-based method.
How to Test Your Pan Prep Before Baking
Check the pan before the batter goes in. Hold it under a light and look for bare metal. The surface should look matte, not shiny or powdery.
Run a clean fingertip lightly over a corner. If grease feels slick and thin, the base layer is good. If flour comes off in patches, tap the pan and dust again.
For Bundt pans, look into the center tube and grooves. A small flashlight helps. If you see pooled fat or flour clumps, wipe the spot and recoat lightly.
For parchment, press the paper flat. It should stay in place when you tilt the pan. If it lifts, add a little grease underneath.
FAQs About Flouring a Pan
Do you flour a nonstick pan?
Usually only if the recipe says so. A thin grease layer is often enough. If you flour it, use a light dusting and wash the pan well afterward.
Heavy flour or sticky spray residue can reduce nonstick performance over time.
Can you use cocoa powder instead of flour?
Yes. Cocoa powder gives release and avoids white streaks on chocolate cakes. Use the same thin dusting and tap out excess.
Do not use sweetened cocoa mix because sugar can burn and stick. It suits gluten-free chocolate bakes very well.
Should you flour parchment paper?
Sometimes. Grease the pan first so the parchment stays put and lies flat. Then grease the parchment lightly and flour it only for very delicate or sticky batters.
For brownies, a parchment sling usually needs no extra flour at all.
How much flour do you need?
Most standard cake pans need 1 to 2 tablespoons. Small rounds need less. Large Bundt pans may need 2 tablespoons.
The goal is a thin film, not a thick coating, so tap out loose excess flour before you fill it.
Final Decision Guide: Pick the Right Pan Prep for Your Bake
Use the recipe as your first signal. Then match the prep to the pan and batter.
- Ungreased recipe: skip fat and flour.
- Standard cake: grease, flour, and a parchment bottom.
- Chocolate cake: use cocoa powder.
- Sticky bake: use a parchment sling.
- Decorative Bundt: use shortening and flour every groove.
If the pan is worn nonstick, use parchment where possible. Avoid abrasive cleaning. If the recipe is delicate, chill the greased pan for 5 minutes before flouring.
This helps the fat stay even.
Quick Troubleshooting If the Cake Still Sticks
Don’t force the cake out hot. Let it cool 10 to 15 minutes unless the recipe says otherwise. A fragile crumb needs time to set.
If the edges hold, run a thin offset spatula around the sides. For a Bundt pan, gently press the top down to loosen the cake. If it still resists, let it cool a little longer.
If a cake tears, salvage it. Broken pieces work well for trifle, cake pops, or plated dessert cups. For the next bake, add parchment, reduce flour dusting, or check the pan for worn spots.
Pan Care After Baking
Clean pans after they cool enough to handle. Warm water and a soft sponge remove grease without scratching nonstick surfaces. Avoid steel wool and harsh scrubbers.
Dry pans fully before storage. Moisture can cause spots or rust on some metals. Place a paper towel between stacked pans to protect coatings.
Check pans before each bake. Deep scratches, warped bases, and sticky residue can cause uneven baking and sticking. Retire a pan if the nonstick surface is peeling.