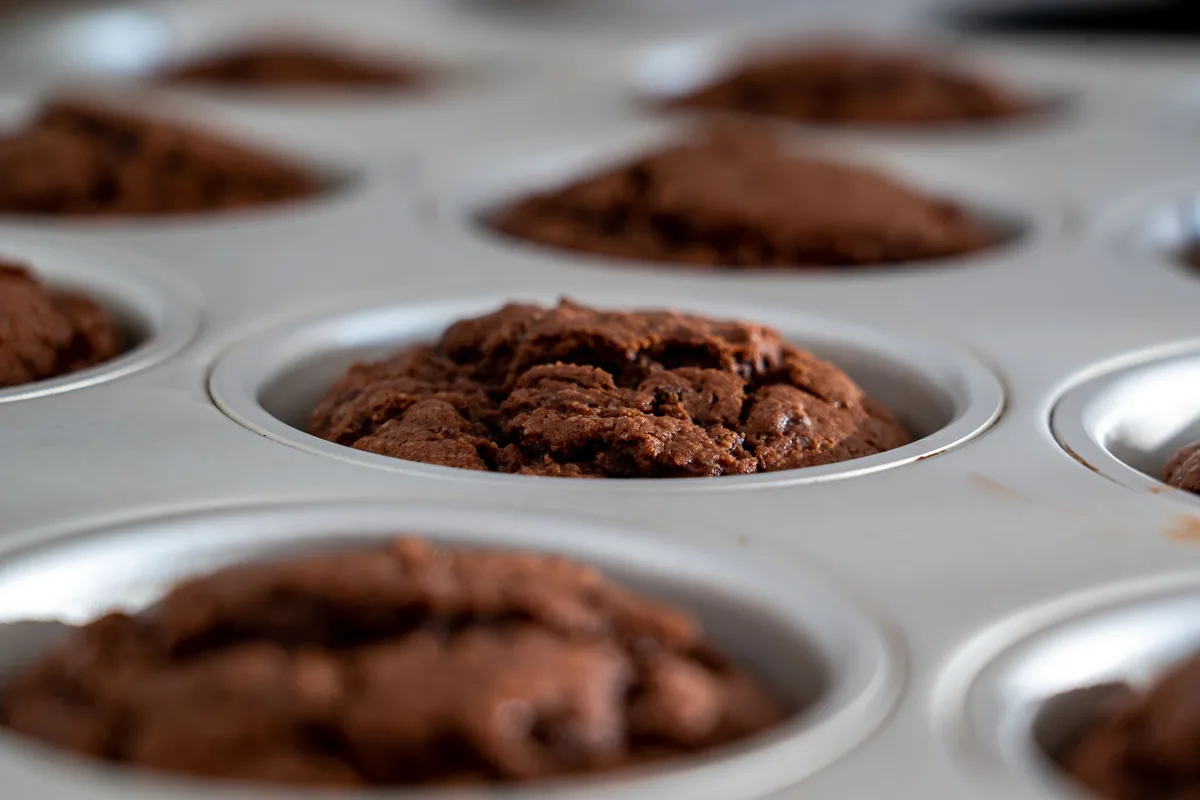
 Finished egg muffins baked in a standard 12-cup metal pan.
Cooking eggs in a muffin pan gives you perfect portion control, easy cleanup, and a fun way to serve breakfast for a crowd. I’ve used this method for years, whether I’m feeding a hungry family or prepping grab‐and‐go meals for the week. The technique works with whole eggs, egg whites, or any mix‐in you can imagine.
Below is everything you need to know, from pan selection to storage.
Why Use a Muffin Pan for Eggs
A muffin pan turns a single sheet of eggs into twelve individual servings. Each cup cooks evenly because the metal conducts heat quickly. You get a consistent texture, set whites, creamy yolks, without the guesswork of a skillet.
Portion size stays uniform, which helps with calorie tracking. Cleanup is a breeze; a quick soak or a run through the dishwasher handles the mess. The method also scales: double the recipe, grab a second pan, and you’re set for a brunch crowd.
In practice, the muffin pan also acts as a meal-prep tool. You can bake one dozen at a time, cool them quickly, and portion them into containers for busy mornings. Because each cup is self-contained, you can mix different add-ins in separate cups and please several preferences without making multiple pans.
Choosing the Right Pan
Standard 12‐cup metal pans work best. Non‐stick coating reduces the need for extra oil, but a well‐seasoned cast‐iron pan adds a subtle crust that many love. Silicone molds are flexible and release easily, yet they conduct heat slower, so add a minute or two to the bake time.
Avoid pans with deep wells if you prefer a thinner muffin; shallow cups give a larger surface area and faster cooking. Whatever you pick, make sure the pan fits your oven rack without touching the heating element.
Standard nonstick, anodized, ceramic-coated, and stainless pans each behave differently. If you’re considering darker metal pans, this metal finish guide explains how anodized surfaces behave. If you wonder whether that surface is okay for everyday eggs, these coating safety concerns are worth a quick read. If using uncoated stainless cups, a little stainless surface prep can reduce sticking.
Cup size changes timing more than most people expect. Standard wells usually hold about 1/2 cup liquid, mini wells hold about 2 tablespoons, and jumbo wells can hold close to 1 cup. Mini egg bites may set in 10–12 minutes, while jumbo portions can need 25–30 minutes, so check early when switching pan styles.
Ingredients & Preparation
 Basic mix-ins for a customizable egg muffin batter.
Gather the basics first. You need:
-
12 large eggs (or 2 cups liquid egg whites)
-
1⁄4 cup milk or unsweetened plant alternative
-
Salt and pepper to taste
-
1 cup diced vegetables, bell pepper, spinach, onion, mushroom
-
1⁄2 cup shredded cheese, cheddar, feta, or a dairy‐free blend
-
Optional protein: cooked bacon, ham, or plant‐based sausage, chopped
Whisk eggs, milk, salt, and pepper in a large bowl until the mixture is uniform. Stir in vegetables, cheese, and protein. The batter should be thin enough to pour but thick enough to suspend add‐ins.
Lightly coat each cup with cooking spray or a brush of oil. Fill each cup about 3⁄4 full; the eggs will puff slightly then settle.
Prep the add-ins with texture in mind. Dice vegetables small, about 1/4 inch, so they cook through without sinking. Pre-cook watery ingredients such as mushrooms, zucchini, or spinach when possible, because released moisture can make the centers soggy. If using raw spinach, chop it finely and pat it dry. Grated cheese distributes better than large chunks, and cooked meats should be crumbled or chopped small.
Basic Egg Muffin Recipe
-
Preheat the oven to 350 °F (175 °C).
-
Prepare the batter as described above.
-
Pour batter into prepared cups.
-
Bake 18‐22 minutes, until the centers are set and the tops are lightly golden.
-
Let cool 2 minutes in the pan, then run a thin silicone spatula around each edge to release.
The result: fluffy, individual egg muffins ready to eat hot or cold. This base recipe adapts to any flavor profile you crave.
Preventing Sticking and Easy Release
Even good pans benefit from a thin, even fat layer. Spray or brush each cup, including the top lip where batter can creep. For extra insurance, use parchment rounds cut to fit the bottom of each cup; they are especially helpful with cheese-heavy batters. Silicone liners work well, but they can produce softer edges because heat transfer is slower.
After baking, let the muffins rest for two minutes. This allows the structure to firm and the edges to pull away slightly. Then run a thin silicone spatula around each cup and lift gently. If a muffin resists, give it another minute rather than forcing it, which can tear the bottom.
Baking Instructions & Timing
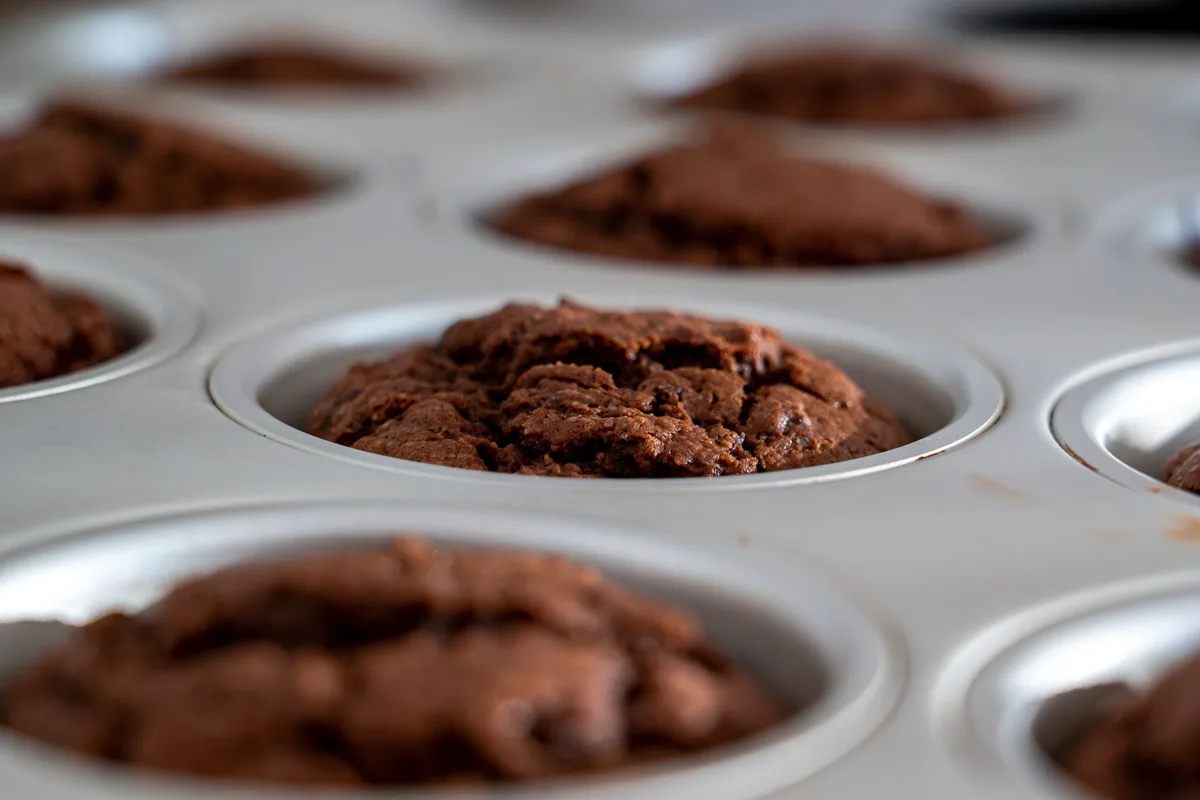 Egg muffins setting in the oven; rotate the pan halfway.
Oven temperature matters. At 350 °F the eggs set gently, preserving moisture. If you prefer a firmer texture, bump to 375 °F and shave 2‐3 minutes off the bake.
Use an instant‐read thermometer; the internal temperature should reach 160 °F for food safety, per FDA guidance on cooking eggs safely. Rotate the pan halfway through for even browning. Overbaking dries the muffins, pull them when the center barely jiggles.
A quick press with a fingertip should feel firm, not liquid.
Place the pan on the center rack for the most even heat. If baking two pans at once, leave space between them and rotate both front to back and top to bottom halfway through. Darker pans can brown edges faster, so if the tops look done but centers still jiggle too much, lower the temperature by 25 °F and give them a few extra minutes.
Food Safety for Egg Meal Prep
Egg muffins are a cooked egg dish, so treat them like any perishable meal prep. As of 2026, the core guidance remains simple: cook egg dishes to 160 °F and refrigerate promptly. Cool them quickly, but do not leave them at room temperature for more than two hours; if the kitchen is hot, aim for one hour. For official guidance, refer to the U.S. Food and Drug Administration when checking egg safety temperatures and storage practices.
When reheating, heat until the muffins are steaming hot throughout. This is especially important for muffins that have been frozen or stored for several days. If you are packing them for lunch, keep them chilled until eating time.
Flavor Variations
Swap ingredients to keep things fresh. Try a Mediterranean version with sun‐dried tomatoes, olives, and feta. Go Southwestern with black beans, corn, jalapeño, and pepper jack.
For a low‐carb spin, skip the milk and load up on avocado and smoked salmon after baking. Herbs like chives, dill, or basil add brightness without calories. Spice blends, everything bagel seasoning, za’atar, or Cajun, give a quick flavor boost.
The batter itself stays the same; only the mix‐ins change.
Three reliable combinations to try:
- Spinach, mushroom, and Swiss: sauté the vegetables first for a deeper flavor and less moisture.
- Bacon, cheddar, and chive: use cooked, crumbled bacon and add chives after baking for freshness.
- Bell pepper, black bean, and pepper jack: drain and rinse black beans well, then pat dry before folding them in.
Storage & Reheating
Cool muffins completely on a wire rack. Store in an airtight container in the refrigerator for up to four days. For longer storage, freeze in a single layer on a baking sheet, then transfer to a zip‐top bag; they keep for three months.
Reheat refrigerated muffins in the microwave 30‐45 seconds, or in a 300 °F oven for 8‐10 minutes. Frozen muffins need 60‐90 seconds in the microwave or 12‐15 minutes in the oven. They retain texture well because the muffin shape protects the interior.
To avoid rubbery edges, reheat gently. Place a muffin on a microwave-safe plate, cover it loosely with a damp paper towel, and use medium power rather than full power. In the oven, wrap muffins loosely in foil or add a small oven-safe dish of water to create a little steam. This helps the center warm without drying the exterior.
Common Mistakes to Avoid
-
Overfilling cups , batter spills and creates a messy oven.
-
Skipping the grease , even non‐stick pans can stick after a few uses.
-
Using cold eggs straight from the fridge , they lengthen bake time and can cause uneven setting.
-
Crowding the oven , air must circulate around the pan for even heat.
-
Ignoring carryover cooking , muffins continue to set after removal; pull them a touch early.
Fix these habits and you’ll get consistent results every batch.
Troubleshooting Common Egg Muffin Problems
| Problem | Likely cause | Quick fix |
|---|---|---|
| Soggy centers | Watery vegetables or underbaking | Pre-cook veggies and bake until just set |
| Rubbery texture | Overbaking or aggressive reheating | Pull earlier and reheat on lower power |
| Stuck muffins | Too little grease or removing too soon | Grease well, rest two minutes, then loosen |
| Over-browned edges | Dark pan or high rack position | Use center rack and lower temperature slightly |
| Muffins collapse after baking | Normal egg structure settling | Expect some settling; focus on set centers |
Nutrition Snapshot
Each standard muffin (one large egg + 1 Tbsp milk + veggies + 1 Tbsp cheese) delivers roughly 90 kcal, 7 g protein, 5 g fat, and 2 g carbohydrate. Eggs provide complete protein, choline, and vitamin D. Adding vegetables bumps fiber and micronutrients.
For precise data, check the USDA FoodData Central entry for whole egg. Adjust portions or ingredients to meet specific macro goals.
To make the nutrition profile fit your needs, adjust the add-ins rather than the method. For more protein, use extra egg whites or add lean cooked sausage. For lower sodium, skip cured meats and salt lightly, relying on herbs, peppers, and spices. For more satiety, include vegetables and a modest amount of cheese or avocado after baking. For precise macro tracking, the United States Department of Agriculture maintains nutrition data for eggs and common add-ins.
Cleaning the Muffin Pan After Baking
Cleaning is easiest when the pan is still warm but not hot. Fill the cups with warm water and a drop of dish soap, then let them sit for five to ten minutes. Use a soft sponge or nylon brush to protect coatings. Avoid steel wool on nonstick surfaces, because scratches can make future batches stick more.
If egg bonds to a nonstick cup, this method for stuck-on egg residue can help without harsh scrubbing. For dark, baked-on grease around the edges, these baked-on grease cleanup tips are useful. If overflow browns the pan bottom, this scorch mark advice can rescue it before the next bake.
Serving Ideas for Egg Muffins
Egg muffins work as a standalone breakfast, but they also build quick sandwiches. Split one or two muffins and place them on toasted sandwich bread with avocado, salsa, or hot sauce. They also pair well with roasted potatoes, sliced fruit, or a simple green salad for a protein-forward brunch. For meal prep, pack two muffins with a piece of fruit and a small container of salsa.
Frequently Asked Questions
Why are my egg muffins rubbery?
Rubbery egg muffins usually come from overbaking, too high heat, or reheating too aggressively. Bake at 350 °F until just set, pull them when the center barely jiggles, and let them rest. When reheating, use medium microwave power or a gentle oven instead of full blast.
How do I keep egg muffins from sticking to the pan?
Grease every cup well, even if the pan is nonstick. Use oil, butter, or cooking spray, and consider parchment rounds for very sticky batters. Let the muffins rest for two minutes, then run a thin silicone spatula around each edge before lifting them out.
Can I make egg muffins ahead of time?
Yes, they are one of the easiest make-ahead breakfasts. Bake, cool completely, and refrigerate in an airtight container for up to four days. Reheat gently in the microwave or oven. For longer prep, freeze them individually, then warm from frozen when needed.
Can I use a silicone muffin pan?
Silicone molds release easily and are flexible, but they heat more slowly than metal. Expect a slightly longer bake time and softer edges. Place the mold on a sheet pan for stability, fill cups evenly, and check doneness with a thermometer or gentle touch.
Do egg muffins freeze well?
They freeze well if cooled first. Place baked muffins in a single layer until solid, then transfer to a freezer bag. Reheat frozen muffins gently; the exterior can toughen if microwaved too long. For best texture, use within two to three months.
Can I make dairy-free egg muffins?
Yes. Replace milk with unsweetened almond, oat, or soy milk, or use water for a lighter texture. Choose dairy-free cheese or skip cheese and add extra vegetables, herbs, or cooked protein. The eggs still set properly, though the crumb may be slightly less creamy.
Conclusion
Cooking eggs in a muffin pan is a simple, scalable way to get consistent portions, easy cleanup, and breakfast-ready meals. The key is moderate heat, proper greasing, and pulling the muffins just as they set. From there, variations are flexible enough to use whatever vegetables, cheeses, or proteins you already have.
Pick one variation, bake a dozen this week, and make tomorrow’s breakfast easier.