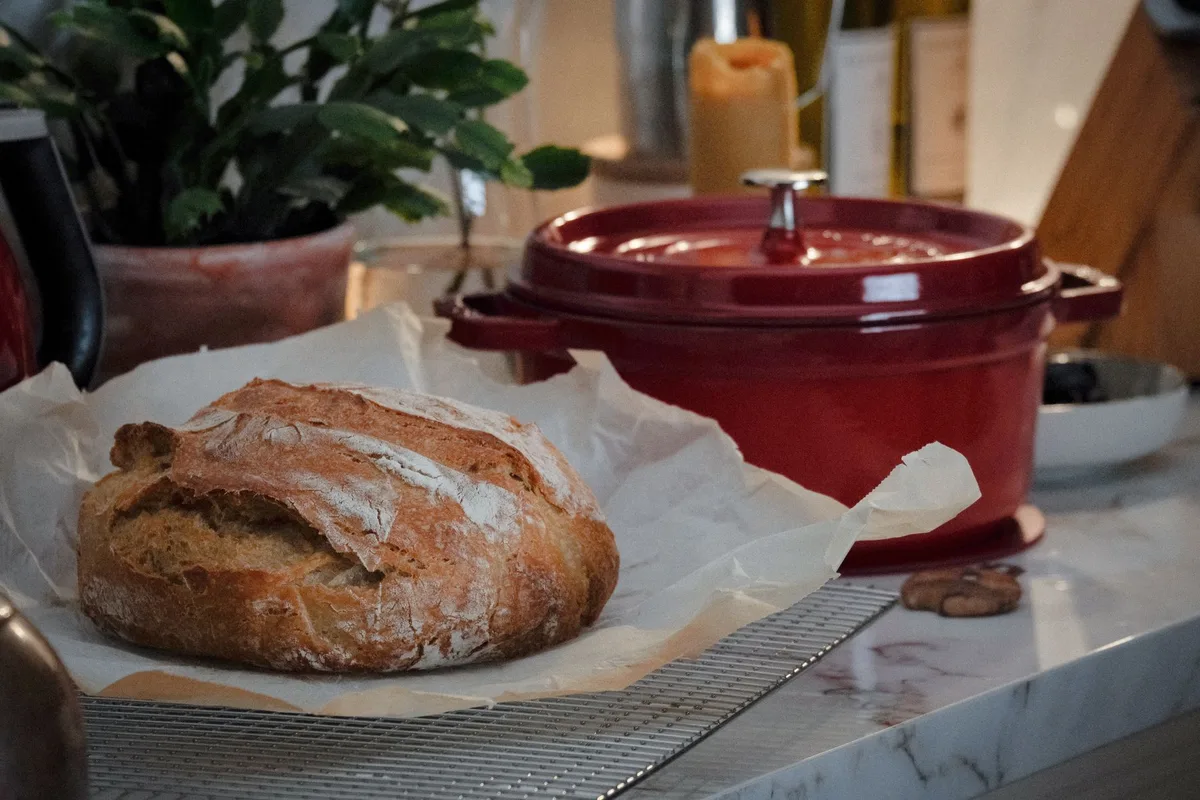
Image source: Pexels / Merve (Pexels License)
I’ve cooked in cast iron for over a decade, and I’ll tell you straight: a Dutch oven does everything a slow cooker does, only better. It sears, braises, bakes, and simmers with a heat retention that makes those countertop Crock-Pots look like toys. The trick is knowing how to adapt your technique.
Many people own a perfectly good Dutch oven but think they need a separate appliance for slow-cooked meals. You don’t. That heavy pot in your cabinet can turn out fork-tender pot roasts, rich stews, and melt-in-your-mouth pulled pork without plugging anything in.
You just need to understand heat control, liquid management, and timing.
This guide covers every detail. From choosing the right Dutch oven for slow cooking to dialing in your stovetop temperature, I’ll show you exactly how to replace your slow cooker with the pot you already own. No expensive gadgets required.
Why a Dutch Oven Works as a Slow Cooker
The physics here is simple. Cast iron holds heat like a battery holds charge. Once that thick metal gets hot, it stays hot.
A slow cooker relies on a heating element that cycles on and off, which creates uneven temperatures. A Dutch oven, especially enameled cast iron, distributes heat evenly across its entire surface.
That even heat distribution means your food cooks consistently. No hot spots. No burnt edges while the center stays cold.
The heavy lid traps steam and moisture, creating a self-basting environment that keeps meat tender without drying out.
The USDA confirms that slow cooking requires maintaining a safe internal temperature for meat over extended periods. A Dutch oven on low heat does exactly that, holding steady between 180°F and 200°F for hours without fluctuation. That consistent low-and-slow environment breaks down collagen in tough cuts of meat, turning chuck roast into buttery perfection.
Choosing the Right Dutch Oven for Slow Cooking
Not every Dutch oven performs the same. Here’s what matters.
Enameled vs. Bare Cast Iron
Enameled cast iron wins for slow cooking. The smooth ceramic coating prevents acidic ingredients like tomatoes or wine from reacting with the metal. It also cleans up easier, which matters when you’ve simmered beef stew for six hours.
Bare cast iron works fine, but you need a well-seasoned surface. If your pot has cracks in the seasoning, acidic foods will pick up a metallic taste. I use bare cast iron for bread and deep frying, but I reach for enameled enameled when I’m doing a long braise.
Size Matters
Your slow cooker recipes probably call for a 5-to-7-quart capacity. Match that with your Dutch oven. A 6-quart round Dutch oven handles most slow cooker recipes without crowding.
Too small, and you risk overflowing. Too large, and the liquid evaporates too fast since the surface area is bigger.
The sweet spot is 5.5 to 7 quarts. That fits a whole chicken, a 4-pound chuck roast, or enough chili to feed a crowd.
Lid Fit
A tight seal is critical. If steam escapes, your food dries out. Check that your lid sits flush against the rim.
Some Dutch ovens have a slight gap, which works fine for roasting but fails for slow cooking. If you see wisps of steam escaping after the first hour, you’re losing moisture.
Preparing the Dutch Oven for Slow Cooking
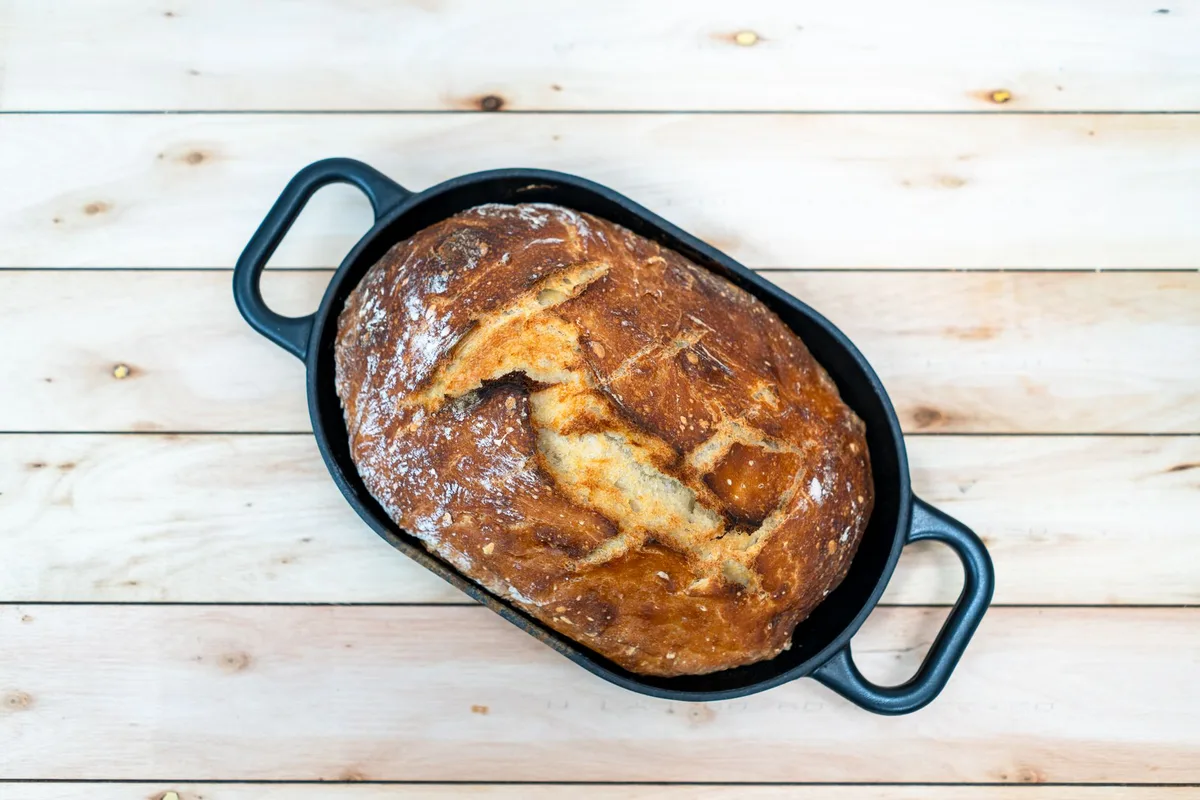
Image source: Pexels / Frank Schrader (Pexels License)
Before you throw ingredients in and crank the heat, take a few minutes to set yourself up for success.
Room Temperature Start
Cold cast iron takes time to heat through. Place your Dutch oven on the stove while still empty. Turn the burner to medium-low.
Let it warm gradually for five minutes. This prevents thermal shock, which can crack enamel or warp metal.
I’ve seen people blast a cold Dutch oven with high heat. Don’t be that person. Slow and steady protects your pot and gives you better temperature control.
The Fat Layer
A quick oil coating before adding ingredients helps prevent sticking and builds flavor. Swirl a tablespoon of oil around the bottom and lower sides once the pot is warm. Use something with a medium smoke point like canola, grapeseed, or avocado oil.
If you’re cooking something fatty like pork shoulder, you can skip this step. The rendered fat will do the work for you.
Searing First
Here’s where the Dutch oven crushes a slow cooker. You can brown meat directly in the same pot you’ll use for simmering. No extra pan to wash.
No lost fond.
Pat your meat dry with paper towels. Season generously with salt and pepper. Sear in batches, don’t crowd the pan.
Deep brown crust equals deep flavor. That browned residue on the bottom isn’t a burnt mess, it’s gold. Deglaze with broth, wine, or water before adding the rest of your ingredients.
A slow cooker can’t do this. You either skip searing entirely or dirty another pan. The Dutch oven does both jobs.
Adjusting Temperature and Cooking Time
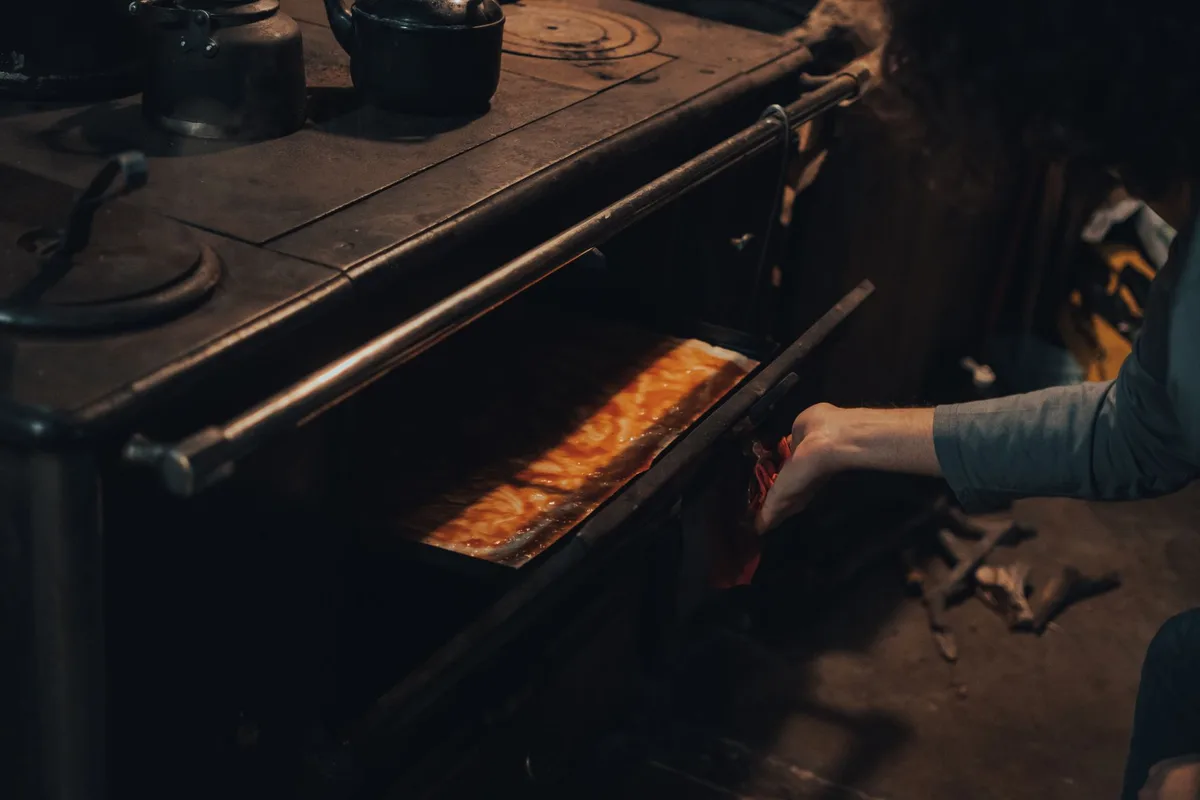
Image source: Pexels / Gaspar Zaldo (Pexels License)
This is where most people mess up. You can’t just set a Dutch oven on low and walk away for eight hours like a slow cooker. Stovetop heat is more aggressive, even on the lowest setting.
Stovetop Method
Set your burner to the lowest possible flame or heat level. On a gas stove, that’s a tiny blue flame barely licking the bottom of the pot. On electric, that’s a 1 or the “warm” setting if your stove has one.
The goal is a gentle simmer. You want tiny bubbles breaking the surface, not a rolling boil. If you see vigorous bubbles, your heat is too high.
Turn it down immediately.
Check the temperature every 30 minutes for the first two hours. Use an instant-read thermometer in the liquid. You want it between 185°F and 205°F.
Above 212°F, you’re boiling, not slow cooking. Below 180°F, you’re in the danger zone where bacteria can grow.
Oven Method
The oven gives you more consistent heat than any stovetop. Set your oven to 300°F, place the Dutch oven inside with the lid on, and walk away.
Here’s why the oven works better: ovens heat from all sides, not just from the bottom. The pot gets gentle heat on its sides and lid. The temperature stays dead steady.
You lose less moisture because the oven environment is more stable than open air.
I use the oven method whenever I cook longer than four hours. It’s foolproof.
Converting Slow Cooker Recipes
A standard conversion works like this:
- Slow cooker on low (8 hours) → Dutch oven at 300°F for 4 to 5 hours
- Slow cooker on high (4 hours) → Dutch oven at 325°F for 2.5 to 3 hours
Check at the lower end of the range. Dutch ovens cook faster because heat transfer is more efficient. Add 30 minutes if needed.
Using a Trivet or Rack
Placing a small wire rack or trivet in the bottom of the Dutch oven prevents meat from sitting directly on the hot surface. This matters for lean cuts that might stick. It also allows heat to circulate underneath the meat.
If you don’t have a rack, use root vegetables like carrots or celery as a natural bed for the meat. They’ll add flavor and lift the protein off the bottom.
Liquid Management in a Dutch Oven
Slow cookers trap nearly all steam. Dutch ovens lose a little more, even with a tight lid. That changes how much liquid you need.
Reduce Liquid by 25 Percent
If your slow cooker recipe calls for 4 cups of broth, start with 3 cups. Slow cookers produce condensation that drips back into the pot. A Dutch oven loses some of that condensation as steam.
You can always add more liquid later. You can’t remove excess without boiling it down, which takes time and alters the recipe.
Watch the Waterline
Check the pot after one hour. If the liquid has dropped significantly, your temperature is too high. Lower the heat and add a splash of broth or water.
The liquid should come about halfway up the meat, not submerge it completely.
For stews and soups, aim for enough liquid to cover all solids by half an inch. For braised meats, the liquid should reach about halfway up the sides of the meat. The steam does the rest.
Don’t Peek
Every time you lift that lid, you release heat and steam. Each peek adds 20 to 30 minutes of cooking time. I know it’s tempting.
I’ve been there. Resist.
Use the lid glass window if your Dutch oven has one. Otherwise, trust the process. Set a timer and check only when necessary.
Best Recipes for Dutch Oven Slow Cooking
Some dishes translate perfectly from slow cooker to Dutch oven. Others need adjustments.
Tough Cuts of Meat
Chuck roast, brisket, pork shoulder, lamb shanks. These benefit most from slow cooking because the long heat breaks down connective tissue. Sear them hard, then cook low and slow until they shred with a fork.
For a pot roast, sear a 4-pound chuck roast on all sides. Remove it, sauté onions and garlic, deglaze with beef broth, add carrots and potatoes, and nestle the meat back in. Cook at 300°F for 3.5 to 4 hours.
The meat will be fork-tender.
Beans and Legumes
Dried beans cook beautifully in a Dutch oven. No soaking required if you cook them long enough. Cover dried beans with three inches of water, add aromatics, and simmer at 300°F for 2.5 to 3 hours.
Check tenderness at the two-hour mark.
You’ll need more liquid than a slow cooker because beans absorb a lot. Check the pot after one hour and add water if needed.
Stocks and Broths
A Dutch oven makes better stock than any slow cooker. The wider surface allows more flavor extraction from bones and vegetables. Simmer chicken bones, carrots, celery, and onion at a low bubble for 6 to 8 hours.
The result has deeper color and richer flavor.
Stews and Chilis
These are perfect candidates because they have plenty of liquid. Brown your meat, add vegetables, pour in tomatoes or broth, and let it ride. For chili, I brown ground beef with onions and garlic, add spices, then pour in tomatoes and beans.
Three hours at 300°F transforms it into something that tastes like it simmered all day.
Cleaning and Maintaining Your Dutch Oven After Slow Cooking
Long cooking sessions leave residue. Cleaning properly keeps your pot performing for decades.
Cool Gradually
Never plunge a hot Dutch oven into cold water. Thermal shock cracks enamel and warps cast iron. Let the pot cool on the stovetop for at least 30 minutes before cleaning.
The Hot Water Soak
Fill the cooled Dutch oven with warm water and a drop of dish soap. Let it soak for 15 minutes. Most stuck-on food lifts right off.
Use a non-abrasive sponge or brush.
Baking soda works wonders for stubborn spots. Make a paste with water, scrub gently, and rinse. Avoid steel wool on enameled surfaces, it scratches the finish.
Dealing with Stains
Tomato-based dishes leave orange or brown stains on light-colored enamel. This is cosmetic, not damage. A paste of baking soda and hydrogen peroxide, left on for 20 minutes, removes most staining.
Drying and Storage
Dry your Dutch oven completely before storing. Cast iron rusts if left damp. I heat mine on the stove for two minutes to evaporate any remaining moisture.
Store with the lid slightly ajar to prevent trapped humidity.
Common Mistakes and How to Fix Them
Even experienced cooks make these errors. Here’s what to watch for.
Too High Heat
The biggest mistake. Slow cooking is not simmering hard. If you see vigorous bubbles, your heat is too high by a lot.
Turn it down immediately and add liquid if too much evaporated.
Not Enough Liquid
Without enough moisture, your meat dries out and your vegetables scorch. Always check the liquid level at the one-hour mark. Add more if needed.
Lifting the Lid Too Often
I said it before, but it bears repeating. Each lid lift releases heat and extends cooking time. Trust the process.
Check at the halfway point and again near the end.
Overcrowding the Pot
Cramming too much meat into the pot prevents even cooking. The heat can’t circulate. Leave at least an inch of space between pieces of meat.
Cook in batches if needed.
Skipping the Sear
Browning meat before slow cooking adds layers of flavor you can’t get any other way. The Maillard reaction creates complex savory notes that infuse the entire dish. Don’t skip this step.
Dutch Oven vs Slow Cooker: Side by Side
Let me be direct. A slow cooker is convenient. Plug it in, set it, leave the house.
A Dutch oven requires a stovetop or oven, which means you can’t leave it unattended as long.
But the Dutch oven wins on every other front. Better browning. Better flavor.
Better texture. More versatility. You can use it for frying, baking bread, roasting, braising, and simmering.
A slow cooker does one thing.
If you already own a Dutch oven, you don’t need a slow cooker. Save the counter space. Save the money.
Final Thoughts on Using Your Dutch Oven as a Slow Cooker
You’ve got the pot. You’ve got the technique. Now put it to work.
Start with something forgiving like a beef stew or a pork shoulder. Follow the temperature guidelines. Use the oven method for longer cooks.
Keep the lid closed. Check liquid levels early.
Within one meal, you’ll see why I stopped using my slow cooker entirely. That Dutch oven holds heat better, cooks more evenly, and produces better results. Plus it looks good on the table for serving.
The key is practice. Low heat. Tight lid.
Patience. Master those three elements, and you’ll never reach for that dusty slow cooker in the back of your cabinet again.
For more authoritative information on safe cooking temperatures and meat handling, check the USDA’s slow cooker safety guidelines. They apply equally to Dutch oven slow cooking and confirm what I’ve told you here.
Get cooking. Your Dutch oven is ready.