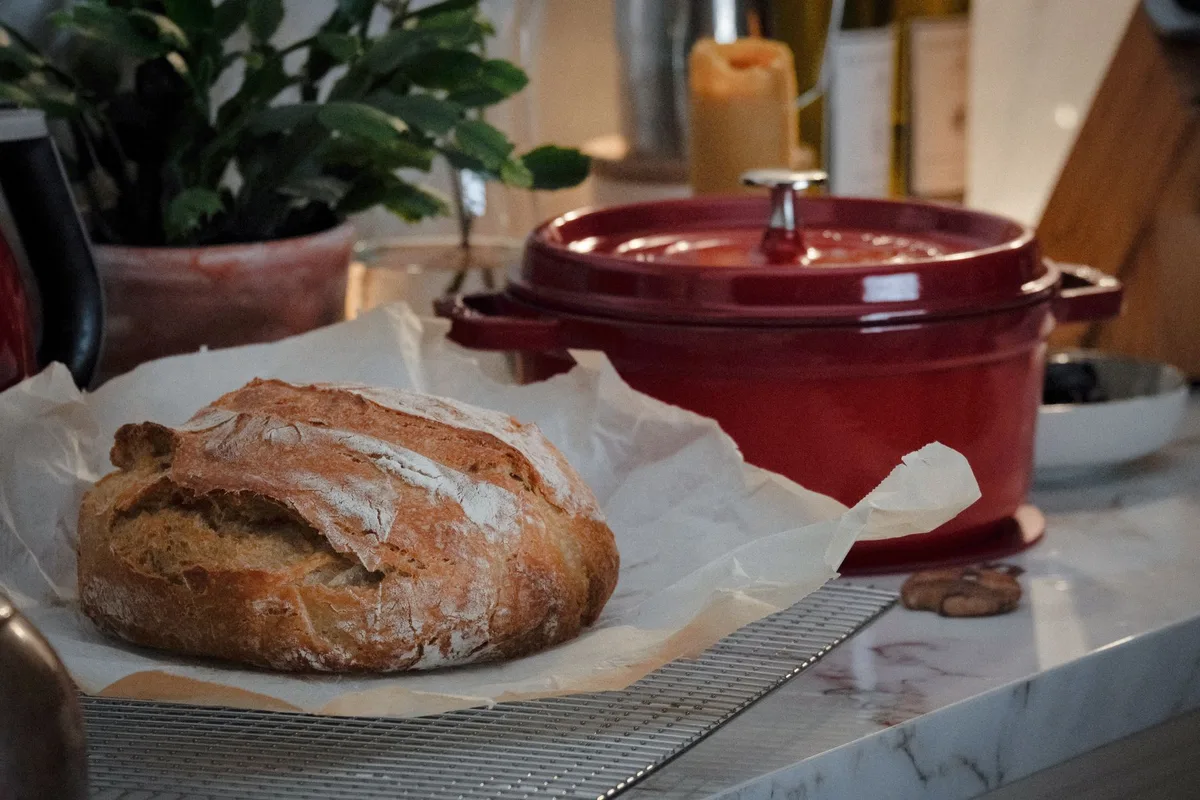
I’ve lost count of how many briskets I’ve turned out from my Dutch oven. And I’ll tell you straight, that heavy pot is the secret weapon for anyone who wants tender, juicy brisket without babysitting a smoker all day. Sure, smoked brisket has its glory.
But a Dutch oven? That’s how you get fall-apart meat with minimal fuss, any season, any kitchen.
This guide covers everything: picking the right cut, trimming like a pro, building deep flavor, and nailing the low-and-slow braise. No grill required. Let’s get into it.
Why Use a Dutch Oven for Brisket?
A Dutch oven is essentially a portable mini-oven with a tight lid. It traps steam, circulates heat evenly, and maintains a steady temperature better than any other stovetop vessel. For brisket, a tough, fatty cut that needs hours of moist heat, that’s exactly what you need.
The magic lies in braising. You sear the meat first, then cook it partially submerged in liquid (broth, wine, or even just water) at a low temperature. The collagen breaks down into gelatin, the fat renders, and the connective tissue melts.
The result? Meat that pulls apart with a fork but still holds its shape.
A Dutch oven also lets you build layers of flavor. You can brown the brisket directly in the pot, sauté aromatics in the rendered fat, deglaze with liquid, and then let everything simmer together. One pot, zero wasted fond.
Choosing the Right Brisket
Not all briskets are created equal. For Dutch oven cooking, you want the whole packer brisket, the one that includes both the flat (leaner) and the point (fattier) sections. The point adds moisture and flavor while the flat provides those beautiful slices.
What to look for:
- Weight: 4, 6 pounds is ideal for a standard 6- to 8-quart Dutch oven. Anything larger and you’ll struggle to fit it, or the meat will crowd the pot.
- Marbling: Look for a good amount of white fat running through the meat. Don’t worry about “Prime” grade, “Choice” works beautifully in a Dutch oven because the braising environment compensates for slightly less intramuscular fat.
- Thickness: Aim for a brisket that’s roughly uniform in thickness so it cooks evenly. If one end is much thinner, tuck it under or wedge it to the side.
If you’re feeding a crowd, you can cut a larger brisket into two pieces and cook them side by side. Just make sure both pieces fit without overlapping too much.
Trimming and Seasoning the Brisket
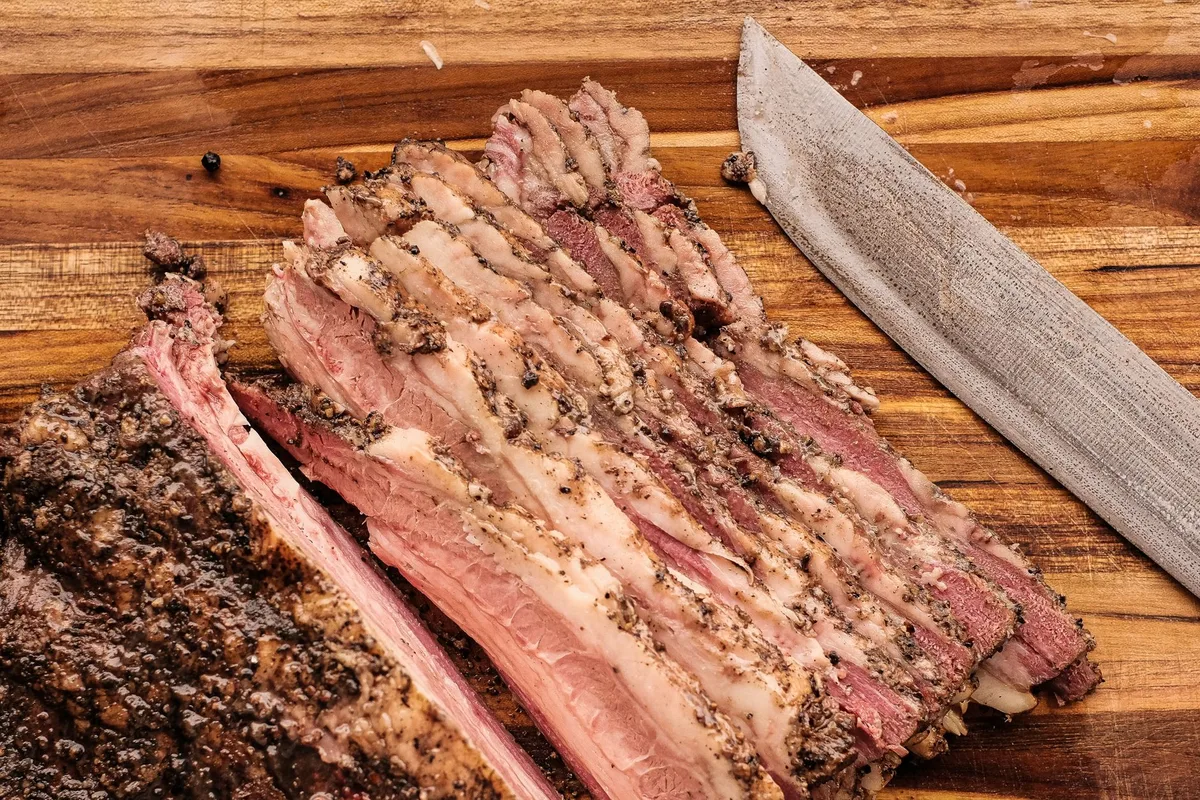
You don’t need to strip every bit of fat off, but a thick, hard fat cap won’t fully render in a Dutch oven. Here’s how I trim it:
- Trim the fat cap to about ¼ inch. Leave a thin layer to keep the meat moist during the long cook. If the fat cap is over ½ inch, slice it off.
- Remove the silver skin. That shiny membrane on the underside won’t break down, cut it off with a sharp knife.
- Square off the edges. Any thin, ragged bits will overcook and dry out. Trim them away or tuck them under.
Once trimmed, pat the brisket dry with paper towels. Moisture is the enemy of a good sear.
Seasoning the Brisket
Keep it simple. A classic Texas-style rub works every time:
- 2 parts coarse black pepper
- 2 parts kosher salt
- 1 part garlic powder
- 1 part onion powder
But you can also get creative. Add smoked paprika, cumin, or a pinch of cayenne. Just avoid sugar, it burns during the sear and leaves a bitter taste.
Rub the seasoning all over the brisket, including the sides. Let it sit at room temperature for 45 minutes while you prepare the Dutch oven. For even deeper flavor, season the brisket the night before and refrigerate uncovered.
That dry brine draws salt into the meat and helps form a beautiful bark.
Searing the Brisket
Searing isn’t just for looks, it’s where the flavor foundation gets built. The Maillard reaction creates hundreds of flavor compounds that make the final dish taste rich and complex.
- Heat your Dutch oven over medium-high heat. Add a tablespoon of high-smoke-point oil (avocado or canola works well).
- Sear the brisket fat-side down first. Let it sit without moving for 4, 5 minutes. You want a deep brown crust, not a pale tan. Flip and repeat on all sides.
- Remove the brisket to a plate. Don’t wipe the pot, that browned residue (fond) is liquid gold.
Now you can build the braising liquid. Pour off all but about 2 tablespoons of fat. Add diced onions, carrots, and celery (a classic mirepoix) and cook until softened, scraping up the fond.
Add garlic, tomato paste, and maybe a sprig of rosemary or thyme. Deglaze with a cup of beef broth or red wine, stirring to lift everything off the bottom.
Return the brisket to the pot, pour in enough liquid to come halfway up the sides of the meat. Don’t submerge it completely, you want the top exposed to steam, not boiling liquid.
Braising the Brisket in a Dutch Oven
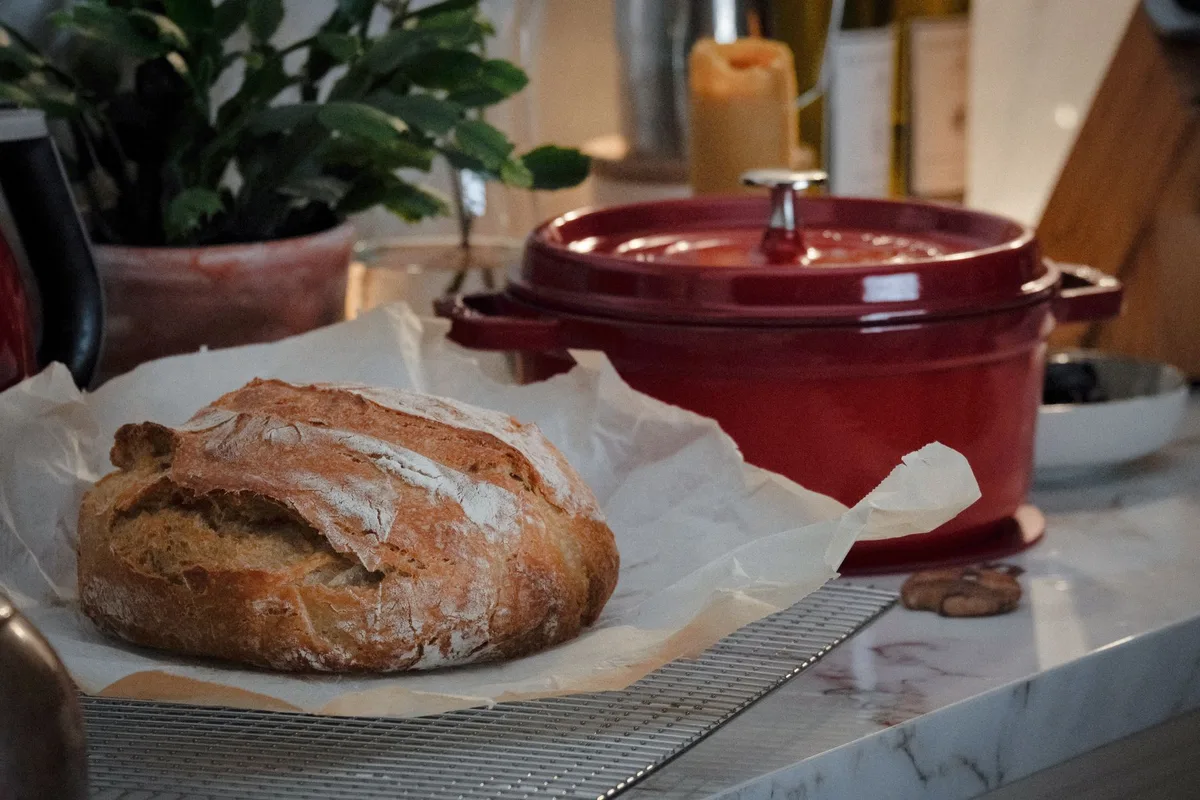
Here’s where patience pays off. Braising brisket is low and slow, no shortcuts.
Temperature and Timing
Set your oven to 300°F (150°C). That’s the sweet spot. Too low (250°F) and the cook time stretches past 5, 6 hours.
Too high (350°F) and the outside dries out before the inside tenderizes.
Plan on 3 to 4 hours for a 4- to 6-pound brisket. It’s done when a fork slides into the thickest part with almost no resistance. The internal temperature should reach 200, 205°F (93, 96°C) when probed.
Yes, that’s well past the USDA safe minimum of 145°F, but brisket needs that high internal temp to melt collagen for that buttery texture.
What to Add to the Pot
The braising liquid isn’t just for moisture, it’s the base of your eventual gravy. Start with beef broth, but feel free to doctor it:
- A splash of Worcestershire or soy sauce for umami
- A bay leaf or two
- Whole peppercorns
- A cinnamon stick (trust me, it’s subtle but warm)
You can also add root vegetables like carrots and potatoes during the last hour. They’ll cook in the flavorful liquid and soak up all that brisket goodness.
Lid On or Cracked?
Keep the lid tightly closed for the first 2 hours. After that, you can crack it slightly if you want a thicker sauce, but most of the time you want full steam. The Dutch oven’s heavy lid does the work for you.
If you don’t have an oven-safe Dutch oven (most are), you can braise on the stovetop over the lowest heat. I find oven braising more consistent because the heat wraps around the pot evenly. Either way works.
Cooking Time and Temperature Guide
Here’s a quick reference for different brisket sizes in a 300°F oven:
| Brisket Weight | Approximate Braising Time | Internal Temp Target |
|---|---|---|
| 3–4 lb | 2.5–3 hours | 200°F |
| 4–5 lb | 3–3.5 hours | 200–205°F |
| 5–6 lb | 3.5–4 hours | 200–205°F |
| 6–7 lb | 4–4.5 hours | 205°F |
Check for doneness with a fork, the probe should slide in like warm butter. Don’t rely solely on time. Every brisket is different.
Resting and Slicing for Perfection
You made it through the braise. Now don’t wreck it by slicing too early.
The Rest
Transfer the brisket to a cutting board and tent loosely with foil. Let it rest for 20, 30 minutes. This lets the juices redistribute so they don’t run out onto the board the moment you cut.
While it rests, strain the braising liquid through a fine mesh sieve. Discard the solids. If you want a thicker gravy, simmer the liquid in a small saucepan until it reduces by about a third.
You can also thicken with a cornstarch slurry (1 tablespoon cornstarch + 2 tablespoons cold water, whisked in).
Slicing Against the Grain
Brisket has long muscle fibers. If you cut with the grain, you get chewy shreds. Cut against the grain, perpendicular to the lines you see running through the meat, and you get tender, short fibers.
The flat and point have different grain directions. You’ll need to rotate the brisket as you slice to stay against the grain on each section. Slice about ¼ inch thick for the flat, and a bit thicker for the point.
Serve with the warm braising liquid spooned over the top. Or pile slices onto buns with coleslaw for killer sandwiches.
Common Mistakes and How to Avoid Them
Even experienced cooks mess up brisket. Here are the traps I’ve fallen into, and how you can skip them.
Mistake 1: Cutting Too Much Fat
I used to trim aggressively, thinking leaner = healthier. Wrong. A brisket with too little fat dries out in the slow braise.
Leave at least ¼ inch of fat cap. The fat renders slowly and bastes the meat from the inside out.
Mistake 2: Not Searing Long Enough
A pale brisket yields a pale final dish. Searing isn’t optional, it’s the difference between deep, savory gravy and watery, bland meat. Wait until the crust is mahogany brown, not just golden.
Mistake 3: Lifting the Lid Too Often
Every time you lift the lid, steam escapes and the oven temperature drops. Resist the urge to check. If you must peek, do it after 2 hours.
Use a meat thermometer with a probe that runs out of the pot, that way you monitor internal temp without opening the lid.
Mistake 4: Underestimating Cook Time
Brisket can stall at around 160, 170°F internal temp. Don’t panic. That’s just collagen breaking down and evaporative cooling doing its thing.
Keep the oven at 300°F and wait it out. The stall can last an hour. Patience wins.
Mistake 5: Slicing Too Thick or Too Thin
Too thick (½ inch) and each bite is tough. Too thin (⅛ inch) and the meat shreds. Go for a comfortable quarter-inch slice.
That gives you structure and tenderness together.
Frequently Asked Questions
Do I need to soak the brisket in brine?
No. A dry brine (salt rubbed on the surface 12, 24 hours ahead) works better for Dutch oven cooking. It penetrates without making the meat waterlogged.
Can I use a frozen brisket?
Sure, but thaw it completely in the refrigerator first. Cooking from frozen throws off timing and leads to uneven doneness.
What’s the best liquid for braising?
Beef broth is the standard. You can sub chicken broth or even water with a bouillon cube. Avoid tomato-based liquids (like canned tomatoes), they’re too acidic and can toughen the meat.
Can I cook brisket in a Dutch oven on the stovetop all the way?
Yes. Use the lowest heat setting and check the liquid level every 45 minutes. Stovetop braising requires more attention to maintain a gentle simmer.
How do I store leftover brisket?
Refrigerate in an airtight container with some braising liquid for up to 4 days. Reheat gently in the Dutch oven on low, adding a splash of broth if needed. The brisket also freezes well for up to 3 months.
Why is my brisket dry even though I followed the recipe?
Likely one of two reasons: either the internal temp didn’t reach 200°F (collagen didn’t fully render), or the brisket was too lean (trimmed too aggressively). Next time, cook it longer and keep that fat cap.
Final Pro Tips
Let me leave you with a few hard-earned tricks:
- Use a meat thermometer with an alarm. Set the high alarm at 200°F, and you don’t need to hover.
- Don’t skip the deglazing. That fond stuck to the bottom of the pot after searing? Scrape it up with wine or broth. It’s concentrated flavor.
- Rest the brisket in the juices. After removing from the oven, you can slice the brisket and return it to the strained liquid for 10 minutes before serving. It absorbs moisture like a sponge.
- Reserve the fat from the braising liquid. Let the liquid cool, then scoop off the solidified fat. Use it to roast potatoes or sauté greens. It’s intensely beefy and delicious.
Cooking brisket in a Dutch oven isn’t hard, it just needs time and attention to a few details. Pick a good cut, trim it right, sear it hard, then let that pot work its magic in a low oven. When you pull out a fork-tender brisket that slices like butter and tastes like Sunday dinner any day of the week, you’ll wonder why you ever stressed about the smoker.
Now go make some memories (and some killer leftovers).