You’ve heard the complaint a thousand times: chicken breast is dry, bland, and tough. That’s because most people cook it wrong. They either blast it in a hot skillet until the outside burns while the inside stays raw, or they bake it in a dry oven until it turns into sawdust.
The Dutch oven changes everything.
This heavy, lidded pot traps steam and circulates heat. It lets you sear the meat on the stovetop, then finish it in a gentle oven environment. The result?
Chicken breast that’s moist, tender, and packed with flavor. No brine required. No complicated gadgets.
Just a good pot and a little technique.
Let’s walk through the exact method. We’ll cover prep, searing, braising, temperature, and resting. Stick with this, and you’ll never dread cooking chicken breast again.
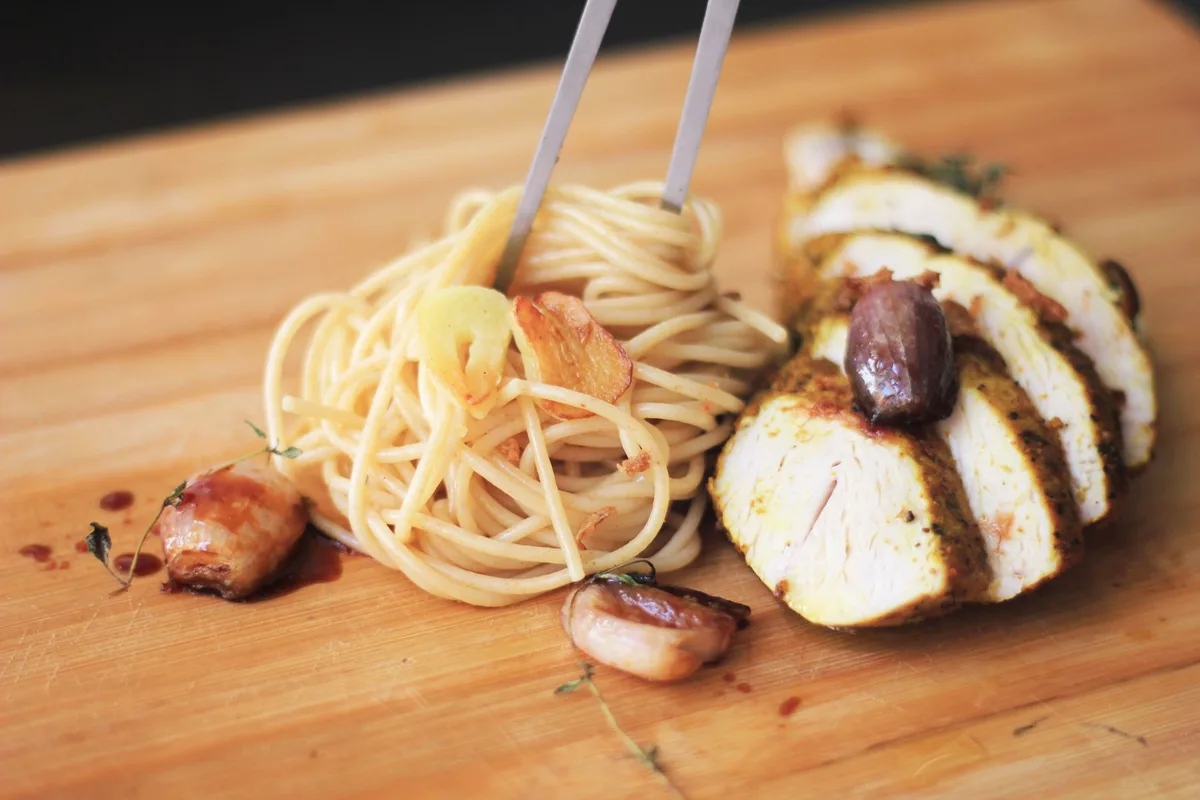
Why a Dutch Oven Works Better Than Anything Else
A Dutch oven is essentially a portable oven that sits on your stovetop. Its thick walls, usually cast iron coated with enamel, hold heat evenly. That means no hot spots.
No uneven cooking. The tight-fitting lid locks in moisture, creating a mini steam bath around the chicken.
Compare that to a regular baking sheet. On a sheet pan, the chicken sits exposed to dry oven air. Moisture evaporates fast.
The surface dries out before the center reaches a safe temperature. A Dutch oven keeps the humidity high. The meat stays succulent.
Another advantage: you can sear and braise in the same pot. No need to transfer between pans. No extra dishes.
You get a golden-brown crust from the stovetop sear, then a gentle finish in the oven. That crust locks in juices and adds flavor through the Maillard reaction.
For a deeper look at why cast iron cookware excels at even heat distribution, check out the USDA’s guide to safe minimum cooking temperatures. It’s the gold standard for food safety.
Choosing the Right Chicken Breast
Not all chicken breasts are the same. For the best results, pick boneless, skinless breasts that are roughly the same thickness. This ensures even cooking.
If you end up with a thick breast on one end and a thin tail on the other, the thin part will overcook before the thick part is done.
You can fix that. Pound the thick end with a meat mallet or rolling pin until the whole breast is about 1 inch thick. Place the chicken between two sheets of plastic wrap or inside a zip-top bag before pounding.
It prevents splatter and keeps things clean.
Prefer bone-in, skin-on breasts? Those work too. They’re more forgiving because the bone slows heat transfer and the skin adds fat.
But the method here focuses on boneless, skinless, the most common cut people struggle with.
The Prep Work: Dry Brine or Not?
You don’t have to brine. But if you take 30 minutes to salt the chicken, you’ll notice a difference. Salt draws moisture out of the meat, then the moisture reabsorbs with the salt, breaking down proteins slightly.
That makes the meat more tender.
Here’s a quick dry brine: sprinkle both sides of the chicken breast with about ½ teaspoon of kosher salt per breast. Leave it uncovered on a plate in the fridge for 30 minutes to 4 hours. Pat it dry with paper towels before cooking.
The surface needs to be dry for a good sear.
If you skip the brine, at least season the chicken generously with salt and pepper right before cooking. Don’t be shy. Season from a height of about 12 inches for even distribution.
Preheating Your Dutch Oven
A Dutch oven needs to be hot before the chicken hits it. Preheat it on the stovetop over medium-high heat for about 3 to 4 minutes. Add a tablespoon of oil with a high smoke point, avocado oil, grapeseed oil, or canola oil work well.
Olive oil can burn at the temperatures we need.
Swirl the oil to coat the bottom. When the oil shimmers and glistens, it’s ready. If you drop a tiny pinch of flour into the oil and it sizzles immediately, you’re good to go.
Searing the Chicken
Searing is the step most people rush. Don’t. This is where you build flavor.
The brown crust isn’t just for looks, it’s concentrated flavor from browning the natural sugars and proteins in the meat.
Lay the chicken breasts in the hot oil, presentation side down. That’s the side that faced the skin. Leave them alone.
Don’t poke, prod, or move them for at least 3 to 4 minutes. Let the crust form.
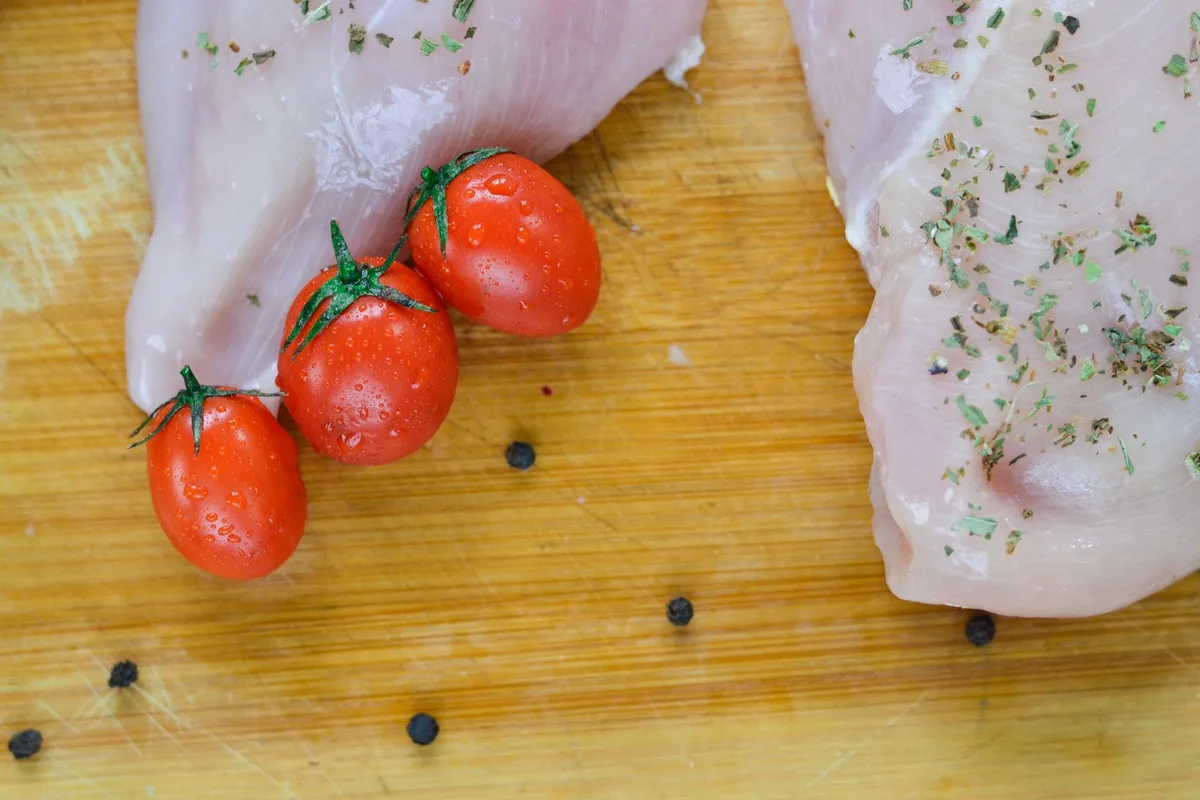
After 4 minutes, check the color. If it’s deep golden brown, flip the breasts. Sear the other side for 2 minutes.
The meat won’t be cooked through yet, that’s fine. You’re just building that crust.
If you’re adding aromatics, garlic cloves, sprigs of thyme, a halved shallot, toss them in after you flip the chicken. They’ll sizzle in the oil and infuse the meat.
Deglazing the Pan (Optional but Worth It)
After removing the seared chicken, you’ll see brown bits stuck to the bottom of the pot. Those are called fond. They’re pure flavor.
Don’t let them burn.
Pour in about ½ cup of liquid, chicken broth, white wine, or even water. Use a wooden spoon or spatula to scrape up all the browned bits. Let the liquid bubble for 30 seconds, then turn off the heat.
This deglazing step creates a flavorful base for the braising liquid.
Return the chicken to the pot, nestling it in the liquid. The liquid should come about halfway up the sides of the chicken. If you need more, add a little extra broth.
Too much liquid and you’ll boil the chicken instead of braising it.
Braising in the Oven
Now the magic happens. Preheat your oven to 375°F (190°C). Place the lid on the Dutch oven and transfer it to the middle rack.
Braising, cooking gently in a small amount of liquid, is what keeps chicken breast tender. The oven heat surrounds the pot evenly. The steam inside the pot keeps the meat moist.
The temperature is moderate enough that the proteins don’t tighten up and squeeze out all their juices.
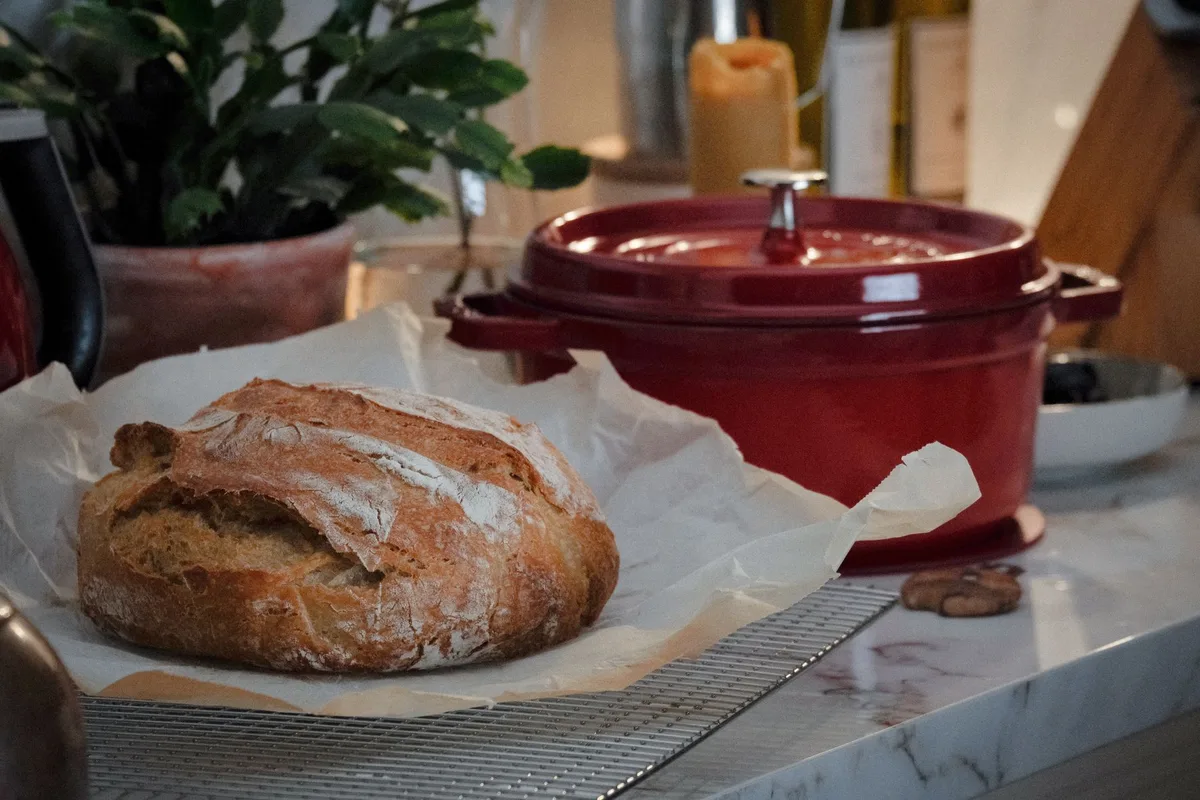
Cook the chicken for 15 to 20 minutes, depending on thickness. A 1-inch thick breast will be done in about 15 minutes. A 1.5-inch breast might need 20 minutes.
The key is to use an instant-read thermometer.
The Critical Temperature: 160°F (71°C) — Then Rest
Here’s the most important rule: pull the chicken out of the oven when the internal temperature reaches 160°F (71°C). Not 165°F. Not 170°F.
At 160°F, the meat is safe to eat because carryover cooking will take it to 165°F during the rest.
Insert the thermometer into the thickest part of the breast, avoiding the bone if you have bone-in. The temperature will rise about 5°F after you pull it out of the oven. If you wait until the thermometer reads 165°F inside the oven, the chicken will soar past 170°F and turn dry.
Rest the chicken on a cutting board, loosely tented with foil, for 5 to 10 minutes. During this time, the juices redistribute. If you cut into it immediately, those juices run out onto the board, leaving you with dry meat.
What About the Liquid in the Pot?
Don’t throw it away. The braising liquid has become a light, flavorful broth. You can serve it as a simple pan sauce.
Set the Dutch oven on the stovetop over medium heat. Whisk in a tablespoon of butter or a splash of cream. Thicken it with a cornstarch slurry if you want.
Spoon it over the sliced chicken.
Alternatively, use the liquid to cook rice or quinoa. The grain will absorb that chicken flavor.
Variations to Try
Once you master the basic method, experiment with different flavor profiles.
Italian herb version: After deglazing, add a can of diced tomatoes, a few cloves of garlic, and a sprig of rosemary. Braise as usual. The acidity of the tomatoes balances the richness.
Creamy mustard version: Deglaze with white wine, then stir in ½ cup of heavy cream and 2 tablespoons of Dijon mustard. Return the chicken and braise. The sauce will thicken slightly.
Lemon and caper version: Add ¼ cup of lemon juice, ¼ cup of chicken broth, and 2 tablespoons of capers. The tangy, briny flavors cut through the richness.
Asian-inspired version: Deglaze with ¼ cup of soy sauce, ¼ cup of chicken broth, 1 tablespoon of honey, and a minced garlic clove. Add a slice of ginger if you have it. Braise and finish with a sprinkle of sesame seeds.
Common Mistakes and How to Avoid Them
Overcrowding the pot. If you crowd the chicken, the temperature drops. The meat steams instead of searing. Cook in batches if necessary.
A 5-quart Dutch oven can handle 2 large breasts comfortably. For 4 breasts, use two batches or a larger pot.
Lifting the lid too often. Every time you lift the lid, heat and steam escape. That extends the cooking time and dries out the meat. Trust the process.
Use the thermometer at the end, not during.
Using too much liquid. The chicken should not be swimming. It should be sitting in liquid that comes about halfway up the sides. More liquid means longer cooking and a diluted flavor.
Skipping the rest. I know it’s tempting to slice right away. Don’t do it. The rest is not optional.
It’s the difference between juicy and dry.
Not checking the temperature. Guessing is the enemy of good chicken. A $10 instant-read thermometer will save you from ruined dinners. Use it every time.
How to Serve and Store Leftovers
Slice the rested chicken against the grain. That shortens the muscle fibers, making each bite more tender. Serve with the pan sauce, a side of roasted vegetables, or over a salad.
Leftovers keep well. Store the chicken in an airtight container in the fridge for up to 4 days. To reheat, slice the chicken and warm it gently in a covered skillet with a splash of broth.
Microwaving will dry it out.
You can also shred the leftover chicken and use it in soups, tacos, or sandwiches. The Dutch oven method gives you a versatile protein that’s ready for anything.
Why This Method Works for Meal Prep
If you cook chicken breasts for the week ahead, the Dutch oven method is your best friend. Cook 4 breasts at once. Slice them after resting.
Portion them into containers with vegetables and grains. The meat stays moist even after refrigeration because it was never overcooked to begin with.
Reheat in the microwave at 50% power, or better yet, use a steamer basket. The gentle heat won’t zap the moisture.
The Science Behind the Juiciness
Let’s get nerdy for a second. Chicken breast is lean. It has very little fat to keep it moist.
The only way to keep it tender is to avoid overcooking the proteins. When the internal temperature hits 150°F, the proteins start to denature and squeeze out liquid. At 165°F, the muscle fibers have tightened so much that they wring out moisture like a sponge.
A Dutch oven helps in two ways. First, the enclosed environment prevents moisture from escaping as steam. Second, the gentle oven heat (around 375°F) is much cooler than a stovetop pan, which can reach 400°F or more.
The slower, more even heat means the center of the breast reaches the target temperature while the outside stays intact.
For more on the science of cooking meat, the University of Minnesota Extension has excellent resources on food safety and cooking techniques. It’s worth a browse.
Final Notes on Equipment
You don’t need a fancy brand. A basic enameled cast iron Dutch oven from Lodge, Le Creuset, or even a thrift store find will work. The key is that it holds heat and has a tight-fitting lid.
Avoid thin stainless steel pots, they don’t retain heat well and can cause hot spots.
If your Dutch oven has a lid that doesn’t seal perfectly, place a sheet of aluminum foil over the pot before pressing the lid on. That extra seal makes a difference.
The Bottom Line
Cooking chicken breast in a Dutch oven is simple. Sear it. Braise it.
Rest it. That’s the whole recipe. The pot does the heavy lifting by creating a moist, even environment.
You just need to manage the temperature and time.
Stop relying on dry baking sheets and hot skillets that scorch. Grab your Dutch oven, follow the steps above, and enjoy chicken breast that’s actually good, not just edible. You’ll never look back.