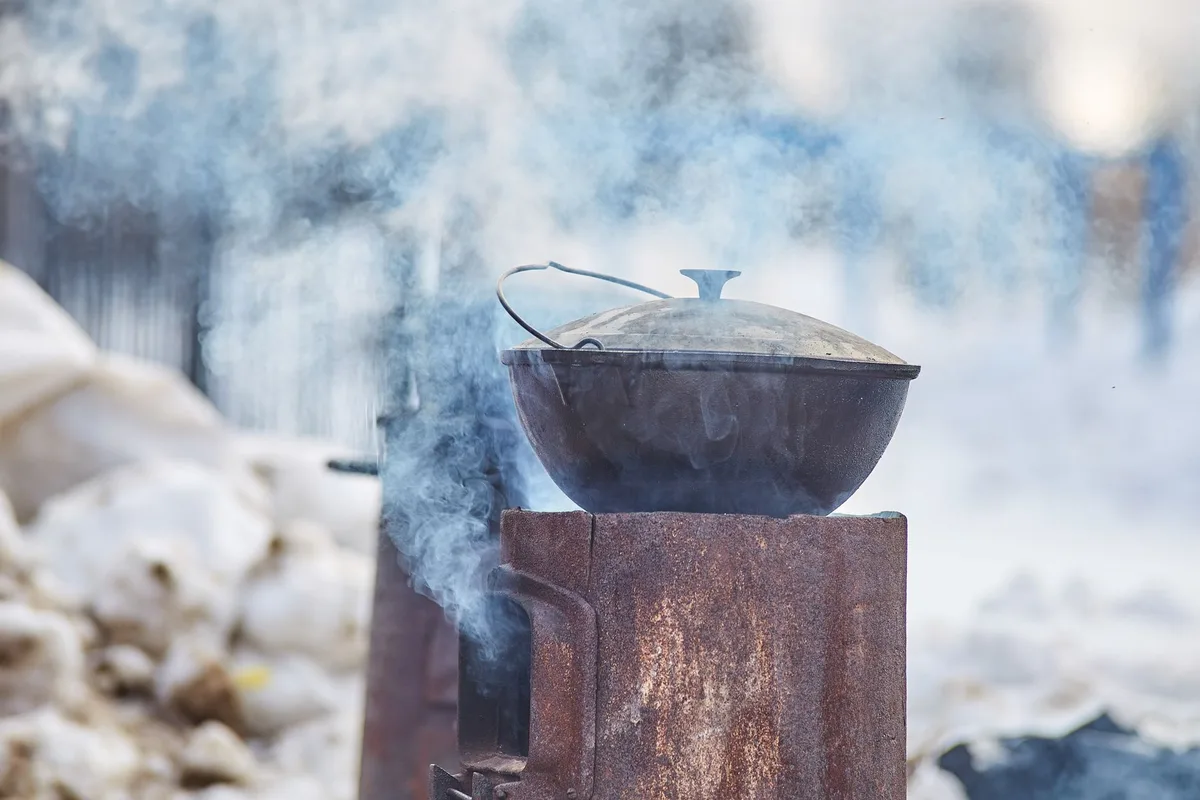
I’ve owned my enameled Dutch oven for over a decade. It’s survived moves, camping trips, and countless Sunday braises. It still looks nearly new.
That’s not luck. That’s knowing exactly how to treat this workhorse of a pot.
A Dutch oven is an investment. A good one runs anywhere from sixty to four hundred dollars. Treat it right, and it’ll outlast your kitchen cabinets.
Treat it wrong, and you’ll be shopping for a replacement within two years. The difference comes down to a handful of simple habits.
This guide covers everything. Cleaning, seasoning, storage, rust removal, and the mistakes that kill Dutch ovens faster than anything else. Whether you own a raw cast iron Lodge or a fancy Le Creuset enameled model, the principles here apply.
Understanding Your Dutch Oven Type
Before you touch that pot, know what you’re working with. The care routine changes drastically based on the material.
Raw Cast Iron Dutch Ovens
These are the old-school workhorses. No coating. No enamel.
Just solid iron. Brands like Lodge, Camp Chef, and vintage Griswold fall here. They develop a natural nonstick patina over time.
That patina is called seasoning. It’s a layer of polymerized oil bonded to the iron.
Raw cast iron needs attention. It rusts easily. It absorbs flavors.
But it also takes abuse better than any other pot. You can scrape it with metal utensils. You can use it over open flames.
You can cook acidic foods in it, but only if the seasoning is thick.
Enameled Cast Iron Dutch Ovens
This is the modern favorite. Le Creuset, Staub, and many budget brands apply a glass-like enamel coating over the iron. That coating is the caring surface.
No seasoning required. No rust worries, as long as the enamel stays intact.
Here’s the catch: enamel chips. Drop it once on a tile floor, and you might see a crack. Chip the interior enamel, and that pot becomes dangerous.
Tiny glass shards can end up in your food. Once enamel chips, the pot is effectively ruined.
You must treat enameled Dutch ovens gently. No metal utensils. No high heat without liquid inside.
No thermal shock from cold water hitting a hot pot.
Cleaning Your Dutch Oven the Right Way
Skip the dishwasher. Always. Dishwasher detergent is too harsh.
The high heat can degrade seasoning on raw iron. It can dull enamel over time. Hand wash only.
Cleaning Raw Cast Iron
Here’s the truth most people get wrong: don’t use soap on raw cast iron for the first several cooks. Soap strips seasoning. Once that seasoning is thick and dark, a tiny bit of mild soap is fine.
But early on? Hot water and a stiff brush are all you need.
Scrub off stuck food with a chainmail scrubber or a plastic scraper. Avoid steel wool on raw iron unless you’re stripping seasoning on purpose. Steel wool is too aggressive.
It gouges the surface.
Dry your raw cast iron immediately. Put it on a low burner for two minutes to evaporate every drop of moisture. Then rub a thin layer of vegetable oil over the entire surface.
Inside and out. Wipe off the excess with a paper towel. That thin oil film is what prevents rust.
Cleaning Enameled Cast Iron
This is easier. Enamel is glass. It doesn’t rust.
It doesn’t need seasoning. But it does stain.
For everyday cleaning, hot water and a soft sponge work fine. Use a drop of mild dish soap. For stuck-on food, boil some water in the pot for five minutes.
The steam loosens everything. Then scrub gently.
For stubborn stains or dark residue inside, use baking soda. Make a paste with water. Rub it into the stain with a soft cloth.
Let it sit for fifteen minutes. Rinse. Most stains lift right out.
Never use abrasive cleaners or scrubby pads on enamel. Barkeeper’s Friend is safe on some enamel surfaces, but test a tiny spot first. Magic erasers work well for enamel stains without scratching.
What About Burnt Food?
We’ve all been there. You walk away from the stove, and suddenly your stew is carbonized on the bottom. Don’t panic.
Don’t scrape with a metal spatula.
Fill the pot with warm water. Add a few tablespoons of baking soda. Bring it to a gentle boil.
Let it simmer for ten minutes. Turn off the heat and let it soak overnight. By morning, most of the burnt crust will slide off with a wooden spoon.
For raw cast iron with burnt residue, coarse salt is your best friend. Pour half a cup of salt into the pot. Scrub with a paper towel.
The salt acts as a gentle abrasive that won’t damage the seasoning.
Seasoning Your Dutch Oven
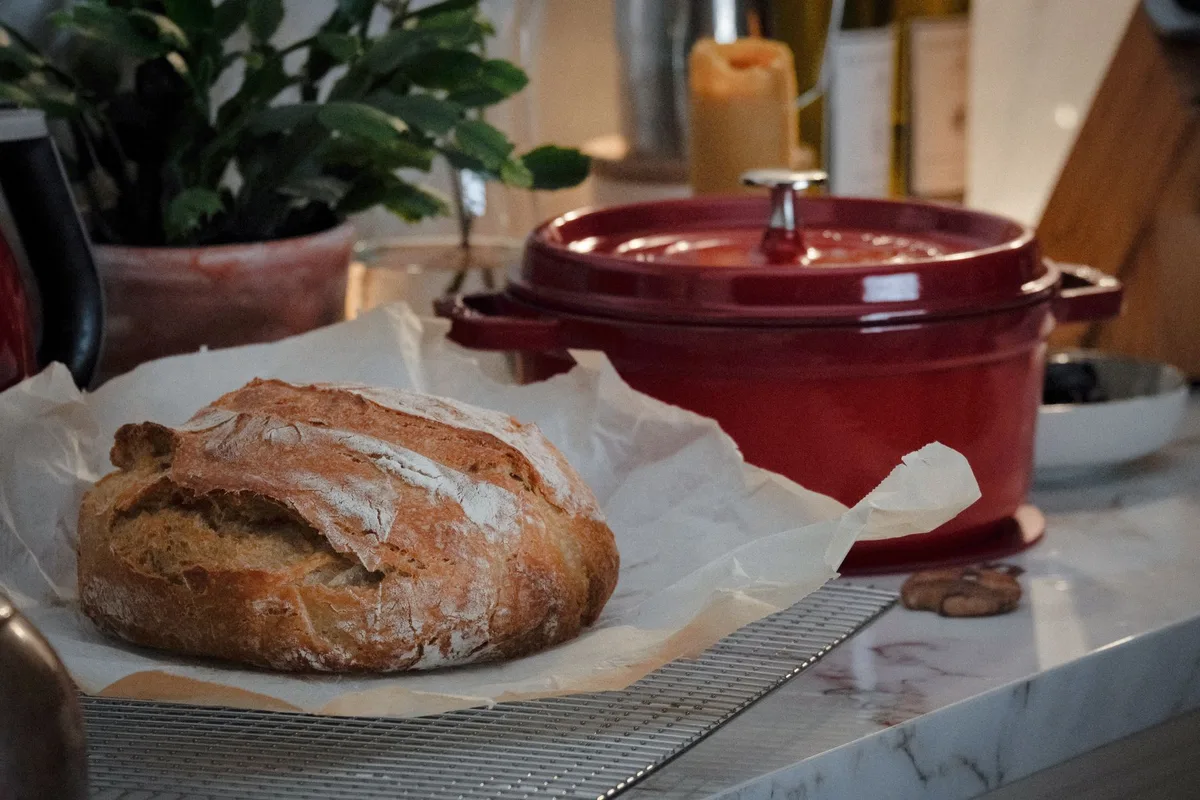
Seasoning only applies to raw cast iron. If you own enameled, skip this section entirely. Your pot doesn’t need it.
Seasoning is not optional. It’s the difference between a nonstick cooking surface and a sticky, rust-prone mess. Every raw cast iron pot needs a solid seasoning layer.
When to Season
Season a new Dutch oven before first use. Season again after any cook where food stuck badly. Season after removing rust.
Season whenever the surface looks dry or patchy.
How to Season
Do this in your oven. It smokes. Open a window and turn on your exhaust fan.
First, wash and dry the pot thoroughly. Rub a very thin layer of high-smoke-point oil over the entire surface. Flaxseed oil works best.
Grapeseed oil or vegetable oil also work well. Avoid olive oil. It burns at lower temperatures.
Here’s the trick: after applying the oil, wipe it off with a clean paper towel like you’re trying to remove it. You want the thinnest possible film. Too much oil causes sticky patches.
Place the Dutch oven upside down on the oven’s middle rack. Put a baking sheet on the rack below to catch drips. Bake at 450°F for one hour.
Turn off the heat and let the pot cool inside the oven.
Repeat this process three or four times for a new pot. That builds a solid foundation. After that, one round of seasoning every few months keeps things right.
Maintaining the Seasoning
After each cook, clean gently. Dry completely. Rub in a tiny amount of oil.
That’s it. The seasoning layer will darken and thicken over time. A well-seasoned raw cast iron pot looks almost black.
It feels smooth, almost slick.
If you see flaking or bare metal spots, reseason immediately. Those spots will rust within hours in humid air.
Removing Rust
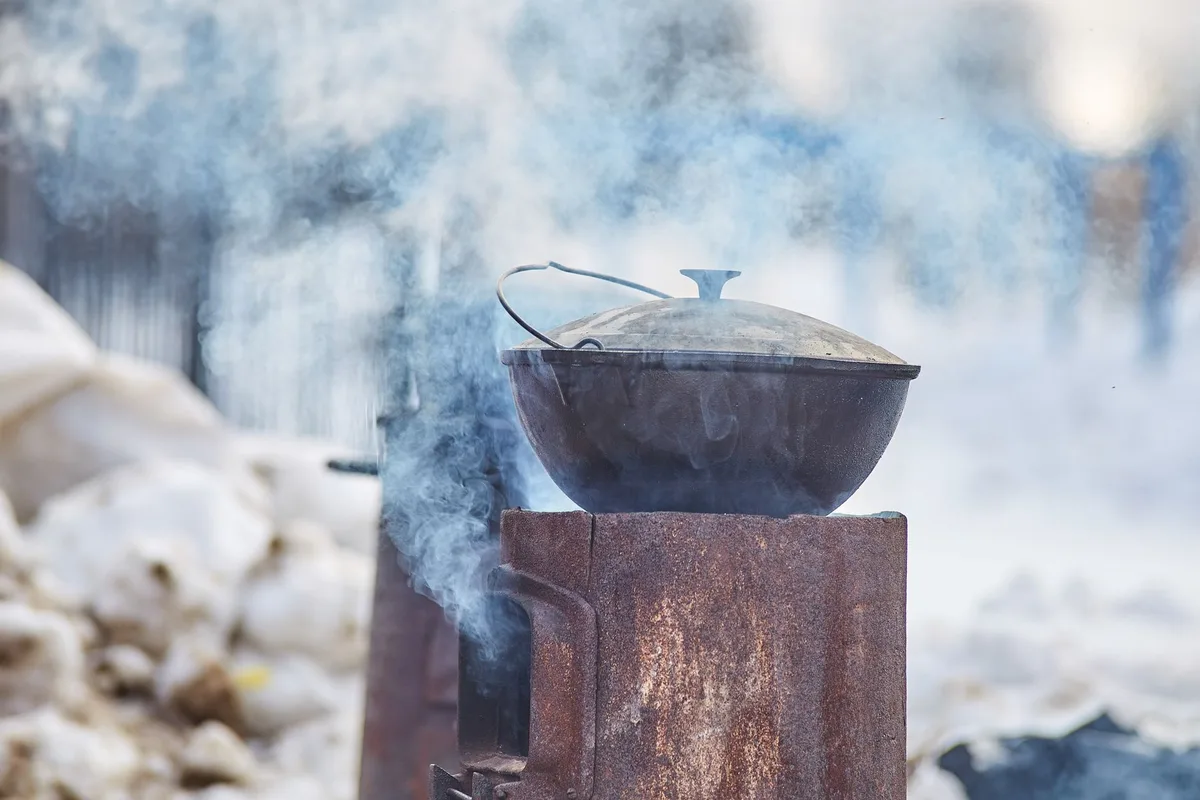
Rust happens. Maybe you left the pot wet overnight. Maybe the seasoning wore thin near the rim.
Either way, don’t toss the pot. Rust is fixable.
How to Remove Rust from Raw Cast Iron
Scrub the rusted areas with steel wool. Yes, steel wool. This is the one time you want it.
Scrubbing removes the rust and any loose seasoning. Wash the pot with soap and water. Dry it completely.
Now reseason immediately. Follow the seasoning steps above. Apply oil, bake at 450°F, let it cool.
Do this two or three times. The rust spots will be gone, and a fresh seasoning layer will protect the iron.
For light surface rust, a paste of baking soda and water works. Rub it on, let it sit, scrub with a soft brush. Rinse and dry.
Then season.
What About Rust on Enameled Dutch Ovens?
Enamel doesn’t rust. If you see orange spots inside an enameled pot, that’s not rust on the enamel. That’s staining from iron in your water or from food.
Use baking soda to clean it.
If you see rust on the rim of an enameled pot where the cast iron is exposed, that’s different. The enamel on rims is often thin. Scrub the rust off with a soft brush.
Apply a tiny amount of vegetable oil to the rim. Wipe off the excess. That protects the exposed iron.
Storage Rules That Matter
How you store your Dutch oven matters more than most people think.
Storing Raw Cast Iron
Keep it completely dry. Store it in a dry cabinet, not under the sink. Humidity kills seasoning.
Here’s the trick: place a paper towel inside the pot before putting the lid on. The paper towel absorbs moisture. It also prevents the lid from rubbing against the seasoning.
Change the paper towel every few weeks.
Never store food inside a cast iron Dutch oven. Acids in leftovers will eat through the seasoning. Always transfer leftovers to glass or plastic containers.
Storing Enameled Cast Iron
Same paper towel trick applies. It prevents the lid from chipping the enamel rim during storage.
Store enameled pots with the lid slightly ajar. Put a folded paper towel between the lid and the pot. This allows airflow and prevents musty smells.
Never stack other pots inside your Dutch oven for storage. Stacking causes scratches and chips. If you must stack, place a soft cloth between each piece.
Common Mistakes That Ruin Dutch Ovens
I’ve seen people destroy perfectly good Dutch ovens in one afternoon. Don’t be that person.
Mistake 1: High Heat on Empty Pot
Cast iron holds heat incredibly well. That’s its superpower. But heating an empty Dutch oven on high can crack the enamel or warp the metal.
Always put oil or liquid in the pot before heating.
For enameled pots, medium heat is the max. Even that feels extreme. Cast iron retains heat so well that you can cook everything on medium or medium-low.
Cranking it to high just risks damage.
Mistake 2: Thermal Shock
Pouring cold water into a hot Dutch oven is a recipe for disaster. The sudden temperature change can crack enamel or warp raw iron. Let the pot cool down naturally before cleaning.
If you need to speed things up, let it cool on the stove for fifteen minutes. Then run warm water, not cold, into the pot. Gradual temperature changes are safe.
Sudden ones are not.
Mistake 3: Using Metal Utensils on Enamel
Metal utensils scratch enamel. Scratches weaken the coating. Over time, those scratches turn into chips.
Use wooden, silicone, or nylon utensils on enameled surfaces.
Raw cast iron can handle metal. That’s its advantage. But even then, scraping with a metal spatula can rough up the seasoning.
Use metal sparingly on raw iron.
Mistake 4: Soaking Overnight
Soaking a Dutch oven overnight to loosen stuck food seems logical. It’s actually damaging. Prolonged soaking waterlogs the seasoning on raw iron.
It can seep under enamel edges and cause lifting.
Limit soaking to thirty minutes. If food is still stuck after that, use the baking soda boil method instead.
Mistake 5: Dishwasher Cycles
Dishwashers are too harsh. The detergent is alkaline. The high heat cycles cycle through extreme temperatures.
Enamel dulls. Raw iron rusts. The warranty on most Dutch ovens explicitly voids dishwasher use.
Hand wash. It takes two minutes. It’s worth it.
When to Replace Your Dutch Oven
No pot lasts forever. Here’s when to call it quits.
Raw Cast Iron
Raw cast iron is nearly immortal. You can revive rusted, neglected pots with steel wool and reseasoning. Cracks are the only real death sentence.
If your raw cast iron cracks, replace it. Cracks mean the metal structure is compromised.
Warping also ends a pot’s cooking life. A warped bottom means uneven heat. Put the pot on a flat surface.
If it rocks, it’s warped. Time for a new one.
Enameled Cast Iron
Chipped enamel is the big red flag. If you see chipping on the cooking surface, stop using it. Glass shards in food are dangerous.
Some manufacturers warranty enamel against chipping. Le Creuset offers a limited lifetime warranty. Staub has a similar policy.
Check your warranty before throwing out a chipped pot.
Faded or crazed enamel is cosmetic. Crazing looks like a spiderweb of tiny cracks in the enamel. It’s not dangerous unless food gets trapped in the cracks.
You can still cook with crazed enamel if you clean thoroughly.
Seasonal Maintenance Tips
Your Dutch oven needs seasonal attention just like your grill or garden tools.
Spring and Fall
Check your pots for rust or damage. This is a good time to reseason raw cast iron. Clean and oil the rims of enameled pots.
Tighten loose handles if your pot has them. Some Lodge models have handles that loosen over time.
After Heavy Use
Did you just cook a week of stews and braises? Give your pot a deep clean. For raw iron, do a full reseason.
For enamel, do a baking soda paste clean to remove stains. Let the pot dry completely before storing.
Before Long Storage
Going months without using your Dutch oven? Give it extra protection. Apply a generous oil coating to raw iron.
Wrap enameled pots in a soft towel before storing. Keep them in a climate-controlled space. Basements and garages are too humid.
Final Thoughts on Dutch Oven Care
I’ve been cooking with the same Dutch oven for eleven years. It’s been through house fires, cross-country moves, and weekly use. It still cooks like new.
That’s because I take care of it the right way.
The rules are simple. Clean gently. Dry completely.
Store properly. Season raw iron. Protect enamel.
Avoid shocking it with temperature changes.
Your Dutch oven is a tool that can last generations if you treat it well. My grandmother’s cast iron pot is still in the family. It’s eighty years old.
It cooks better than anything I’ve ever bought new. That’s not nostalgia. That’s the result of proper care passed down through decades.
Invest fifteen minutes in understanding how to care for your Dutch oven. You’ll get back decades of perfect braises, crusty breads, and Sunday roasts. That’s a trade worth making every single time.