Image source: Pexels / Castorly Stock (Pexels License)
Your microwave’s interior light has finally given up. You open the door, place your coffee inside, and instead of that bright, welcoming glow, you’re met with darkness. Annoying, right?
Don’t rush out to buy a new appliance just yet. I’ve replaced countless microwave bulbs over the years, and I can tell you this is a completely manageable DIY task for most people. You’ll save money, learn something about your appliance, and have that microwave working perfectly again within an hour.
This guide covers everything you need to know about how to change a light bulb in a microwave. We’ll go through the tools, the safety steps, the bulb types, and the actual replacement process. Let’s get that light back on.
Safety First: Unplug Your Microwave
Image source: Pexels / Ksenia Chernaya (Pexels License)
Before we touch anything inside that microwave, we need to talk about safety. This isn’t a suggestion, it’s a hard requirement.
Why You Must Unplug the Unit
A microwave oven contains a capacitor that stores a lethal electrical charge even after the unit is unplugged. This isn’t a scare tactic. The high-voltage capacitor inside a microwave can hold 2,000 to 5,000 volts for days, sometimes weeks, after disconnection.
Here’s what you need to know:
- Unplug the microwave from the wall outlet first
- Wait at least 30 minutes before opening the casing
- Never touch the capacitor terminals with bare hands or metal tools
- Use insulated screwdrivers if you need to work near the capacitor
The light bulb assembly is usually located near the capacitor and high-voltage components. That’s why patience matters. Give that charge time to dissipate.
What About the Fuse?
Some microwaves have a fuse near the power cord entry point. If your microwave blew a fuse, the light might also stop working. We’ll cover troubleshooting later, but for now, just know that a dead light sometimes means something else went wrong.
Quick Safety Checklist
- ✔️ Unplug the microwave completely
- ✔️ Wait 30+ minutes before starting
- ✔️ Work on a dry, clean surface
- ✔️ Wear safety glasses
- ✔️ Keep metal tools away from the capacitor
- ✔️ Don’t turn on the microwave until fully reassembled
The U.S. Consumer Product Safety Commission has documented cases of serious injury from microwave repair attempts. I’m not linking that to scare you, I’m sharing it so you take this seriously.
If you feel uncomfortable at any point, stop and call a professional.
Identifying the Right Replacement Bulb
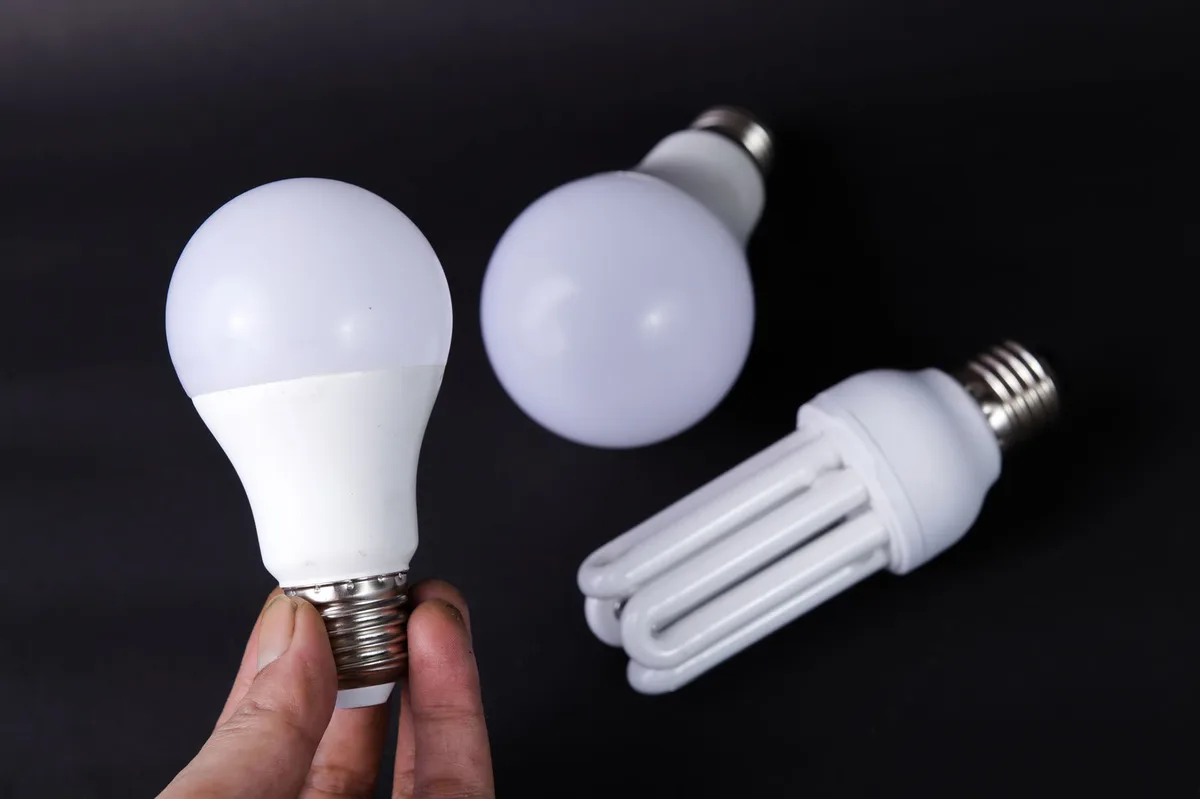
Image source: Pexels / Riki Risnandar (Pexels License)
You can’t just grab any bulb from your kitchen drawer. Microwave bulbs are specialty items designed to withstand heat and vibration. Using the wrong one can cause melting, sparking, or even a fire hazard.
Common Microwave Bulb Types
Most microwaves use one of these three types:
Incandescent Bulbs (Most Common)
These are small, T-type bulbs rated at 20 to 40 watts. They look like miniature appliance bulbs. You’ll typically find them in older and mid-range microwave models.
Halogen Bulbs
Newer microwaves often use small halogen bulbs. They’re brighter and more energy-efficient than incandescent options. These usually run at 20 to 30 watts.
LED Bulbs
Some modern microwaves now ship with LED lighting. These last much longer, but they’re often part of a sealed assembly rather than a simple bulb replacement.
How to Find the Right Bulb for Your Microwave
Your microwave isn’t going to shout out its bulb type, but there are reliable ways to find out:
-
Check the manual, The owner’s manual will list the exact bulb size and wattage. This is your best first stop.
-
Find the model number, Look on the back or inside the door frame. It’ll be a series of letters and numbers. Write it down.
-
Search “your brand + model number + light bulb”, This will pull up exact matches. Look for OEM (Original Equipment Manufacturer) parts rather than generic knockoffs.
-
Take out the old bulb, Once you remove the old bulb, you’ll see the wattage printed right on it. Bring that information to your local hardware store or online retailer.
A common size is the T8 or E12 base bulb, these are small screw-in bulbs about the size of your thumb. But I’ve also seen microwaves that use bayonet-style bases and plug-in connectors. Don’t assume anything.
Where to Buy Microwave Bulbs
- Local appliance parts stores, These are the best places for accurate advice
- Big-box hardware stores, Check the appliance section
- Online appliance parts retailers, Great selection, but make sure your return policy covers mistakes
You’re looking at a cost of $5 to $15 for the bulb itself. That’s a lot cheaper than a new microwave.
How to Change a Light Bulb in a Microwave: The Step-by-Step Process
Alright, let’s get to the actual work. I’m breaking this down into straightforward steps. Each microwave is slightly different, so I’ll give you the general method plus variations you might encounter.
Tools You’ll Need
- Flathead screwdriver
- Phillips head screwdriver
- Gloves (optional, but recommends for grip)
- Safety glasses
- Work light or flashlight
That’s it. Nothing exotic.
Step 1: Access the Interior Light Assembly
Most microwaves have their interior light bulb accessible from the inside, behind a cover plate. Look at the ceiling of the cooking cavity. You’ll probably see a small rectangular or circular panel with screws.
Getting to the bulb:
- Remove the screws holding that panel in place
- Keep track of which screw goes where
- Gently lower the panel, it might be a glass cover or a metal plate
For microwaves with the bulb on the side:
Some models place the light behind a vent grid. Look on the left or right interior wall. There’ll be a similar panel with screws.
For end-user serviceable models:
A few brands like LG or Samsung design their microwaves so you can access the bulb from the front without removing the outer casing. They’ll have a screw-type plug under the cooking cavity’s top panel. If you have one of these, you’re in luck, it’s a five-minute job.
Step 2: Remove the Old Bulb
Once you have visual access to the bulb, you’ll see how it fits.
Screw-in bulbs: Gently twist counterclockwise until it releases. Be careful, it might be hot if you used the microwave recently.
Push-in or bayonet bulbs: These pull straight out or require a quarter-turn counterclockwise.
Hard-wired assemblies: Some halogen bulbs connect with wire leads. You’ll need to unclip the connector or unscrew the terminal screws. Take a photo before removing wires so you know exactly how to reconnect everything.
Step 3: Handle the New Bulb Properly
Here’s something most people don’t know, never touch a halogen bulb with your bare fingers. The natural oils from your skin create hot spots on the glass. When you turn the microwave on, those hot spots can cause the bulb to fail quickly, sometimes even shatter.
The right way:
- Wear clean gloves or use a paper towel to handle the new bulb
- If you accidentally touch the glass, wipe it down with rubbing alcohol
Step 4: Install the New Bulb
- Screw the new bulb in clockwise until snug, don’t over-tighten
- For push-in bulbs, align the guide pins and push firmly until seated
- For wired assemblies, reattach the connector or tighten the terminals
Make sure the bulb is seated firmly. A loose bulb can flicker or arc.
Step 5: Reassemble Everything
- Replace the cover panel
- Reinstall the screws
- Make sure nothing is pinched or loose
Double-check that all screws are back in place. A loose interior panel can touch the magnetron or interfere with the stirrer blade.
Step 6: Test the Light
Plug the microwave back in. Open the door, the light should come on immediately. Close the door, run the microwave for a few seconds with an empty cup of water inside, and verify the light stays off during cooking (that’s normal, most microwaves only run the light when the door is open).
If the light doesn’t work, check your bulb seating first. Then you might have a bigger issue, which we’ll cover next.
Microwave Interior Light Bulb Replacement: Manufacturer-Specific Guide
Different brands have different designs. Here’s a quick rundown of what you might encounter with popular manufacturers.
LG Microwave Light Bulb Replacement
LG microwaves often have the light bulb located behind a screw-on cap in the top of the cooking cavity. Many newer LG models use a cooktop light bulb assembly that you can replace without removing the outer casing.
Samsung Microwave Light Bulb Replacement
Samsung tends to place the bulb on the right side of the cooking cavity, hidden behind a metal shield. You’ll need to remove the shield screws, then access the bulb. Some Samsung models use a standard E12 candelabra bulb.
Whirlpool and Maytag Microwave Light Bulb Replacement
These brands commonly use a 125-volt, 20-watt appliance bulb. The assembly is under the bottom panel inside the cavity. You’ll need to remove any turntable pieces first, then unscrew the bottom plate.
Frigidaire Microwave Light Bulb Replacement
Frigidaire often places the bulb in the top-center of the cavity, behind a glass cover. This is one of the simplest designs, a few screws and you’re there.
Standard Microwave Bulb Size Reference Table
| Brand | Common Bulb Type | Base | Wattage |
|---|---|---|---|
| LG | T8 Incandescent | E12 | 20W |
| Samsung | Halogen G9 | G9 Pin | 20W |
| Whirlpool | Appliance Bulb | E12 | 20W |
| Frigidaire | T8 Incandescent | E12 | 30W |
| Panasonic | Halogen | E12 | 25W |
| GE | Appliance Bulb | E12 | 40W |
Note: Always check your specific model number. This table gives you a starting point, not the final answer.
FAQ
Is it safe to replace a microwave light bulb yourself?
Yes, as long as you unplug the microwave and wait for the capacitor to discharge. Many microwaves have user-accessible light bulbs designed for DIY replacement. If you’re unsure about your model, check the manual or call the manufacturer’s support line.
Why is my microwave light bulb not working but the microwave works fine?
This usually means the bulb has burned out. Sometimes it’s a loose connection or a faulty door switch. Start with the bulb replacement, that fixes the problem in about 90 percent of cases.
Can I use any bulb in my microwave?
No. You need a bulb rated for microwave use. Standard household bulbs don’t handle heat and vibration the same way and can be a fire hazard.
How much does a microwave light bulb cost?
Most microwave bulbs cost between $5 and $15. Some LED assemblies run higher, up to $30, but they last significantly longer.
What if the new bulb burns out in a week?
If your replacement bulb fails quickly, something else might be wrong. Loose wiring, a failing door switch, or a loose socket can cause premature burnout. But if it’s just the light, most likely you bought a cheap, low-quality bulb.
Can I change the microwave light bulb without removing the outer casing?
Yes, for most models. The majority of microwaves provide interior access to the light bulb. Some require you to open the chassis, but that’s becoming less common.
Again, check your manual.
How long should a microwave light bulb last?
A typical microwave bulb lasts 1,000 to 2,000 hours of use. That translates to roughly one to three years of normal kitchen usage.
When Professional Help Makes Sense
You’re handy. You’ve watched the tutorial videos. You’re confident.
That’s great.
But there are situations where you should close the casing and call a repair technician.
Call a professional if:
- The capacitor hasn’t discharged, if you’re getting a shock, stop immediately
- You see burn marks or melted wiring, this indicates electrical issues, not just a bulb problem
- The microwave trips the breaker when you plug it in
- You’re not comfortable working around high-voltage components
The average cost to have a professional replace a microwave bulb runs $75 to $150 for service calls plus parts. That’s more than DIY, but it’s still cheaper than replacing a $300 appliance.
Conclusion
Changing a light bulb in a microwave is one of those simple repairs that seems daunting until you actually do it. Just follow the steps we’ve covered, use the right bulb, handle it correctly, and you’ll have that light working again before your coffee finishes brewing.
To recap the essential points:
- Unplug and wait, safety comes first, always
- Find the right bulb, check the manual or model number
- Access the bulb, usually behind a panel in the cooking cavity
- Handle halogen bulbs by the base only
- Reassemble and test
That microwave has years of life left in it. A burned-out bulb doesn’t have to be the end. With about twenty minutes of your time and a $10 bulb, you’re back in business.
If you’ve been skipping that dark microwave all week, now you know exactly what to do. Grab your screwdriver, pick up the right bulb, and take care of it this weekend. You’ll wonder why you waited so long.