We’ve all been there. It’s 5:30 PM, you’re starving, and the chicken breasts are still solid as a brick in the freezer. You could wait hours for the fridge method.
You could risk the countertop (please don’t). Or you could fire up the microwave and have dinner on the table in under an hour.
Microwave defrosting gets a bad rap. People swear it ruins meat, cooks the edges, or turns everything rubbery. But here’s the truth: when you do it right, microwave defrosting is fast, safe, and genuinely effective.
The problem isn’t the microwave, it’s that almost nobody actually knows how to use the defrost function properly.
I’m going to fix that. This guide walks you through the exact steps for defrosting meat, poultry, seafood, and even bread in the microwave. You’ll learn why the defrost setting exists, how to avoid the dreaded “partially cooked” disaster, and the mistakes that turn good food into a science experiment.
Let’s dig in.
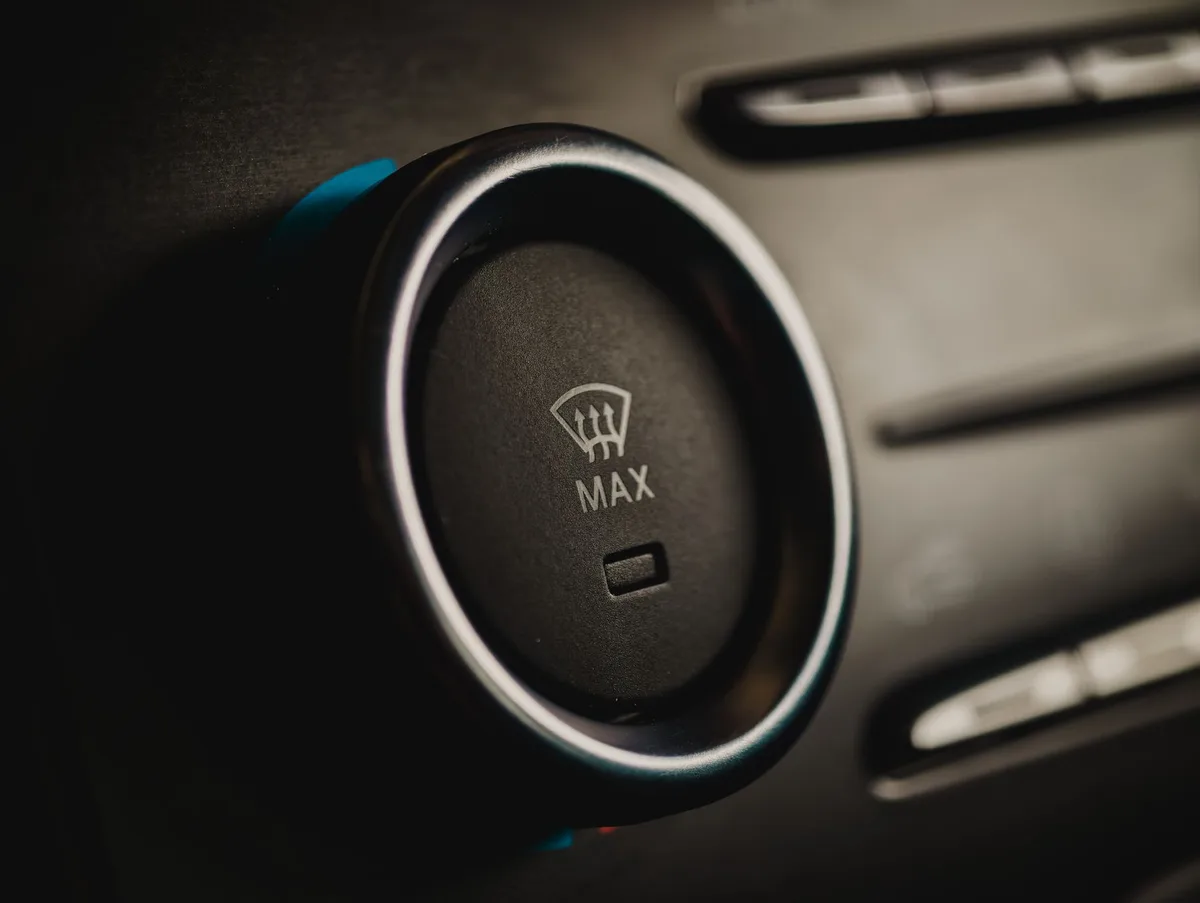
Image source: Pexels / Kamil Čičila (Pexels License)
Why Microwave Defrosting Is So Misunderstood
Here’s the thing about microwave defrosting: it’s not about heating the food. It’s about managing energy. A microwave works by exciting water molecules, which creates heat through friction.
Frozen food is packed with ice crystals, and ice absorbs microwave energy differently than liquid water or thawed food.
When you hit “defrost” on a microwave, the magnetron (the part that generates microwaves) cycles on and off. It pulses power rather than pushing full wattage the entire time. That pause gives heat time to distribute from the thawed outer edges into the frozen interior.
If you skipped defrost and just used full power, you’d boil the outside while the middle stays rock hard.
The USDA has clear guidance here: microwave defrosting is one of only three safe methods for thawing frozen food, alongside the refrigerator and cold water. The moment you thaw something in the microwave, it must be cooked immediately afterward because parts of the food may reach temperatures where bacteria start multiplying fast. That’s not a scare tactic, it’s just how the physics work.
You can check the USDA’s official food safety guidelines for the full breakdown.
So microwave defrosting isn’t bad. It’s just misunderstood. The technique matters far more than the appliance.
How Microwave Defrosting Works (The Physics You Need to Know)
Let me explain this simply, because once you understand the mechanism, you’ll never blindly press buttons again.
Image source: Pexels / Lisa Fotios (Pexels License)
Frozen food is a mixed bag. The surface starts thawing the moment microwaves hit it. As the outer layer turns to liquid, that water absorbs microwave energy much faster than the still-frozen interior.
This creates a runaway effect: the liquid edges get hot, the frozen center stays cold, and you end up with partially cooked meat and a raw middle.
Defrost mode solves this by running at 30% to 40% power in short bursts. Between bursts, heat conducts inward. The target is a “soft” state: ice crystals are melting, the food is pliable, but it hasn’t started cooking anywhere.
Think of it like a sponge that you can bend but that still has icy chunks inside.
That’s the sweet spot. You want meat that’s mostly thawed, slightly cold, and ready for the pan or oven. Anything more and you’re wasting energy and compromising texture.
Understanding Defrost Power Levels and Presets
Walk up to any microwave on the market and you’ll see a button labeled “Defrost”, but not all defrost functions are created equal.
Image source: Pexels / Juan Pablo Daniel (Pexels License)
Time-Based Defrost
This one asks you to enter minutes and weight, then runs at a low power level continuously. It’s simple but imprecise because every microwave’s wattage differs. A 700W unit and a 1200W unit set to the same time will produce totally different results.
Weight-Based Defrost
You punch in the food’s weight and category (meat, poultry, fish). The microwave’s computer calculates the time and power steps automatically. This is the most common preset on modern units, and it’s generally more accurate than guessing minutes.
Manual Power-Level Defrost
If you really want control, skip the presets. Set your microwave to 30% power and add time in short intervals, checking frequently. This method is the most reliable because it accounts for food shape, density, and how your specific microwave behaves.
Sensor Defrost
High-end microwaves use humidity sensors to detect when the food is releasing steam, which signals that defrosting is almost complete. These are convenient but can be fooled by plastic wrap or unevenly shaped items.
No matter which system your microwave uses, the principle stays the same: low power, short cycles, frequent checks.
Step-by-Step Guide: How to Defrost Meat in the Microwave
Let’s get practical. Here’s the exact process I use every single time.
-
Remove all packaging. This is non-negotiable. Styrofoam trays, plastic wrap, and those absorbent pads will melt or warp. Place the food on a microwave-safe plate. Glass or ceramic works best, avoid thin plastic containers that can buckle.
-
Weigh the food (if possible). If your microwave has a weight-based setting, you need an accurate number. Eyeballing it leads to undercooked centers or overcooked edges.
-
Select the right power level. If you’re using a preset, choose the category that matches your food. If you’re going manual, set power to 30%. This is critical. Fifty percent is usually too high for thick cuts.
-
Set an initial time. A good rule of thumb is about 3 to 5 minutes per pound at 30% power. Start low. You can always add more time, but you can’t undo cooked meat.
-
Flip and rotate halfway through. Microwaves have hot spots. Your food doesn’t. Open the door, flip the meat over, and rotate the plate 90 or 180 degrees. This ensures even energy distribution.
-
Break up separated pieces. If you’re defrosting ground meat or chicken strips, use a fork to pry apart the thawed outer layers. Expose more surface area to the microwaves so the interior catches up.
-
Let it rest. Here’s the step everyone skips: after the cycle ends, leave the food sitting on the counter for 5 to 10 minutes. Residual heat continues conducting inward. The food will finish thawing without any additional energy.
-
Check for cold spots. Press gently on the thickest part. It should feel soft and cold, not icy and rigid. If there are frozen pockets, give it another 1 to 2 minutes at 30% power.
-
Cook immediately. Once it’s thawed, get it in the pan, oven, or grill right away. Do not put it back in the fridge for later. Remember what I said about bacteria.
That’s the whole process. It takes 10 to 15 minutes for most cuts, which is dramatically faster than the refrigerator method.
How to Defrost Chicken, Turkey, and Poultry Safely
Poultry demands more respect than beef or pork because of the higher risk of salmonella and campylobacter. The good news? The defrosting technique is identical to the one above.
The bad news? Poultry is irregularly shaped, which makes even thawing harder.
Chicken Breasts
Breasts are thick in the middle and thin at the edges. The thin ends will thaw (and potentially cook) long before the center softens. My trick: arrange them in a ring around the edge of a circular plate.
Leave the center empty. Microwaves tend to concentrate toward the middle of the turntable, so this arrangement balances the energy.
Whole Chicken or Turkey
Here’s the honest truth: a whole bird is too large for effective microwave defrosting unless it’s under about 4 pounds. The magnetic field simply can’t penetrate deep enough. For bigger birds, use the refrigerator or cold-water method.
If you’re determined to use the microwave, set power to 30% and plan on long, repeated cycles with extended rest periods in between. Expect 30 minutes or more for a small chicken.
Ground Poultry
Ground meat defrosts faster than whole cuts because it has more surface area. But that also means it’s more prone to cooking on the edges. Break it apart with a fork every few minutes.
As soon as it’s pliable, pull it off the plate and get it cooking.
Never partially defrost poultry and then refreeze it. The temperature fluctuations turn the meat into a bacterial playground. If you defrost it, cook it.
No exceptions.
Defrosting Seafood and Fish the Right Way
Seafood is delicate. Delicate things don’t handle microwave radiation well. But with the right approach, you can defrost salmon fillets, shrimp, and even scallops without destroying their texture.
Fillets
Place fillets on a microwave-safe plate with the thinner tail ends tucked toward the center. Run at 30% power for 1 to 2 minutes per fillet. Check frequently, the goal is just to loosen the ice, not fully thaw the fish.
Lean fish like cod and tilapia thaw noticeably faster than fatty fish like salmon.
Shrimp
This is the easiest seafood to defrost in the microwave. Spread shrimp in a single layer on a plate. Run at 30% power for 2 to 3 minutes, stirring every 30 seconds.
The moment they’re flexible and no longer icy, they’re done.
Scallops
Same approach as shrimp, but reduce the time slightly. Scallops have low water content, so they can go from frozen to rubbery in seconds if you’re not paying attention.
A quick note: never defrost fish at full power. The proteins in fish denature at lower temperatures than meat. You’ll end up with something that tastes and feels like overcooked cardboard, even though it’s only been in the microwave for a minute.
Can You Defrost Fruit, Bread, and Other Items?
Yes, and these are actually where microwave defrosting shines.
Fruit and Berries
Spread frozen berries in a single layer. Run at 30% power for 30-second intervals. You don’t want them fully thawed, just loose enough to separate for baking or smoothies.
Overdoing it turns them to mush.
Bread and Baked Goods
Wait, I hear you. “Microwaving bread is a disaster.” That’s true at full power. At 30%, it’s a different story.
Wrap bread in a paper towel, run at 30% for 30 seconds, then flip and give it another 20. The paper towel absorbs excess moisture, so you get soft, fresh-tasting bread instead of a rubbery brick.
Butter
If you forgot to take butter out of the fridge, microwave it at 10% power in 10-second bursts. Yes, 10%. It takes about a minute, but you’ll get perfectly softened butter without melted splotches.
Common Microwave Defrosting Mistakes (And How to Avoid Them)
I’ve watched people make these errors countless times. Here’s what to stop doing:
Using Full Power
This is the number one mistake. Full power starts cooking the outside immediately. The defrost button exists for a reason.
Use it.
Not Flipping the Food
Microwaves don’t heat evenly. If you don’t rotate and flip, you’ll have a hot spot on one side and ice on the other. It takes two seconds.
Just do it.
Defrosting Too Much at Once
Bigger loads take longer to thaw, which means more time for bacteria to multiply on the thawed edges. Keep portions small. One pound at a time is ideal for microwave defrosting.
Defrosting in the Original Plastic Packaging
Polystyrene trays and thin plastic films aren’t microwave-safe. They warp, melt, and can leach chemicals. Always transfer to a glass or ceramic dish.
Ignoring Hot Spots
If you see whitish, cooked-looking patches on meat, that’s the microwave doing damage. Stop, rotate, and reduce power. Those spots are already partially cooked and will cook further in the pan.
Refreezing After Microwave Defrosting
This is a food-safety red flag. The USDA recommends that food thawed in the microwave be cooked immediately. Refreezing it just increases the bacterial load every time the temperature rises.
How Long Does Microwave Defrosting Take?
This depends entirely on wattage, food type, and weight. As a general guide:
Food Type | Weight | Approximate Time at 30% Power
— | — | —
Ground meat | 1 lb | 6, 8 minutes
Chicken breasts | 1 lb | 8, 10 minutes
Steak | 1 lb | 6, 8 minutes
Fish fillets | 1 lb | 4, 6 minutes
Shrimp | 1 lb | 3, 5 minutes
Bread loaf | 16 oz | 60, 90 seconds
These are guidelines, not gospel. Every microwave runs a little differently. Check progress often.
The time you spend monitoring is far less than the 12+ hours the refrigerator method requires.
One Final Method Comparison
If you’re weighing your options, here’s how microwave defrosting stacks up:
- Refrigerator method: Safest, best texture, but takes 8, 24 hours. Requires planning ahead.
- Cold water method: Faster than the fridge (1, 3 hours), but requires constant water changes and bagged food.
- Microwave method: Fastest, but requires immediate cooking and careful monitoring.
There’s no universal “best” method. There’s only the best method for the time you have.
Conclusion
Microwave defrosting isn’t a compromise. It’s a legitimate tool that deserves a spot in your cooking arsenal. The secret is low power, patience, and constant attention.
Skip the presets if you have to, check your food every couple of minutes, and always cook it right after.
Next time you stare at a frozen chicken breast with 20 minutes to spare, you’ll know exactly what to do. Low power. Short intervals.
Flip it. Rest it. Cook it.
That’s the whole game.
1 thought on “How to Defrost on Microwave”