You’ve just dropped serious money on a bag of specialty espresso beans. The aroma is incredible. The roast date is fresh.
You get home, open the bag, and… now what?
How you store those beans over the next few weeks will make or break your espresso. Get it right, and you’ll be pulling shots with crema so thick it looks like honey. Get it wrong, and you’ll be drinking sour, flat, lifeless coffee that tastes more like burnt cardboard than the expensive beans you paid for.
I’ve been down this road. I’ve ruined plenty of bags through trial and error. Let me save you the trouble.
Here’s everything you need to know about storing espresso beans properly.
The Short Answer: What Actually Works
Store your espresso beans in an airtight, opaque container at room temperature, away from sunlight, heat, and moisture. Keep them whole and only grind what you need right before pulling a shot. Use them within 2, 4 weeks of the roast date for peak flavour.
That’s the whole game. Simple to say, harder to do perfectly.
Why Espresso Beans Go Stale So Fast
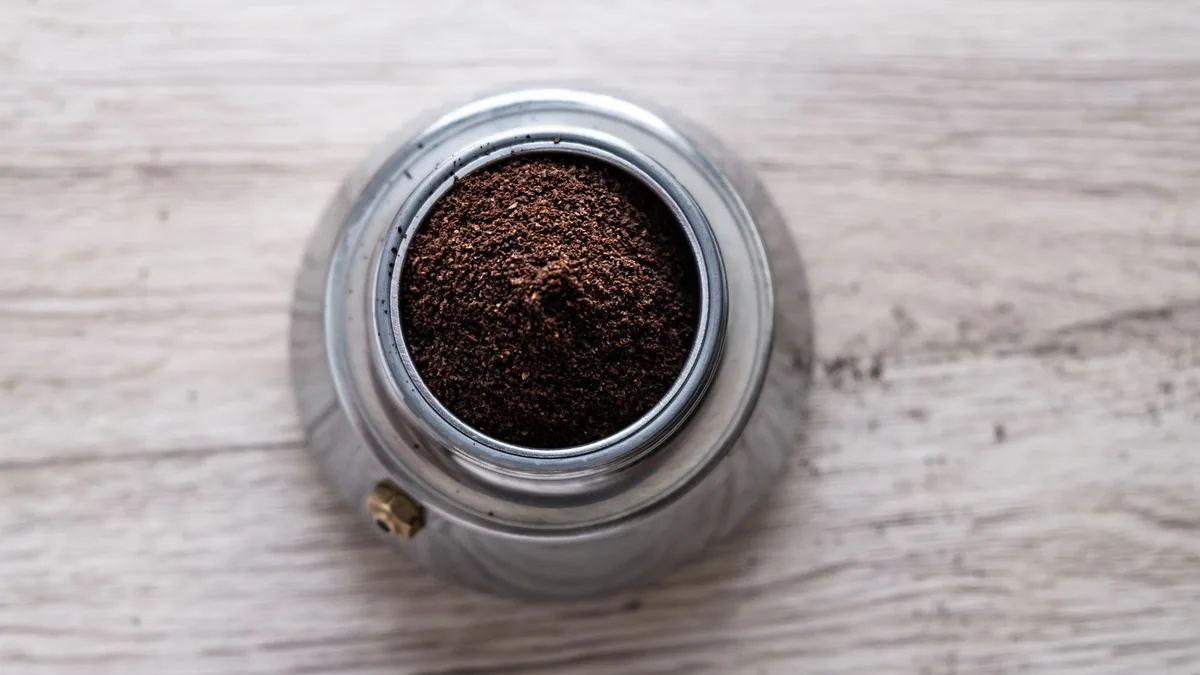
Image source: Pexels / István Szitás (Pexels License)
Coffee beans are little flavour bombs, but they’re also incredibly fragile. Once those beans leave the roaster, they start losing quality immediately. Four enemies accelerate the process:
Oxygen is the biggest culprit. It oxidizes the oils in the beans, turning bright, complex flavours flat and rancid. Think of an avocado browning after you cut it open, similar concept, slower timeline.
Light breaks down the chemical compounds that give coffee its character. UV rays are especially destructive. That’s why you never see good roasters selling beans in clear glass jars.
Heat speeds up every chemical reaction, including the ones that destroy flavour. The warmer your beans get, the faster they degrade.
Moisture is a double threat. It encourages the beans to absorb odours from their surroundings, and it can trigger the growth of mould. Not good.
Keep those four enemies at bay, and you’ve won 90% of the storage battle.
The #1 Mistake: Using the Fridge
I need to be blunt here. Do not put your espresso beans in the refrigerator. Ever.
Your fridge is full of moisture, fluctuating temperatures, and the smells of last week’s leftover curry. Coffee beans are like sponges, they’ll soak up all of it. The moisture condenses on the beans every time you open the fridge door, and the temperature swings cause the beans to sweat.
The result? Lifeless, stale-tasting coffee that smells vaguely of whatever else is in your fridge.
The freezer is a different story, and I’ll get to that in a moment. But the refrigerator is a hard no.
Why Whole Beans Matter (Not Ground)
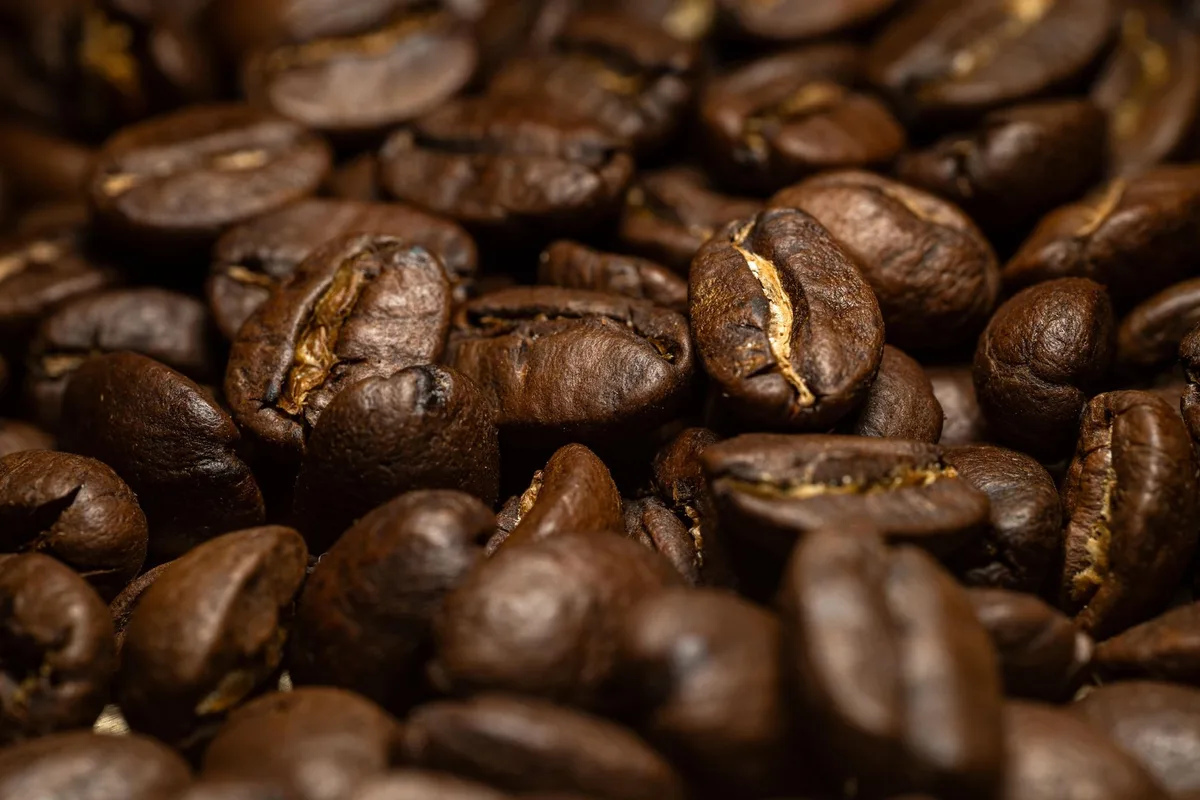
Image source: Pexels / Ignacio Vazquez (Pexels License)
Here’s a simple rule: grinding coffee is the starting gun for staleness.
When you grind espresso beans, you shatter thousands of cells that were protecting the oils and aromatic compounds inside. That massive new surface area exposes everything to oxygen instantly. Ground coffee starts losing flavour within minutes.
Whole beans stay fresh for days.
This is why I always tell people to buy whole beans and invest in a decent grinder. You don’t need a $2,000 espresso grinder. But you do need something that grinds consistently and on demand.
That said, you’ll still come across situations where you need ground coffee, maybe for a French press at the office or a friend’s house. If you must buy pre-ground, buy it in smaller quantities and use it fast. The clock is ticking from the moment that bag is opened.
Choosing the Right Storage Container
Not all containers are created equal. Your goal is simple: keep oxygen, light, heat, and moisture out. Here’s what to look for:
Airtight seals are non-negotiable. The lid should have a silicone gasket or rubber seal that creates a vacuum-tight fit. You should feel resistance when you close it.
Opaque materials beat transparent ones. Ceramic, stainless steel, and dark-coloured glass all work well. If you love seeing your beans, keep them in the original bag or a clear container inside a cupboard, just know that visible light is doing damage every time you look.
Size matters. Buy a container that fits roughly the amount of coffee you’ll use in a week or two. Empty space in the container means more air, which means faster staleness. You can also push the container against the counter after sealing it (gently!) to remove excess air.
Here’s a quick comparison of common options:
| Container Type | Pros | Cons | Verdict |
|---|---|---|---|
| Glass with airtight lid | Inert, easy to clean, looks good | Lets light through | Good — keep it shaded |
| Ceramic with gasket | Opaque, heavy, blocks light | Can break, no viewing window | Excellent |
| Stainless steel | Opaque, durable, modern | Can retain odours | Excellent |
| Plastic (BPA-free) | Lightweight, cheap | Porous, can leak chemicals | Use only if nothing else |
| Original bag with one-way valve | Pre-purged, practical | Easy to tear, not resealable well | Fine for short-term |
The “One-Way Valve” Question
You’ll see most quality coffee bags come with a little round valve on the side. That’s a one-way degassing valve.
Here’s what it does: roasted coffee releases carbon dioxide for days after roasting. If the bag weren’t vented, it would balloon up and eventually burst. The valve lets CO₂ escape without letting oxygen in.
Now, should you keep your beans in that original bag?
For the first few days, absolutely. The valve is doing its job. But once you open the bag and push out the air, that one-way system becomes less effective because the bag’s resealable zipper isn’t perfectly airtight.
Find a balance: if you’re going through a bag within a week or two, the original bag is fine. If you want to stretch freshness longer, transfer the beans to an airtight container. Many coffee purists keep the beans in the bag and place the whole thing inside a larger storage canister.
That works great too.
Freezing for Long-Term Storage
Image source: Pexels / Steph Quernemoen (Pexels License)
So what if you’ve bought beans in bulk? Or you’ve found a limited-edition coffee you want to savour months from now?
Freezing can work, but only if you do it correctly. Here’s the right way:
Step 1: Portion the beans. Divide them into small, single-week portions. A glass jar with an airtight lid or a vacuum-sealed bag works best. Each portion should be just enough for seven-ish days of espresso.
Step 2: Seal them fully. Air is the enemy even in the freezer. Press out as much air as you can before sealing. If you have a vacuum sealer, use it.
If not, squeeze the bag flat and close it fast.
Step 3: Freeze quickly. The faster beans freeze, the less damage occurs from ice crystal formation. A chest freezer is ideal. A regular freezer’s door compartment, the one you open constantly, is the worst spot.
Step 4: Never thaw what you’re not using. Only take out the portion you need right now. This is critical. Thawing and refreezing causes condensation, which ruins the beans quickly.
Each portion should be frozen and thawed once, ever.
Step 5: Grind frozen. You can actually grind frozen beans directly, some baristas swear by it. The beans become slightly brittle, which can lead to more consistent grinding. The frozen state also slows the staleness clock during the grinding process.
Step 6: Let the ground coffee sit a few minutes. If you grind frozen, give the grounds a minute or two to come to room temperature before brewing. This helps with even extraction.
Freezing is a trade-off. The flavour won’t be exactly the same as fresh beans, something gets lost in the process. But it’s far better than letting beans go stale on a shelf for three months.
Use this method for backup supplies, not as a primary storage strategy.
How Long Do Espresso Beans Actually Last?
Let’s set realistic expectations:
| Storage Method | Peak Flavour Window | Drinkable Window |
|---|---|---|
| Whole beans, airtight container, cool dark place | 2–3 weeks after roast | Up to 4–6 weeks |
| Ground coffee, airtight container | 3–5 days | Up to 2 weeks |
| Frozen whole beans, properly vacuum-sealed | 1–2 months | 3–6 months |
| Shelf, exposed to air / light | 3–5 days | 1 week |
Roast date matters more than anything else. A bag of beans roasted three weeks ago will taste better than the same beans roasted two months ago, even if one has been carefully stored and the other hasn’t.
The clock starts at the roast date, not when you open the bag. That’s why so many espresso enthusiasts buy directly from local roasters or order beans that show the roast date clearly. Supermarket beans with a “best before” date but no roast date are a gamble.
Three Signs Your Beans Have Gone Bad
You don’t need special equipment to test whether beans have gone stale. Trust your senses.
The smell test. Fresh espresso beans smell rich, sweet, and complex. If they smell flat, dusty, or vaguely like cardboard, they’ve lost their magic. If they smell sour or rancid, the oils have oxidized badly.
Time to toss them.
The crunch test. Press a bean between your fingers. Fresh beans crack cleanly. Stale beans bend or crumble.
This is a rough test, but it works in a pinch.
The crema test. This is the ultimate judge. Pull a shot. If the crema is thin, pale, or disappears quickly, your beans are past their prime.
Fresh espresso produces a thick, golden-brown crema that lingers on top of the shot for over a minute. There’s no faking that.
Does the Roast Level Change Storage Needs?
Dark roasts and light roasts behave differently when it comes to storage.
Dark roasts are more porous. The roasting process expands the bean structure and burns off more of the cell matrix that protects oils. That means dark roasts go stale faster.
They also have more surface oils that can oxidize quickly. If you love espresso roasts that look slightly oily, use them within a week or two.
Light roasts are denser and less porous. They hold their structures longer, which means they retain freshness a bit better. But they also require a longer rest period after roasting.
Very fresh light roasts can taste grassy and underdeveloped. Give them 4, 7 days of rest before brewing.
Medium roasts sit in the sweet spot, the easiest to store, the most forgiving in terms of freshness.
Your storage game plan doesn’t change dramatically by roast level, you’re still chasing airtight, cool, dark, and dry. But know that oily dark roasts are sprinting toward staleness while light roasts are taking the scenic route.
Where to Store Beans at Home
Your kitchen counter might be the most convenient spot, but it’s rarely the best choice.
Find a place that stays consistently cool, below 70°F (21°C) is great, and doesn’t get sun exposure. That could be:
- A pantry shelf, away from the stove
- Inside a kitchen cabinet, away from the dishwasher
- A hallway closet, if your kitchen has too many heat sources
Avoid storing beans above the oven, next to the kettle, or anywhere near a window. And keep them away from strongly scented items. Spices, cleaning supplies, and even garlic can transfer their aromas through the air.
Storage Myths That Refuse to Die
Let me put a few popular myths to rest:
Myth: Freezing beans ruins them completely., Wrong. Freezing done properly is fine. Freezing badly (thawing, refreezing, storing in a bag with air) is what ruins beans.
Myth: You should always transfer beans immediately., Not necessarily. The original bag with a one-way valve is actually designed for degassing. Transferring too quickly can expose beans to oxygen unnecessarily.
Myth: Putting beans in the fridge makes them last longer., Absolutely false. The fridge accelerates staleness due to moisture and temperature fluctuation.
Myth: You can’t store beans in the freezer if you use them weekly., You can, but only in single-use portions. If you’re constantly opening the freezer bag, the condensation will kill the beans.
These myths persist because they sound plausible. Trust the science, not the folklore.
A Quick Word on Coffee Storage Containers with Vacuum Locks
You’ve probably seen those fancy vacuum-sealed containers with a pump built into the lid. They’re popular and they do work, up to a point.
The principle is solid: lower the air pressure inside the container, reduce oxygen, slow oxidation. The mechanism is easy to use, and they look great on a countertop.
However, these containers have a significant drawback. Every time you open them to grab beans, you break the vacuum and reintroduce fresh air. For home use, that’s fine, you’re opening the container a couple of times a day at most.
The key is to make sure the pump and gasket are durable. Cheap knockoffs leak after a few months and stop creating an effective seal. If you’re investing in a vacuum container, spend a little extra for a reputable brand.
The Best Storage Method (My Humble Opinion)
After years of trial and error, here’s what I recommend for most home espresso drinkers:
Keep the beans in their original bag with the one-way valve. Squeeze out as much air as you can after each use and zip it shut. Place that bag inside an opaque, airtight container, ceramic or stainless steel. Store it in a cool, dark cabinet.
That’s it. No fancy equipment needed. Just good habits.
If you want to go deeper down the rabbit hole, think about a vacuum-sealed canister or a dedicated coffee storage system. But honestly, the simple approach works for 95% of people.
FAQ: Quick Answers to Common Questions
Should I keep espresso beans in the bag they came in?
Yes, especially if the bag has a one-way valve. For long-term storage, place the bag inside an airtight container.
Is it okay to keep beans in a clear glass jar?
Only if it’s dark glass or stored in complete darkness. Clear glass lets in light, which degrades flavour.
How long do fresh espresso beans last in an airtight container?
Expect peak flavour for 2, 3 weeks after the roast date. You’ll still get drinkable espresso for another couple of weeks after that.
Can I freeze espresso beans to keep them longer?
Yes, but only in airtight, single-use portions. Never refreeze after thawing.
Do I need a special container for espresso beans?
No. A simple airtight, opaque container is all you need. The marketing hype around ultra-expensive containers is mostly just that, hype.
Final Storage Rules to Live By
Let’s wrap this up with the key points you’ll actually remember:
Buy fresh, roast-dated beans. Storage is just damage control, great beans stored well beat mediocre beans stored perfectly.
Keep them whole until you grind. Grinding starts the staleness clock, so only grind what you’re about to brew.
Store in an airtight, opaque container. Oxygen, light, heat, and moisture are your enemies.
Keep them at room temperature. Not in the fridge, not on a hot counter. Just a cool, dark spot.
Use them fast. Beans are meant to be enjoyed, not stored indefinitely. Buy what you’ll use in a few weeks, and you’ll never have to worry about elaborate preservation methods.
Your espresso will thank you, and so will your taste buds.