Let’s be honest. There’s nothing worse than brewing a cup of coffee that smells like dusty cardboard and tastes flat. You bought the expensive beans.
You ground them with care. Yet, by day four, the magic is gone. Why?
Because coffee is a sponge for time and air. It’s fragile. But you don’t need a science degree to keep it vibrant.
You just need to know how oxygen, light, and moisture wage war on your beans, and how to fight back.
I’ve tested every storage method, from vacuum-sealed vaults to the dreaded pantry bag clip. I’ve ruined expensive bags so you don’t have to. Here is the definitive, no-nonsense playbook on how to keep coffee fresh.
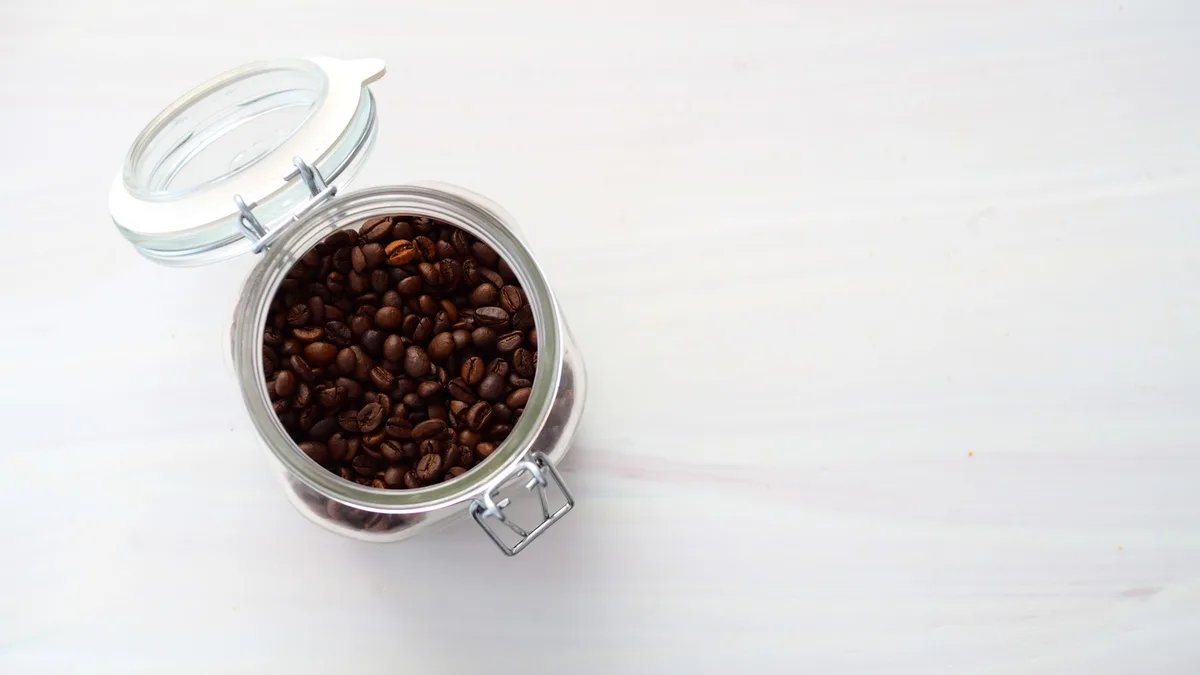
Image source: Pexels / Mateusz Feliksik (Pexels License)
Why Coffee Goes Stale in the First Place
We blame age. But age isn’t the real enemy. The true culprits are four specific attackers: oxygen, light, heat, and moisture.
The Oxygen Problem
Think of roasted coffee as a porous sponge. Those tiny pores hold the aromatic oils and gases that create flavor. When oxygen hits those oils, it triggers oxidation.
This process turns bright, complex flavors into dull, woody bitterness. It also causes the beans to release CO2, which pushes those precious aromatics right out into the air.
Light and Heat
Direct sunlight is a silent killer. It raises the bean temperature, accelerating chemical reactions. Heat forces the volatile oils to evaporate faster.
That’s why you never store beans on the counter next to the stove or in a sunny window.
Moisture
Water is the enemy of crisp flavor. Moisture makes the beans clump, breeds staleness, and can even invite mold. Humidity pulls the soluble flavor compounds out of the bean, leaving you with a weak, hollow cup.
The hard truth: whole beans peak within 7 to 14 days of roasting. Ground coffee is even worse, it loses meaningful flavor within 15 to 20 minutes of grinding. That clock starts ticking the second the roaster packs the bag.
The Golden Rule: The 4-Hour Window (Or Why You Should Grind Whole)
Let me tell you about the worst coffee I ever brewed. It was a $40 bag of Jamaican Blue Mountain. I pre-ground it at the shop and stored it in a fancy canister.
It tasted like lukewarm water with a grudge.
The lesson? Grinding destroys coffee.
When you grind beans, you multiply the surface area by thousands. You expose all the inner oils to oxygen at once. The flavor doesn’t just fade, it detonates.
How to Grind Correctly
You need a burr grinder. Not a blade grinder that chops beans into uneven powder. A burr grinder produces consistent particles, which means even extraction.
- Grind only what you need: Measure out 2 tablespoons per 6 ounces of water. Grind those beans right before brewing.
- Don’t grind in bulk: You’ll never maintain freshness. The coffee loses its bloom (the gas release that happens when hot water hits the grounds) and falls flat in the cup.
This single habit, buying whole beans and grinding at home, will improve your coffee more than any expensive machine you can buy.
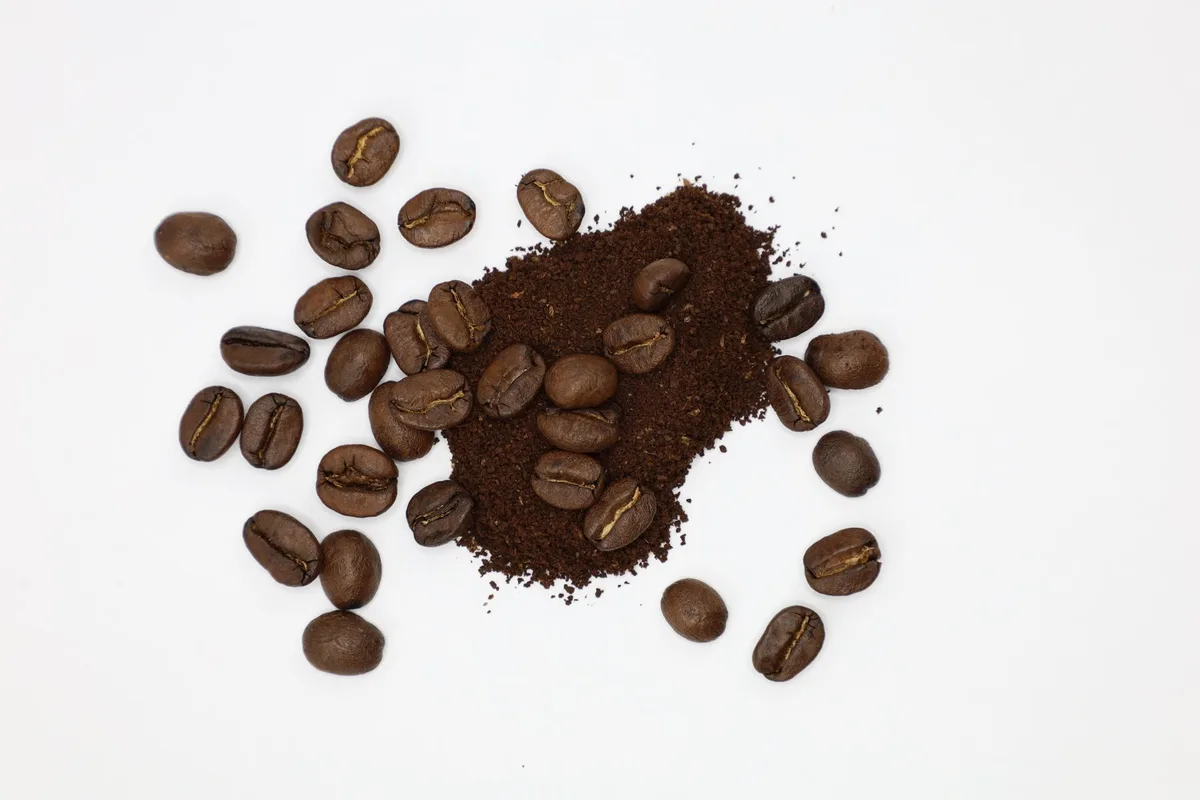
Image source: Pexels / Tony Wu (Pexels License)
Choose the Right Storage Container
Let’s talk hardware. What should you actually store those beautiful brown nuggets in?
The Problem with Glass Jars
I know the aesthetic is appealing. A beautiful mason jar on the counter looks great in photos. It’s also a stale-making machine.
Clear glass lets in light. Loose lids let in air. Every time you open the jar, you flood the beans with fresh oxygen.
The Best Options Ranked
1. The Vacuum Sealed Canister (Best Overall)
This is the gold standard. These containers have a one-way valve and a gasket that forms an airtight seal. You press a button to create a vacuum, which sucks the air out of the jar.
This slows oxidation dramatically.
- What to look for: A metal or opaque body, a silicone gasket, and a vacuum pump.
- Price point: Expect to pay between $25 and $50 for a quality one.
2. The Original Bag with a Valve (Second Best)
Those one-way degassing valves on coffee bags aren’t for decoration. They let CO2 escape without letting oxygen in. If you have a bag with a valve, fold the top tightly, tape it shut, or use a bag clip.
The key is to squeeze every bit of air out before sealing.
3. Ceramic Canisters
Ceramic works well if it has a tight-fitting, silicone-lined lid. The opaque body blocks light. Just make sure the lid is genuinely air-tight, not just “snap-on” cozy.
4. Stainless Steel Containers
These are durable and block all light. They pair well with a vacuum lid system. They’re also harder to break than glass, which is a win if you have clumsy countertops.
What to Avoid At All Costs
Do not use plastic containers that aren’t specifically designed for coffee. They absorb oils and odors, and they flake over time. You don’t want your coffee tasting like last week’s stir-fry.
Also, avoid storing coffee in the freezer (I’ll explain in a second).
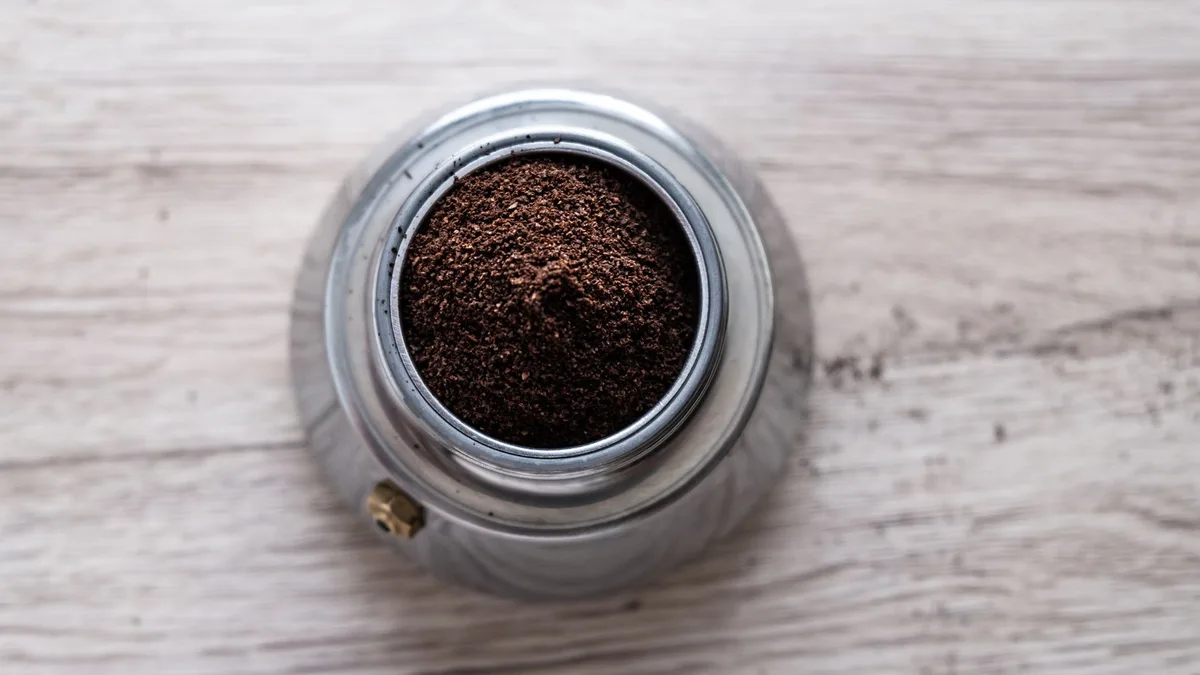
Image source: Pexels / István Szitás (Pexels License)
The Freezer Debate: Should You Freeze Coffee?
This is the most hotly contested corner of the coffee world. Some people swear by freezing. I tell people to avoid it unless you’re storing for a month or more.
The Science of Freezing
Freezing coffee beans stops the chemical degradation process dead in its tracks. That’s great news if you bought a year’s supply in a bulk bin. But there are problems.
The Worst Mistake:
Pulling coffee in and out of the freezer. Every time you open the bag, condensation forms on the beans. That moisture freezes into ice crystals, damaging the cellular structure of the bean.
It ruins the taste.
How to Freeze Correctly (If You Must)
If you need to freeze, follow these rules strictly:
- Portion it out: Divide the beans into small, single-week airtight bags.
- Freeze once: Put the bag in the freezer and don’t open it until you’re ready to use that exact portion.
- Thaw completely: Leave the unopened bag on the counter for a few hours. Do not open a cold, wet bag.
My verdict: Unless you’re buying heritage beans in huge lots, skip the freezer. Just buy smaller bags more often.
Buy Whole Beans, Grind at Home (The Essential Rule)
I touched on this above, but it deserves its own shout-out because it is the single most effective freshness hack. Pre-ground coffee is a lie. It’s convenient, yes.
But it’s also dead in the water.
The Timeline of Freshness
- Roasted Coffee Beans: 1 to 2 weeks (optimal flavor)
- Pre-Ground Coffee: Hours
- Opened Bag (Whole Bean): 7 to 10 days
The coffee roaster’s job is to bring out the oils. Your job is to protect them. Grinding at home ensures you only break the surface when you’re ready to extract those flavors into your mug.
The grind size matters too:
- Coarse/Chunky: For French press and cold brew.
- Medium/Sand-like: For drip machines and pour-over.
- Fine/Powdery: For espresso machines.
If your grind doesn’t match your brew method, you’ll get sour shots or bitter, over-extracted sludge. Fresh coffee is wasted if you use the wrong grind profile.
Storing Whole Beans vs. Grounds
If you absolutely must buy pre-ground (maybe you’re traveling), you need an airtight, opaque vacuum container. That’s your only defense. But know that you’re fighting a losing battle.
Whole beans are always, always superior.
The Secret Rule: Buy Fresh Roasted Coffee
This might surprise you, but coffee beans don’t taste best the day they’re roasted. They actually need time to degas. Most roasters recommend waiting 3 to 7 days after the roast date for the flavors to settle and the harsh acidity to mellow.
Check the Roast Date
Look for “Roasted On” dates on the bag. The “Best By” date is usually far in the future and meaningless.
- Ideal Freshest Window: Buy beans roasted within the last 2 to 3 weeks.
- The Peak: Days 4 through 14 are the sweet spot for most washed and natural processed coffees.
Support a local roaster. If you’re buying industrial grocery store brands that don’t have a roast date, you might be buying beans that are already 6 months old. No storage method can fix that.
The Wrong Way: Common Storage Mistakes That Ruin Coffee
You think you’re doing it right. But these habits are wrecking your morning cup.
The “Leave It in the Hopper” Mistake
If you have a grinder with a hopper (a clear plastic container on top), I need you to empty it after every use. Those beans sitting in the hopper are exposed to air 24/7. They go stale faster than you can brew.
Grind only what you need, store the rest in an opaque container.
The “Countertop Display” Mistake
That cute ceramic jar on the counter is a ticking time bomb. Every passing hour, light degrades the beans. Even if it has a lid, it’s likely not airtight.
The “Fresher Squeeze” Technique
You see those vacuum pump lids that claim to remove air? They help, but they aren’t perfect. They can still leave some oxygen in the headspace.
You’re better off using a rolling seal container that physically presses air out, like a Fellow Atmos or a manual vacuum canister.
How to Tell if Your Coffee Has Gone Bad
How do you know you’ve failed? Here are the signs that your coffee is officially stale.
- The Gas Test: Fresh beans release CO2. When you pour hot water over fresh grounds, they “bloom”, they bubble and rise up. If there’s zero bloom, the coffee is stale. The gas has already escaped.
- The Aroma Test: Fresh coffee smells sweet, floral, fruity, and intoxicating. Stale coffee smells musty, dusty, or just… flat. It smells like the bottom of a rented car ashtray.
- The Taste Test: Stale coffee tastes acidic, sour, or simply taste-less. It lacks body and sweetness.
The Water Quality Factor (Bonus Tip)
I know we’re talking about storage, but water makes up 98% of your cup. If your tap water tastes like chlorine or metal, it will ruin even the freshest beans. Use filtered water.
The coffee industry is obsessed with extracting flavors; bad water blocks them.
Final Thoughts on Keeping Coffee Fresh
Let’s boil this down to simple, actionable steps.
- Buy whole beans with a visible roast date.
- Use a burr grinder and grind right before brewing.
- Store in an opaque, airtight container with a vacuum seal.
- Keep it in the pantry (not the fridge, not the freezer).
- Buy smaller bags so you use them within 2 weeks.
Coffee freshness isn’t about luck or expensive gadgets. It’s about controlling the four environmental variables: oxygen, light, heat, and moisture. If you eliminate those, you win.
I’ve stopped throwing away half-eaten bags of stale coffee. I’ve stopped mourning the lost flavor of a $40 roast. The system is simple.
The rewards are immediate. Your mornings deserve better than stale, gray water.
The next time you brew, look at your storage set-up. Is light hitting your beans? Is air getting in?
If yes, take the 15 minutes to fix it. You’ll never look back. That first sip of truly fresh coffee, sweet, complex, and alive, tastes the way morning should.
Go get that flavor. It’s waiting for you in a properly sealed container.