Let’s be honest. The outside of your microwave gets gross fast. It’s the unsung hero of the kitchen, working hard every single day.
But because it sits right there on the counter, it catches everything. Grease splatters from the stove. Fingerprints from sticky hands.
Dust that seems to appear out of thin air. And let’s not even talk about that mystery sauce that exploded three days ago and you’ve been avoiding ever since.
So, how do you clean the outside of a microwave without wrecking the finish? It’s not just about wiping it down with any old rag. You need the right tools, the right technique, and a little bit of know-how.
We’re going to break it down step by step. I’m going to show you exactly how to make that machine look brand new again.
Why the Outside Gets So Dirty (And Why It Matters)
Your microwave is a magnet for grime. It’s a combination of factors, really. The heat from cooking makes the exterior warm.
Warm surfaces attract dust and grease particles floating in the air. Then, you touch it to open the door. Your hands have natural oils on them.
Mix that with flour dust, sauce splashes, and steam residue, and you’ve got a sticky film.
Here’s the thing. That film isn’t just ugly. It can harbor bacteria.
Think about it. You touch the handle, then you touch raw chicken. Later, someone else uses the microwave and touches the same handle.
It’s a great way to spread germs. Plus, that built-up grime can actually seep into the little crevices and make the buttons stick over time. Keeping it clean isn’t vanity, it’s hygiene and maintenance.
What You Should Never Use on Your Microwave
Before we get to the good stuff, let’s talk about what not to do. This is crucial. Too many people damage their microwaves with good intentions.
First, stop using abrasive scrubbers. Steel wool, scouring pads, even some stiff-bristled brushes will scratch the surface. Those scratches are permanent.
Once they are in, they are in. They also create tiny grooves where dirt loves to hide.
Second, ditch the harsh chemicals. Bleach, ammonia, and oven cleaners are way too strong for the exterior. They can strip the paint, damage the plastic, and even create harmful fumes when they heat up.
You don’t need that.
Third, never spray cleaner directly onto the control panel. Liquid can seep under the buttons and mess with the electronics. You want a damp cloth, not a soaked one.
This is the golden rule of cleaning electronics.
Your Cleaning Arsenal: The Essentials
Here’s the beauty of this project. You don’t need a cabinet full of fancy products. You probably already have everything you need in your pantry.
We are going for simple, effective, and safe.
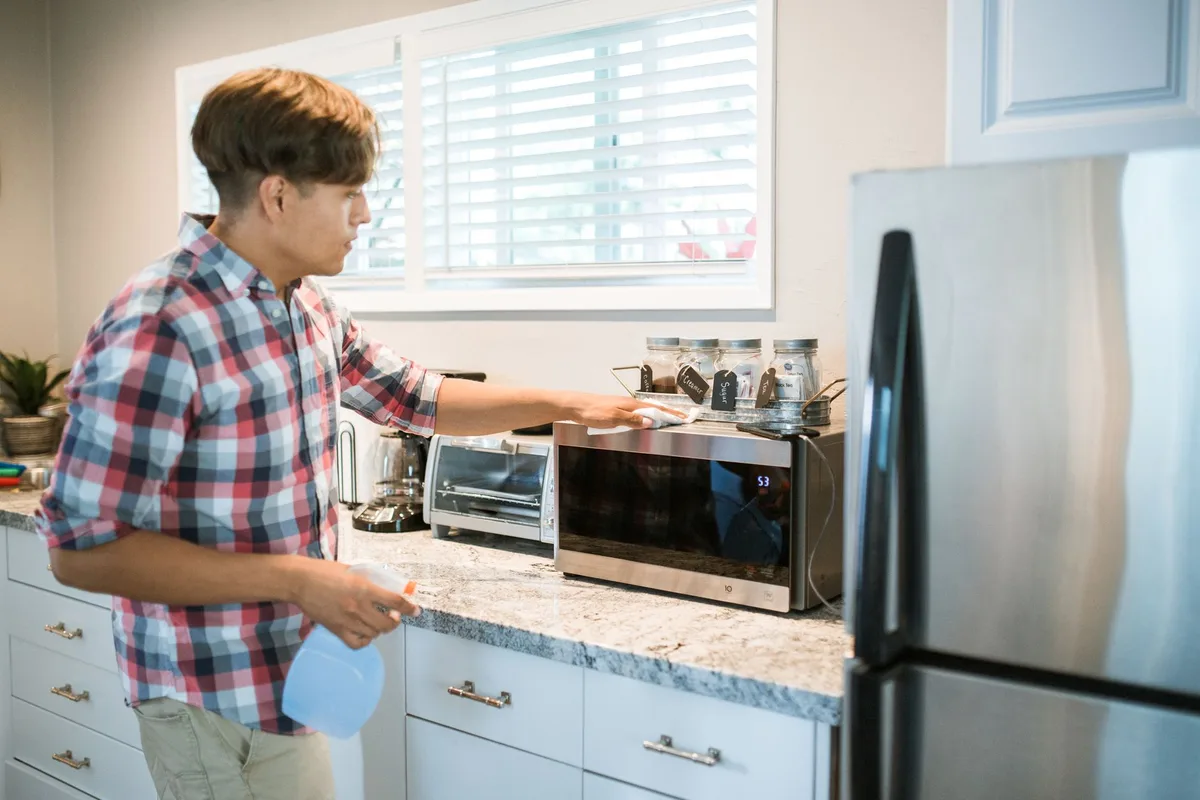
Image source: Pexels / RDNE Stock project (Pexels License)
- White Vinegar: This is your secret weapon. It cuts grease, neutralizes odors, and is totally food-safe.
- Dish Soap: A simple degreasing liquid soap works wonders on tough spots.
- Baking Soda: This is your gentle abrasive. It gives you scrubbing power without scratching.
- Microfiber Cloths: These are the best. They grab dust and grease without leaving lint. Grab at least three: one for wet cleaning, one for rinsing, and one for drying and buffing.
- Cotton Swabs (Q-tips): These are perfect for getting into tiny gaps around buttons and edges.
- An Old Toothbrush: A soft one. This is great for scrubbing grime out of textured surfaces.
- A Spray Bottle: For mixing your cleaning solution.
- Distilled Water: Optional, but good if you have hard water that leaves spots.
Step-by-Step: How to Clean Outside of Microwave Safely
Okay, let’s get down to business. Here is the process that works every time. It’s simple, but the order matters.
Step 1: Unplug the Microwave
This is non-negotiable. Yes, we are only cleaning the outside. But water and electricity do not mix.
Unplugging it removes the risk of accidental shocks. It also protects the unit’s internal components if moisture finds its way into a seam. Do this first, every single time.
Step 2: Wipe Down the Top and Sides
Start with the big, flat surfaces. Dip a microfiber cloth in warm, soapy water. Wring it out thoroughly.
You want it damp, not dripping. Wipe down the top, the sides, and the back. This picks up the dust and loose debris.
For the top, pay attention to the area right above the door. That’s a common spot for steam residue to collect.
Step 3: Tackle the Front Door and Handle
The front is the star of the show. It has the window, the handle, and usually the control panel. Take your damp, soapy cloth and wipe the entire front face.
Include the handle, top and bottom.
Here’s a trick for the handle. Use your cotton swab dipped in your soapy water to trace the underside of the handle. That’s where sticky fingerprints tend to cling.
The swab gets in that tight space perfectly.
Step 4: Clean the Control Panel with a Gentle Touch
This is where you need to be extra careful. Dampen a separate part of your cloth with clean water. Make sure it’s barely damp.
Gently wipe the buttons and the display screen.
Do not use a soaking-wet cloth. Do not use any solvent-based cleaners. Just a little bit of water.
For stubborn grime on the buttons, use a cotton swab dipped in your vinegar solution. Squeeze the swab so it is just damp. Wipe around the edges of each button.
Step 5: Dry and Buff
This is the step everyone skips, but it is the secret to a sparkly finish. Take your dry, clean microfiber cloth and buff the entire exterior. This removes any remaining water spots and brings out the shine.
It also prevents streaks on your stainless steel or glass.
After you dry it, let the microwave sit for a few minutes. This gives any residual moisture time to evaporate before you plug it back in.
How to Remove Stubborn Grease and Food Splatters
Sometimes, the simple soapy water isn’t enough. Life happens. You’ve got that baked-on crusty bit of pasta sauce right on the side panel.
Don’t panic. We have a plan for that.
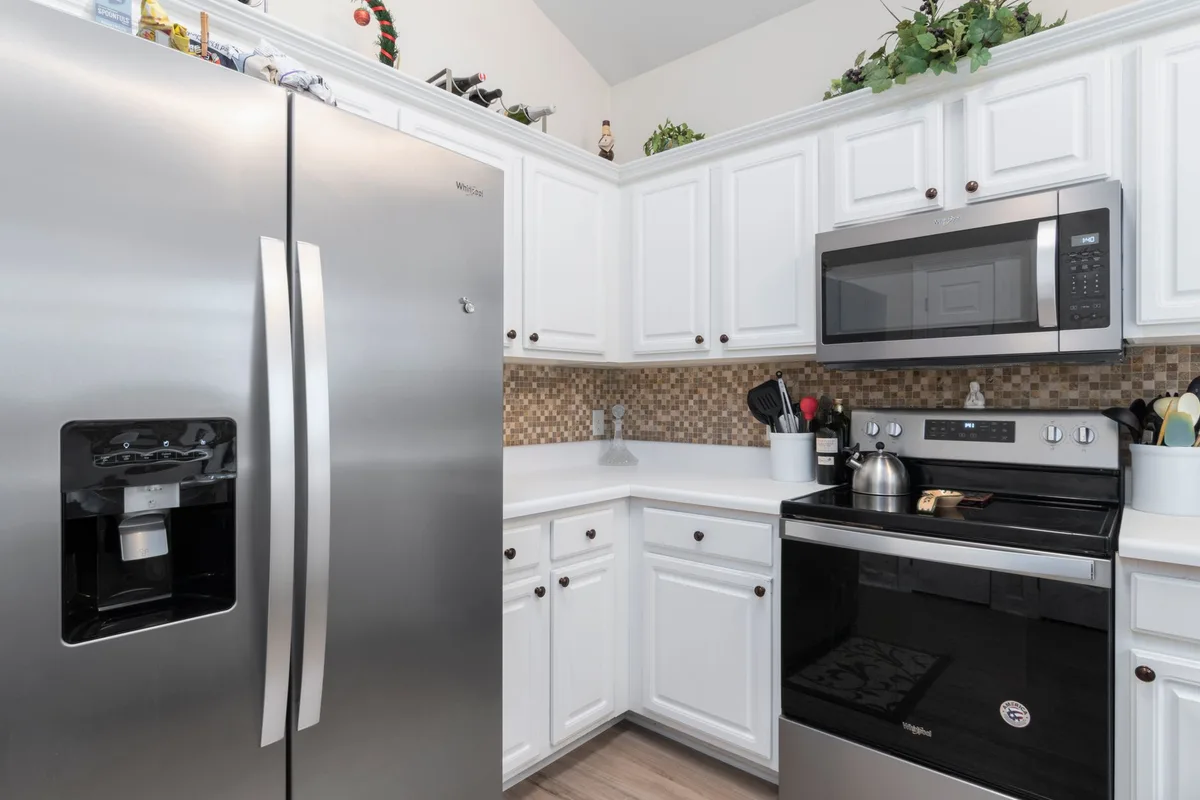
Image source: Pexels / Curtis Adams (Pexels License)
The Baking Soda Paste Method
This is my go-to for tough jobs. It is effective and completely safe for your microwave’s surface. Forget harsh chemicals.
Baking soda is a miracle worker.
- Make the paste: Mix three parts baking soda with one part water in a small bowl. You want a thick paste, like toothpaste. It shouldn’t be runny.
- Apply the paste: Using your fingers or a soft cloth, dab the paste onto the grease spots. Cover them completely.
- Let it sit: Let the paste sit for 10 to 15 minutes. This gives it time to break down the grease. The science here is simple, baking soda is a mild alkali that helps dissolve fatty acids.
- Gently scrub: Take your damp cloth or old toothbrush and gently scrub the spot. You will see the grease lift away. The key is to use light pressure. Let the baking soda do the hard work.
- Wipe clean: Wipe away the paste with a clean, damp cloth. Now, buff it dry with your dry cloth. The grease should be gone.
Using a Vinegar Spray for Grease
Vinegar is another powerhouse against grease. It cuts through grime without leaving a chemical residue behind.
- Fill a spray bottle with equal parts white vinegar and water.
- Spray the greasy areas generously. Let it sit for a minute or two.
- Wipe with a damp microfiber cloth. You might need to do this twice for heavy buildup.
The Steam Trick: For grease that is really baked on, you can use the microwave itself. Fill a microwave-safe bowl with water and a few tablespoons of vinegar. Run the microwave for two to three minutes.
The steam will condense on the interior, but it also softens the grease on the exterior door and edges. It won’t hit the sides, but it works wonders on the front door area near the opening.
Cleaning the Vents and Hard-to-Reach Areas
Alright, we’ve conquered the main surfaces. Now let’s talk about the nitty-gritty. The vents.
The gaps. The feet. These are the areas most people forget.
They are also the areas that get the dirtiest.
Microfiber cloths can’t get into these tight spaces. You need something smaller. This is where your cotton swabs and toothbrush come into play.
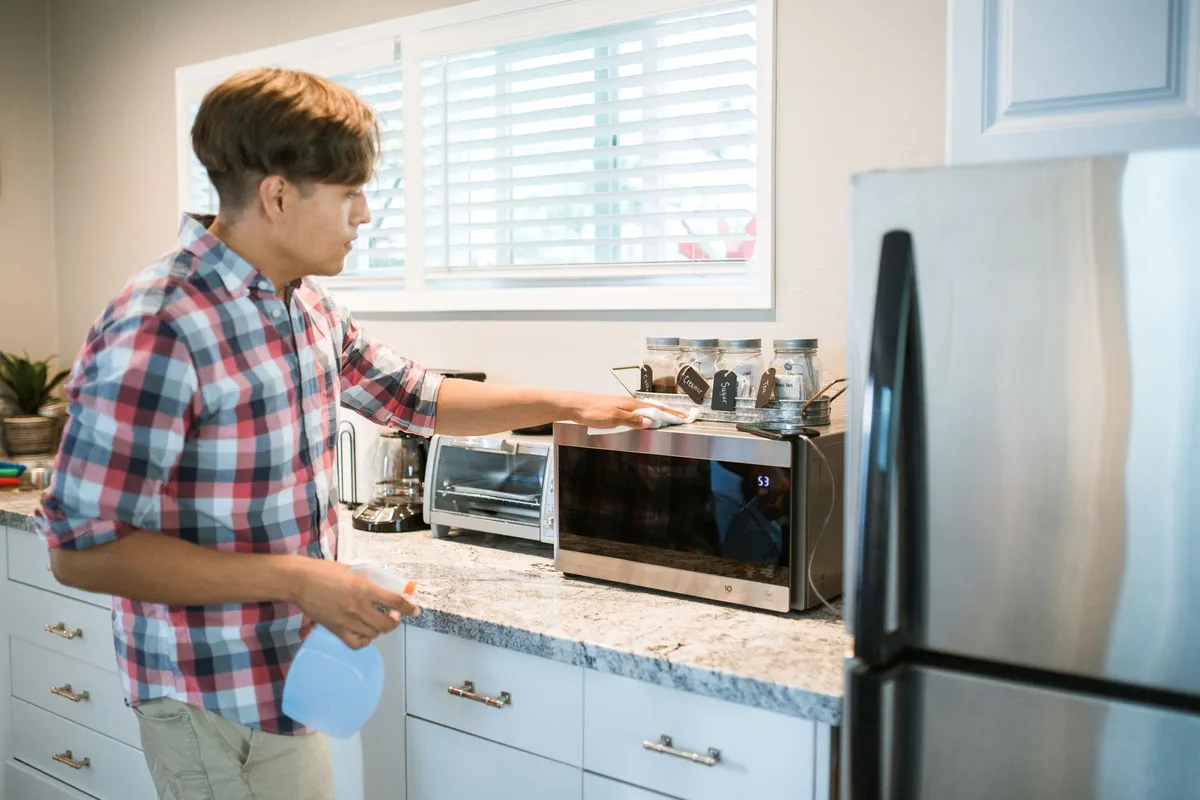
Image source: Pexels / RDNE Stock project (Pexels License)
The Vents
Vents are usually on the top, the back, or the sides. They pull in air to cool the electronics. Over time, they clog with dust.
This makes your microwave work harder than it needs to.
- Use a dry toothbrush: Gently brush the vent openings. This dislodges the dust that is clinging to them.
- Vacuum it up: If you have a vacuum with a brush attachment, use it to suck up the loosened dust. This is much more effective than just pushing the dust around.
- Use a cotton swab: Dampen a cotton swab with your vinegar solution. Run it along the slats of the vent. This will grab the oily dust that a dry brush can’t remove.
The Edges and Gaps
Look at the space around the door. There are tiny seams where grease and dust love to collect. Take a dry cotton swab and run it along these crevices.
You will be surprised by how much gunk you pull out. For the door seal, use a damp swab and wipe it gently. Do not pull on the rubber gasket.
Just wipe it clean.
The Bottom and Feet
Flip up the front. Actually, you don’t need to flip it. Just look underneath the front edge.
You will see the feet. These get dusty and can leave little marks on your countertop. Wipe them with a damp cloth.
Check the entire bottom lip for sticky spills. A cotton swab works great here.
How to Clean a Stainless Steel Microwave
Stainless steel is beautiful. It looks sleek and professional. But it is also a fingerprint magnet.
And you have to be careful with it. The wrong cleaner can strip the protective coating.
Here is the key. You need to clean with the grain, not against it. Always wipe in straight lines, usually from side to side.
Never use circular motions. That leaves swirl marks.
The Best Stainless Steel Cleaner
You don’t need to buy a special brand. In fact, many commercial ones contain silicone that can create a tacky film that attracts more dust.
Our Solution:
- Use a small amount of olive oil or baby oil. Just a few drops on a dry microfiber cloth.
- Wipe the stainless steel: Rub it into the surface, going with the grain. This will remove fingerprints and leave a subtle, protective shine.
- Buff it out: Take a clean, dry part of the cloth and buff the surface. You want to remove any excess oil. It should look clean, not greasy. If it feels oily, you’ve used too much. Wipe it again with a dry cloth.
For regular daily upkeep, a simple damp cloth followed by a dry buff is usually all you need. Save the oil treatment for when you do a deep clean.
The Vinegar Steam Clean: The Ultimate Secret
If I had to pick only one method for cleaning the outside of a microwave, this would be it. It’s lazy, but it is insanely effective. It combines our engine degreaser (vinegar) with the power of steam.
Beyond the exterior benefits, this is also the best way to clean a microwave inside. It’s a two-in-one deal, which is always a win.
Setting It Up
- Mix your solution: Combine 1 cup of water with 1 cup of white vinegar in a microwave-safe bowl. The vinegar smell will be strong when you open the door, but it dissipates quickly.
- Heat it up: Place the bowl in the microwave and run it on high power for 5 minutes, or until you see the liquid boiling and the window is fogged up with steam. Let it sit for 2-3 minutes after the timer goes off. This allows the steam to saturate the grime inside.
- Open the door: Carefully remove the bowl, using a hot pad to avoid burns. Keep the door closed for a moment to let the steam loosen the grime on the door and front exterior edges.
- Wipe everything down: Take a clean, damp cloth and wipe the inside of the microwave. The stuff will just wipe away. Now, take another damp cloth with a little bit of the vinegar water and clean the outside door. The steam will have softened any greasy film clinging to the front, making it a breeze to clean.
A Simple Maintenance Routine
Don’t wait until the microwave looks like a biohazard. A quick daily or weekly wipe-down will save you so much time in the long run. You don’t need a rigorous deep clean every day.
You just need to stay on top of it.
The 60-Second Wipe-Down
After you use the microwave, or at the end of each day, do this:
- Take a damp microfiber cloth.
- Wipe the front door, the handle, and the top of the microwave.
- Dry with a soft cloth.
That is it. Sixty seconds. This prevents buildup before it starts.
Getting the bulk of the mess off before it has time to bake on makes your deep cleans much less frequent and much quicker.
The Weekly Shine
Once a week, or when you notice fingerprints starting to accumulate, do the vinegar spray and buff. Spray the exterior lightly, remember, never directly on the control panel. Spray the cloth instead and wipe down.
Then, buff with a clean, dry cloth.
Conclusion
Cleaning the outside of a microwave is a simple chore once you break it down. It’s all about using the right tools, avoiding harsh chemicals, and staying consistent. Unplug it.
Use a damp cloth, not a wet one. Leverage the power of vinegar and baking soda. And dry it off.
That’s the whole secret.
With this easy routine, your microwave can go from being the grimy hub of the kitchen to a clean, sparkling appliance that you are proud to have on display. It takes less than five minutes to do a proper clean. The results are worth it.
Not only does it look better, but it is also more hygienic for you and your family. So grab your microfiber cloth and get to work. Your microwave deserves a spa day.