Let’s be honest. You bought that coffee maker to make your mornings better, not to add another chore to your list. But if you’re here, you’ve probably noticed that ugly brown crust building up inside your machine.
Maybe the glass carafe looks like it’s wearing a tan, or the water reservoir has a ring that won’t budge no matter how hard you scrub.
Here’s the thing: coffee stains aren’t just an eyesore. They’re a warning sign. Those dark deposits are a mix of coffee oils, minerals, and scale that can make your next cup taste bitter and even harbor bacteria.
The good news? You don’t need harsh chemicals or an expensive replacement. Removing coffee stains from your coffee maker is straightforward, and you likely have the right cleaners in your pantry right now.
This guide walks you through every method that actually works, step by step. We’ll cover commercial descalers, natural options, and the routine that keeps your machine stain-free long-term. No fluff, no unnecessary jargon, just practical fixes.
Why Coffee Stains Form and Why You Should Care
Coffee is acidic. It contains natural oils, tannins, and fine particles that cling to surfaces. When you brew, hot water splashes, evaporates, and leaves behind these residues.
Over time, they bake onto the heating element, the carafe, and the internal tubing.
But it’s not just the coffee itself. Your tap water adds mineral deposits, calcium and magnesium, that combine with coffee oils to create a stubborn, crusty film. That’s the scale you see inside the water tank or around the spray head.
If you live in an area with hard water, you’ll notice stains building up much faster.
So why care? Three reasons:
- Flavor degradation. Old coffee oils go rancid. They make fresh coffee taste flat, burnt, or just… off.
- Clogged components. Scale restricts water flow. Your machine has to work harder, brewing slower and at higher temperatures. That forces bitter compounds out of your grounds.
- Bacterial growth. A damp, warm, dark interior is a perfect petri dish. Old coffee residue and standing water invite mold and bacteria, which is more than gross, it’s a health risk.
The Environmental Protection Agency and other public health agencies routinely stress the importance of cleaning kitchen appliances to prevent bacterial buildup. Keeping your brewer clean isn’t about vanity; it’s about safety and consistently great coffee.
What You’ll Need: The Complete Cleaning Arsenal
Before you start, gather the essentials. You don’t need all of these every time, but having them on hand makes the job faster.
Cleaning Agents:
- White vinegar (the classic all-purpose cleaner)
- Citric acid powder (my personal favorite, more on this below)
- Commercial descaling solution
- Baking soda (for stubborn carafe stains)
- Dish soap (plain, unscented works best)
Tools:
- Soft sponge or non-abrasive cloth
- Old toothbrush or bottle brush
- Microfiber towel
- A clean sink or large bowl
- Fresh water for rinsing
Skip the steel wool and harsh scouring pads. They might remove the stain, but they’ll scratch the surface, giving stains a rough texture to grab onto even harder next time.
Method 1: The Commercial Descaling Solution (Fastest and Most Effective)
If you want the most reliable results with minimal effort, buy a descaling solution. Brands like Urnex, Dezcal, and Durgol make products specifically formulated for coffee machines. These are designed to dissolve both mineral scale and organic coffee oils quickly.
Step-by-Step Instructions:
- Empty the machine. Take out the carafe and dump any leftover coffee.
- Mix the solution. Check your product’s label for the correct dilution ratio. Most require mixing with a full reservoir of water (usually 32 ounces or so).
- Fill and start a brew cycle. Pour the mixture into the water reservoir. Place the carafe in position and run a full brewing cycle, just as if you were making coffee, but without any grounds.
- Let it sit. After the cycle finishes, don’t rush. Let the solution sit inside the carafe and reservoir for 15, 30 minutes. This dwell time is critical; it lets the chemicals break down the buildup.
- Rinse thoroughly. Dump the solution, then fill the reservoir with fresh water. Run 2, 3 full cycles with clean water only. This flushes out any remaining cleaning agent.
Pro tip: Run your nose test. If you smell vinegar or chemicals after rinsing, run one more water cycle. The last thing you want is a coffee that tastes like cleaning product.
Method 2: Using Citric Acid as a Natural Descaling Alternative
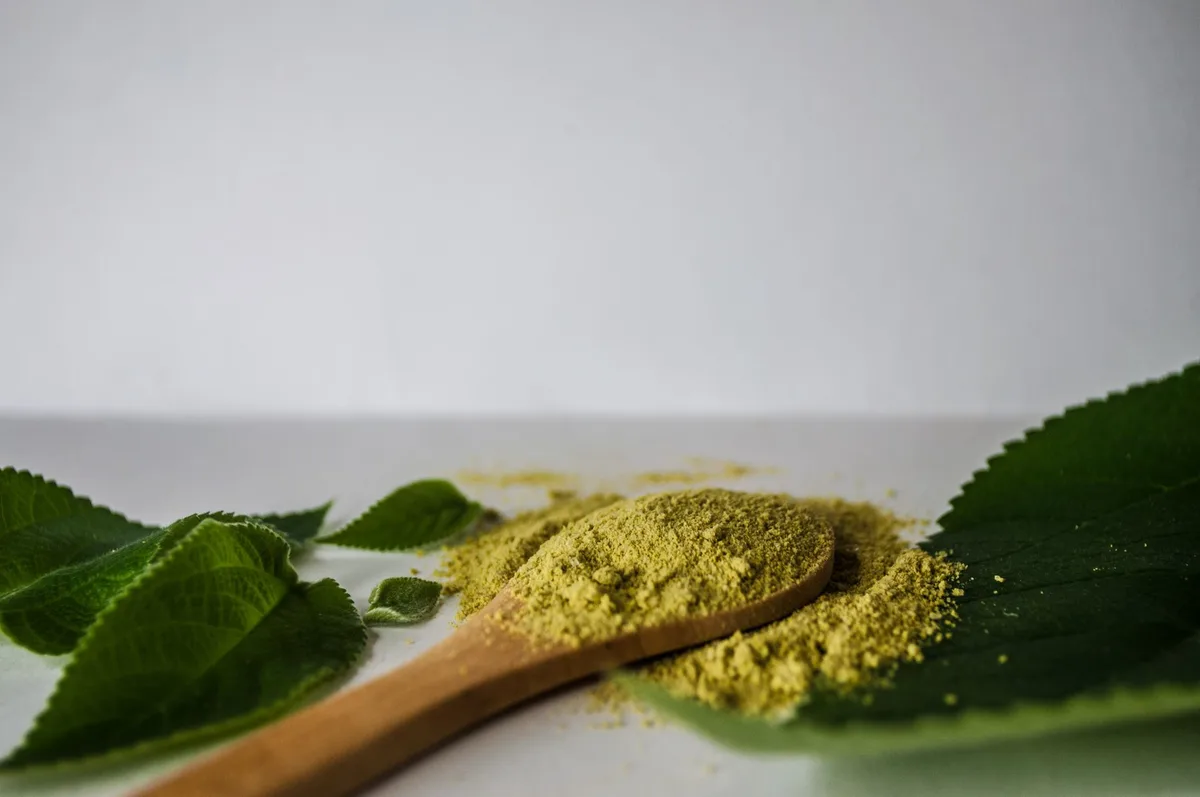
Image source: Pexels / Monica Escalera (Pexels License)
Prefer to skip commercial chemicals? Citric acid is my go-to recommendation. It’s a food-grade, naturally occurring acid found in citrus fruits.
It’s cheaper than most commercial descalers, doesn’t stink like vinegar, and is incredibly effective at dissolving mineral deposits and loosening coffee residue.
I keep a jar of citric acid powder in the pantry. One teaspoon is all you need for a standard 10, 12 cup machine. You can find it in the canning section of most grocery stores or online.
Step-by-Step Instructions:
- Prepare the solution. Dissolve 2, 3 tablespoons of citric acid powder into a full reservoir of warm water. Stir it in the reservoir if you can, to help it dissolve before brewing.
- Run a brewing cycle. Without coffee grounds, run the hot water through a full cycle.
- Pause and soak. When the cycle is halfway done, turn the machine off. Let the citric acid solution sit in the internal heating element and tubing for 30 minutes. This is the secret step, a long soak dissolves the scale that a quick pass misses.
- Complete the cycle. Turn the machine back on, and let it finish.
- Flush with fresh water. Run two or three plain water cycles. This removes every trace of the acid.
Why this works: Citric acid chelates (bonds with) the minerals in hard water. It breaks the crystalline structure of scale, turning it into a soluble powder that washes away. It’s also safe for the plastic and metal parts of your machine when used at these concentrations.
One word of caution: don’t mix citric acid with bleach or other cleaners. A chemical reaction produces toxic gas. Stick with the powder and water alone.
Method 3: The Vinegar Classic (Cheap and Reliable)
If you don’t have citric acid powder lying around, white vinegar is the universal fallback. It’s cheap, widely available, and a weak acid (acetic acid) that works on the same principle as citric acid. It won’t work as fast as a commercial descaler, and the smell is no joke, but it gets the job done.
Step-by-Step Instructions:
- Mix the ratio. Use a 1:1 or 1:2 ratio, one part white vinegar to one or two parts water. For a standard reservoir, that’s about 2 cups vinegar plus 2 cups water.
- Run a half cycle. Put the carafe in place and brew the solution through half the reservoir. Then turn off the machine.
- Wait 30, 60 minutes. The longer you let it sit, the more effective it is on heavy scale and old stains.
- Finish the cycle. Finish brewing the remaining solution.
- Flush aggressively. Unlike citric acid, vinegar leaves a strong odor. Run at least 3, 4 full hot water cycles before brewing your next pot.
The downside: Vinegar smell can linger, especially in plastic-bodied machines. If yours is older or has a porous reservoir, you may need to run several rinse cycles over a day or two. It works, but patience is required.
How to Clean the Carafe (Glass and Thermal)
The carafe takes the worst abuse. It sits on the hot plate, is exposed to coffee oils daily, and often gets scratched by dishwashing. Here’s how to get it crystal clear again.
Step 1: The Soak
Fill the carafe halfway with hot water, then add a tablespoon of baking soda. Or, if vinegar is your kitchen go-to, fill it halfway with vinegar and top off with water. Let it soak for at least an hour.
For serious buildup, let it sit overnight.
Step 2: The Scrub
Empty the soak solution. Use a soft sponge or a bottle brush with a few drops of dish soap. Work in circular motions, focusing on the bottom and the area just below the rim where stains are heaviest.
Step 3: The Desperate Measure
For extremely stubborn coffee film that resist scrubbing, try salt. Cover the bottom of the carafe with a tablespoon of coarse salt. Add a splash of vinegar to make a thick paste.
Scrub with a soft cloth. The salt acts as an abrasive, and the vinegar dissolves the staining compounds. Just be careful, this will remove the stain, but it can also scratch a delicate glass surface.
Use it sparingly.
Cleaning Those Hard-to-Reach Parts
The reservoir, filter basket, and spray head all collect residue. These parts often come off, which makes cleaning much easier.
Removable parts: Check your user manual. On most drip machines, the filter basket and carafe lid pop right off. The water reservoir often detaches too.
Once removed, wash them in warm soapy water. Avoid the dishwasher if the manual says not to, the high heat can warp plastic parts.
The spray head: That showerhead-like part in the top of the machine has tiny holes. Over time, they get clogged with mineral deposits. If you see water splashing unevenly, the holes are likely blocked.
Use a toothpick to gently poke out the debris. Then wipe the surface with a cloth dipped in vinegar or citric acid solution.
Non-removable parts: For the parts you can’t detach, use a damp cloth wrapped around a wooden spoon handle to reach inside. An old makeup brush or a cotton swab works well for nook and crannies around the frame.
Deep Cleaning for the Internal System (The Reservoir and Tubing)
Your coffee maker is more than just a carafe and a basket. Hidden inside is a network of tubes and valves that carries water from the reservoir to the heating element and up to the spray head. Scale builds up here, too.
That’s why a full descale is necessary, not just a surface wipe-down.
The best deep-clean routine:
- Descale first. Use any of the methods above (commercial, citric acid, or vinegar). This dissolves internal scale and flushes out the tubing.
- Follow with a soda rinse. Some people worry about acid lingering inside. A simple solution: add a teaspoon of baking soda to the reservoir with water and run one cycle. Baking soda neutralizes acid and deodorizes the internals.
- Finish with a final clear rinse. Run one more plain water cycle. Your machine is now prepared for regular use.
How Often Should You Descale Your Coffee Maker?
Frequency depends on two things: how often you brew and the hardness of your water.
- Light use (1, 2 pots per week, soft water): Descale every 3 months.
- Moderate use (daily, average water): Descale every 1, 2 months.
- Heavy use or hard water: Descale every 4, 6 weeks.
You’ll know the machine needs attention when brewing time slows down, the coffee tastes sour or bitter, or you see visible scale in the reservoir.
Preventive Habits That Keep Stains Away
Cleaning is great, but prevention is even better. These habits cost you nothing and save you a ton of scrubbing later.
Never let coffee sit and dry in the carafe. Heat evaporates the liquid, leaving concentrated oils behind. Rinse the carafe immediately after you finish your pot. Even a quick swish with hot water does wonders.
Use filtered water. Hard water accelerates scale formation. A basic filter pitcher or an inline filter on your machine reduces the mineral content, giving you fewer stains and better-tasting coffee.
Wipe the spread head and showerhead weekly. A quick wipe with a damp cloth removes the sprayback spray and old oils before they bake on.
Air dry everything. Don’t put a wet carafe away in a cabinet. Let it air dry fully. This prevents both mold and mineral spots.
What NOT to Do: Common Mistakes to Avoid
I’ve seen people wreck perfectly good coffee makers by using the wrong cleaner. Don’t be that person.
Never use bleach. It can corrode the metal heating element and leave residues that react with coffee.
Never use dish soap in the reservoir. Soap creates foam and leaves a soapy film inside the internal pumps. You’ll end up running dozens of rinse cycles to get it out, and if you don’t, your coffee will taste like laundry detergent.
Never put plastic parts in the dishwasher without checking. The high heat warps them, and that’s how you get a warped filter basket that doesn’t fit correctly.
Never ignore stubborn stains. If a manual scrub doesn’t do the trick, the stain is likely set into a scratched surface. Just repeat the descaling soak, patience beats force.
Choosing the Right Descaling Method for Your Machine
Not all coffee makers are the same, and choosing the wrong method could void a warranty.
- Single-serve pod machines (Keurig, Nespresso, etc.): These are prone to scale buildup because they heat small amounts of water very quickly. Use a manufacturer-approved descaling solution first. These are formulated for the narrower internal tubing. If you prefer DIY, citric acid (1, 2 teaspoons per full tank) is safer than vinegar, which can be harsher on seals.
- Drip machines: Vinegar or citric acid, you’re safe with either.
- Espresso machines: These have delicate valves and high-pressure pumps. Use citric acid carefully at a lower concentration (half a teaspoon per reservoir). Never run a commercial descaler meant for drip machines, they can foams and damage the pump. Follow your manufacturer’s recommended protocol.
When in doubt, check the manufacturer’s website for specific product guidance. Most brand websites have a “How to Care for Your Machine” section that outlines exactly what works.
The Final Test: How to Know You’ve Done It Right
When you finish cleaning, run one test batch of plain water. Let it cool, then inspect the carafe. It should be clear, no film, no rainbow sheen, no floating sediment.
Smell the steam: it should smell like nothing. If it does, brew a half pot of coffee and give it a taste. It should taste clean and true to the bean’s origin.
If you still see residue or taste something odd, run one more descaling cycle. It’s not uncommon for heavily neglected machines to need two passes.
Conclusion
Coffee stains are a fact of life for anyone who loves their coffee maker. They’re persistent, unsightly, and a warning sign about what’s building up inside your brewing system. But they’re not permanent.
Whether you pick a commercial descaler, citric acid, or plain old vinegar, the process is simple: dissolve the scale, flush the system, and keep up with quick daily habits.
The best time to descale was before the stains got bad. The second-best time is right now, with the steps above. Your machine will thank you with a longer lifespan, and your next cup of coffee will taste the way it’s supposed to, clean, rich, and entirely like the beans you paid for.