There’s a reason the skillet is the workhorse of every serious kitchen. It sears, sautés, fries, and finishes with a level of control that a saucepan just can’t match. But here’s the thing, most people never get past the burnt-on mess and sticking eggs phase.
They blame the pan when the real problem is technique.
I’ve cooked on everything from $15 cast iron to high-end stainless steel. After thousands of meals, I can tell you this: the pan matters less than how you use it. Master a few foundational skills, and you can produce restaurant-quality food on almost any skillet you own.
Let’s break down exactly how to cook on a skillet without the frustration, the sticking, or the smoke alarm going off.
Choosing the Right Skillet for the Job
Before we talk technique, let’s talk hardware. Different skillets behave differently because of their material. Understanding this one thing will solve half your cooking problems.
Cast iron is the heavyweight champion. It retains heat like nobody’s business and gives you that perfect crust on a steak. The downside?
It’s heavy, it takes time to heat up, and it needs occasional seasoning.
Stainless steel is the professional’s choice. It heats evenly and handles acidic foods like tomatoes without reacting. But it’s unforgiving, if your heat’s too high, food will stick and burn.
You need proper technique, which we’ll cover in a bit.
Non-stick is the beginner’s friend. Eggs, fish, delicate crepes, they all slide right off. The catch is that you can’t get it screaming hot without damaging the coating, so you’ll never get a deep sear on it.
Carbon steel sits between cast iron and non-stick. It’s lighter than cast iron, seasons similarly, and handles high heat beautifully. It’s what most professional chefs use for omelets.
Here’s a quick rule of thumb: high heat and a good sear mean cast iron or stainless steel. Delicate foods that need minimal oil mean non-stick. If you can only own one, get a cast iron skillet, it’s more versatile than people give it credit for.
Preheating: The Step Nobody Skips
If you remember only one thing from this entire article, let it be this: preheat your skillet properly. More than half of all skillet failures come from people tossing food into a pan that isn’t ready.
A cold skillet acts like a sponge for heat. When you add food, the pan’s temperature crashes, and the food starts steaming instead of searing. That gluey, stuck mess on your pan?
That’s the result of not preheating.
How Long Should You Preheat?
- Cast iron and carbon steel: 5, 7 minutes on medium heat.
- Stainless steel: 3, 4 minutes on medium to medium-high.
- Non-stick: 1, 2 minutes on low to medium. Never go higher.
The best test is the water droplet trick. Flick a few drops of water onto the pan’s surface. On a properly preheated stainless steel or cast iron skillet, the droplets should bead up and skate across the surface like tiny pearls.
That’s called the Leidenfrost effect, and it’s your signal that the pan is ready.
If the water sizzles and evaporates instantly, the pan is too hot. If it just sits there and boils, it’s not hot enough. Move the pan off the burner for 30 seconds, then try again.
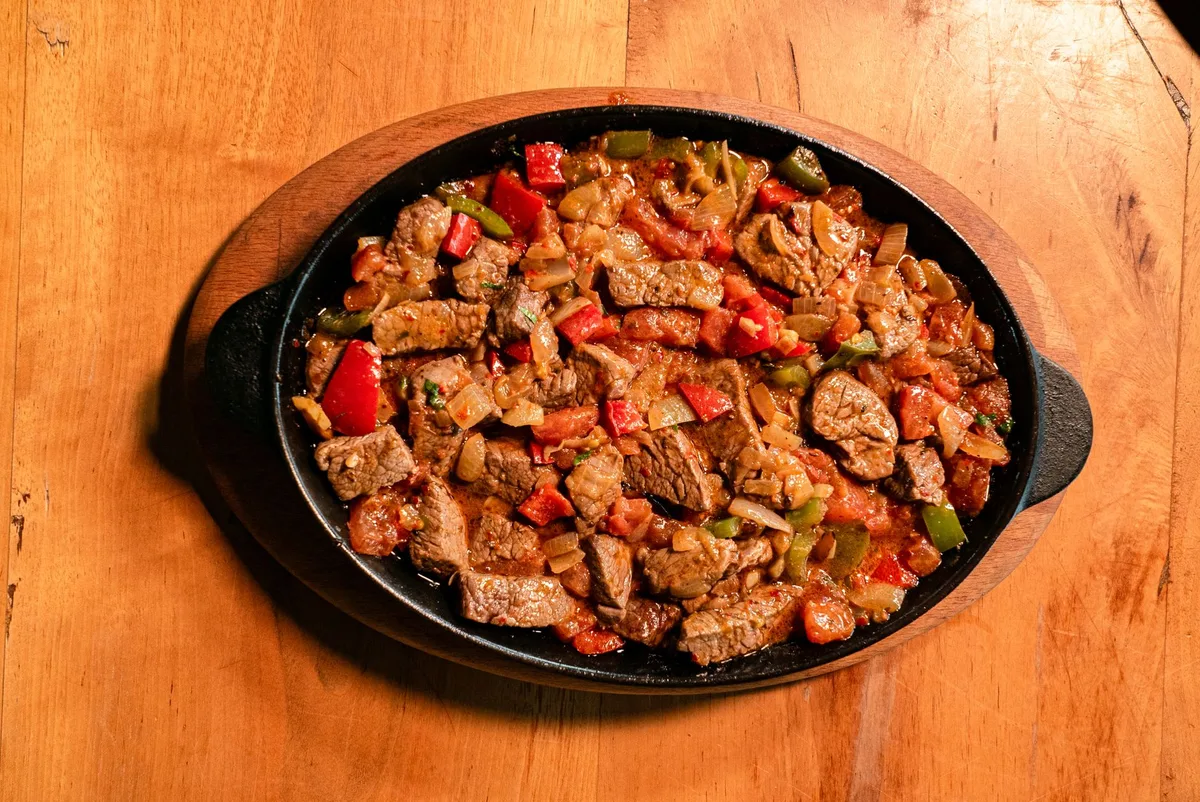
Image source: Pexels / Mohamed Olwy (Pexels License)
How to Know When Your Skillet Is Hot Enough
You don’t need a fancy infrared thermometer to gauge your pan’s temperature. Your eyes and nose tell you everything.
A medium-low skillet will shimmer, the oil moves around freely and shows tiny ripples. This is perfect for eggs, fish, pancakes, and anything delicate.
A medium-high skillet will show wisps of smoke starting from the oil. This is where you want to be for sautéing vegetables, browning ground meat, and cooking chicken.
A high-heat skillet is the searing zone. The oil will develop a subtle sheen and just begin to smoke. This is steak territory, along with anything you want a dark crust on.
Add a high-smoke-point oil like avocado or grapeseed oil for this range, butter burns before it gets here.
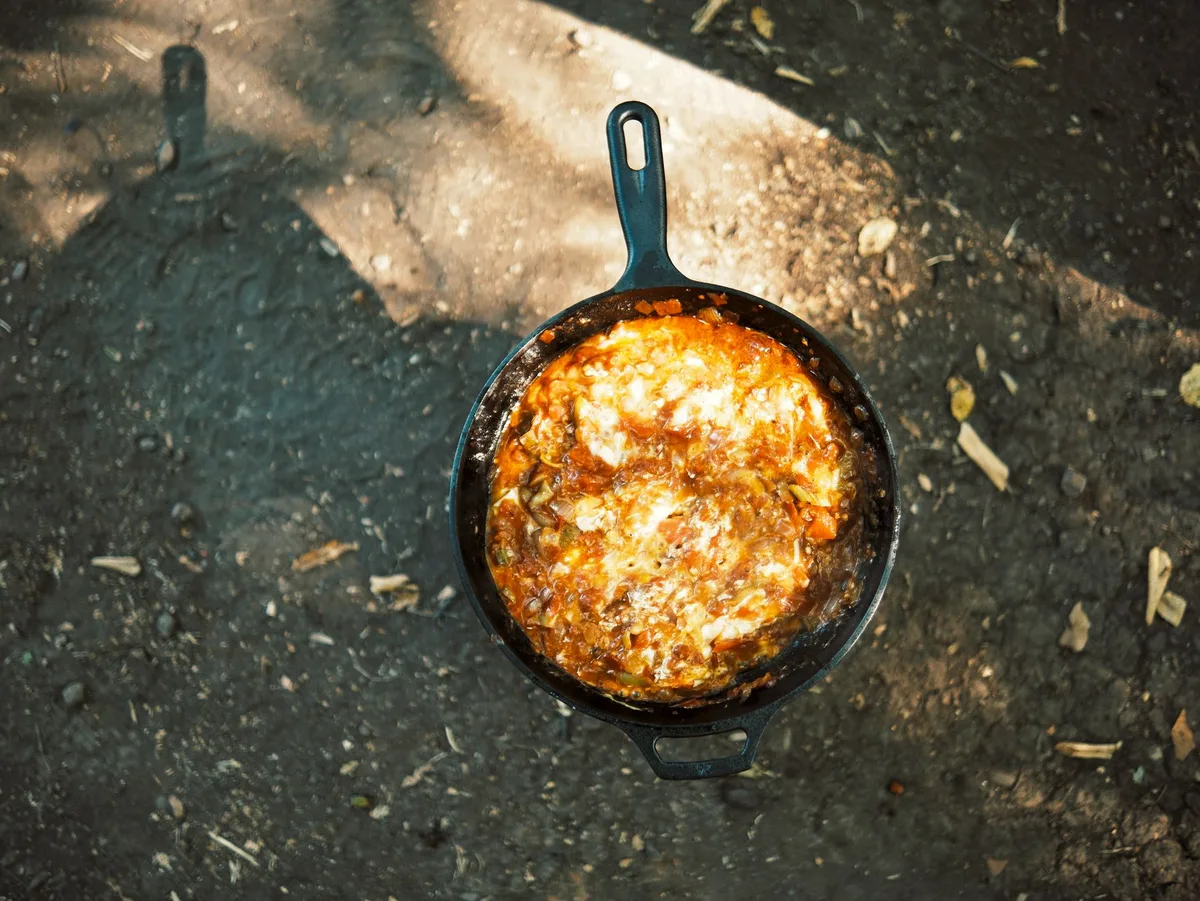
Image source: Pexels / Abdullah Öğük (Pexels License)
Here’s the single most important rule for cooking on a skillet: if you see the first wisp of smoke while preheating with oil, you’re already there. For most foods, you want to back the heat down slightly before adding your ingredients. That gives you a margin of error.
The Fat Facts: What Oil to Use and How Much
Oil does three things in a skillet. It conducts heat evenly, it prevents sticking, and it adds flavor. But not all oils handle heat the same way.
The smoke point is the temperature at which an oil starts to break down and burn. Go past it, and you get bitter flavors and carcinogens. Here’s the cheat sheet:
- Butter: smoke point around 350°F. Great for flavor at low temperatures.
- Olive oil: around 375°F. Fine for sautéing on medium heat.
- Canola oil: around 400°F. A versatile all-rounder.
- Grapeseed oil: around 420°F. Good for high-heat searing.
- Avocado oil: around 520°F. The king of searing oils.
The amount of oil matters too. For most cooking, you only need enough to coat the bottom of the pan in a thin film. Use a paper towel to spread a teaspoon of oil around.
Too much oil makes food greasy and less crispy.
For a proper sear though, don’t be shy. A generous tablespoon of oil ensures full contact between the food and the hot surface. The oil fills in the microscopic gaps between pan and food, which is how you get that even, golden crust.
Searing: The Art of the Perfect Crust
Searing is where skillets really shine. That deep brown crust on a steak or a chicken breast is chemistry in action, the Maillard reaction. It’s the reaction between amino acids and sugars that creates hundreds of flavor compounds.
And the only way to trigger it is high heat.
The Process
- Dry your food thoroughly. This is non-negotiable. Pat steaks and chicken breasts with paper towels. Surface moisture has to evaporate before browning can begin. Wet meat steams, it doesn’t sear.
- Season generously. Salt and pepper before cooking. Don’t go crazy with garlic and herb rubs, they burn at high heat.
- Add to a hot pan. You should hear a loud, continuous sizzle when the meat hits the skillet. If it only sizzles briefly and goes quiet, the pan was too cool.
- Leave it alone. This is the hardest part. Don’t poke, prod, or flip prematurely. Give it a full 3, 4 minutes before you even think about checking.
- Check for release. When the crust forms, the food releases naturally from the pan. If it sticks when you pull, the crust hasn’t finished. Let it go another minute.
- Flip once. Constant flipping is a rookie mistake. One flip is all it takes.
For a great steak, aim for a crust that’s dark mahogany in color. That’s not burned, that’s flavor.
Sautéing Vegetables: Control the Heat, Not the Pan
Vegetables in a skillet are a lesson in patience. Don’t turn the burner to max and walk away. Sautéing means “to jump” in French, the food should be moving, tossing, and cooking quickly but evenly.
The Sequence
Start with a hot pan and enough oil to coat the bottom. Add harder vegetables first, carrots, onions, potatoes. They take longer.
Softer vegetables like mushrooms, broccoli, and bell peppers go in later. Add tender greens last; they cook in under a minute.
Season as you go, not just at the end. Salt draws moisture out of vegetables, which helps them brown better. But season too early, and you’ll end up with limp, watery results.
The trick is to salt just before the vegetables are done browning.
Aim for a slight crunch in sautéed veg. The perfect sauté has a bit of char, a bit of bite, and a lot of flavor. You’re not boiling them, you’re cooking them in concentrated heat.
One common mistake: overcrowding the pan. If you pile too many vegetables in, they release moisture and steam each other. Work in batches if you need to.
It’s worth the extra time.
Cooking Eggs Without Disaster
Eggs are the measuring stick for skillet skill. If you can cook soft scrambled eggs and a perfect fried egg in a skillet, you’ve passed the test.
Fried Eggs
The trick is low heat and a decent amount of butter or oil. If the pan’s too hot, the whites will brown and bubble while the yolk stays raw. Medium-low is your friend.
- Melt butter until it’s foamy but not browning.
- Crack the egg into the pan.
- Let it cook until the edges are set, then baste the white with hot butter for a few seconds.
- Season with salt and pepper.
- Remove when the whites are firm but the yolk is still soft.
Scrambled Eggs
This is where low, slow, and gentle wins. Use butter, and keep the heat at medium-low at absolute maximum.
- Melt butter in the pan.
- Pour in beaten eggs.
- Stir slowly with a silicone spatula, scraping the bottom and sides.
- Pull the eggs off the heat when they’re still slightly underdone, carryover heat will finish cooking them.
The result should be soft, creamy curds. If your scrambled eggs are dry, the pan was too hot or you cooked them too long. Drop the heat and stir faster.
What Not to Do in a Skillet
Not everything belongs in a skillet. Here’s the avoid list:
- Don’t cook acidic foods in a raw cast iron pan. Tomatoes, lemon juice, and vinegar strip the seasoning and give your food a metallic taste. If you’re using cast iron with acidic ingredients, use a well-seasoned pan and keep the cooking time short. Otherwise, use stainless steel.
- Don’t spray aerosol cooking spray on non-stick pans. The lecithin acts as a solvent and breaks down the coating over time.
- Don’t put a hot skillet in cold water. Thermal shock can warp a pan. Let it cool first.
- Don’t use metal utensils on non-stick. Use silicone, wood, or plastic.
Cleaning and Seasoning Your Skillet
Here’s the part where most people slowly ruin their pans. What you do after cooking is just as important as what you do during.
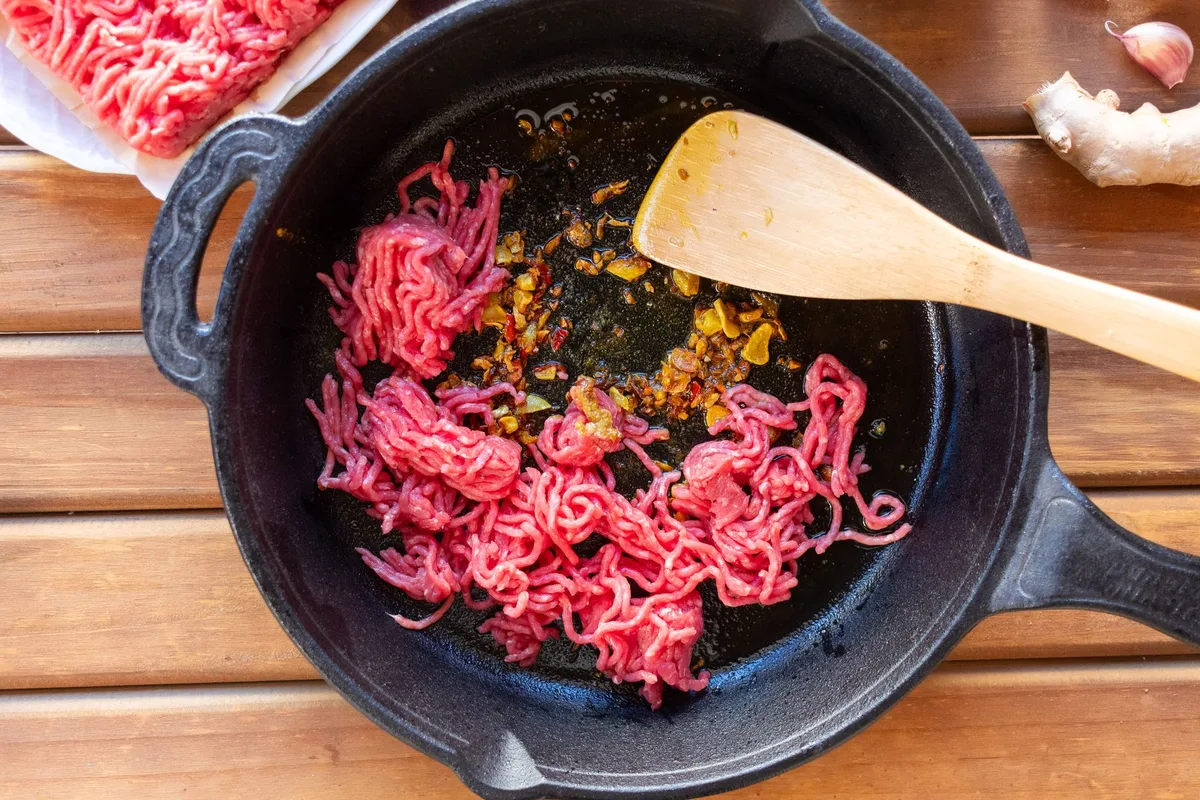
Image source: Pexels / Laura oliveira (Pexels License)
For Stainless Steel and Non-Stick
These pans are easy. Let them cool slightly, then wash with hot, soapy water. A soft sponge is fine.
For stubborn bits, let the pan soak briefly, then scrub.
You might hear deglazing, adding liquid to a hot pan to loosen stuck-on food, turns that residue into a sauce. That’s a great technique. Add a splash of wine, broth, or water to the hot pan and scrape with a wooden spoon.
This lifts the browned bits and makes cleanup easier.
For Cast Iron and Carbon Steel
There are endless arguments about cast iron care, but here’s the short version:
- Wash with hot water and a stiff brush. Mild soap is okay now, modern cast iron handles it. The “never use soap” rule is obsolete.
- Dry immediately and thoroughly. Cast iron rusts fast. Set it on a warm burner for a couple minutes to evaporate every last drop.
- Rub with a thin layer of oil. Use a paper towel and literally one or two drops. The pan should feel dry, not greasy. Too much oil leaves it sticky.
- Heat until the oil just smokes. This bonds the oil to the pan’s surface, building your seasoning layer.
Seasoning is a lifetime project. Every time you cook, you add another layer. Most kitchen-supply stores and the U.S. Department of Agriculture’s food safety guidelines suggest keeping pans clean and dry for long-term durability. The more you cook, the better the seasoning gets.
Temperature Mistakes That Ruin Everything
If your food tastes meh despite following recipes, you’re probably making a temperature mistake.
Too high: Your butter burns, your garlic turns bitter, and your pan smokes. Most people overestimate how hot they need to go. Medium heat handles 80% of skillet cooking just fine.
Too low: Food steams, sticks, and never develops a crust. Raw chicken left on low heat will slowly release all its juices and come out dry.
The fix is learning to adjust. Start a protein on high to get the crust, then drop the heat to finish cooking through. That’s called the reverse-sear if you reverse the order or just “blackout sear” if you’re searing first.
For thick steaks and chicken breasts, finishing in the oven after searing is the pro move. Sear both sides on high for a couple minutes, then transfer the whole skillet to a 400°F oven for 8, 10 minutes. This yields a perfect crust with a juice, evenly cooked center.
A Quick Beginner Routine to Build Confidence
If you’re completely new to skillet cooking, start with a foolproof recipe so you build muscle memory. Do this:
- Heat a stainless steel or cast iron skillet on medium for 3, 5 minutes.
- Add a tablespoon of oil and swirl to coat.
- Toss in a handful of frozen shrimp (pat dry first). Season with salt and pepper.
- Sauté for 2 minutes per side until pink and slightly charred. Pull them immediately.
- Wipe the pan, add a little butter, and toss in some spinach with a minced garlic clove.
- Stir for 45 seconds until wilted.
That’s one impactful dinner, and it forces you to manage heat, time, and technique all in one go.
Why Your Skillet Is the Best Tool You Own
A skillet isn’t just one tool, it’s an entire cooking method. Grill, broiler, sautéer, fryer, and even a baking sheet substitute all in one pan. That’s why professional kitchens use them as their primary cookware.
Once you can control heat, understand oil, and handle food care, this one pan can produce more variety than most full appliance setups. It’s versatile, affordable, and even a basic model will last you decades with decent care.
The only thing standing between you and great skillet meals is practice. Start with the basics, preheating, searing, and a simple sauté, and your skillet will reward you with some of the best food you’ve ever made.