You’ve got a beautiful tuna steak sitting in your fridge, and you’re staring at it wondering how not to ruin it. That’s exactly why you’re here. Learning how to cook tuna steak in pan might seem intimidating, but it’s honestly one of the fastest, most impressive dinners you can make at home.
The whole process takes about 10 minutes from start to finish. The difference between a restaurant-quality seared tuna and a sad, gray, rubbery mess comes down to a few simple techniques. Once you understand the basics, you’ll nail it every single time.
Quick Answer
Heat a cast iron or stainless steel pan on high until it’s smoking hot. Pat your tuna steak completely dry with paper towels. Season both sides generously with salt and pepper.
Add oil with a high smoke point, like avocado oil. Sear the tuna for 1 to 2 minutes per side for medium-rare, depending on thickness. Rest it for 3 minutes before slicing against the grain.
The Real Problem: Why Your Tuna Steak Turns Out Dry or Rubbery
Most people overcook tuna because they treat it like chicken or salmon. Tuna is different. It’s a dense, meaty fish with a texture closer to a beef steak than to flaky white fish.
When you cook it all the way through, the moisture evaporates, the proteins tighten up, and you’re left with something that tastes dry, fishy, and tough.
The second killer is skipping the drying step. A wet tuna steak won’t sear properly. The moisture turns to steam the second it hits the hot pan, and instead of a beautiful golden crust, you get a pale, steamed surface that sticks to the metal.
The third mistake is using the wrong pan or the wrong oil. Not all pans are created equal, and not all oils can handle the heat you need.
Here’s the thing: perfect pan-seared tuna has a crispy, flavorful crust on the outside and a warm, tender, almost raw center on the inside. Think of it like a steak cooked rare. If that thought makes you nervous, you can cook it more, but you need to understand what you’re sacrificing.
In our research, the overwhelming consensus across culinary sources is that tuna’s sweet spot is medium-rare. The interior stays silky and rich, and the natural flavor shines through without needing heavy sauces.
What You Need Before You Start
Before you even turn on the stove, gather your tools and ingredients. It makes the whole process smoother.
Choosing the Right Pan (Cast Iron vs. Stainless Steel vs. Non-Stick)
Your pan choice genuinely matters here. Here’s how they stack up:
| Pan Type | Heat Retention | Searing Quality | Sticking Risk | Best For |
|---|---|---|---|---|
| Cast Iron | Excellent | Excellent | Low if preheated | The best overall choice |
| Stainless Steel | Good | Excellent | Medium | Great when you want a crust and pan sauce |
| Non-Stick | Fair | Poor | Very Low | Fine for beginners, but weaker crust |
Cast iron holds heat like a champ. When you drop a cold fish steak on it, the pan doesn’t lose temperature, which means you get a proper sear instead of a slow warm-up that steams the fish.
Stainless steel is also excellent. You get a great crust, and if you want to deglaze with butter or lemon juice afterward, the fond at the bottom adds tons of flavor.
Non-stick is the easiest to use, but the crust won’t be as impressive. Higher heat can also damage non-stick coatings over time.
Aggregate reviews across cooking forums and culinary testing consistently rate cast iron as the top choice for searing tuna. If you don’t own one yet, a basic 12-inch cast iron skillet is worth every penny.
Best Oils for High-Heat Searing and Why Smoke Point Matters
You need an oil that can handle serious heat without burning. When oil burns, it tastes bitter and acrid. That flavor transfers directly to your fish.
Here’s a quick guide to smoke points:
| Oil | Smoke Point | Use for Tuna |
|---|---|---|
| Avocado Oil | 520°F | Best choice |
| Light Olive Oil | 465°F | Great option |
| Extra Virgin Olive Oil | 375°F | Too low, will burn |
| Butter | 350°F | Use only at the end for basting |
Avocado oil is the winner. It has a neutral flavor, handles the highest heat, and won’t interfere with the taste of the tuna.
Light olive oil also works well. Extra virgin olive oil has a lower smoke point and can turn bitter when you crank the heat. Skip it for this recipe.
Butter adds incredible flavor, but it burns quickly. If you want that nutty, browned butter taste, sear with oil first, then add butter and spoon it over the fish during the last 30 seconds.
Fresh vs. Frozen Tuna Steak: Which Should You Buy?
This is a common question, and the answer might surprise you. High-quality frozen tuna is often better than “fresh” tuna that’s been sitting on ice for days.
Here’s why: most commercially caught tuna is flash-frozen on the boat immediately after being caught. That locks in freshness at peak quality. What you see at the seafood counter labeled “fresh” might have been defrosted and sitting there for a day or two already.
Look for frozen tuna labeled “sushi-grade” or “sashimi-grade.” Those labels indicate the fish was handled carefully and frozen at deep temperatures to kill parasites. If your fish market sells it, that’s your best bet for eating it rare.
If you buy frozen, thaw it in the refrigerator overnight. Never thaw at room temperature, as that promotes bacterial growth. Once thawed, pat it dry and cook it the same day.
The Decision Tree: How Do You Want Your Tuna Cooked?
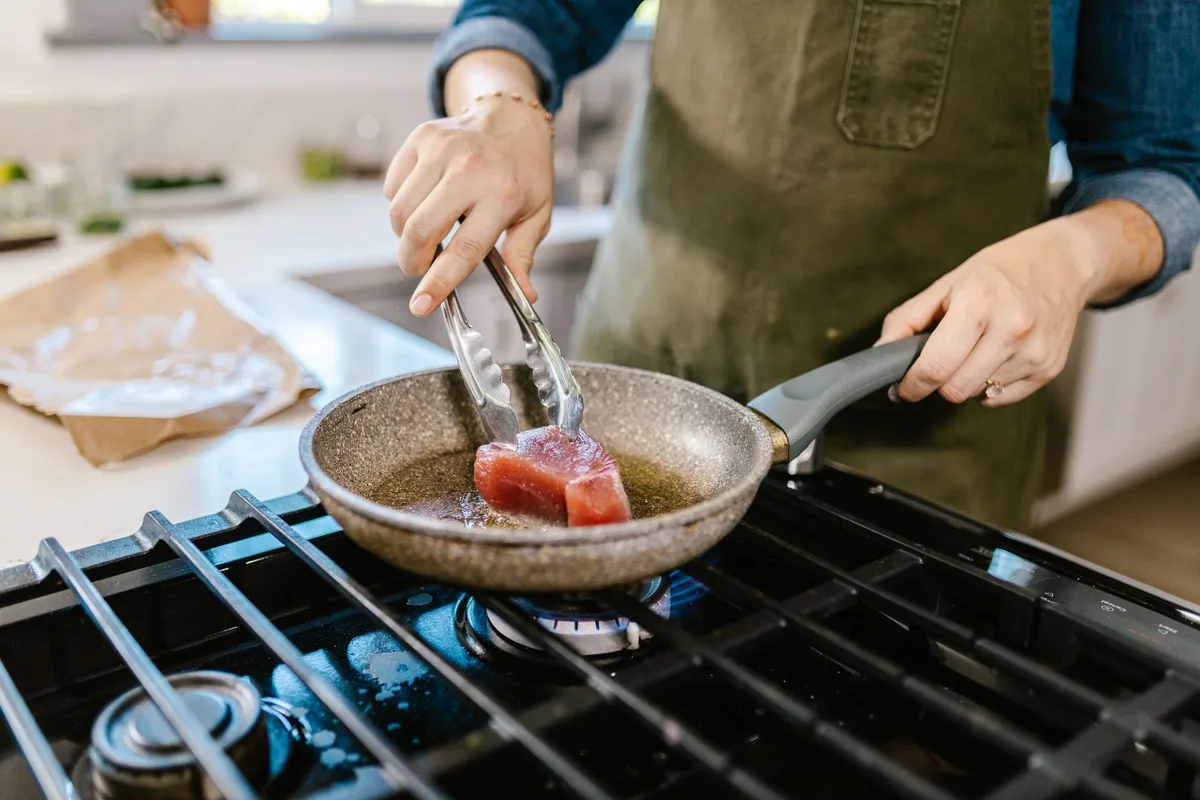
Before you heat the pan, decide your target doneness. This choice changes your cooking time significantly.
Rare and Tuna Tataki
If you want the center completely raw and only the outside seared, this is the route. Think of it as giving the tuna a flavor crust while keeping it essentially sashimi inside.
- Sear for 30 to 45 seconds per side
- The interior stays cool and ruby red
- Best for sushi-grade tuna
- This style is called tataki when sliced thin after searing
This method works beautifully when the tuna quality is exceptional. You taste the pure, clean flavor of the fish with a savory, crispy exterior.
Medium-Rare (The Most Popular Choice)
This is the sweet spot for most people. The center warms up slightly, the texture turns silky and tender, and the tuna maintains its richness without feeling raw.
- Sear for 1 to 2 minutes per side for a 1-inch steak
- The center should be warm but still pink and translucent
- Internal temperature around 120°F to 125°F
If you’ve never had medium-rare tuna, start here. It’s forgiving, delicious, and the texture surprises most first-timers in the best way.
Medium to Well-Done (For People Who Prefer Fully Cooked Fish)
Some people just can’t do rare fish. That’s totally fine. You can cook tuna through, but you need to accept that it will be drier and firmer.
- Sear for 3 to 4 minutes per side for a 1-inch steak
- Internal temperature of 135°F or higher
- The texture is closer to canned tuna in terms of flakiness
- Stronger fishy flavor develops as it cooks
If you’re cooking for someone who wants well-done tuna, consider marinating it first. A soy-ginger or citrus-based marinade adds moisture and flavor that helps compensate for the drying effect.
Step-by-Step: How to Pan-Sear Tuna Steak
Now, let’s get into the actual cooking. Follow these steps in order, and you’ll get consistent results.
Step 1: Dry the Steak Thoroughly
Take the tuna out of the fridge about 20 minutes before cooking. Let it sit at room temperature so it cooks evenly.
Then, grab paper towels and press firmly on both sides of the steak. You want it bone-dry. Any moisture on the surface will prevent a good sear and cause sticking.
This step seems small, but it’s the difference between a beautiful crust and a pallid, steamed exterior.
Step 2: Season Generously (But Keep It Simple)
Salt is non-negotiable. Use kosher salt or fine sea salt and season both sides generously. Add freshly cracked black pepper.
That’s all you need for the classic version. Tuna has a rich, distinctive flavor that doesn’t need much help.
If you want to get creative, try a light dusting of smoked paprika, garlic powder, or Chinese five-spice before searing. But when in doubt, just salt and pepper.
Step 3: Heat the Pan Until It’s Shimmering Hot
Place your cast iron or stainless steel pan over high heat. Give it a solid 3 to 5 minutes to heat up. The pan is ready when a drop of water dances across the surface and evaporates almost instantly.
Add your oil. Swirl it around to coat the bottom. The oil should shimmer and ripple immediately.
Wait until the oil is just barely smoking. That’s your signal to add the tuna.
Step 4: Sear Time by Thickness and Doneness
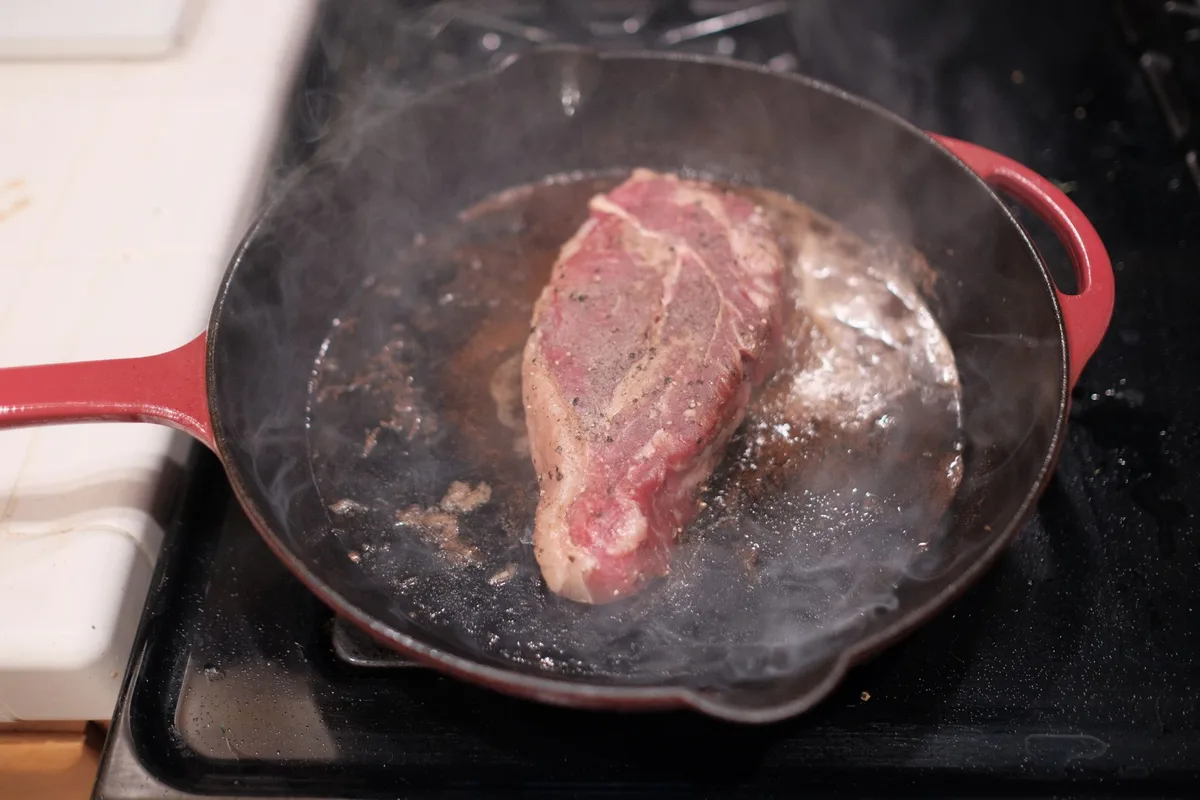
Carefully place the tuna in the pan, laying it away from you to avoid oil splatter. Don’t move it. Let it sit.
Here’s your time guide:
| Steak Thickness | Rare (30 sec style) | Medium-Rare | Medium |
|---|---|---|---|
| 3/4 inch | 30 seconds per side | 60 seconds per side | 2 minutes per side |
| 1 inch | 45 seconds per side | 90 seconds per side | 3 minutes per side |
| 1.5 inches | 60 seconds per side | 2 minutes per side | 3.5 minutes per side |
Use tongs to flip the steak gently. Sear the other side for the same duration.
For a nice touch, use tongs to hold the steak on its edge for 20 to 30 seconds. This sears the thin sides and gives you a fully crusted exterior.
Step 5: Rest Before Slicing
Remove the tuna from the pan and place it on a cutting board. Let it rest for 3 minutes.
This is critical. The heat continues to distribute through the steak while it rests. If you slice immediately, the juices run out and the center cooks unevenly.
Step 6: Slice Against the Grain
Use a sharp knife and slice perpendicular to the natural grain lines in the fish. This shortens the muscle fibers, making each bite more tender.
Aim for slices about 1/4 to 1/2 inch thick. Serve immediately with a squeeze of lemon, a sprinkle of flaky sea salt, or your favorite dipping sauce.
Internal Temperature Guide: Doneness by the Numbers
If you want precision, use an instant-read meat thermometer. It takes the guesswork out entirely.
Here’s your internal temperature reference:
| Doneness Level | Internal Temperature | Visual Cue |
|---|---|---|
| Rare | 115°F | Center is ruby red and cool |
| Medium-Rare | 120°F to 125°F | Center is pink and warm |
| Medium | 130°F to 135°F | Center is mostly opaque with a pink line |
| Well-Done | 145°F+ | Center is fully opaque and flaky |
As of 2026, the general culinary consensus and FDA guidance for fish doneness have some important distinctions. The FDA recommends cooking fish to 145°F for food safety. However, many chefs and home cooks choose to serve tuna at lower temperatures, preferring the texture and flavor of medium-rare.
Here’s the honest trade-off: eating rare or undercooked fish carries a risk of foodborne illness. That risk is lower when you buy sushi-grade tuna that’s been frozen to kill parasites. The FDA’s parasite destruction guidance specifies freezing fish at -4°F for 7 days to eliminate parasites.
Flash-frozen commercial tuna meets these standards.
The choice comes down to your personal risk tolerance. For healthy adults, sushi-grade tuna seared rare is widely considered safe. For pregnant women, young children, older adults, and anyone with a compromised immune system, it’s safer to cook tuna to well-done.
Common Mistakes to Avoid (And How to Fix Them)
Even experienced cooks mess up tuna from time to time. The good news is that most problems have simple fixes.
The Sticking Problem: Why Your Tuna Sticks and How to Prevent It
If your tuna sticks to the pan, you made one of two mistakes. Either the pan wasn’t hot enough, or the fish wasn’t dry enough.
A properly heated pan creates a natural release. When the surface is hot enough, the fish essentially seals on contact and lifts away cleanly. If it’s sticking, give it more time.
Don’t force it with your spatula. Let the crust form and it will release on its own.
The Crowded Pan Mistake: Steaming vs. Searing
Cooking more than one steak at a time? Give them space. When tuna steaks touch each other in the pan, they trap steam between them.
That steam prevents browning and leaves you with gray, soggy patches.
If you’re cooking for four, use two pans or work in batches. The extra minute of effort is worth it.
Skipping the Rest: Why It Makes or Breaks the Texture
We covered this in the steps, but it bears repeating. Resting isn’t optional. A tuna steak sliced immediately will lose its juices and turn mealy.
Three minutes seems like forever when dinner’s on the line. Trust the process. Your patience pays off.
Flavor Variations Worth Trying
Plain salt and pepper is beautiful. But sometimes you want variety. Here are four reliable flavor directions.
Sesame-Crusted Tuna
Mix equal parts white and black sesame seeds in a shallow dish. Press the seasoned tuna into the seeds on both sides, then sear as usual. The seeds toast in the pan and add a nutty, crunchy crust.
This version pairs beautifully with a simple soy-ginger dipping sauce.
Soy-Ginger Marinade
Whisk together soy sauce, grated fresh ginger, minced garlic, and a splash of rice vinegar. Marinate the tuna for 15 to 20 minutes, no longer. The acid in the marinade starts to “cook” the fish after extended exposure.
Pat dry before searing, otherwise you’ll get steam instead of crust.
Blackened Cajun Tuna
Rub the steak with a blend of smoked paprika, cayenne, garlic powder, onion powder, oregano, and thyme. Sear in a screaming hot pan. The spices form a dark, flavorful crust.
Go easy on the cayenne unless you crave serious heat.
Simple Herb and Citrus Finish
After searing, squeeze fresh lemon or lime over the tuna while it rests. Add a sprinkle of chopped chives, parsley, or cilantro. The acidity cuts through the richness and brightens the whole dish.
This is the fastest way to elevate a basic sear.
Safety First: Who Should Avoid Rare or Medium-Rare Tuna
Let’s be direct about the risks. Undercooked fish carries a potential for foodborne illness.
The FDA recommends cooking all fish to an internal temperature of 145°F. That’s well-done by any standard. Tuna served rare or medium-rare falls below that threshold.
Sushi-grade tuna has been flash-frozen to kill parasites, which reduces the biggest risk. But freezing doesn’t eliminate all bacteria. There’s still a small chance of contamination through handling or processing.
If you fall into any of these categories, cook your tuna fully:
- Pregnant or nursing women
- Young children
- Older adults
- Anyone with a weakened immune system
- People with chronic liver or kidney conditions
Everyone else can weigh the small risk against the significantly better flavor and texture of medium-rare tuna. Many people make that choice every day in restaurants. Just buy from a reputable source and eat it fresh.
Buying and Storing Tuna Steak: What to Look For
Your final result depends heavily on your starting ingredient. Here’s how to pick a winner.
What Fresh Tuna Should Look and Smell Like
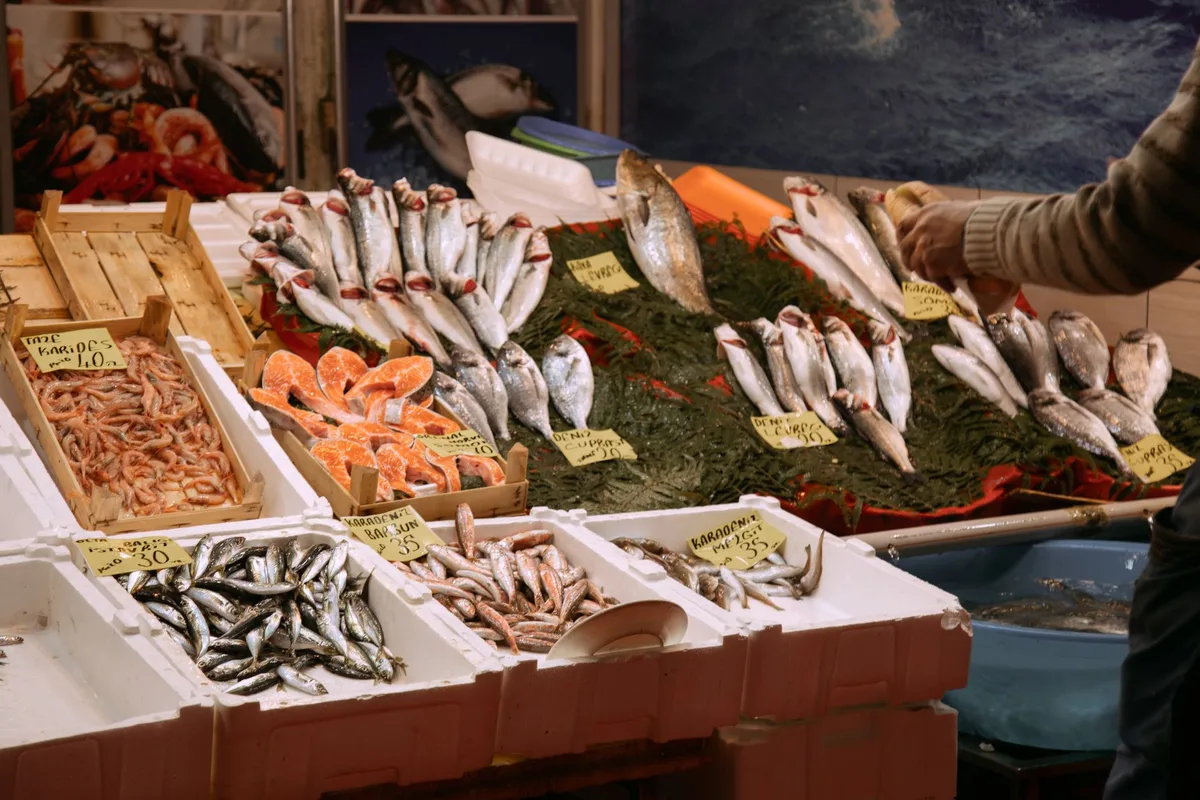
High-quality fresh tuna has a deep red or ruby color. It should look glossy, not dull or brown. The flesh should feel firm and spring back when pressed.
The smell matters most. Fresh tuna has almost no odor. If it smells fishy or ammonia-like, walk away.
That’s a sign of spoilage.
How to Store Tuna at Home
Keep fresh tuna in the coldest part of your refrigerator, ideally between 32°F and 39°F. Place it on a plate or tray and cover loosely with plastic wrap.
Plan to cook it within one to two days of purchase. Tuna doesn’t age gracefully.
Freezing Tuna Steaks
Frozen tuna keeps well for two to three months. Store it in an airtight freezer bag, removing as much air as possible.
Thaw overnight in the refrigerator. Don’t use warm water or a microwave. Slow thawing keeps the texture intact.
Frequently Asked Questions
How long do you cook a 1-inch tuna steak?
For medium-rare, sear a 1-inch steak for 90 seconds per side. That gives you a warm, pink center with a nice crust. Add 30 seconds per side for medium.
Can you cook frozen tuna steak without thawing?
It’s possible, but not recommended. The outside will overcook before the center thaws. Thaw frozen tuna in the refrigerator overnight for even results.
Is it okay if my tuna steak is slightly raw in the middle?
For healthy adults buying sushi-grade tuna, yes. The flash-freezing process kills parasites. If you’re in a higher-risk group, cook it fully to 145°F.
How do you keep tuna steak from drying out?
Don’t overcook it. Aim for medium-rare and rest the steak for three minutes after searing. Use high heat and a fast sear to lock in moisture.
What side dishes go well with pan-seared tuna?
Light, fresh sides work best. Try a cucumber salad, steamed rice, sautéed greens, or roasted asparagus. A crisp white wine or light beer complements it nicely too.
Final Verdict: Your Go-To Formula for Perfect Pan-Seared Tuna Every Time
Pan-searing tuna comes down to three non-negotiables. Dry the steak completely. Get the pan screaming hot.
Don’t overcook it.
Follow that formula and you’ll get a golden crust with a silky, tender center every single time. It’s a 10-minute dinner that looks and tastes like something from a nice restaurant.
For your first attempt, stick with the basics. Salt, pepper, avocado oil, and a 1-inch steak seared for 90 seconds per side. That’s your foundation.
Once you’re comfortable, experiment with sesame crusts, marinades, or a quick pan sauce. The technique stays the same. Only the flavor changes.
One last tip from our research: buy the best quality tuna you can afford. Sushi-grade fish from a reputable seafood counter makes a noticeable difference. When the ingredient is excellent, you don’t need to hide it behind heavy sauces.
Now fire up that pan. Your perfect tuna steak is minutes away.