There’s a small, aluminum octagon sitting on a kitchen shelf in millions of homes. It whistles, it hisses, and it produces a cup of coffee that’s strong, rich, and full of ritual. That’s the moka pot.
If you’ve got one tucked away, or you’re about to buy your first, I’m going to show you exactly how to use it. No guesswork. No bitter, burnt cups.
Just a solid, repeatable method that delivers bold coffee every single morning.
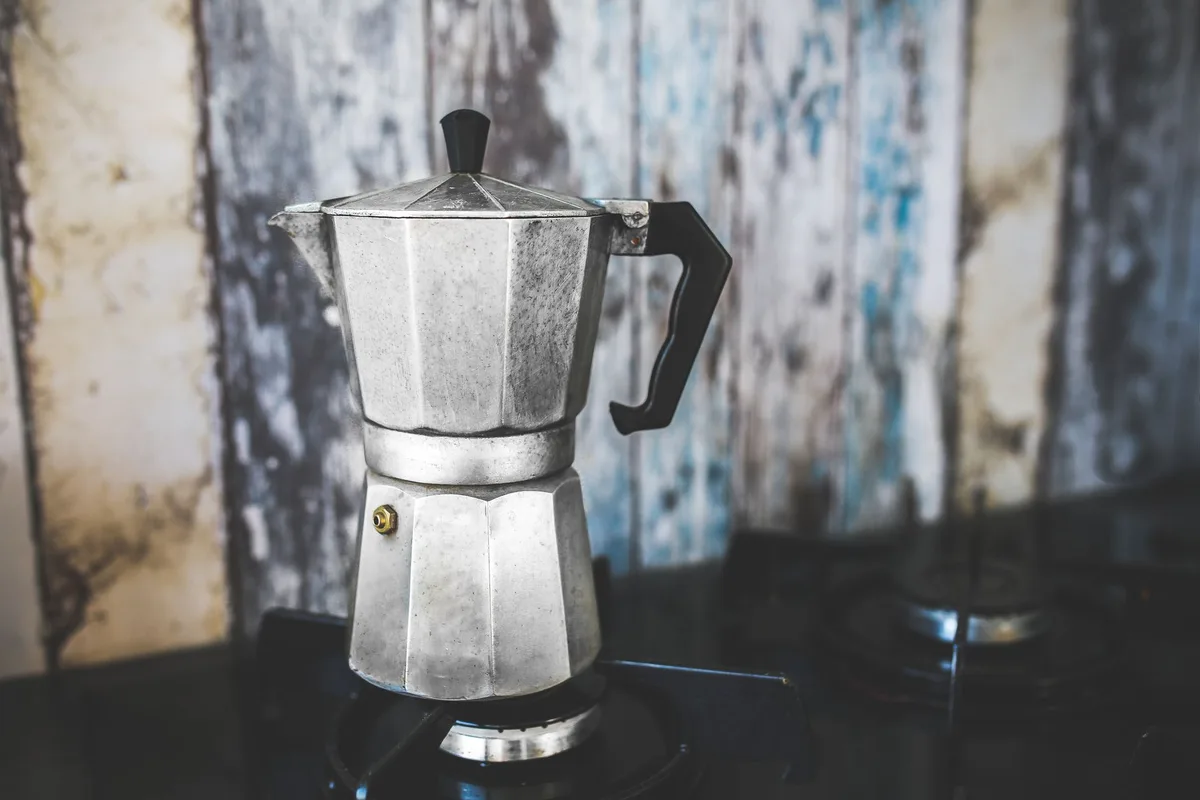
Image source: Pexels / Karolina Grabowska www.kaboompics.com (Pexels License)
The moka pot isn’t an espresso machine. Let’s get that straight right now. It makes concentrated coffee with a pressure level far below a true espresso maker.
But it’s the closest thing most people have at home, and honestly, when done right, it can be exceptional.
What Is a Moka Pot and Why Does It Matter?
Invented in 1933 by Alfonso Bialetti, the moka pot is a stovetop coffee maker that forces boiling water through ground coffee using steam pressure. It’s iconic. The shape is instantly recognizable.
It has three chambers: a bottom boiler for water, a middle funnel basket for coffee grounds, and a top collector for the brewed coffee.
Why does it matter? Because it sits in a sweet spot between a French press and a real espresso machine. You get a concentrated, syrupy shot that can be drunk straight, mixed with milk, or used as a base for other drinks.
It’s cheap, durable, and requires no electricity. It’s also forgiving once you understand the rules.
But here’s the catch. A moka pot gets a bad reputation for making bitter, overly strong coffee. Usually, that’s not the pot’s fault.
It’s user error. Wrong grind, too much heat, or using hot water instead of cold creates problems. Let’s fix that.
The Anatomy of a Moka Pot
Before you brew, you must know your equipment. There’s no point adjusting the grind if you don’t understand how the pot functions.
| Part | Purpose |
|---|---|
| Bottom Chamber | Holds the water. Boiling turns it to steam that creates pressure |
| Funnel Basket | Sits inside the bottom chamber, holds the coffee grounds |
| Filter Plate | A metal disc that keeps grounds out of your final cup |
| Top Chamber | Collects the brewed coffee |
| Gasket | A rubber or silicone ring that seals the two halves together |
| Pressure Valve | A safety valve that releases excess pressure |
Every single part matters. If the gasket is old or the filter plate is clogged, your coffee will suffer. A clean pot is the first and biggest secret.
Old coffee oils go rancid. They build up and destroy flavor.
Take your pot apart after every use. Rinse everything with warm water. Do not use soap on aluminum parts.
Soap sticks to the surface and ruins the next brew. Just hot water. Dry it completely and reassemble loosely.
What Type of Coffee Grind Should You Use?
The grind size is the single most common mistake. People use espresso grind. That’s wrong.
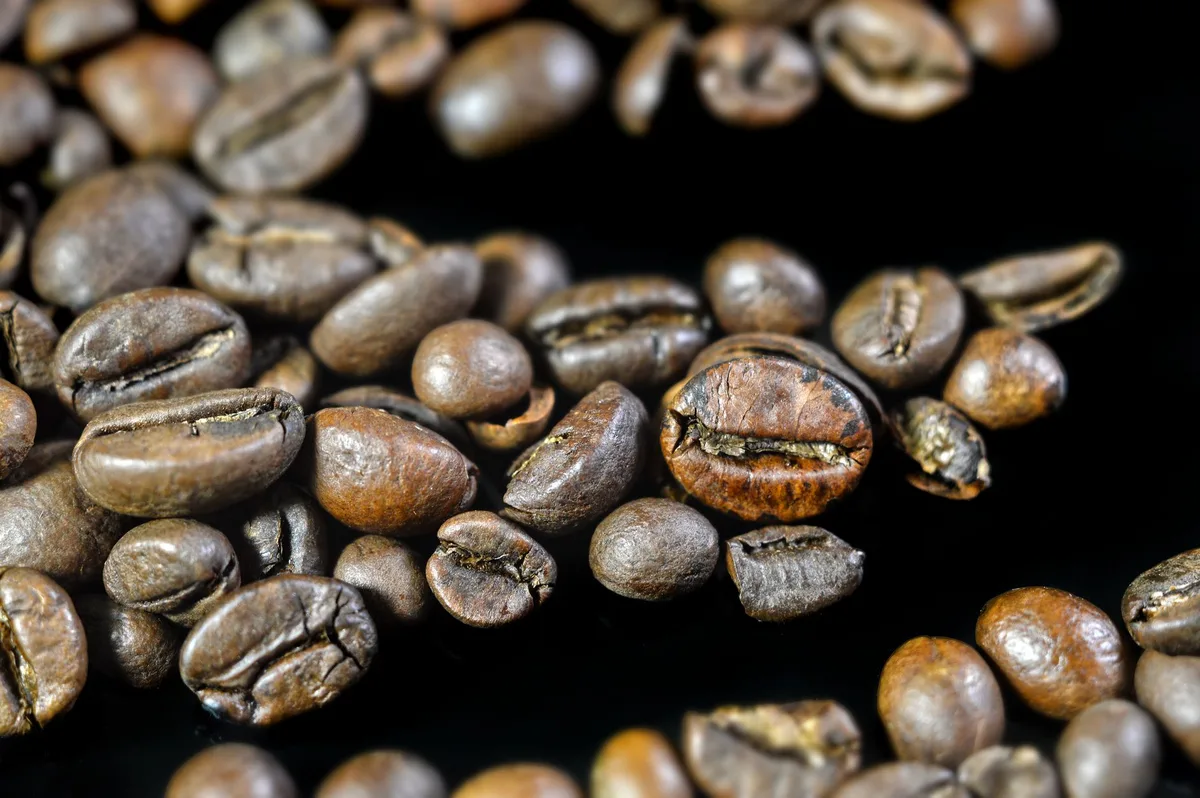
Image source: Pexels / Moussa Idrissi (Pexels License)
Espresso grind is too fine. It creates so much resistance that the water takes too long to push through. That leads to over-extraction and a bitter, harsh cup.
It also jams up against the filter plate, making the pot hard to clean.
The sweet spot is a finer grind than drip coffee but coarser than espresso. Think of it as table salt. If it feels powdery, it’s too fine.
If it looks like kosher salt, it’s too coarse. Sand-like is what you want.
Why does this happen? The moka pot works on pressure, but not much of it. Fine ground coffee clogs the water’s path.
Coarse ground lets the water rush through without extracting flavor. The right grind allows a slow, steady flow that pulls out oils and solids evenly.
Here’s a practical tip. Buy whole beans and grind at home. A burr grinder is best.
You get consistent particle size. Pre-ground coffee from a supermarket may work in a pinch, but you’re gambling with quality. And if you buy from a roaster, mention it’s for a moka pot.
They’ll dial you in.
How to Brew Coffee With a Moka Pot
Now, the main event. The process. It builds on everything above and adds the remaining variables: water, heat, and timing.
1. Fill the Bottom Chamber with Water
Unscrew the top chamber. Look at the bottom. There’s a safety valve and a fill line.
Some pots have a clearly etched line; others do not. If you don’t see a line, fill water just below the pressure release valve. That’s the golden rule.
Do not overfill. Do not underfill. Underfilling leads to a high water-to-coffee ratio and weak output.
Overfilling causes the water to contact the coffee before pressure is built, which leads to burnt grounds before the extraction even starts.
Use cold, filtered water. Never use hot water. Why?
Cold water heats up slowly. That maintains a stable temperature and creates a steadier brewing process. Hot water introduces thermal shock and extracts too quickly, often pulling out bitter compounds.
The result is harsh, aggressive coffee.
2. Insert the Funnel Basket and Fill It With Coffee
Drop the funnel basket into the bottom chamber. It should sit flush. No gaps on the sides.
Now fill it with your medium-fine ground coffee. Fill it all the way to the brim. Do not tamp.
Tamping packs the grounds too tightly and blocks water flow. You want a level, loose fill. Use your finger or a flat utensil to sweep the excess off the top.
Think of it this way. A moka pot is not an espresso machine. Tamping is for portafilters.
Here, you want a natural, even pack. The water pressure does the job.
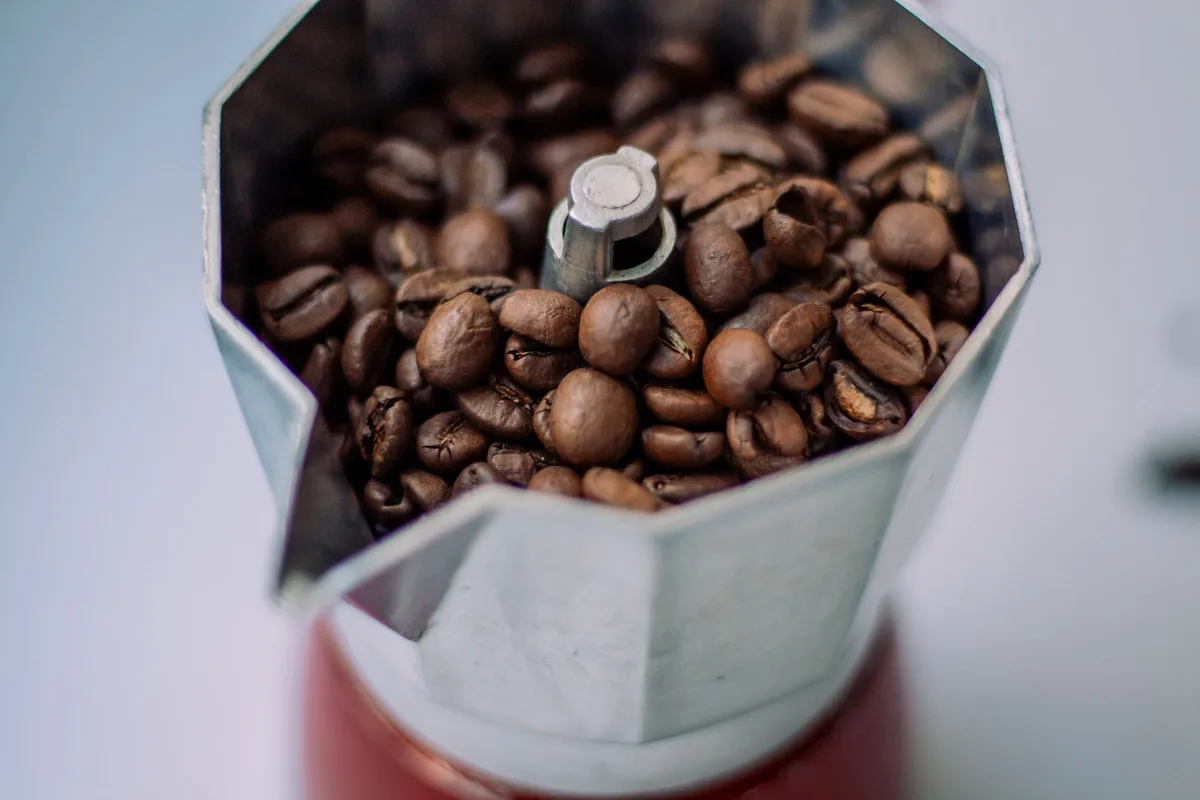
Image source: Pexels / Sedanur Kunuk (Pexels License)
3. Screw the Top Chamber Tightly
This sounds simple, but it’s where leaks happen. Align the threads carefully. Screw it on snug.
Use a towel if the pot is warm. Hand-tight is enough. Over-tightening strips the threads or cracks the base.
Under-tightening creates a leak at the seam.
Check that the spout has no coffee residue blocking it. A blocked spout affects flow and creates a mess.
4. Place on the Stove Over Medium Heat
This is where tempers flare, literally. High heat destroys moka pot coffee. Dial your burner to medium.
On a gas stove, that means the flame should not reach the base’s edges. It should touch the center only.
Why medium? The moka pot is unregulated. It relies on you to manage the temperature.
If you crank the heat to high, you produce violent boiling. Water and steam rush through the grounds too fast. The extraction is uneven, bitter, and scalded.
Medium heat creates a gentle, steady pressure. You hear a soft hiss. It takes longer, around five minutes, but the result is worth it.
Great coffee requires patience.
5. Watch the Coffee Flow
Stay by the stove. Seriously, do not wander off. Watching your brew is not optional.
It takes about five minutes to build pressure, and then the magic starts.
You’ll see a dark, thick liquid emerge from the spout. It will look syrupy and gorgeous. As it flows, it lightens in color.
It becomes a golden-tan shade. That’s not the time to stop. That’s the time to act quickly.
The perfect extraction ends when you see the flow turn to a light, pale color. Or you’ll hear a gurgling. A sputtering sound.
That’s the signal that the water has run out and only steam remains.
6. Take It Off the Heat Immediately
The moment you see that gurgle, remove the pot from the heat. Don’t let it sit. Don’t wait for the whole top chamber to fill.
That last bit of coffee is the most bitter, acidic liquid you can produce.
The extraction should stop at 30 to 40 milliliters per six-cup pot. That sounds small, but the strength is intense. You’re making a coffee concentrate, not a full mug of drip.
7. Stir the Coffee Before Pouring
This is a pro move. When the brew finishes, the bottom of the pot holds stronger, denser liquid than the top. That’s natural separation, a result of water pushing through in phases.
Hold the handle with a towel. Unscrew the top chamber slowly. Grab a small spoon and stir.
Run it through the top compartment a few times. That mixes it evenly. Then pour your cup.
Skipping this step means your first sip is weak, and your last is bitter. Stirring makes the whole cup consistent. It’s a tiny step that makes a big difference.
How Much Coffee and Water Does a Moka Pot Use?
This is a matter of ratios. Most people get it wrong because they treat the pot like a drip coffee maker. A moka pot’s capacity is measured in cups, but those cups are tiny, about 30 to 40 milliliters each.
Not standard coffee mugs.
You can find moka pots in sizes from one cup to twelve cups. For the average person, a three-cup pot is ideal for a single strong cup. A six-cup pot makes approximately two standard coffee cups.
Here’s the rule. Use one level scoop (about ten to twelve grams) per “cup” of the pot. Fill the bottom chamber with cold water to the safety valve.
That’s your water amount. Then fill the basket with coffee, gently leveling it. You don’t need to weigh it unless you’re chasing specific numbers.
But let me offer a shortcut. Use a kitchen scale. Weigh your water.
Weigh your coffee. A good starting ratio is 10 to 12 grams of coffee per 60 milliliters of water. Tweak from there.
Some roasts are more forgiving, and your palate is the final judge.
The Biggest Mistakes People Make
I’ve seen all of these. I’ve made a few of them. If your moka pot coffee tastes bad, you are probably making one of these errors.
Turning the Heat Too High
This is the number one killer. High heat makes water boil too fast. The pressure skyrockets.
The coffee extracts too aggressively. It tastes burnt, metallic, and bitter. It also leaves a weird oily residue on your pot.
Using the Wrong Grind
Fine espresso grind clogs the filter. Coarse grind under-extracts. You need that middle ground.
Remember: fine but not powdery. If you don’t have a decent grinder, buy from a local roaster and ask for medium-fine, intended for moka pots.
Not Cleaning After Use
One-use grinds and stale oils stick to the filter plate. If you leave them, they rot and contaminate your next brew. Rinse right after cooling.
Use a bottle brush for the funnel and seal area. You’ll taste the difference.
Tamping the Grounds
A compressed bed of coffee creates a stubborn blockage. Then you turn heat up to force it through, starting a chain reaction of bitterness and channeling. Level the grounds.
Don’t compact them. The pot does the work.
Opening the Lid While Brewing
Lift the lid during extraction, and you lose the pressure seal. The steam escapes, breaking the boiling point. That’s why you see gear in the top chamber.
Keep the lid closed until the flow slows. It’s a safety thing, too. The liquid and steam are dangerously hot.
How to Clean and Maintain Your Moka Pot
Maintaining your pot is simple if you do it routinely. There are no moving parts, just a few components that wear out.
After each use, let the pot cool fully. Then take it apart. Discard the used grounds.
Rinse the funnel and top chamber under running water. Wipe the bottom chamber out. Do not use soap on aluminum.
Just hot water.
Dry all parts with a towel. Place the pot back together loosely with the lid propped open. This prevents moisture from building up inside and keeps mold at bay.
The gasket and filter plate are consumable parts. You should replace them every 6 to 12 months, depending on how often you brew. If you struggle to screw the top on or you see steam escaping from the side, it’s time for new rubber.
A scale of white mineral deposits is normal if you live in hard water. Descale monthly. Fill the pot with white vinegar and water (half and half).
Brew it without coffee. Let it cool, rinse thoroughly, and brew clean water once more. It removes build-up without damaging aluminum.
For deep cleaning, use a moka pot-friendly cleaner or a baking soda paste. Scrubbing the outer surface gently removes splatter marks. Keep it shiny, and it’ll last decades.
Why Your Moka Pot Coffee Is Bitter or Sour
Coffee bitterness and sourness come from two different problems. Bitterness is from over-extraction. Sourness is from under-extraction.
Both are fixable.
If your coffee is bitter:
- Your grind is too fine, or your heat is too high
- You’re brewing past the gurgling stage
- You might be using stale beans. Yeah, roasting date matters
If your coffee is sour:
- Your grind is too coarse, letting water pass too quickly
- You may be running out of water before extraction completes
- Your heat might be too low, and the pot never reaches pressure
Taste your cup. Identify the issue. Adjust one variable at a time.
Fixing both comes naturally when your grind, water level, and heat are all dialed in.
What to Do With the Coffee You Make
Moka pot coffee is strong. Don’t try to drink it like drip coffee. It’s a concentrate.
The Latin model is the best: the “taza” or a tiny demitasse. Sip it slowly.
If that’s too intense, there are plenty of uses. Dilute it with hot water to make an Americano. Pour it over ice and add milk for an iced latte.
Stir it into warm milk and honey for a café con miel. Whisk it into cocoa for a mocha twist. It works beautifully as a base.
If you’re trying to recreate the rich crema of an espresso machine, you won’t get it the same. You’ll get a subtle foam. That’s okay.
The moka pot makes a distinct cup of coffee that deserves its own appreciation.
Safety Tips for Everyday Use
A pressure-based device should always be treated with respect. That little pot on your stove holds scalding liquids and steam. Follow these rules.
- Never leave the pot unattended on heat. It can overpressurize if you forget it.
- Never fill the bottom chamber with hot or boiling water. That causes harsh extraction and unnecessary pressure spikes.
- Never open the pot while hot or venting. Let it cool and depressurize first.
- Keep the safety valve clear of blockage.
- Do not place an empty pot on a hot stove. It damages the aluminum.
If you care for it well, the moka pot becomes a heirloom. Many families pass the same pot through generations. It’s a classic for a reason.
And the best part is knowing exactly how to use it.
Final Thought on How to Use a Moka Pot
The moka pot is an accessible, beautiful machine. It rewards attention to detail. Use cold water, a medium-fine grind, and gentle heat.
Never rush the extraction. Listen to the flow and stop when the coffee turns pale. Stir before you pour.
Master that and you’re done. You have a consistently excellent cup of concentrated coffee at home. Whether you drink it black, sweetened, or drowned in steamed milk, you’ll understand why millions of people wake up to that familiar, quiet hiss every morning.
1 thought on “How to Use a Mokapot”