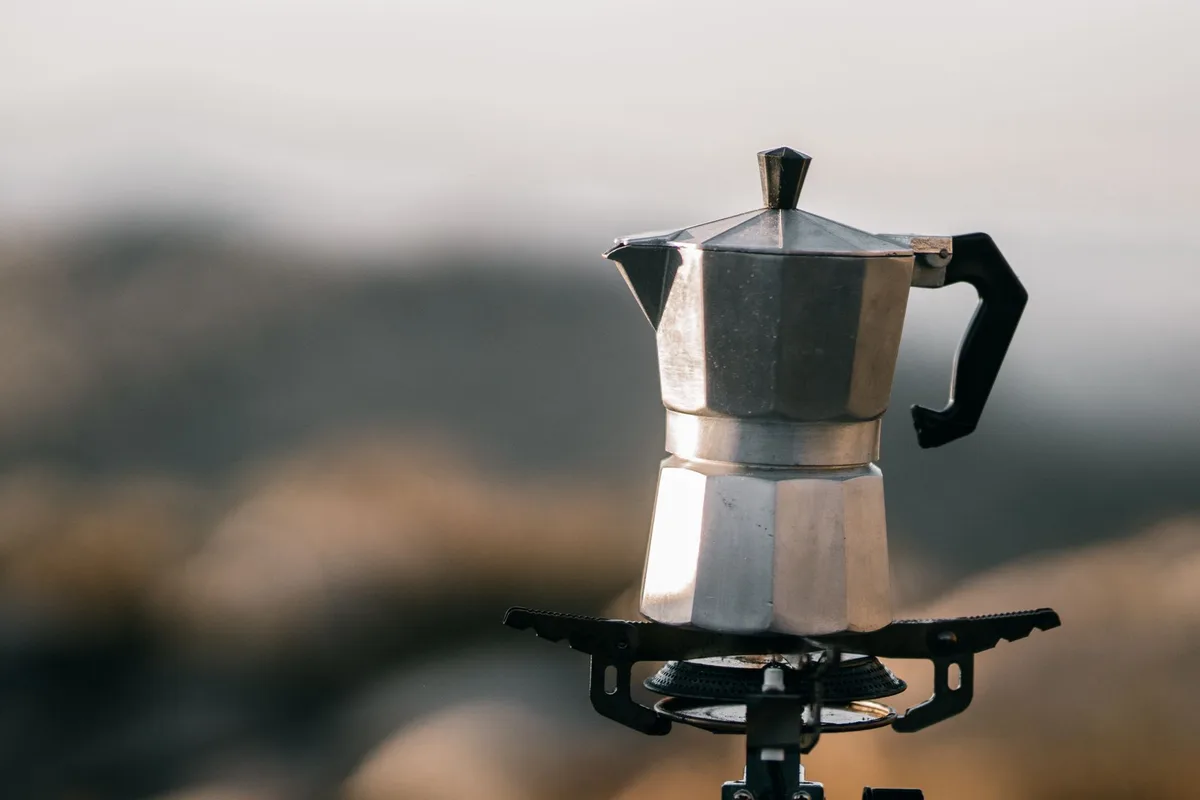
Image source: Pexels / Taryn Elliott (Pexels License)
How to grind coffee for moka pot
You’ve got the stovetop brewer. You’ve got the fresh beans. But if you grind them wrong, your moka pot coffee will taste bitter, sour, or just plain flat.
I’ve been there. It took me a while to figure out that the grinder settings matter just as much as the coffee itself.
Let’s fix that today.
This guide walks you through everything about grinding for a moka pot. We’ll cover the perfect grind size, the best grinder types, and step-by-step instructions. By the end, you’ll pull a rich, balanced shot that rivals your local café.
Why Grind Size Matters for a Moka Pot
The moka pot sits in a weird spot between a drip brewer and an espresso machine. It uses steam pressure to push water through the coffee bed. That pressure is only around 1.5 bars.
Compare that to espresso’s 9 bars, and you’ll see why grind size is so picky.
If your grind is too fine, the water struggles to pass through. You get over-extraction, which tastes bitter and ashy. Worse, the pressure builds up and might cause the safety valve to release or even spit coffee everywhere.
If your grind is too coarse, the water rushes through too fast. Under-extraction happens. Your coffee comes out thin, sour, and weak.
You lose all the rich oils and flavors that make moka pot coffee special.
The goal is a grind that offers just enough resistance. You want the water to hang around for a few seconds, pick up those soluble flavors, then push through. That sweet spot sits between espresso and table salt.
We’ll get into the exact look in a minute.
Understanding Grind Size for Moka Pot
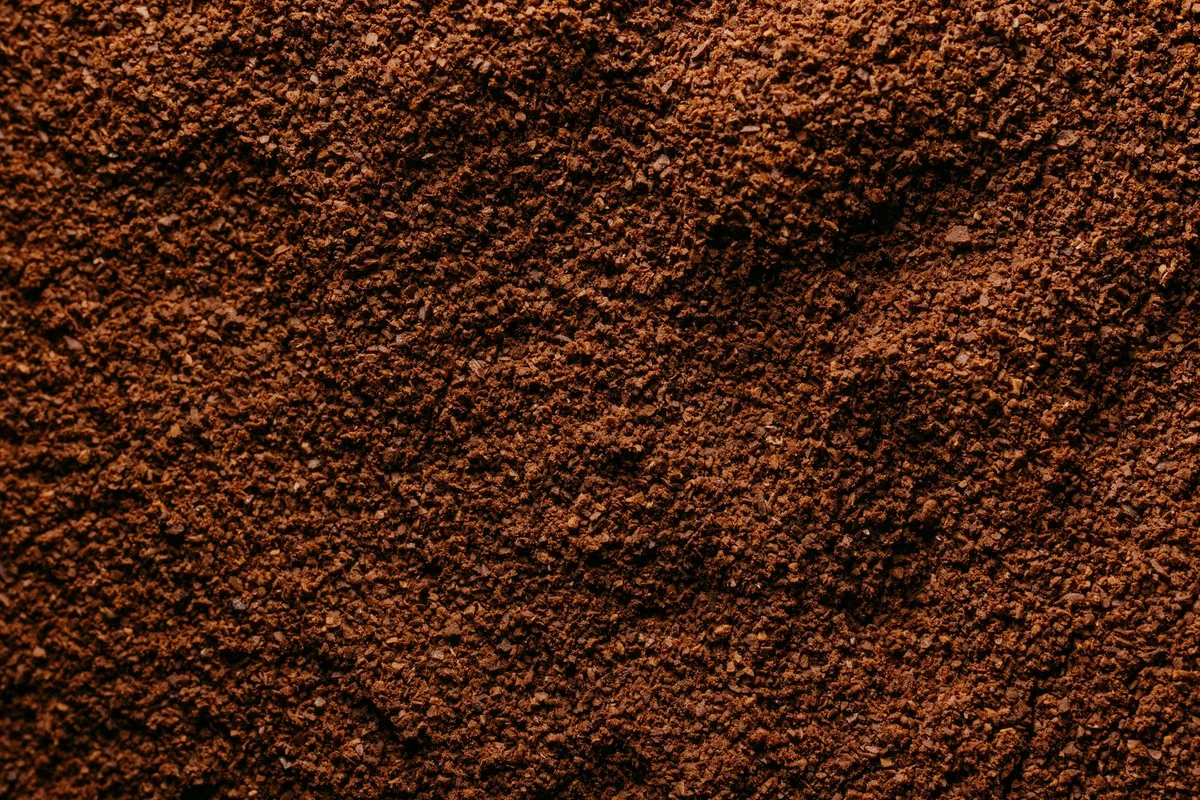
Image source: Pexels / Jonathan Borba (Pexels License)
Let’s get visual. Hold a pinch of your ground coffee between your fingers. Rub it.
Feel the texture? That’s your best indicator.
Moka pot grind should feel like fine sand or table salt. Not powdery like flour. Not chunky like sea salt.
If you compare it to espresso, it’s slightly coarser. If you compare it to drip coffee, it’s noticeably finer.
Think of it this way:
- Espresso grind: Powder-like, almost dusty, clumps when pinched
- Moka pot grind: Fine sand, slightly gritty, doesn’t clump hard
- Drip coffee grind: Rough sugar, uneven, clearly granular
Temperature also plays a role. A lighter roast is denser, so you might need a touch finer grind to slow down extraction. A dark roast is more porous, so slightly coarser can work better.
Use those as starting points and adjust to taste.
The “Salt Test” for Perfect Grind
Here’s a practical trick. Go to your kitchen and grab some fine table salt. Sprinkle it on a plate.
Then grind a few beans and compare. They should look almost identical in size.
Now grab some sugar. Compare again. If your coffee looks like sugar, it’s too coarse.
If it looks like flour, it’s too fine. Aim for that salt-like consistency.
I use this test almost every time I switch to a new bag of beans. Roast levels vary, and moisture content changes how beans fracture. The salt test keeps me honest without overthinking things.
Choosing the Right Grinder
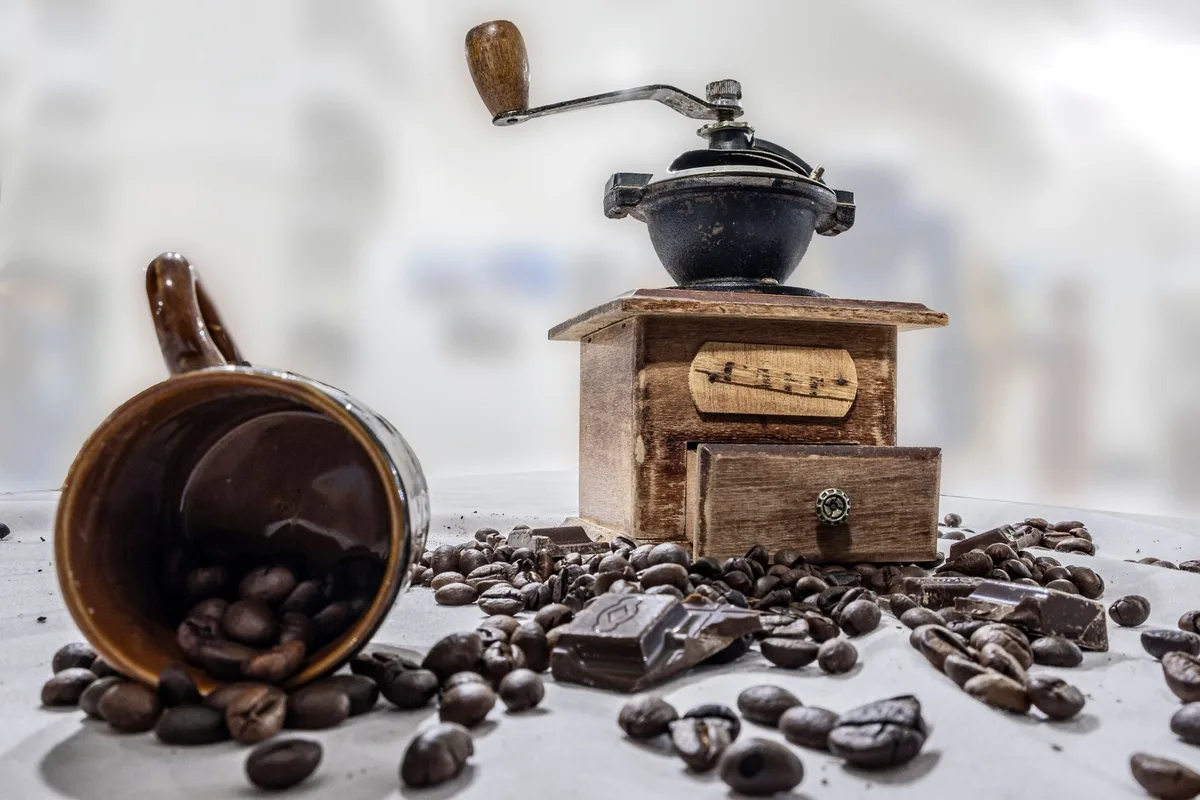
Image source: Pexels / Noureddine Belfethi (Pexels License)
Your grinder choice determines 80% of your success. Yes, really. Let’s break down the two main types and why one blows the other out of the water.
Burr Grinder vs. Blade Grinder
A burr grinder crushes beans between two abrasive surfaces. These surfaces sit at a set distance from each other, which gives you uniform particle sizes. Uniform grounds mean even extraction.
That’s the holy grail of coffee brewing.
Burr grinders come in two flavors: flat burrs and conical burrs. For home use, conical burrs are quieter and cheaper. Flat burrs are more consistent but cost more.
Either works great for moka pot.
A blade grinder chops beans with a spinning propeller. It’s basically a blender in miniature. The problem?
Chop length depends on time. Two seconds gives you boulders. Four seconds gives you dust.
You get a chaotic mix of both, which leads to channeling and uneven extraction.
Some people say blade grinders “just work” for moka pots. They’re not wrong, but the quality ceiling is low. You’ll get drinkable coffee, but you’ll never hit that sweet, caramel-forward flavor that makes moka pot famous.
My verdict: If you’re serious about good coffee, buy a burr grinder. It’s a one-time investment that pays off in every cup. You can get a decent manual burr grinder for under $40.
Electric ones start around $80 and go up from there.
Hand Grinder vs. Electric Grinder
This is more about lifestyle than quality. Both can produce excellent grinds.
Hand grinders are cheap, portable, and quiet. They also give you a forearm workout. For moka pot, which only needs 15-20 grams of coffee, grinding by hand takes about 30-45 seconds.
That’s totally manageable.
Electric grinders are faster and more convenient. You press a button, wait five seconds, and done. The trade-off is noise and price.
Some electric grinders are loud enough to wake the neighbors.
If you brew moka pot every morning, an electric grinder saves you time. If you travel or camp with your moka pot, a hand grinder is essential. I own both.
The hand grinder sits in my camping bag, and the electric one lives on my counter.
Grinder Settings for Moka Pot
Most burr grinders have numbered settings. Here’s a rough guide to start:
- 1: Very fine (espresso)
- 2-3: Fine (moka pot)
- 4-5: Medium-fine (pour-over)
- 6-7: Medium (drip)
- 8-10: Coarse (French press)
This isn’t universal. Every grinder is calibrated differently. But it gives you a starting point.
Grind a batch at setting 2 or 3, brew, and taste. If it’s bitter and slow, go coarser. If it’s sour and fast, go finer.
Step-by-Step: How to Grind Coffee for Moka Pot
Let’s put this into action. Here’s my exact routine, start to finish.
Step 1: Measure Your Beans
A standard moka pot basket holds about 15-18 grams of coffee. That’s for a 3-cup or 6-cup model. Weigh your beans on a kitchen scale.
If you don’t have one, use two tablespoons per basket.
Never grind more than you need. Coffee goes stale within minutes of grinding. Oxygen attacks the surface area, and flavors fade fast.
Grind only what fits in the basket.
Step 2: Set Your Grinder
If you’re using a burr grinder, start with a fine setting. Aim for that table salt texture. If you’re using a blade grinder, pulse it in 2-second bursts.
Shake the grinder between pulses to redistribute the beans. Stop when it looks uniform.
Don’t run a blade grinder for 10 straight seconds. That generates heat, which cooks the coffee and destroys delicate aromatics. Pulse, shake, pulse.
Step 3: Check the Texture
Pour the grounds onto a plate. Look for consistency. Are there big chunks?
Are there powdery bits? Both mean you need to adjust.
You can also do the “flick test.” Flick a pinch of grounds with your finger. If they scatter evenly, you’re good. If they clump, they’re too fine.
If they fly apart, they’re too coarse.
Step 4: Fill the Basket Without Tamping
Here’s a critical moka pot rule: do not tamp. Unlike espresso, moka pot needs a loose bed. Lightly sprinkle the grounds into the basket.
Tap the side to level it out. Wipe any stray grounds from the rim.
Tamping creates too much resistance. Water can’t push through, and you risk a pressure explosion or a clogged filter plate. Keep it loose and level.
Step 5: Brew and Adjust
Brew your pot as usual. After you finish, taste the coffee. Ask yourself two questions:
- Is it harsh and bitter? Go coarser.
- Is it sour and watery? Go finer.
It takes two or three trials to dial in a new bean. Keep notes if you’re into that. I use a little notebook, but a notes app works fine.
Common Grinding Mistakes and How to Fix Them
Everyone messes up at first. Here are the mistakes I see most often, along with quick fixes.
Using Pre-Ground Coffee
I get it. Pre-ground is convenient. But it’s also likely too fine for moka pot.
Most commercial pre-ground coffee is made for drip machines. That grind is too coarse for your stovetop brewer.
If you must buy pre-ground, look for “moka pot” or “fine” on the label. Some specialty roasters sell dedicated moka pot grinds. They’re rare, but they exist.
Grinding Too Much at Once
I know someone who grinds a week’s worth of beans on Sunday. Every cup after Monday tastes stale. Don’t do this.
Grind right before brewing. It takes 30 seconds. The flavor difference is night and day.
Ignoring the Roast Date
Fresh beans are non-negotiable. Check the roast date on the bag. Anything older than three weeks will taste flat, regardless of your grind.
Buy whole beans and use them within two weeks of roasting.
Using the Wrong Water Ratio
This isn’t strictly grind-related, but it impacts extraction. Use a 1:10 coffee-to-water ratio. For a 3-cup moka pot, that’s about 15g coffee to 150g water.
Adjust to your taste preferences.
FAQ: Grinding for Moka Pot
Can I use espresso grind for moka pot?
Technically, yes. Many moka pot fans use espresso grind. But it’s on the fine edge.
If your espresso grind is powdery, you’ll get bitterness. If it’s fine but sand-like, it should work. Try it and adjust.
Why does my coffee taste burnt?
That’s likely over-extraction from too-fine a grind. Go coarser. Also check your heat level.
Moka pot should brew on medium-low heat, not blazing high.
Why does my coffee taste sour?
Sourness means under-extraction. Your grind is too coarse, or your heat is too low. Grind finer and make sure the water is boiling before it hits the coffee.
How much coffee goes in a moka pot basket?
Weigh it. A standard basket holds about 15-18 grams. Fill it level without tamping.
Don’t pack it down.
Can I use a hand grinder for moka pot?
Absolutely. Hand grinders often produce more consistent results than cheap electric burr grinders. For 18 grams of coffee, it takes about 30 seconds of cranking.
Best Coffee Beans for Moka Pot Grinding
The grind matters, but so do the beans. Moka pot shines with medium to dark roasts. They’re oily, rich, and have low acidity.
The flavor profile holds up well against the pressure and concentration.
Some great options:
- Brazilian Santos: Nutty, chocolatey, low acidity
- Colombian Supremo: Balanced, caramel notes, versatile
- Ethiopian Yirgacheffe: Floral, fruity, works if you like brightness
- Italian blends: Often have a touch of robusta for extra crema and kick
If you see a bag labeled “espresso roast,” that works too. Just keep the grind at moka pot setting. The roast level doesn’t dictate the grind size.
How to Store Your Ground Coffee
If you insist on grinding in advance, store it properly. Use an airtight container. Keep it in a cool, dark place.
Avoid the fridge, because moisture ruins coffee. Avoid the freezer unless you’re storing whole beans for long-term use.
Ground coffee loses about 50% of its flavor within 24 hours. That’s not a fun fact, it’s a warning. Grind fresh.
A Quick Word on Moka Pot Technique
You’ve got the grind right. Now let’s make sure your brewing technique doesn’t ruin it.
Fill the bottom chamber with hot (not boiling) water up to the safety valve. The valve sits right below the basket’s bottom line. Add your ground coffee to the basket.
Don’t tamp. Screw the top and bottom chambers together. Place on medium heat.
Watch the coffee rise. When it starts flowing, it’ll gurgle. That’s the sound of water running low.
Take the pot off the heat immediately. Give it a quick stir with a spoon and pour.
That’s it. Simple, right?
Final Thoughts on Grinding for Moka Pot
The perfect grind for moka pot is fine like table salt. It’s not espresso powder, and it’s not drip sand. A burr grinder gets you there every time.
A blade grinder can work if you’re patient, but you’ll fight for consistency.
Here’s the key takeaway: grind fresh, grind fine, and don’t tamp. Follow those three rules, and your moka pot will produce bold, rich coffee that tastes like it came from a café.
We’ve covered a lot here. If you take nothing else, remember this:
- Use a burr grinder
- Set it to fine (salt-like)
- Grind only what you need
- Leave the coffee bed loose
Your morning cup will thank you.
1 thought on “How to Grind Coffee For Moka Pot”