Buying a coffee grinder feels simple until you actually start looking. Suddenly you’re drowning in burr types, step adjustments, and words like “retention” and “clumping.” I get it. I’ve been there.
Here’s the thing: the grinder matters more than the brewer. You can own a $3,000 espresso machine, but if you’re feeding it uneven, powdery grounds, your coffee will taste like regret. Conversely, a humble $20 pour-over dripper paired with a great grinder makes incredible coffee every single time.
So how do you choose? Let’s cut through the noise.
Image source: Pexels / 🇻🇳🇻🇳Nguyễn Tiến Thịnh 🇻🇳🇻🇳 (Pexels License)
Why the Grinder is the Most Important Purchase You’ll Make
Think about what a grinder actually does. It breaks coffee beans into particles so water can extract flavor. The size and consistency of those particles determine everything about your cup.
If the grind is too coarse, water rushes through and you get sour, weak coffee. Too fine, and extraction stalls, leaving you with bitter, over-extracted sludge. Uneven grind?
You get both problems at once, some particles over-extract while others under-extract.
No amount of fancy brewing technique fixes a bad grind. You can’t polish a turd, as they say.
That’s why experts and enthusiasts obsess over grinders. It’s the single biggest upgrade you can make to your coffee routine. Even a modest improvement in grinder quality transforms your daily cup more than a new brewer ever will.
Burr vs. Blade: The Battle That Decides Everything
This is the fork in the road. Every grinder on the market falls into one of two categories: blade or burr.
Blade grinders are the cheap ones. They work like a blender, a spinning propeller chops beans randomly until they’re small enough to fall through. That sounds fine until you realize the randomness means some particles are dust while others are still chunks.
Burr grinders crush beans between two abrasive surfaces (called burrs) set at a specific distance apart. The result is a remarkably uniform particle size. Uniformity means even extraction.
Even extraction means delicious coffee.
The choice should be obvious. Get a burr grinder.
The Serious Problem With Blade Grinders
Blade grinders have a few fatal flaws beyond inconsistency.
First, they generate heat. Friction from the spinning blade heats the beans, which causes volatile aromatic compounds to evaporate. Your coffee loses flavor before it ever touches water.
Second, they’re inconsistent by design. You can pulse, shake, and pray, but you’ll never achieve uniformity. The fines (dust-like particles) clog your filter and cause bitterness.
The boulders (big chunks) barely extract, leaving sourness.
Third, they offer zero control. Blade grinders have one setting: on. You control grind size by pulsing longer, which is guesswork at best.
I’ve seen passionate debates about every aspect of coffee. Burr vs. blade isn’t one of them. It’s settled science.
Burr grinders win, period.
Choosing the Right Burr Material: Steel vs. Ceramic vs. Titanium
Once you’ve committed to burr grinders, you’ll encounter different burr materials. Each has trade-offs.
Steel burrs are the workhorse. They’re durable, handle all roast levels easily, and typically grind faster. Steel dulls over time but remains sharp for years of home use.
They’re ideal for anyone grinding light roasts or grinding large quantities.
Ceramic burrs stay sharper longer than steel and resist wear from abrasive coffee oils. They’re also cheaper to manufacture. The catch?
Ceramic is brittle. Drop the grinder and you might chip a burr. They also run slower, which heats the coffee slightly more during long grind sessions.
Titanium-coated burrs combine steel’s strength with enhanced wear resistance. The coating extends burr life noticeably. The downside is cost, titanium burrs command a premium.
For most home users, either steel or ceramic works perfectly. Choose steel if you grind dark, oily roasts or brew large batches. Choose ceramic if you want longevity and mainly grind lighter roasts.
Titanium is a nice upgrade but never a necessity.
Grind Settings: How Many Steps Do You Actually Need?
Here’s where grinder specs get confusing. Manufacturers tout “40 grind settings” or “220 grind settings.” What does that actually mean for you?
A grind setting is simply the distance between burrs. Wider gaps produce coarser grounds. Narrower gaps produce finer grounds.
For basic brewing methods like French press, pour-over, or drip, you need about five or six distinct grind sizes. That’s the honest truth. Most burr grinders with 15-30 settings handle these easily.
The exception is espresso. Espresso demands ultra-fine, precise grinds, and the window between “too fine” and “too coarse” is minuscule. You might adjust your grinder by a single step between shots. That’s why espresso-focused grinders offer micro-adjustments or stepless control.
Consider your brewing method before obsessing over step counts:
- French press, cold brew: Coarse grind. Any burr grinder works.
- Pour-over, drip, Aeropress: Medium grinds. Any burr grinder works.
- Espresso: Fine grind with tiny adjustments. You need a dedicated espresso grinder.
Don’t pay for 200 settings if you only brew pour-over. You’ll never touch most of them.
Burr Size and Shape: The Spec Sheet Decoded
Grinder manufacturers love throwing numbers at you. “64mm flat burrs!” “38mm conical burrs!” Here’s what those numbers mean and why they matter.
Burr diameter affects grinding speed and consistency. Larger burrs grind faster and generally more evenly. They also generate less heat because they crush beans more efficiently.
Smaller burrs are fine for occasional use but struggle with high volume.
Burr geometry matters too. Most home grinders use conical burrs, a cone-shaped inner burr that fits inside a ring-shaped outer burr. Conical burrs are efficient, affordable, and produce excellent results for most brewing methods.
Flat burrs (two flat rings facing each other) are common in commercial and high-end home grinders. They produce exceptionally uniform particles, which espresso enthusiasts prefer. But they’re louder, slower, and pricier.
The practical takeaway: For espresso, search for “espresso-focused” burr geometry. For everything else, don’t obsess. Any quality conical burr grinder produces delicious coffee.
Understanding Grind Consistency and Flavor Extraction
Let’s get nerdy for a second because this explains why consistency matters so much.
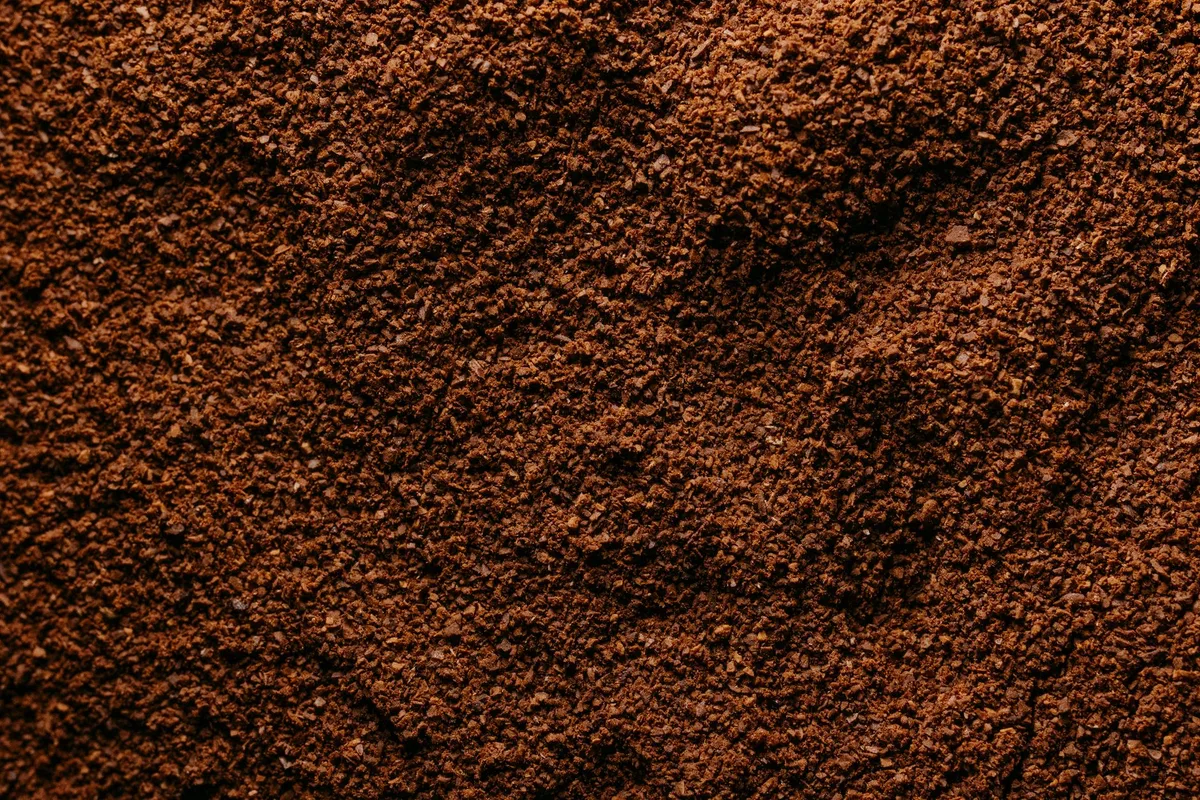
Image source: Pexels / Jonathan Borba (Pexels License)
Coffee extraction follows a curve. Under-extracted coffee tastes sour, sharp, and thin. Over-extracted coffee tastes bitter, hollow, and burnt.
The sweet spot, where sugars, acids, and bitter compounds balance, is narrow.
With inconsistent grounds, you’re fighting yourself. Some particles extract perfectly. Others over-extract.
Others under-extract. Those flavors blend into muddled chaos that’s simultaneously sour and bitter.
A consistent grind ensures every particle extracts at roughly the same rate. You taste the coffee’s actual character, its origin, roast profile, and sweetness, instead of a noisy blend of competing extractions.
The visual test for consistency: Grind some beans and spread them on a white plate. Look at the particle sizes. If you see fine dust alongside boulders, your grinder is failing you.
If particles look roughly uniform, you’re in good shape.
This test works immediately in the store or when reviewing a new grinder. Trust your eyes over spec sheets.
Manual vs. Electric Grinders: Which Fits Your Life?
You have two power options: hand-powered or electric. Both produce identical grind quality at equivalent price points. The difference comes down to lifestyle.
Manual grinders are cheaper for the same quality. A $100 hand grinder matches a $300 electric grinder in grind consistency. They’re also quiet, portable, and travel friendly.
The trade-off is effort. Grinding 20 grams of beans for pour-over takes 30-60 seconds of cranking. Espresso-fine grinding takes longer and requires real arm strength.
If you brew multiple cups daily, manual grinding becomes a workout.
Electric grinders offer convenience and speed. Press a button and you’re done in seconds. Most have timed dosing or weigh-based dosing built in.
The catch is cost. Quality electric grinders start around $150 and climb quickly. Budget electric models often cut corners on burr quality or build materials.
My honest recommendation: If you brew one or two cups daily and want maximum quality per dollar, buy a manual grinder. If you brew multiple batches, hate effort, or make espresso, go electric.
Grinder Retention and Cleaning: The Hidden Coffee Quality Killers
Most people never consider retention when buying a grinder. That’s a mistake.
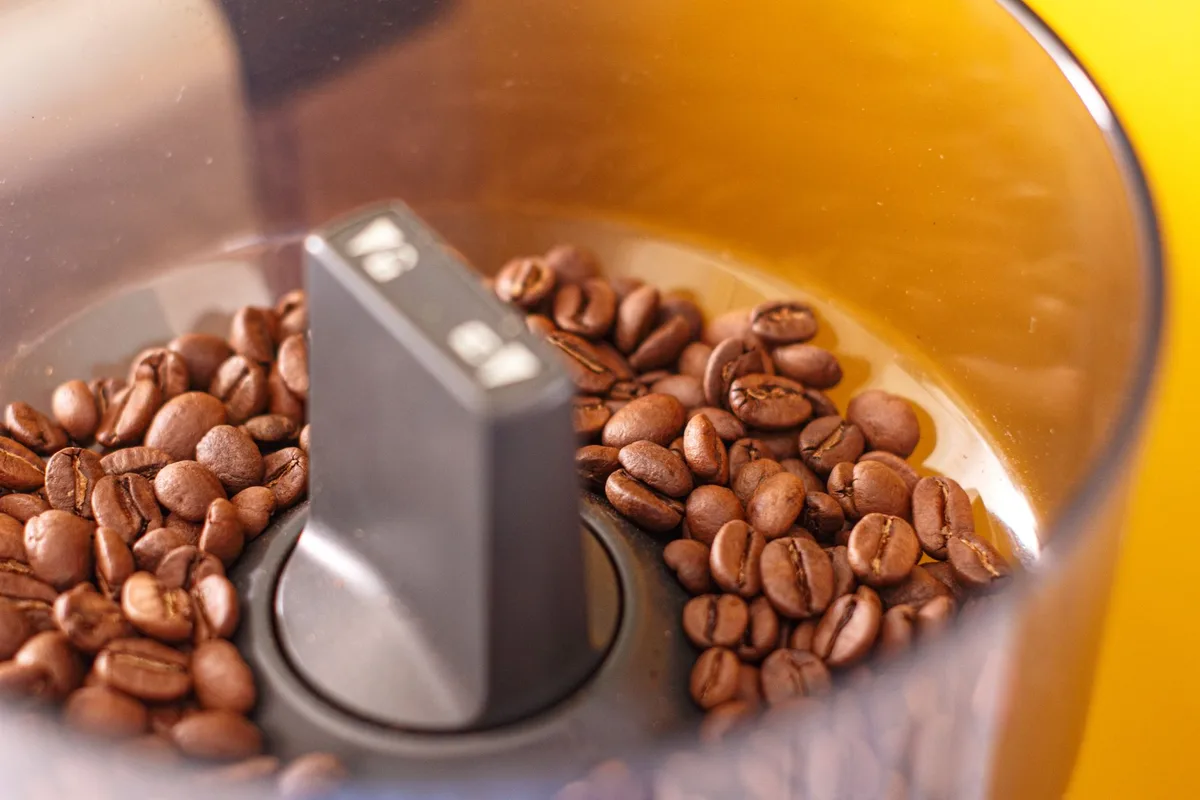
Image source: Pexels / Vinicius Benedit (Pexels License)
Retention refers to coffee that gets trapped inside the grinder after each use. Every grinder retains some grounds in chutes, burrs, and chambers. The issue is stale grounds mixing with fresh ones during your next grind.
Leftover coffee goes stale within hours. Those stale particles taint your fresh batch, adding cardboard-like off-flavors. High retention also wastes coffee, you might lose 0.5 to 2 grams per grind.
Low-retention grinders incorporate design features like angled chutes, bellows, and anti-static coatings to minimize trapped grounds. They’re worth seeking out.
Cleaning matters just as much. Coffee oils accumulate on burrs over time. These oils go rancid, clinging to fresh grounds and transferring bitter, funky flavors.
Most grinders clean easily: remove the hopper, brush out the burrs, and wipe the chute. Some allow full burr removal for deeper cleaning. Avoid grinders that make disassembly frustrating, you simply won’t do it.
The rule of thumb: Budget for either a low-retention grinder or a grinder that’s easy to clean. Ideally, both.
What’s Your Brewing Method? Matching Grinder to Coffee Style
Your grinder choice should align with how you brew. This section covers the main methods and what they require.
Espresso: The Demanding One
Espresso requires extremely fine, uniform grinds. You need micro-adjustments to dial in shots effectively. Dedicated espresso grinders offer stepless adjustment or very fine step increments.
Budget for espresso grinders accordingly. Anything under $200 is likely frustrating. The sweet spot sits between $300 and $700 for home use.
Trust me, good espresso equipment starts with a serious grinder.
Pour-Over and Drip: The Flexible Middle
Pour-over methods (V60, Chemex, Kalita Wave) and automatic drip brewers work best with medium grinds. Any quality burr grinder handles these easily. You don’t need fine adjustments or giant burrs.
For these methods, prioritize consistency over precision. A mid-range grinder with 30-40 settings is plenty.
French Press and Cold Brew: The Coarse End
These methods need coarse, chunky grounds. Coarse grinds are easier to produce uniformly than fine ones, so even budget burr grinders perform well here.
The main requirement is a grinder that reaches coarse settings without producing excessive fines. Choose a grinder with a wide adjustment range rather than an espresso-focused machine.
Budget Breakdown: How Much Should You Spend?
Coffee grinders span from $20 to over $3,000. Here’s what each price tier delivers.
Under $50: Skip. These are blade grinders in disguise or low-quality burr grinders with plastic internals. They disappoint quickly.
$50-$150: Entry burr grinders. You get decent consistency for coarse and medium grinds. Manual grinders in this range outperform electric ones. Excellent for pour-over and French press enthusiasts.
$150-$400: Serious home grinders. Electric grinders here deliver good espresso capability, low retention, and durable construction. The sweet spot for most coffee lovers.
$400-$800: Enthusiast territory. Grinders here rival commercial quality. Exceptional consistency, minimal retention, and espresso-focused features. This range satisfies even picky espresso drinkers.
$800+: Diminishing returns. You’re paying for commercial-grade durability and exotic burr materials. Unnecessary for most home users unless you open a café.
My honest take: A $200 grinder beats a $50 grinder by a wider margin than a $2,000 grinder beats a $500 one. The curve flattens quickly. Find your budget and buy the best grinder within it.
Grinder Maintenance: Keeping Your Investment Alive
Grinders last for years, but only with basic care. Follow these practices to protect your machine and your coffee.
Brush after every use. A quick pass with a stiff brush removes surface grounds and prevents buildup.
Deep clean monthly. Disassemble the burrs, brush thoroughly, and wipe surfaces. Burr grinders rarely need water, dry cleaning works. If you use water, ensure parts dry completely before reassembly.
Replace burrs as needed. Steel burrs last 3-5 years with normal home use. Ceramic burrs last longer. When grinding becomes inconsistent or slower, replace the burrs.
Use fresh beans. Oily, dark-roasted beans gunk up grinders faster. That’s not a reason to avoid them, just clean more often.
The Final Checklist Before You Buy
You’ve absorbed a lot. Let’s distill it into a quick checklist to guide your purchase.
Set your brewing method first. Espresso needs a serious grinder. Everything else needs a decent one.
Choose burr over blade. Always. No exceptions, no apologies.
Match power to your habits. Manual for quality per dollar. Electric for convenience.
Prioritize consistency over features. A simple, consistent grinder beats a feature-packed inconsistent one.
Check retention and cleaning ease. Read reviews specifically about these factors.
Buy the best grinder in your budget. Skimp elsewhere, not here.
Now go find your grinder. Your coffee, and your taste buds, will thank you.