Coffee is a living product. That’s the first thing you need to understand before we dive into storage methods. Those beautiful, aromatic beans you just bought are constantly changing, releasing gases, absorbing moisture, and slowly losing the volatile compounds that make your morning cup taste like heaven rather than cardboard.
The bad news? Most people store coffee wrong. The good news?
Fixing it takes about five minutes and costs almost nothing.
Let me walk you through exactly how to store coffee long term without destroying what makes it special.
Why Coffee Goes Stale (The Science in Plain English)
Before we talk solutions, we need to understand the enemy. Coffee has four main predators, and they’re all working against you from the moment those beans are roasted.
Oxygen is public enemy number one. When roasted coffee hits air, oxidation begins immediately. This is the same process that turns a cut apple brown.
It’s relentless and it’s happening right now, even as you read this.
Moisture is almost as bad. Coffee beans are porous. They act like tiny sponges, absorbing humidity from the air.
This not only degrades flavor but also creates an environment where mold can thrive.
Heat accelerates every bad thing that can happen to coffee. For every 10°C increase in temperature, chemical reactions roughly double in speed. Your pantry above the stove?
That’s a coffee killer.
Light is the sneaky one. UV rays break down the organic compounds in coffee, especially if your beans are in a clear or translucent container.
Here’s the kicker: those beautiful one-way valve bags your coffee comes in? They’re designed for short-term retail display, not long-term storage. Once you open that bag, the clock starts ticking.
Mark this date in your calendar: whole roasted beans stay fresh for about 2-3 weeks at room temperature. Ground coffee? You get roughly a week, maybe less.
That’s the reality. But we can do much better.
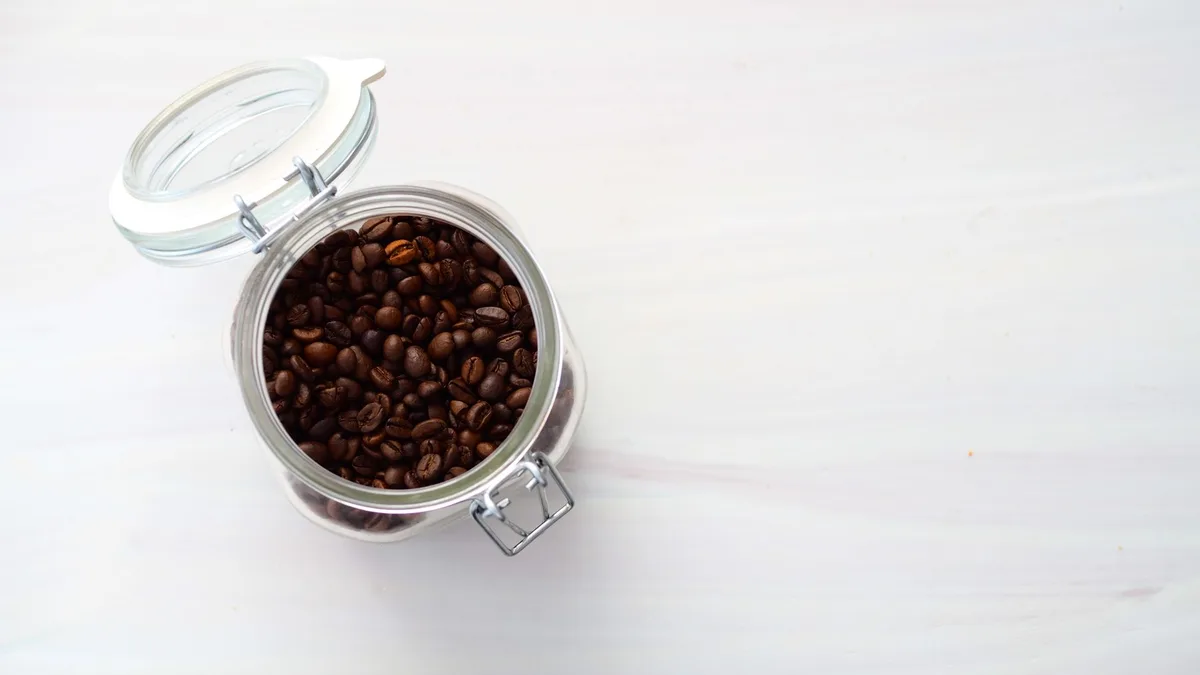
Image source: Pexels / Mateusz Feliksik (Pexels License)
Choosing the Right Coffee Form for Long-Term Storage
If you’re serious about long-term storage, your first decision comes before you even buy a container. It’s about the form of coffee you choose to store.
Whole Beans vs. Ground Coffee
Whole beans win. This isn’t close. It’s not even a fair fight.
Here’s why: grinding coffee increases its surface area by an enormous factor. Think of it like chopping firewood. A full log burns slowly.
Wood chips? They ignite instantly. Grinding exposes millions of new surfaces to oxygen, and every single one of those surfaces is a place where flavor dies.
Research from the United States Department of Agriculture has long confirmed that particle size directly correlates with the rate of quality degradation in agricultural products. Coffee is no exception.
If you buy pre-ground coffee for storage, you’re locking in the damage. The coffee was already ground, packed, shipped, and shelved before you even got it home. By the time you open that bag, much of the delicate aroma has already escaped.
The rule is simple: always buy whole beans. Grind only what you need, right before you brew.
For long-term storage, whole beans give you the longest window of quality preservation. We’re talking months versus days. And that extra time is exactly what you need when building a coffee reserve.
What About Green (Unroasted) Coffee?
This is the ultimate long-term play. Green, unroasted coffee beans can last 12 months or longer when stored properly. Some sources say up to two years if you nail the conditions.
The catch? You need to roast it yourself. That requires a home roaster, some ventilation, and a willingness to experiment.
It’s a whole hobby in itself, not just a storage solution.
For most people, storing roasted whole beans is the practical sweet spot. You get 3-6 months of quality storage with the right setup, and you skip the roasting ceremony entirely.
Selecting the Best Containers for Coffee Storage
Your choice of container can make or break your coffee storage strategy. Let’s separate the winners from the losers.
The Three Pillars of a Great Coffee Container
Airtight seal. This is non-negotiable. Your container must keep oxygen out completely. If you can hear air escaping when you open it, that’s oxygen getting in.
Opaque material. Remember what I said about light? Your container should block it entirely. Glass with UV coating works.
Ceramic works. Metal works. Clear glass with no coating?
Fails the test.
Proper size. Big containers trap excess air. When you open a large container with only a few beans left inside, you’re introducing a big pocket of oxygen to a small amount of coffee. That’s counterproductive.
Our Top Container Picks
Ceramic canisters with rubber gaskets are excellent. They’re heavy, airtight, and block all light. Look for ones with a locking clamp mechanism, not just a loose-fitting lid.
Stainless steel containers are a close second. They’re lighter than ceramic, virtually indestructible, and if they have a vacuum-seal lid, they’re absolutely ideal.
Vacuum-sealed bags are the gold standard for long-term storage. You can get them with a home vacuum sealer for less than you’d think. Once you vacuum-seal coffee, oxygen is gone and stays gone.
Mason jars work in a pinch, especially the wide-mouth variety. Store them in a dark cupboard to solve the light problem. Just make sure to fill them to the brim to minimize trapped air.
Containers That Betray You
Avoid transparent glass jars without UV protection. Avoid plastic containers that aren’t food-grade. Avoid anything with a lid that doesn’t create a tight seal.
And for the love of good coffee, avoid those novelty containers with the wooden lids or the ones shaped like coffee cups. They look cute. They fail functionally.
The Critical Rule: Don’t Store Coffee in the Fridge
This is the most common coffee storage mistake I see, and I need to be blunt about it: Do not store coffee in the refrigerator.
Here’s why this seems like a good idea: we associate cool temperatures with freshness. We store meat in the fridge. We store leftovers in the fridge.
Surely coffee belongs there too?
It doesn’t. And the reason has everything to do with moisture.
Your refrigerator is full of humidity. Every time you open the door, warm air rushes in and hits cold surfaces, creating condensation. That moisture finds its way into your coffee container every single time you open it.
Even worse, coffee beans are excellent at absorbing odors. Your coffee will start to taste like whatever is sitting next to it in the fridge. Last night’s leftover garlic chicken?
Your morning cup will know.
The flavor compounds in coffee are volatile. That means they evaporate easily. Over time, beans left in the fridge will absorb moisture and lose their delicate aromatic oils.
The result is flat-tasting, potentially musty coffee.
So no. The fridge is off-limits. Let’s talk about what actually works.
Using the Freezer for Extended Coffee Storage
The freezer is a different story. Done correctly, freezing coffee can preserve freshness for months. Done incorrectly, it wrecks your beans just as fast as any other bad method.
When Freezing Makes Sense
Freeze coffee only when you’re storing it for extended periods. Think 4 weeks or longer. If you’re going to drink your coffee within a month, skip the freezer entirely and use a good airtight container at room temperature.
But if you’ve bought a 5-pound bag and know you won’t finish it for three months? Freeze it. That’s the smart move.
How to Freeze Coffee the Right Way
First, portion your beans. Divide them into amounts you’ll use within a week. Vacuum-seal each portion if you can.
If you don’t have a vacuum sealer, press out all the air from a zipper-lock bag before sealing.
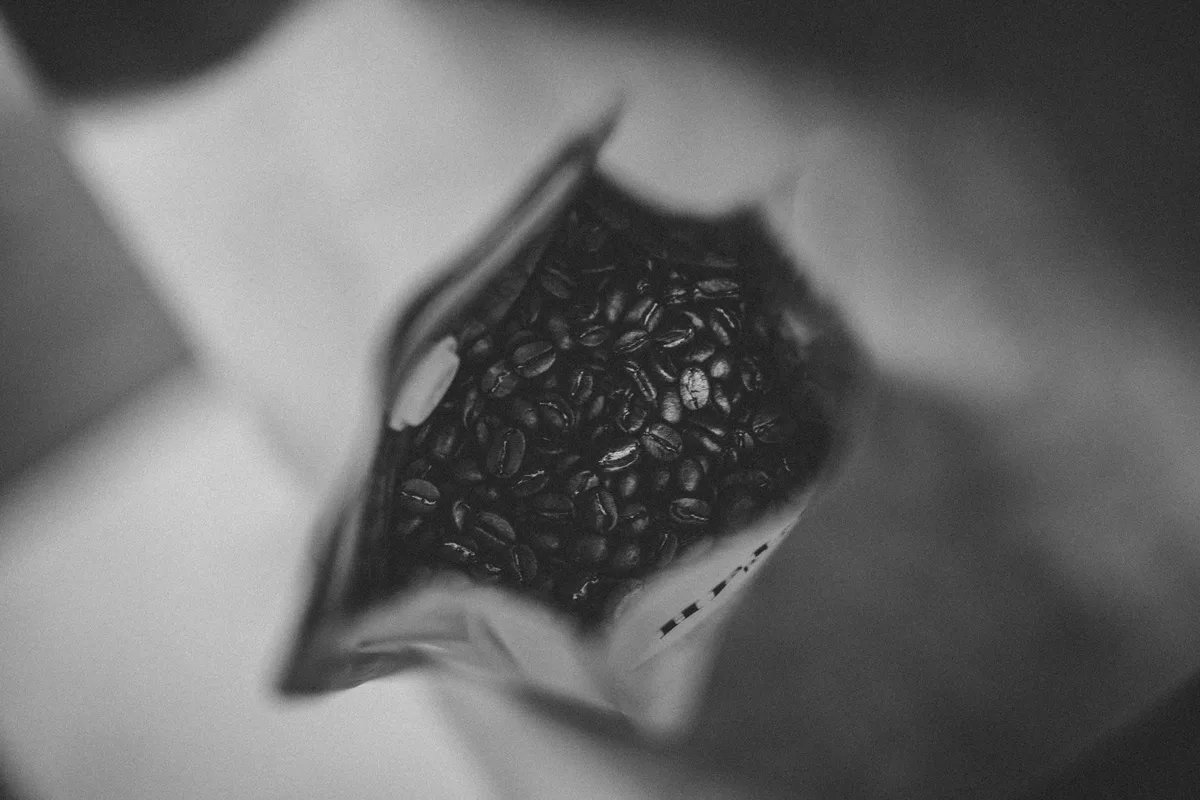
Image source: Pexels / Steph Quernemoen (Pexels License)
Use airtight bags or containers that won’t crack at freezing temperatures. Glass can break. Use thick plastic or metal instead.
Label everything with the roast date and the date you’re freezing it. Trust me, you’ll forget otherwise.
The Biggest Freezer Mistake
Never pull beans out of the freezer and immediately open the container. Here’s what happens: cold beans hit warm air, and condensation forms instantly on their surface. That moisture ruins them.
Instead, take your frozen portion out of the freezer and let it sit sealed on the counter for at least 15-20 minutes. Let the beans come to room temperature before you open the container. This gives the moisture time to evaporate before it touches the beans.
And here’s the non-negotiable rule: never refreeze coffee. Each freeze-thaw cycle damages the cellular structure of the beans. One freeze, one thaw, done.
Does Freezing Actually Work?
Yes, when done properly. The science is straightforward: freezing dramatically slows down chemical reactions. Since oxidation is the primary culprit in coffee staleness, freezing is a powerful defense.
Studies have shown that properly frozen coffee retains significantly more volatile compounds than coffee stored at room temperature over the same period. We’re talking about preserving quality that would otherwise be lost.
Does it taste exactly like fresh coffee? No. It tastes like very good coffee that was frozen.
For long-term storage, that’s the best result you can achieve.
Temperature, Humidity, and Other Environmental Factors
Let’s talk about where to put your coffee when it’s not in the freezer.
The Ideal Storage Environment
Find a cool, dark place with stable temperature. A pantry or cupboard away from appliances works well. Aim for a temperature between 60-75°F (15-24°C).
Cooler is better within that range.
Avoid spots near the oven, dishwasher, refrigerator, or any heat source. That cabinet above your stove might seem convenient, but it’s probably the worst possible location in your kitchen.
Humidity Matters More Than You Think
Coffee beans are hygroscopic. They attract and hold water molecules from the air. High humidity environments, like most kitchens, are not ideal.
If you live in a humid climate, consider adding a food-grade silica gel packet to your coffee container. These absorb moisture and can be recharged in the oven periodically.
The Rule of Thumb for Storage Environment
| Environment Factor | Ideal Condition |
|---|---|
| Temperature | 60-75°F (15-24°C) |
| Relative Humidity | Below 50% |
| Light | Complete darkness |
| Air Exposure | Zero (after opening) |
Get these right, and you’ve already won 80% of the battle.
Repurposing and Reusing: Old Containers That Work Great
You don’t need fancy equipment to store coffee well. Some of the best containers are ones you already own.
Glass Mason Jars
Wide-mouth mason jars are surprisingly effective. The trick is to fill them completely to minimize oxygen in the headspace. Store them in a dark place or wrap them in foil to block light.
The downside is the lack of a true airtight seal, but for short-term storage (2-4 weeks), they’re adequate.
Reused Coffee Bags with One-Way Valves
Save good quality coffee bags that have one-way valves. These valves allow CO2 to escape while keeping oxygen out. They’re not perfect for long-term storage, but they’re better than nothing.
The catch is that you need to squeeze out as much air as possible before sealing. And once the bag’s zipper starts to fail? Retire it.
Travel Mugs and Tumbler Lids
This is a weird one, but hear me out. Some high-quality stainless steel travel mugs have absolutely airtight seals. Clean them thoroughly and use them as mini coffee storage containers.
They’re perfect for storing a small emergency supply. Just make sure they’re thoroughly dry before adding beans.
Vacuum Sealing: The Professional Approach
If you want the most effective long-term storage method short of buying green beans and roasting them yourself, vacuum sealing is it.
Removing oxygen entirely is the single most effective thing you can do to preserve roasted coffee. Vacuum-sealed beans can retain quality for 6-12 months, sometimes longer.
How to Vacuum Seal Coffee at Home
You’ll need a vacuum sealer and vacuum-seal bags. These are affordable investments if you’re serious about coffee storage.
Portion your beans first. Seal them in amounts you’ll use in 1-2 weeks. This way, you’re only exposing one portion at a time.
Seal the bag. Allow enough space for the beans to settle. Don’t overfill.
Store sealed bags in a cool, dark place. The vacuum does most of the work, but the environment still matters.
The Flavor Timeline for Vacuum-Sealed Coffee
| Storage Time | Expected Quality |
|---|---|
| 1 month | Excellent. Nearly indistinguishable from fresh. |
| 3 months | Very good. Slight mellowing of brightness. |
| 6 months | Good. Smooth but noticeably aged. |
| 12 months | Acceptable. Drinkable but definitely old. |
The key to getting the most from vacuum sealing is starting with fresh beans. Vacuum-sealing doesn’t reverse staleness. It preserves whatever quality exists at the moment of sealing.
How Long Can You Actually Store Coffee Different Ways?
Let’s be realistic about timeframes. Here’s what you can expect with different storage methods.
Room Temperature Storage in an Airtight Container
Whole beans will maintain reasonable quality for 2-4 weeks. Ground coffee drops to 1-2 weeks. After that, the flavors will fade noticeably.
Refrigerator Storage (Which You Shouldn’t Do)
Whole beans in the fridge maintain marginal quality for 2-3 weeks, but at the cost of absorbing odors and moisture. It’s not worth it.
Freezer Storage in Airtight, Portioned Containers
Whole beans can maintain good quality for 3-6 months. Ground coffee manages 2-3 months. This is the best option for anyone who wants to stock up.
Vacuum-Sealed in the Freezer
This is the heavyweight champion. Whole beans can maintain quality for 12 months or more. Ground coffee lasts 6 months or more.
If you’re building an emergency supply or prepping for a long winter, this is your method.
Remember, these are realistic expectations, not claims of perfection. Coffee will always slowly degrade. These methods slow the clock, not stop it.
Common Coffee Storage Mistakes and How to Avoid Them
Let’s run through the biggest mistakes people make so you can steer clear.
Keeping coffee in the bag it came in after opening. Those bags are fine for retail, but once opened, they’re not truly resealable. Transfer your coffee to a proper container.
Using a container that’s too large. Too much air equals faster staleness. Size your container to your coffee.
Grinding all your beans at once. Grind only what you need. This is the easiest quality improvement you can make.
Buying more coffee than you can use in 2-3 weeks. Unless you’re freezing it, you’re just watching quality go down the drain. Buy smaller amounts more frequently.
Storing coffee near strong-smelling foods. Coffee absorbs odors like a sponge. Keep it away from spices, garlic, and other aromatic foods.
Storing coffee in a clear container on the counter. Light exposure degrades quality quickly. Put away your pretty glass jar and use something opaque.
Freezing beans and opening the container while cold. We covered this. The condensation damage is real. Thaw first.
Ref freezing after a partial thaw. Once beans have been thawed, you must use them. The freeze-thaw cycle is damaging.
Expecting indefinite shelf life. Even the best storage methods can’t preserve coffee forever. Use the quality window we’ve outlined.
Quick Checklist for Perfect Coffee Storage
- Always buy whole beans
- Transfer to an airtight, opaque container immediately after opening
- Store away from heat, light, and humidity
- Portion out small amounts for daily use
- Freeze portions for storage beyond 2-3 weeks
- Thaw frozen portions completely before opening
- Grind only what you need, right before brewing
- Never refreeze thawed coffee
The Final Verdict on Long-Term Coffee Storage
Here’s the honest truth: there’s no way to make coffee taste as good six months after roasting as it does one week after. Anyone who tells you different is selling something.
But you can come remarkably close.
The winning strategy is a combination of smart buying and smart storing. Buy whole beans in the amounts you need. Store them airtight in a cool, dark place for daily use.
Vacuum-seal and freeze portions that you won’t touch for weeks or months.
This approach gives you the best of both worlds: fresh coffee for the near term and a quality backup for the long term.
And if you find yourself with too much coffee that’s starting to go stale? Don’t throw it out. Use it for cold brew.
Cold brew is remarkably forgiving of older beans and produces a smooth, rich concentrate that’s perfect for summer mornings.
Your coffee has the potential to taste incredible every single time you brew it. You just need to store it like you mean it. Now go seal up those beans.
Your future morning self will thank you.