Image source: Pexels / Nothing Ahead (Pexels License)
So you’re swapping out that clunky old range hood for a sleek over-the-range microwave. Smart move. You free up counter space, add a ventilation fan, and get a powerful cooking appliance all in one.
But here’s the catch: measure wrong, and you’ll be staring at a gap between the microwave and your cabinets, or worse, an appliance that doesn’t fit at all.
Don’t worry. I’ve done this dozens of times, and I’m going to walk you through every measurement you need, step by step. By the time you finish this guide, you’ll know exactly what dimensions to write down before you even start shopping.
Let’s get into it.
Why Accurate Measurements Matter More Than You Think
You might think you can eyeball it. You can’t.
Over-the-range microwaves come in standardized sizes, sure, but your kitchen isn’t standardized. Cabinet heights vary. Range depths differ.
Ventilation requirements change based on your setup.
Here’s what happens when people skip the measuring step:
- The microwave sticks out too far, it becomes a head-bumping hazard every time you cook
- There’s a visible gap above the unit that looks terrible and collects grease
- The mounting bracket doesn’t align with your cabinet studs
- The vent blows directly into a cabinet instead of outside
- The unit is too close to the cooktop and violates fire codes
None of those outcomes are fun. All of them are avoidable with about 20 minutes of careful measuring.
The Three Critical Dimensions: Width, Height, Depth
Before we get into the nitty-gritty, let’s establish the basic rule: you’re measuring the space where the microwave will live, not the microwave itself (unless you’re replacing an existing unit).
Width: The Non-Negotiable Number
The width is the one measurement where you have zero flexibility. Over-the-range microwaves come in three standard widths:
- 30 inches, by far the most common size
- 24 inches, for smaller or older kitchens
- 36 inches, rare, but they exist for commercial-style ranges
You need to measure the width of the gap between the two cabinets (or walls) that will flank the microwave. Here’s how:
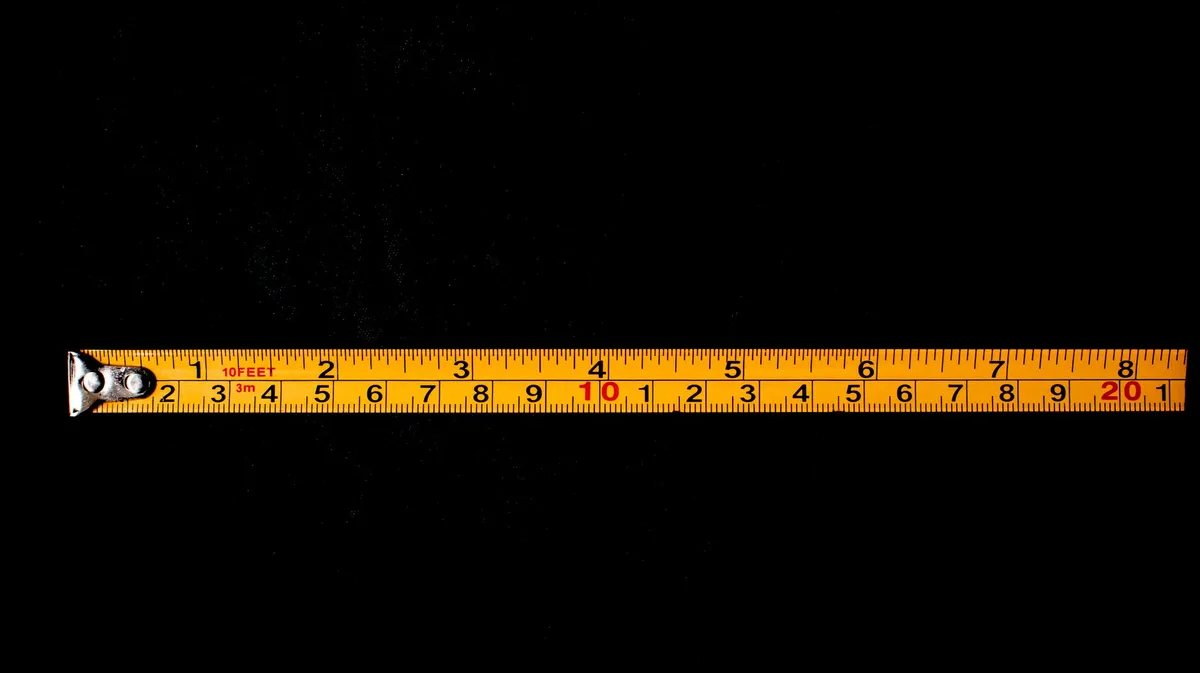
- Take your tape measure
- Place it at the back of the opening, near the wall
- Extend it to the front edge of the cabinets
- Write down that number
But don’t stop there. Measure the width at the front of the opening too. Cabinets aren’t always perfectly square, and a slight bow in the wall can make the front opening narrower than the back.
The microwave needs to slide into that space with about a half-inch of clearance on each side. Why? Because the unit needs room for the mounting brackets and for airflow.
A microwave that’s jammed tight against the cabinets will overheat.
Pro tip: If your opening is 29.5 inches, a 30-inch microwave fits perfectly. If it’s 29 inches, you’re going to have problems. Always round down, meaning if the opening is smaller than the microwave’s width, it won’t fit.
Height: The Trickiest Measurement
Height gets people in trouble more than any other dimension. Here’s the deal:
Over-the-range microwaves are designed to fit in the space between your cooktop and your upper cabinets. The standard height for these units is between 15 and 16 inches. But that’s only half the story.
You need to measure two things:
First, the actual opening height. Measure from the bottom of your upper cabinet to the cooking surface (the top of the range or stove). This distance needs to be at least 17 inches. Here’s why:
- The microwave itself is about 15, 16 inches tall
- You need a minimum of 3 inches of clearance between the microwave’s bottom and the cooking surface
- The National Kitchen and Bath Association recommends 18 inches of clearance above the cooking surface for safety
Check your local building codes. Many require a minimum of 18 inches between a residential electric cooktop and a microwave above it. Gas ranges sometimes need more, some jurisdictions require 24 inches because gas flames throw more heat upward.
If your opening is less than 17 inches, you’re out of luck. Most over-the-range microwaves simply won’t fit. You’d need to either raise the upper cabinet or look at a different appliance style altogether.
Second, the depth of the upper cabinet. This matters for a different reason. The microwave has a mounting plate on the back that screws into the wall. It also has mounting tabs at the top that hook into a bracket attached to the cabinet above.
That bracket needs enough cabinet surface to attach to. If your upper cabinet is shallow, you’ll struggle with installation.
Depth: Watch for the Gap
Depth is where people make the biggest aesthetic mistake. They buy a microwave without measuring how far it will stick out from the back wall, and suddenly it’s protruding three feet into their kitchen.
Here’s what to do:
- Measure from the back wall to the front edge of your upper cabinets
- Write that number down, this is your target depth
- Compare it to the microwave’s depth spec
Most over-the-range microwaves have a listed depth between 15.5 and 17 inches. But here’s the catch: that depth assumes the back of the microwave is flush against the wall. In reality, you’ll have a power cord and possibly a vent outlet behind the unit, which pushes it forward.
The result? Most installations end up with the microwave protruding 1 to 2 inches past the front of the upper cabinets. That’s completely normal.
In fact, it looks intentional and balanced. But when that gap becomes 4 or 5 inches, the whole kitchen looks wrong.
The magic number: Aim for the microwave’s front face to sit somewhere between flush with the cabinets and 3 inches proud of them. If you can’t find a microwave that hits that range, you might need to look at models with a shorter depth.

Image source: Pexels / Eyes2Soul Eyes2Soul (Pexels License)
Checking Clearance and Ventilation
Image source: Pexels / Max Vakhtbovych (Pexels License)
Here’s where most buyer’s guides gloss over the details. Let’s talk about what lives around the microwave.
Above the Microwave
You already measured the opening height, but let’s talk about what sits above the unit. Over-the-range microwaves are actually sized to leave a small gap between the top of the microwave and the cabinet above. This gap is usually around 1 to 2 inches, and it serves a real purpose.
That gap provides ventilation. The microwave’s recirculating air vents are usually on the top or the front top edge. If the unit is jammed flush against the cabinet, heat builds up, and the microwave works harder than it should.
Also, that gap gives you a little wiggle room for leveling. You can shim the microwave slightly to get it perfectly horizontal, and that gap above absorbs the adjustment.
Behind the Microwave
You need at least 2 inches of clearance behind the microwave for the power cord, the mounting plate, and proper airflow. If your upper cabinet is unusually deep, say, 15 inches, and the back wall has electrical outlets or plumbing pipes protruding, those obstructions eat into your clearance.
Here’s a quick trick to check: place a straight edge (a yardstick works great) against the wall where the microwave will go. Does it sit flush, or does it rock over an outlet or a seam? Any protrusion reduces your usable depth.
The Range Below
The distance between your cooktop and the microwave’s bottom is non-negotiable. Minimum: 17 inches. Preferred: 18 inches for electric, 24 inches for gas.
Why so much space? Three reasons:
- Heat damage. The microwave’s electronic components are in the top half of the unit, but the bottom panel still gets warm. Excessive heat from the cooktop below shortens the microwave’s lifespan.
- Steam and grease. Your range produces steam and grease vapor. With too little space, these get sucked into the microwave’s vent and coat the internal fans with a sticky film.
- Safety codes. Most residential building codes follow the International Residential Code (IRC), which specifies the clearance based on the type and wattage of the range below. You can find the official clearance guidelines from the U.S. Department of Housing and Urban Development to verify your local requirements.
Measure Your Existing Ventilation Setup
Before you buy, you need to know whether you’re replacing a range hood or an existing over-the-range microwave.
If You’re Replacing a Range Hood
The vent ductwork is already in place. Good. You need to check what size it is and where it exits.
- Wall vent: The duct goes out the back wall. You need the microwave’s vent outlet to align with that duct position.
- Roof vent: The duct goes up through the ceiling. Your microwave needs to vent vertically, which most models support.
Measure the duct diameter too. Most are 6 inches round or 3.25 x 10 inches rectangular. Your microwave’s vent adapter needs to match those dimensions, or you’ll need a transition kit.
If You’re Replacing an Existing Microwave
Lucky you, the hard part is done. The old unit’s dimensions give you a perfect template. But wait, not so fast.
Measure the old unit’s width, height, and depth. Write those down. Then measure the opening just like we discussed above.
Sometimes the opening is bigger than the unit, especially if the previous installer left gaps.
- If the opening is bigger, you can install a slightly larger microwave. Just keep the clearance rules in mind.
- If the opening is smaller, well, that’s nearly impossible unless the previous unit was undersized. Check again.
Also, look at the mounting pattern. The wall plate from the old unit might already be in place. If your new microwave has a different mounting plate design, you’ll need to remove the old one and patch the screw holes.
Power and Electrical Requirements
This is less about physical measuring and more about verifying what you have. But it’s part of the pre-purchase checklist.
Over-the-range microwaves require a dedicated 120-volt, 15-amp or 20-amp electrical circuit. That’s a standard 3-prong outlet, but it must be its own circuit, not shared with the range, the dishwasher, or a string of countertop outlets.
Where is the outlet located? It’s usually:
- Inside the upper cabinet above the microwave
- Behind the microwave on the wall
- In the cabinet to the left or right of the unit
If the outlet is behind the microwave, measure how deeply the outlet protrudes from the wall. A standard outlet sticks out about an inch. If you have a GFCI outlet, which is bulky, it might stick out 1.5 to 2 inches.
That reduces your usable depth.
Pro tip: If you have a GFCI outlet behind the microwave, flip it upside down so it takes less clearance. Electricians do this all the time.
Tools You’ll Need
Grab these before you start:
- Steel tape measure (25-foot is fine; a 16-foot works too)
- Pencil and paper (or your phone’s notes app)
- Step stool, you’re measuring high up, and reaching on your toes is asking for errors
- Straight edge (yardstick or level)
- Camera, take pics of the measurements, the existing vent, and the electrical outlet for reference when you’re shopping
Step-by-Step Quick Reference
Let’s put it all together in a simple checklist.
Step 1: Measure the width. Back of the opening, front of the opening. Write both down.
Step 2: Measure the height. From the cooking surface to the bottom of the upper cabinet.
Step 3: Measure the depth. From the back wall to the front edge of the cabinet.
Step 4: Check the clearance above. Confirm there’s at least 1, 2 inches of open space above the proposed microwave location.
Step 5: Verify the range clearance. Minimum 17 inches, ideally 18+ for electric, 24 for gas.
Step 6: Inspect the vent. Note the duct size and whether it goes out the back or the top.
Step 7: Locate the outlet. Check if it’s accessible and where it sits.
Step 8: Check the cabinet depth above. Ensure there’s enough surface for the mounting bracket, at least 12 inches of cabinet face.
Step 9: Write it all down. You’ll reference this when comparing models.
Common Installation Mistakes (And How to Avoid Them)
You’ve measured everything perfectly, but installation still goes sideways. Why? These three mistakes:
Mistake 1: Ignoring Floor-to-Counter Height
Check the distance from the floor to your cooktop. Most ranges sit 36 inches from the floor. The microwave, with its minimum 17-inch clearance, will then sit with its bottom at 53 inches or higher.
That’s fine for most people. But if someone in your household is short, reaching into the microwave becomes uncomfortable. You can raise the mounting height slightly, up to 20 inches above the cooktop, but stay within code limits.
Mistake 2: Forgetting About Cabinet Doors and Drawers
The microwave extends forward, but the cabinet doors below it open outward. If the microwave protrudes too far, it blocks the cabinet doors underneath.
Check this by opening the cabinet doors fully (90 degrees, or more if they’re European-style) and measuring how far they swing. Compare that to the microwave’s projected depth.
Mistake 3: Not Checking Wall Studs
The mounting plate needs to anchor into wall studs. Studs are usually 16 inches apart, centered. But not always, older homes have 12-inch centers, and some walls have irregular spacing.
Locate the studs in the space where the microwave will mount. Mark them. If there’s no stud within the microwave’s mounting plate area, installation becomes a bigger project.
You’d need toggle bolts, and even then, a heavy microwave hanging on drywall alone is a recipe for disaster.
Compact Kitchens and Special Cases
Small Space? Consider a Low-Profile Model
Standard over-the-range microwaves are 15, 16 inches tall. But low-profile models, sometimes called “short” microwaves, come in at about 10 inches tall.
These are designed for kitchens with tighter clearances, like those in apartments or older homes with lower upper cabinets. They give you an extra 5 inches of working space above the range while still looking sleek.
The trade-off? You lose interior cavity space. Low-profile models usually cap out at 1.4 cubic feet, compared to 1.7, 2.2 cubic feet for full-size units.
Corner Installations
Placing a microwave over a range in a corner creates unique challenges. The microwave needs to align with the range below, that’s the ventilation requirement, but the upper cabinet on one side might be angled or cut short.
Measure diagonally across the corner to see if a 30-inch microwave fits without overlapping the adjacent cabinet’s corner. In tight corners, a 24-inch model might be your only workable option.
Getting the Numbers Right: How to Compare Spec Sheets
When you’re shopping, every microwave lists its dimensions in the spec sheet. Look for these three numbers:
- Width: Typically 29.9 to 30 inches for standard models
- Height: 15 to 17 inches (low-profile units are 10 to 12 inches)
- Depth: Ranges from 15.8 to 17.5 inches, depending on the model
But here’s the secret: also check the cutout depth on the spec sheet. That’s the minimum depth the manual says you need for proper airflow. It’s usually 1 to 2 inches more than the unit’s physical depth.
The best resource for understanding clearance requirements is the National Kitchen and Bath Association. They publish detailed guidelines on appliance clearances that manufacturers and builders follow.
However, the manufacturer’s installation manual is the final authority for your specific model. It includes the exact clearance diagram. If the spec sheet looks confusing, download the manual PDF and check the “rough-in” or “clearance” drawing.
Final Word
Measuring for an over-the-range microwave takes about 20 minutes and a few dollars’ worth of tools. Skipping that effort can cost you hundreds in returns and installation headaches.
Here’s your action plan:
- Measure the width (front and back of the opening)
- Measure the height (cooktop to upper cabinet)
- Measure the depth (wall to cabinet front)
- Check clearances (above, below, behind)
- Inspect the vent and electrical (size, position, location)
- Find the studs (before you even think about mounting)
Write it all down. Bring that sheet when you shop. When a salesperson, or a product page, tries to sell you a microwave that “should work,” pull out your numbers and compare them against the spec sheet.
Over-the-range microwaves aren’t one-size-fits-all. But once you know your dimensions, you’ll find a model that fits perfectly, looks like it was made for your kitchen, and vents your cooking fumes like a champ.
That’s the whole game, right there. Measure once, measure right, and you’re done.